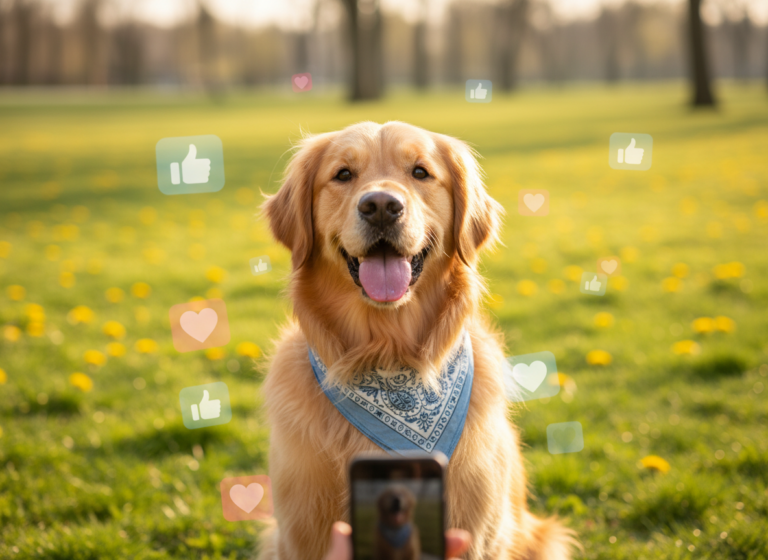
Have you ever scrolled through social media and seen those heart-melting photos of a dog announcing their family’s biggest news? Whether it’s a new baby, an engagement, or a big move, having your furry best friend help share the excitement is pure magic. You might look at those pictures and think, ‘My dog could never do that!’ Well, I’m here to tell you that with a little patience, a handful of tasty treats, and a whole lot of fun, your dog absolutely can!
Training your dog to hold a sign is more than just a cute party trick. It’s a fantastic enrichment activity that strengthens your bond, builds your dog’s confidence, and stimulates their brain. It’s about communication, trust, and working together as a team. This guide will walk you through every step of the process, from picking the right props to troubleshooting common hiccups. So, let’s get ready to turn your pup into the star of your next big announcement!
Gathering Your Paws-itively Perfect Props
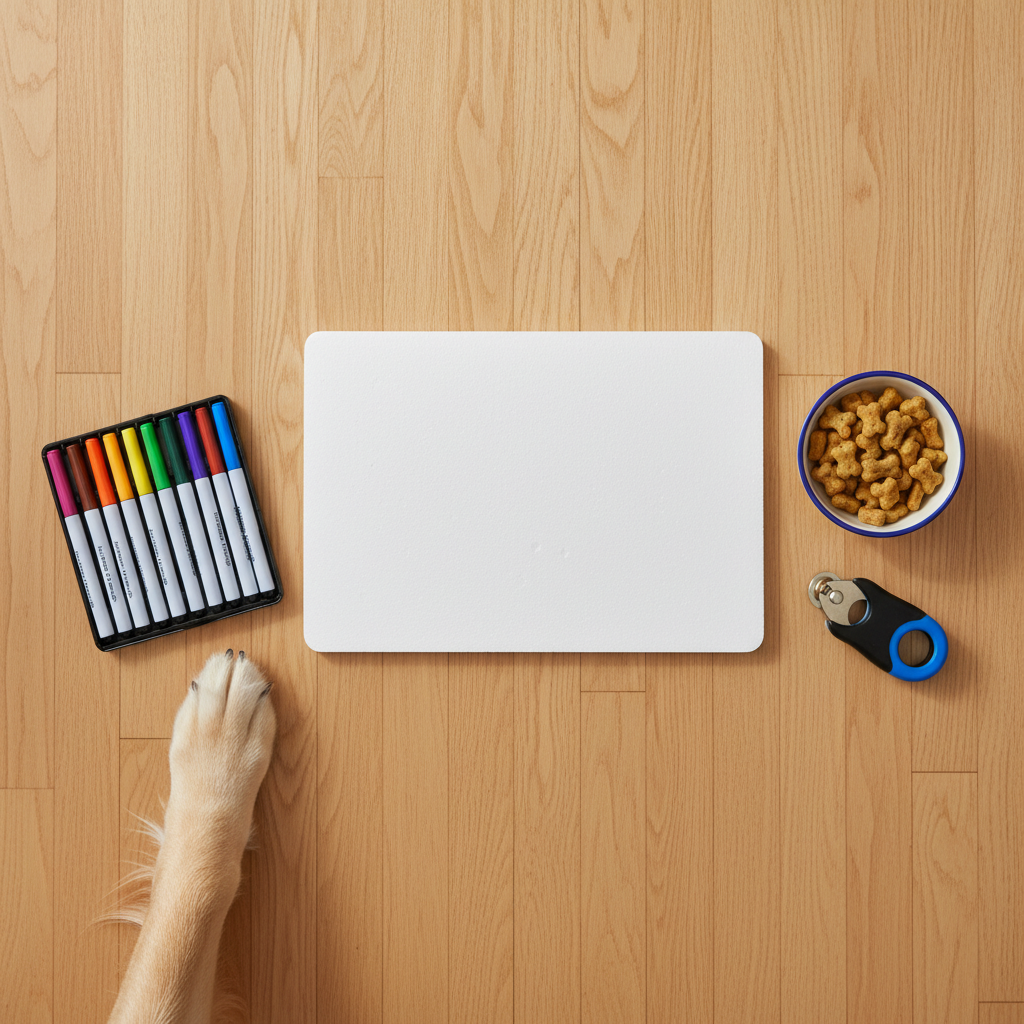
Before you jump into training, let’s get all your supplies in order. Having everything ready will make your sessions smoother and more successful. Think of it as setting the stage for your dog’s big debut!
What You’ll Need:
- A Lightweight Sign: This is key! You don’t want something heavy or awkward for your dog to hold. Start with a piece of sturdy cardboard, a small foam board, or even a thick piece of cardstock. You can always upgrade later, but for training, light and simple is best.
- Dog-Safe Markers: Make sure any markers or paints you use to decorate your sign are non-toxic. While the goal is for your dog to hold it, not chew it, it’s always better to be safe.
- High-Value Treats: We’re talking about the good stuff! Regular kibble might not cut it for learning a new, complex skill. Think small pieces of cooked chicken, cheese, dog-safe peanut butter, or their absolute favorite store-bought treats. The yummier the reward, the more motivated your pup will be.
- A Clicker (Optional but Recommended): A clicker is a fantastic tool for marking the exact moment your dog does something right. This precision helps your dog understand precisely what behavior earned them a treat, speeding up the learning process. If you don’t have a clicker, you can use a consistent marker word like ‘Yes!’ said in an upbeat tone.
- A Positive Attitude and Patience: This is the most important tool in your kit! Every dog learns at a different pace. There will be moments of amazing progress and times when you feel stuck. Stay positive, keep it fun, and celebrate the small wins along the way. Your dog feeds off your energy!
Expert Tip: When making your sign, consider attaching a small, lightweight dowel or a rolled-up piece of cardboard to the back. This can give your dog a more defined and comfortable place to grip, rather than the flat, awkward edge of the board.
Step-by-Step: From ‘Touch’ to ‘Tada!’
Alright, you’ve got your props and your treats are ready to go. Now for the fun part! We’re going to break this trick down into tiny, manageable steps. Remember to keep your training sessions short—about 5-10 minutes once or twice a day is perfect to keep your dog engaged and eager to learn.
Step 1: Introduce the Sign (The ‘Touch’ Game)
The first goal is to make the sign the most exciting object in the room. We want your dog to think, ‘Oh, that thing! Good stuff happens when that’s around.’ Start by simply placing the sign on the floor. The second your dog shows any interest in it—sniffing it, looking at it, nudging it with their nose—click (or say ‘Yes!’) and give them a treat. Repeat this over and over. You are building a positive association. Once they are consistently nudging it, you can add a verbal cue like ‘Touch’.
Step 2: Shaping the ‘Take It’ Cue
Now, we want to transition from nose-boops to mouth-action. Hold the sign out to your dog, about level with their mouth. At first, they’ll likely try to touch it with their nose, as that’s what you’ve been rewarding. That’s okay! But this time, wait for any mouth-oriented interaction. If they accidentally bump it with their teeth, lick it, or gently mouth it—click and treat! You’re looking for any little sign they’re willing to put their mouth on the object. Gradually, you’ll only reward them when they actually open their mouth and gently grab the edge of the sign. Once they are reliably grabbing it, you can add the cue ‘Take It’.
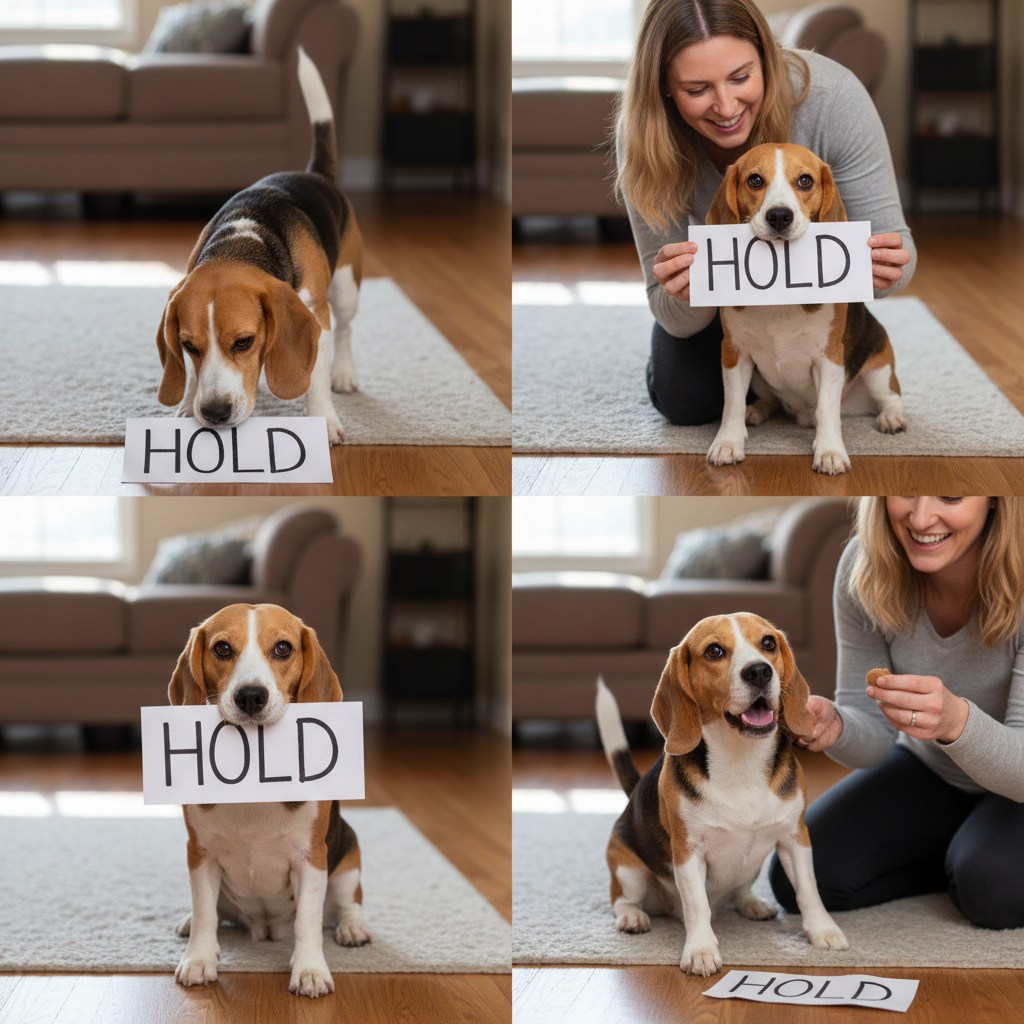
Step 3: Building the ‘Hold’
This is where patience really comes into play. Once your dog is taking the sign, they will likely drop it immediately to get their treat. Your job is to slowly build duration. After they ‘Take It’, wait just a split second before you click and treat. The next time, wait a full second. Then two seconds. You are looking for tiny increments of success. If your dog holds it for three seconds and then you try for five and they drop it, you’ve gone too fast. Go back to rewarding a three-second hold and work your way up more slowly. This is the most crucial part of the trick, so take your time! Once they can hold it for a few seconds reliably, you can add the cue ‘Hold’.
Step 4: Adding the ‘Drop It’ Cue
A reliable release is just as important as a good hold! You need a way to tell your dog the job is done. To teach ‘Drop It’, offer your dog a super high-value treat right near their nose. To take the treat, they will have to drop the sign. The moment they do, say ‘Drop It’ and give them the delicious reward. After a few repetitions, they’ll start to associate the word with the action of releasing the object.
Step 5: Putting It All Together
Now you have all the pieces of the puzzle! Practice the full sequence: ask your dog to ‘Take It’, then say ‘Hold’ while they keep it in their mouth for a few seconds, and finally, cue them to ‘Drop It’. Start with short holds and gradually increase the time as they get more confident. Practice in different rooms of the house to help them generalize the behavior. You’re almost ready for your close-up!
Troubleshooting Tangles: When Your Pup Says ‘Nope!’
Training is never a straight line, and it’s totally normal to hit a few bumps in the road. Don’t get discouraged! Here are some common challenges and how to work through them with a smile.
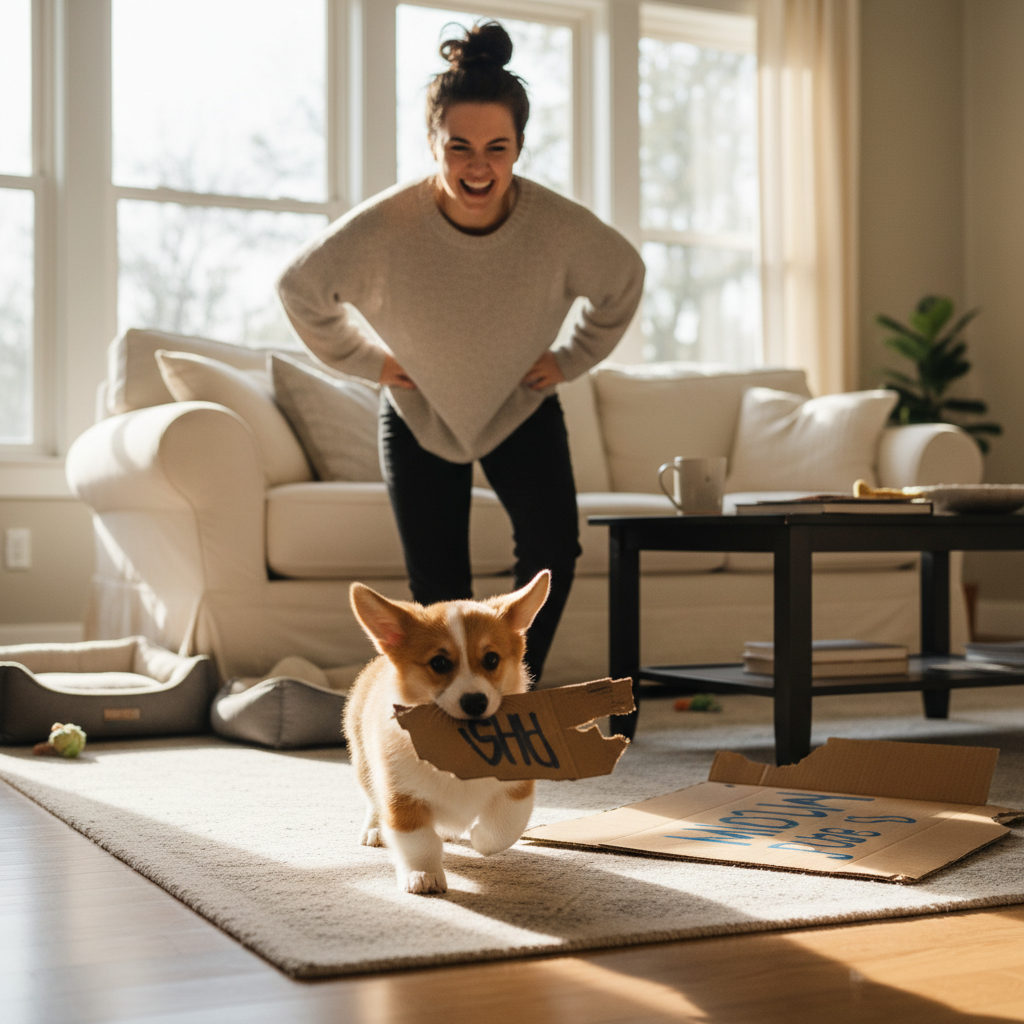
Problem: My dog just wants to chew the sign to pieces!
Solution: This is super common, especially with puppies or mouthy breeds! It usually means the dog is a bit over-excited. First, make sure your training sessions aren’t too long. End before they get frantic. You can also work on a ‘gentle’ mouth cue with other items, like toys, rewarding soft grips over hard chomps. If the sign itself is too tempting, try using a less ‘chewable’ starter object, like a plastic ruler or a small wooden dowel, to teach the ‘hold’ concept before reintroducing the sign.
Problem: My dog drops the sign immediately.
Solution: This almost always means you’re asking for too much, too soon. Go back a step! Go back to rewarding just a split-second touch of the mouth to the sign. The goal is to build their confidence. Make it SO easy for them to succeed that they can’t help but win. Also, double-check the sign’s weight and shape. Is it too heavy or awkward? A lighter sign might solve the problem instantly.
Problem: My dog seems scared of or uninterested in the sign.
Solution: We need to change your dog’s emotional response to the sign. Put it on the floor and just drop super high-value treats all around it and on top of it, without asking your dog to do anything. Let them discover that the sign predicts amazing snacks. Do this for a few days until you see their tail start to wag when you bring the sign out. Then, you can restart the ‘Touch’ game from Step 1.
Problem: They can do it at home, but not when the camera comes out!
Solution: Ah, performance anxiety! The camera, new people, or a new location can all be distracting. The key is to practice in different environments. Start in a quiet room, then move to the living room with the TV on, then the backyard. Have a friend come over and just be present while you train. Slowly introduce the camera, letting your dog sniff it first. Take ‘practice’ pictures without the pressure of getting the perfect shot. By gradually increasing the distractions, your dog will learn to focus on you no matter what’s going on.
Picture-Perfect Poses: Ideas for Your Big Reveal
You’ve done the hard work, and now it’s time to get creative and plan your big announcement! This trick is incredibly versatile, so let your imagination run wild. Here are a few ideas to get you started, plus some photography tips to capture that perfect shot.
Announcement Ideas:
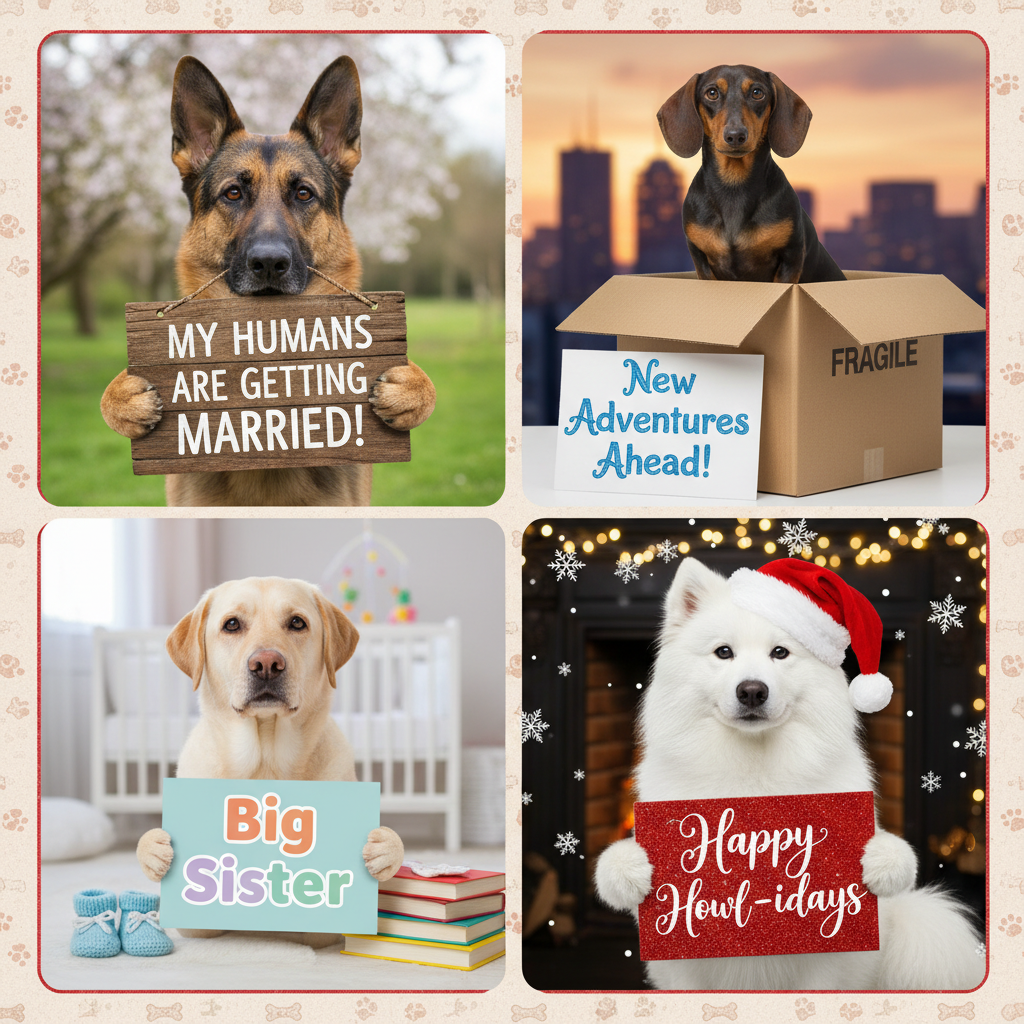
- Engagements & Weddings: Classic and adorable. Signs like “My Humans Are Getting Married!”, “She Said Yes!”, or “Wedding Security” are always a hit. Pose with your pup between you and your partner.
- Pregnancy & Baby News: This is where the cuteness factor goes through the roof. Try signs that say “Official Toy Tester,” “I’m Getting a Human,” or “Big Brother/Sister Duties Begin [Due Date].” Including props like baby shoes or an ultrasound picture adds a special touch.
- Moving Announcements: Let your friends and family know about your new adventure. A sign saying “New Leash on Life in [City/State]” or “My Humans Bought Me a New Yard!” is a fun way to share the news.
- Holidays & Birthdays: Don’t forget seasonal fun! Use this trick for digital holiday cards with signs like “Santa’s Naughtiest Elf” or for birthday posts with “It’s My Barkday!”
Tips for a Great Photoshoot:
| Photography Tip | Why It Matters |
|---|---|
| Use Natural Light | Find a spot near a large window or head outside during the ‘golden hour’ (early morning or late afternoon). Natural light creates soft, beautiful photos and avoids harsh shadows or scary camera flashes. |
| Get on Their Level | Don’t shoot from above! Crouch or lie down on the floor to get a photo from your dog’s perspective. This makes the shot more intimate and engaging. |
| Use Burst Mode | Dogs are wiggly! Use your camera or phone’s burst mode to take a quick succession of photos. This dramatically increases your chances of capturing that one perfect moment where their eyes are open, the sign is straight, and their tail is wagging. |
| Have a Helper | An extra set of hands is a lifesaver. One person can be the photographer while the other handles the dog, gives cues, and holds squeaky toys near the camera lens to get that perfect head-tilt. |
Conclusion
Congratulations, you’ve made it! You now have all the tools and knowledge to teach your dog one of the most heartwarming tricks around. Remember that the journey of training your dog to hold a sign is just as important as the final photo. Every short training session, every little success, and even every silly mistake is a chance to connect and strengthen the incredible bond you share.
Be patient with your pup and with yourself. Celebrate progress, not perfection. Above all, keep it fun! The joy and pride you’ll feel when your dog confidently holds that sign for the first time is a reward in itself. Now go out there, get training, and get ready to create some truly unforgettable announcements with your four-legged family member. We can’t wait to see what you come up with!