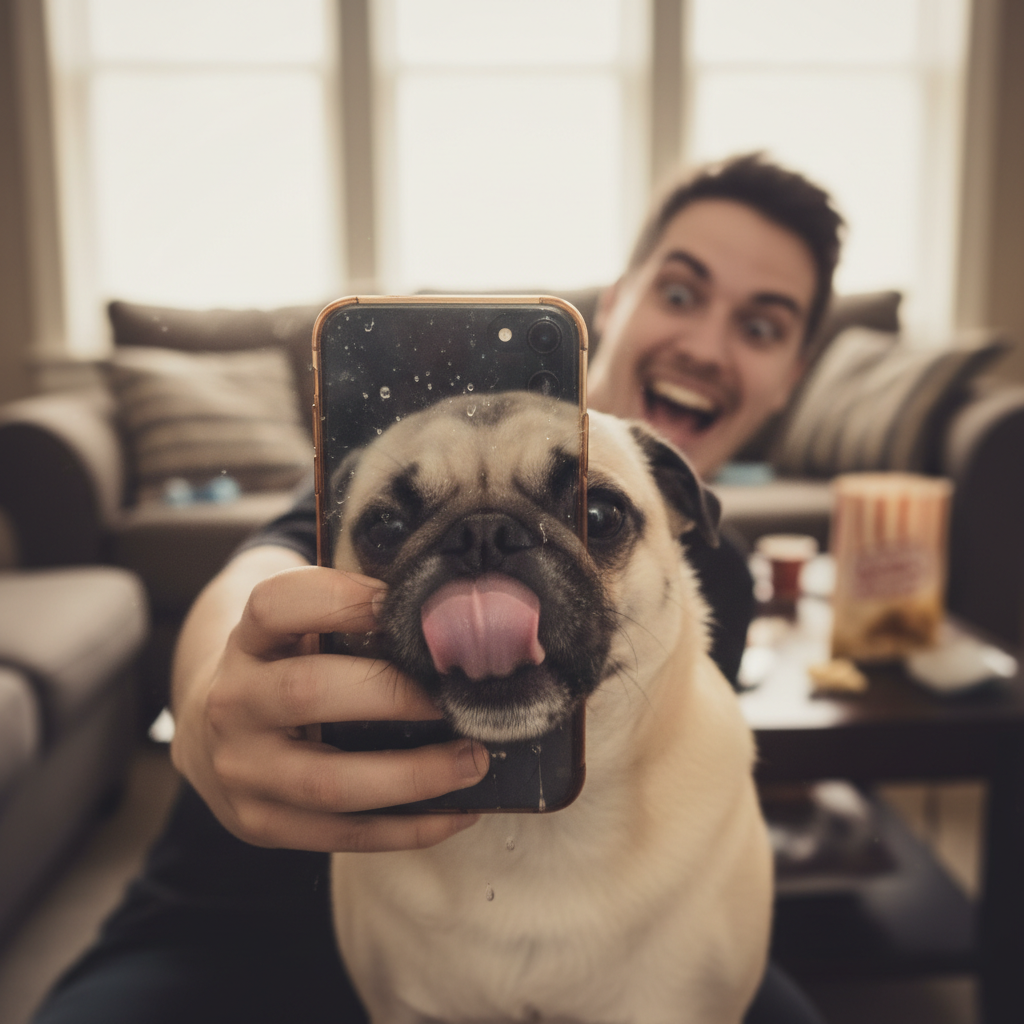
We’ve all been there. You see your dog doing something absolutely adorable—snoozing in a sunbeam, tilting their head with curiosity, or flashing that heart-melting smile. You whip out your phone, ready to capture the moment forever, and… you get a blurry photo of their tail as they dash away. Or maybe you get the side of their head, the ceiling, or a shot of them intently sniffing a dust bunny. Getting that perfect, soulful photo where your dog is looking right at you (and the camera) can feel like winning the lottery.
But what if I told you it’s not about luck? It’s about communication. You can actually train your dog to be the perfect photography model. It just takes a little patience, a handful of tasty treats, and the right techniques. Forget chasing them around the house or making bizarre noises to get a split-second of eye contact. We’re going to teach them a fun new game that results in gorgeous photos you’ll cherish for a lifetime.
In this guide, we’ll walk you through everything you need to know, from the basic ‘Watch Me’ cue to transferring that focus to the camera lens. Get ready to fill your camera roll with focused, fabulous photos of your four-legged superstar!
Getting Started: Your Photography Training Toolkit
Getting Started: Your Photography Training Toolkit
Before we dive into the training, let’s gather our supplies. Having everything ready will make your training sessions smooth, fun, and effective. Think of this as setting up your photography studio and your dog’s classroom all in one! You don’t need fancy, expensive equipment; most of what you need is probably already in your home.
What You’ll Need:
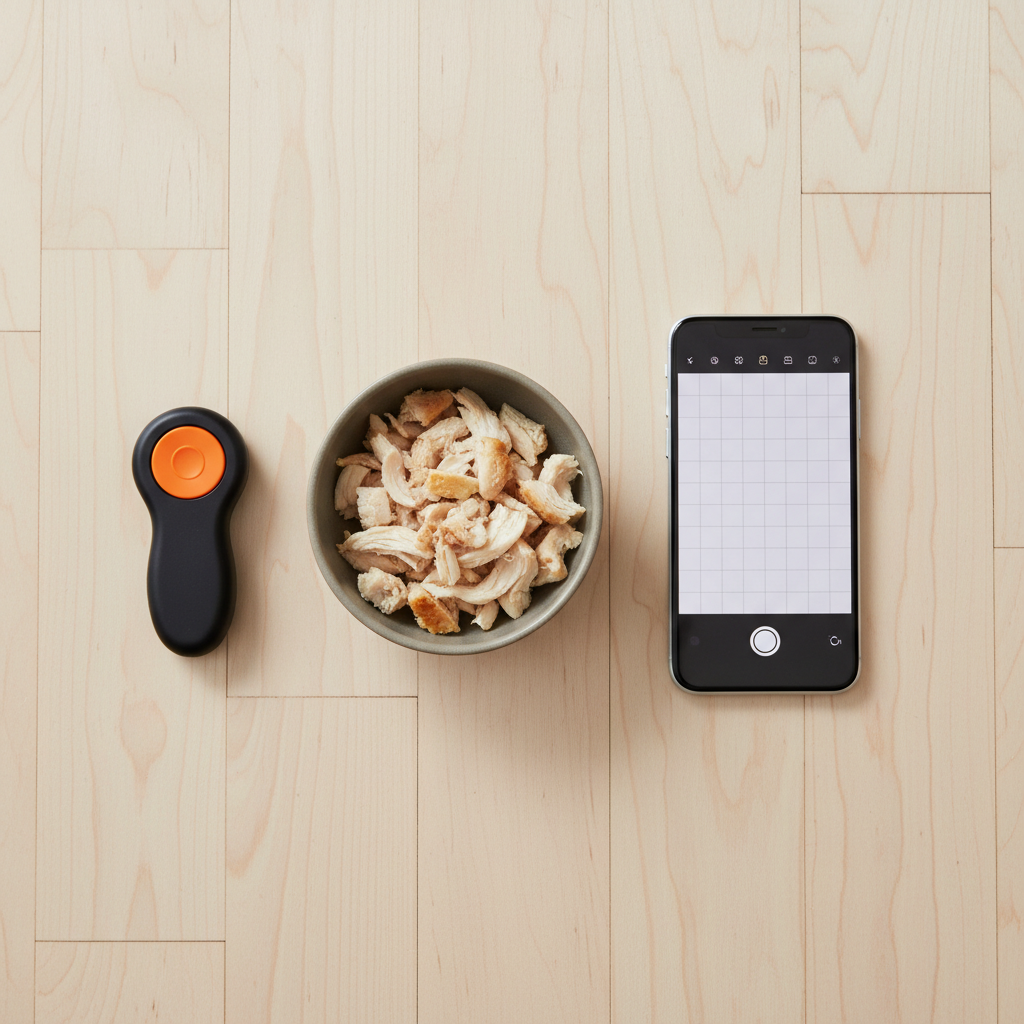
- High-Value Treats: This is the most important tool! We’re not talking about their regular kibble. High-value treats are extra special, super tasty morsels that your dog absolutely loves and doesn’t get all the time. Think small pieces of cooked chicken, cheese, hot dogs, or smelly training treats. The goal is to have something so motivating that your dog will be eager to focus and learn. Cut them into tiny, pea-sized pieces so you can do lots of repetitions without filling your dog up too quickly.
- A Clicker (Optional but Recommended): A clicker is a fantastic tool for marking the exact moment your dog does the right thing. The ‘click’ acts as a precise signal that means, ‘Yes! That’s what I want! A treat is coming.’ If you’ve never used a clicker, don’t worry! We’ll touch on how to ‘charge’ it. If you prefer not to use one, a consistent verbal marker like a sharp “Yes!” or “Good!” works too.
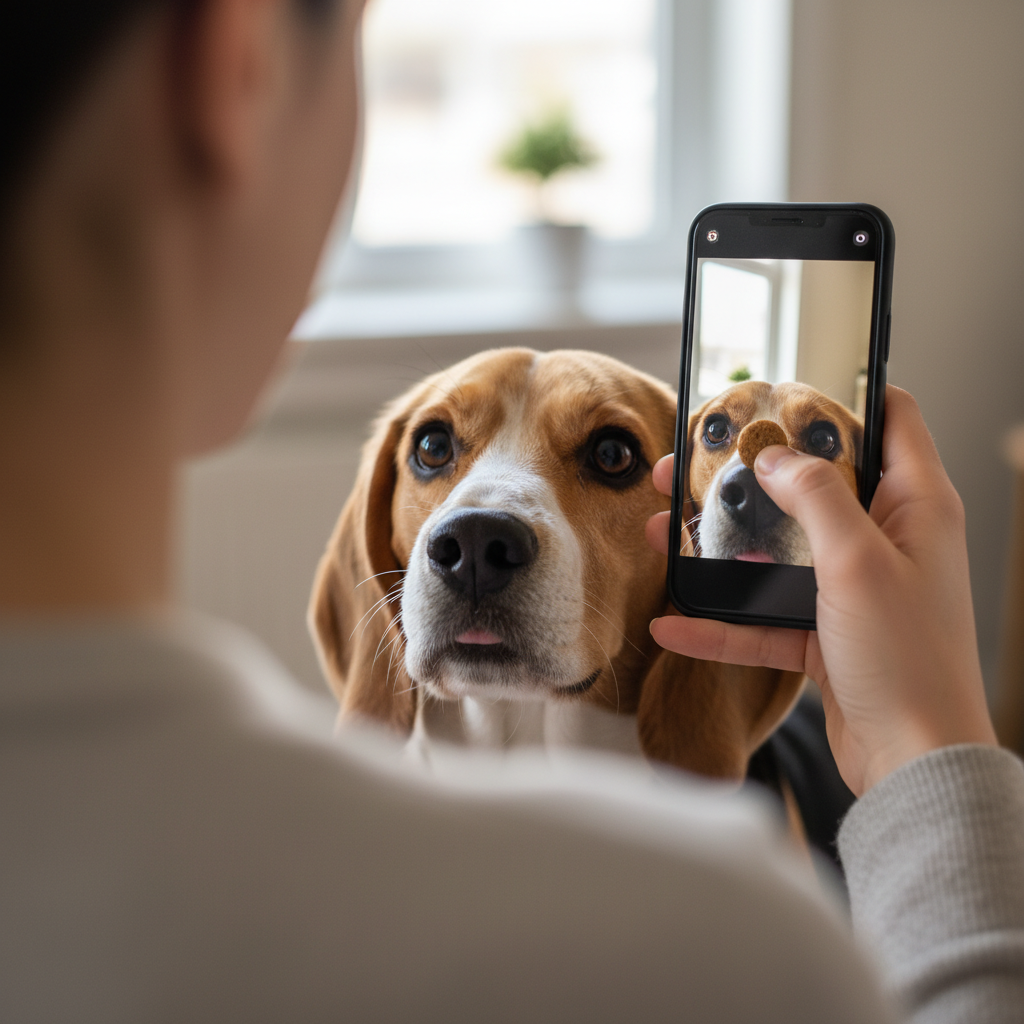
- Your Camera or Smartphone: You’ll be using your actual camera or phone during the training process, so have it handy. It’s important for your dog to get used to the device being part of the game.
- A Quiet, Distraction-Free Space: Start your training sessions in a calm environment where your dog can focus on you. A quiet room in your house is perfect. As your dog gets better, you can gradually introduce more distractions and practice in different locations, like your backyard or a quiet park.
Expert Tip: Keep your training sessions short and sweet! Dogs, especially puppies, have short attention spans. Aim for several 5-10 minute sessions throughout the day rather than one long, grueling 30-minute session. Always end on a positive note when your dog has successfully performed the behavior. This keeps them excited and eager for the next session.
The Foundation: Teaching the ‘Watch Me’ Cue
The Foundation: Teaching the ‘Watch Me’ Cue
Before we can ask our dog to look at a tiny camera lens, we first need to teach them to look at our face on command. This foundational skill is often called ‘Watch Me’ or ‘Look.’ It’s incredibly useful not just for photos, but for getting your dog’s attention in distracting situations. We’ll use a method called ‘luring’ to get started.
Step 1: Charging the Clicker (or Marker Word)
If you’re using a clicker, you first need to teach your dog what it means. It’s simple! Sit with your dog in a quiet area. Click the clicker, and immediately give your dog a treat. Repeat this 10-15 times. Click, treat. Click, treat. You’re not asking for any behavior yet. You’re just creating an association: the sound of the click means a yummy treat is coming. You’ll know it’s working when your dog’s ears perk up at the sound of the click in anticipation of the treat. If using a verbal marker, do the same thing: say “Yes!” and immediately treat.
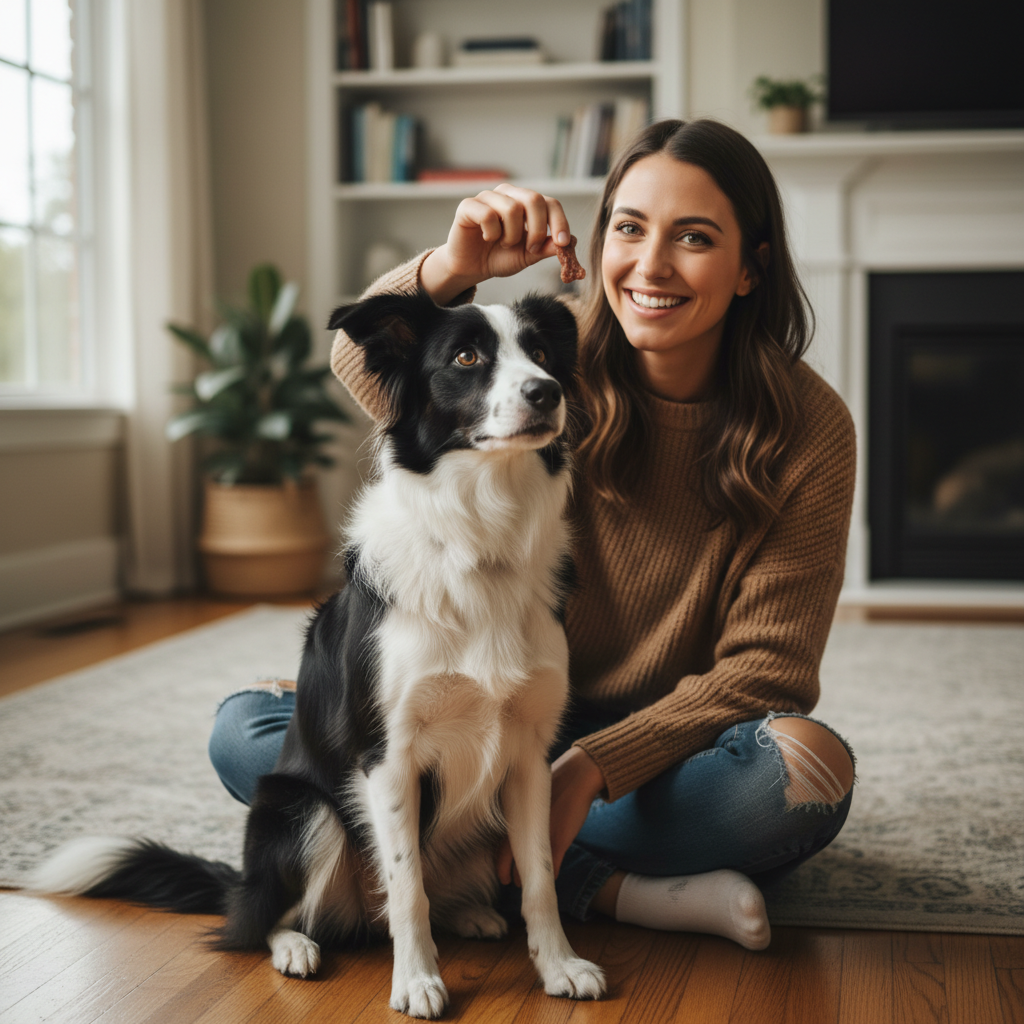
Step 2: Luring Your Dog’s Gaze
- Hold a high-value treat in your hand and show it to your dog. Let them sniff it so they know you have something good.
- Slowly bring the treat from your dog’s nose up to your own face, right between your eyes. Your dog’s eyes should follow the treat.
- The very instant your dog’s eyes meet yours, click (or say “Yes!”) and give them the treat from that same hand.
- Repeat this process several times. Treat to nose, lure up to your eyes, click/mark the eye contact, and reward.
Step 3: Fading the Lure and Adding the Cue
Once your dog is reliably following the treat to your eyes, it’s time to start fading the lure.
- Go through the same motion of bringing your hand from their nose to your eyes, but this time, your hand is empty. When they make eye contact, click/mark, and then give them a treat from your other hand. This teaches them that the reward doesn’t come from the luring hand.
- After a few successful repetitions, you can start making the hand signal smaller. Instead of a big motion, just bring your finger from their nose to your eyes.
- Now, you can add the verbal cue. Just as your dog is about to make eye contact, say your cue, such as “Watch Me.” When they do, click/mark and reward enthusiastically.
- Practice this until your dog responds to the verbal cue “Watch Me” without needing a hand signal at all.
Remember Patience is Key: Every dog learns at a different pace. If your dog is struggling, take a step back. Maybe the treats aren’t motivating enough, or the sessions are too long. Stay positive and celebrate the small wins!
Step-by-Step: Transferring the ‘Watch Me’ Cue to the Camera
Step-by-Step: Transferring the ‘Watch Me’ Cue to the Camera
Okay, your dog is now a ‘Watch Me’ champion! They look at you lovingly on command. Now for the magic trick: transferring that focus from your beautiful face to the cold, unblinking eye of the camera lens. This is where all our foundational work pays off.
Step 1: Introduce the Camera as a Friend
Some dogs can be nervous about a new object, especially one that you’re pointing at them. We need to create a positive association with the camera. Simply have your phone or camera sitting on the floor near you during a training session. Occasionally, give your dog a treat for sniffing or calmly acknowledging the camera. We want the camera to predict good things (treats!). Don’t point it at them yet; just let it be part of the environment.
Step 2: Lure to the Lens
This is very similar to how we taught ‘Watch Me’.
- Hold your phone or camera in one hand and a high-value treat in the same hand, holding the treat right on top of or next to the camera lens.
- Hold the camera up as if you’re about to take a picture. Say your cue, “Watch Me!” (or your chosen cue).
- Naturally, your dog will look towards the treat, which means they’ll be looking directly at the lens. The moment they do, click/mark and give them the treat.
- Repeat this multiple times. We want your dog to think, “Oh, when I look at this little black circle, I get the best snacks!”
Step 3: Fading the Treat Lure (Again)
Just like before, we don’t want to have to hold a treat by the lens forever. It’s time to fade the lure.
- Hold the camera up, but this time, just point to the lens with your finger (the one that used to hold the treat).
- Give your cue, “Watch Me!” When your dog looks at the lens, click/mark, and then reward them with a treat from your other hand.
- Practice until your dog is confidently looking at the lens with just a point.
Step 4: Removing the Hand Signal
The final step is to remove your pointing finger altogether.
- Hold the camera up in a natural photo-taking position.
- Give your cue, “Watch Me!”
- Your dog might be a little confused at first. Be patient. If they even glance at the camera, click and reward! We are shaping the behavior. Gradually, only reward when they look directly at the lens.
- Congratulations! You’ve now taught your dog to look at the camera on command. Now all that’s left is to start snapping pictures while they do it!
Advanced Techniques for Picture-Perfect Poses
Advanced Techniques for Picture-Perfect Poses
Your dog looks at the camera on command—amazing! But how do you keep them engaged? How do you get that adorable head tilt or capture a longer, more thoughtful pose? Let’s level up your pet photography skills with some pro tips.
Building Duration: The ‘Stay Watching’ Game
Right now, your dog might just glance at the lens. To get a longer gaze, we need to build duration. Instead of clicking the instant they look, wait a single second before you click and treat. Once they can hold their gaze for one second, try for two. Slowly and gradually increase the time. If they look away, you’ve gone too fast; just go back to a shorter duration they can succeed at. This teaches them to hold the pose until they hear the click.
The Element of Surprise: Using Novel Noises
Dogs are naturally curious about strange sounds. A new noise can often produce that priceless, inquisitive head tilt. You can buy special squeakers, or just get creative! Try a crinkly water bottle, a whistle, or making a unique sound with your mouth (like a soft squeak or a tongue click). Use these sparingly, right before you take the shot. If you overuse a sound, it will lose its novelty and its power.
Pro Tip: There are even apps for your phone that produce a variety of sounds (like a cat’s meow or a doorbell) designed specifically for getting a pet’s attention for photos.
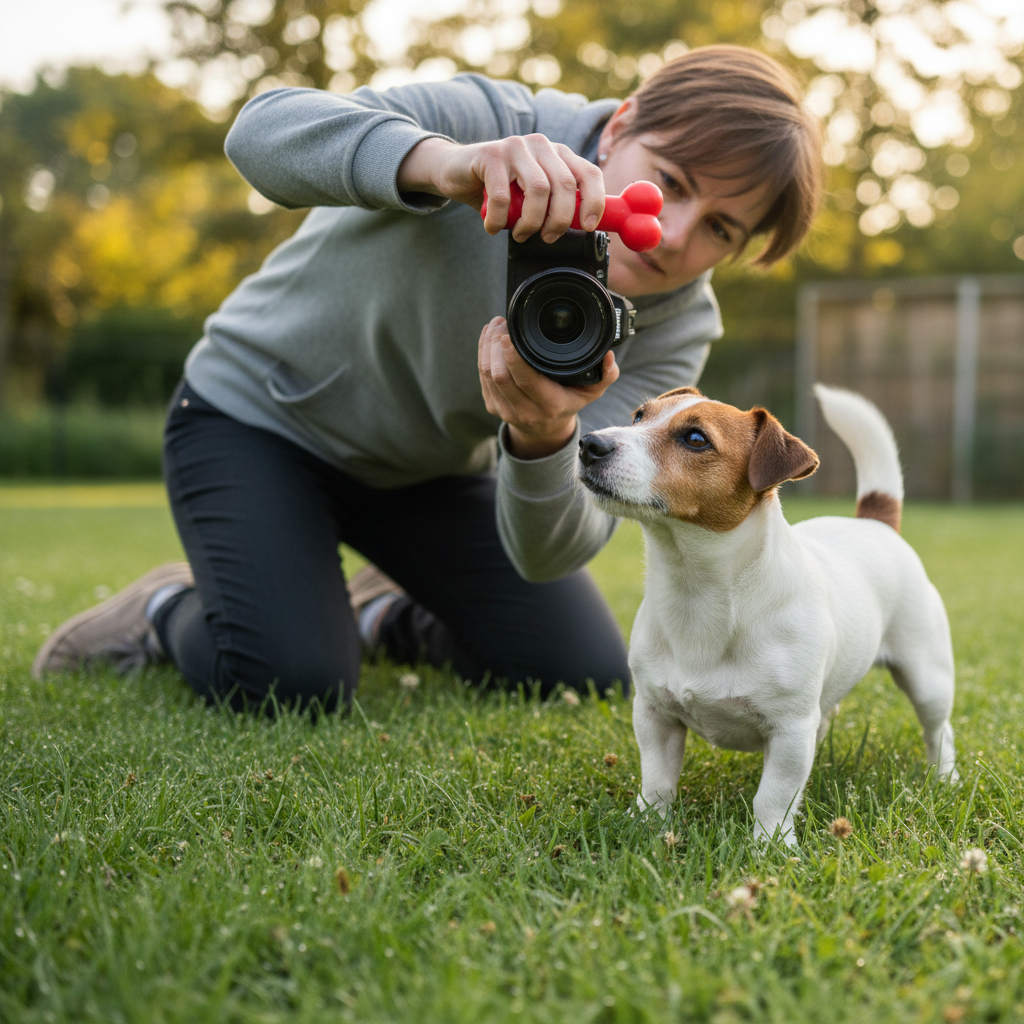
Incorporating Toys and Props
Does your dog have an absolute favorite toy? You can use it just like you used the treat! Hold their favorite squeaky ball or plushie right above the lens. Say your cue, and when they look, snap the picture and then reward them with a fun game of fetch or tug with that very toy. This is a great option for dogs who are more motivated by play than by food.
Changing Your Perspective
The best dog photos are often taken from their level. Instead of towering over them, get down on the floor. Lie on your belly! This creates a much more intimate and engaging portrait. When you’re on their level, your face is closer to the camera, which can also make it easier for them to generalize the ‘Watch Me’ cue you’ve been practicing.
Troubleshooting Common Photo Fails
Troubleshooting Common Photo Fails
Even with the best training plan, you might run into a few hiccups. Don’t get discouraged! Photography with a living, breathing, thinking animal is always an adventure. Here are some common problems and how to solve them.
Problem: My dog is too excited and just tries to lick the camera/phone!
Solution: This is a common issue with food-motivated pups! It means they’re a little too close to the action. First, make sure you’re rewarding with your other hand, not the one holding the camera. This teaches them the treat doesn’t come directly from the lens. Second, practice impulse control. Ask for a ‘Sit’ or ‘Down’ before you even lift the camera. If they lunge, lower the camera, ask them to reset, and try again. The photo session only continues when they are calm.
Problem: My dog seems scared of the camera or the shutter sound.
Solution: This requires desensitization and counter-conditioning. Go back to Step 1 of transferring the cue. Leave the camera on the floor and just treat your dog for being near it. Then, pick it up but don’t point it at them, and treat. Gradually work up to pointing it at them for a split second, then treat. For shutter sounds, many phones allow you to turn them off. If using a DSLR, you can muffle the sound or use a ‘quiet shutter’ mode if available. You can also play shutter sounds quietly on your phone while giving your dog treats to build a positive association.
Problem: My dog gets bored quickly and walks away.
Solution: This is a clear sign your training sessions are too long or your rewards aren’t valuable enough. Cut your session time in half—aim for just 2-3 minutes. Also, up the ante on your treats! If you were using regular training treats, try tiny bits of freeze-dried liver or cheese. End the session before they get bored, so you always leave them wanting more. Make it the most fun and rewarding game they play all day!
Here’s a quick reference table for these common issues:
| Common Problem | Primary Cause | Quick Solution |
|---|---|---|
| Dog lunges at/licks the camera | Over-excitement; expecting treat from camera hand | Reward from the opposite hand; practice ‘Sit’ or ‘Stay’ first. |
| Dog is fearful of the camera | Negative association or fear of the unknown object | Desensitize slowly; pair the camera’s presence with high-value treats without taking pictures. |
| Dog loses interest quickly | Session is too long or rewards aren’t motivating | Keep sessions under 5 minutes; use higher-value treats and end on a high note. |
| Dog looks at my hand, not the lens | Lure has not been fully faded | Go back to pointing at the lens without a treat, then rewarding from the other hand. |
Conclusion
You did it! You now have all the tools and techniques to transform your chaotic photo sessions into fun, productive training games. Remember, the goal isn’t just to get a great photo; it’s also about strengthening the bond with your dog through positive, engaging activities. The ‘Watch Me’ cue you’ve perfected will serve you well in many other aspects of your life together.
So, grab your camera, a pocketful of your dog’s favorite treats, and start practicing. Be patient, stay positive, and celebrate every little success. Don’t be afraid to be silly and have fun with it! Before you know it, your camera roll will be filled with stunning, soulful portraits of your best friend, all looking right at the lens, ready for their close-up. Happy snapping!