Hey there, fellow dog lovers! Have you ever watched a formal obedience competition and marveled at the dog’s precise, elegant retrieve? That perfect, quiet hold on the dumbbell isn’t just a neat trick; it’s a foundational skill for several exercises in sports like AKC and UKC obedience. You might look at that flawless performance and think, ‘My goofy furball could never do that!’ But I’m here to tell you they absolutely can. Teaching the formal hold is a journey of patience, communication, and fun. It’s about building a skill piece by piece, using positive reinforcement to create a dog that loves their dumbbell work. In this guide, we’re going to break down the entire process, from choosing the right equipment to troubleshooting those inevitable training hiccups. So grab your treats, get your game face on, and let’s teach your dog the perfect hold together!
Gearing Up for Success: Your Dumbbell Training Toolkit
Gearing Up for Success: Your Dumbbell Training Toolkit
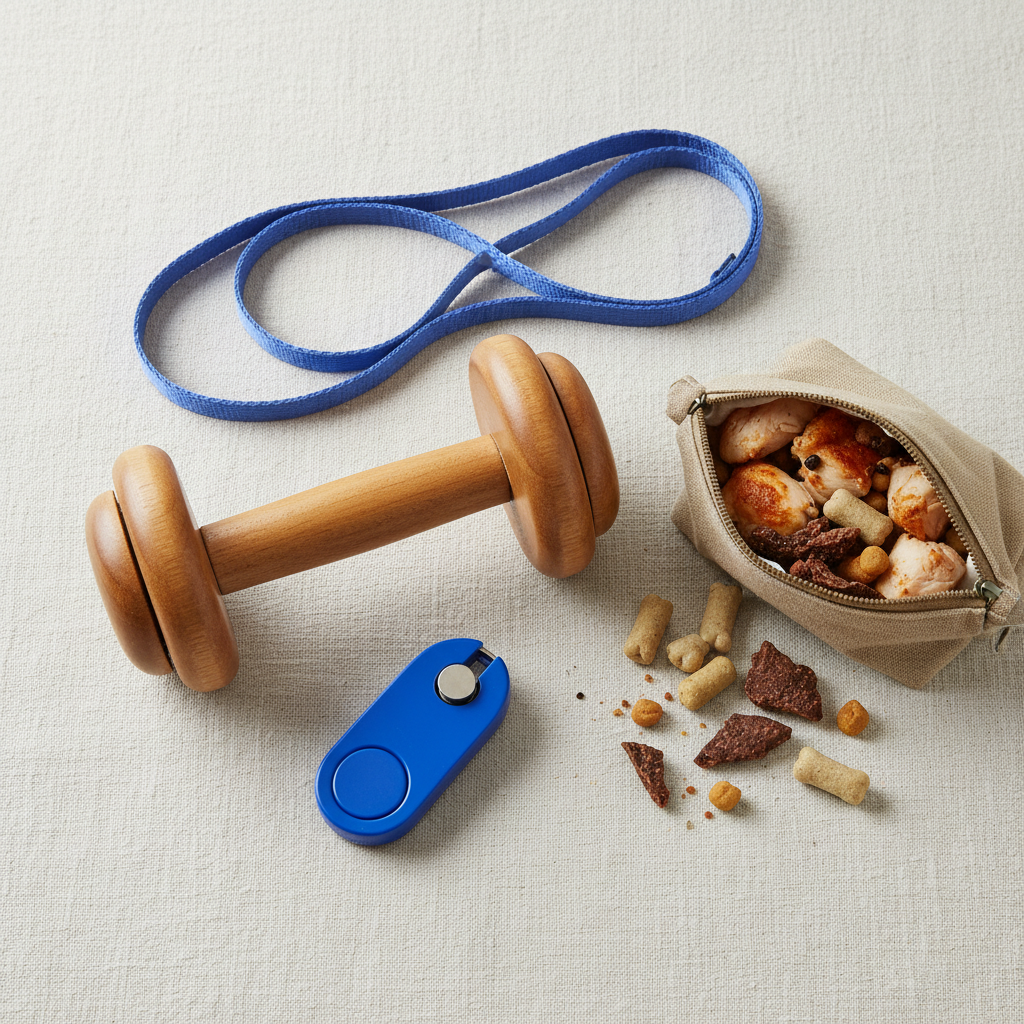
Before we jump into the ‘how-to,’ let’s talk about the ‘what-with.’ Having the right tools on hand makes the training process smoother and more effective for both you and your canine partner. Think of it as setting the stage for a blockbuster performance! You don’t need a truckload of fancy gadgets, just a few key items.
Choosing the Right Dumbbell
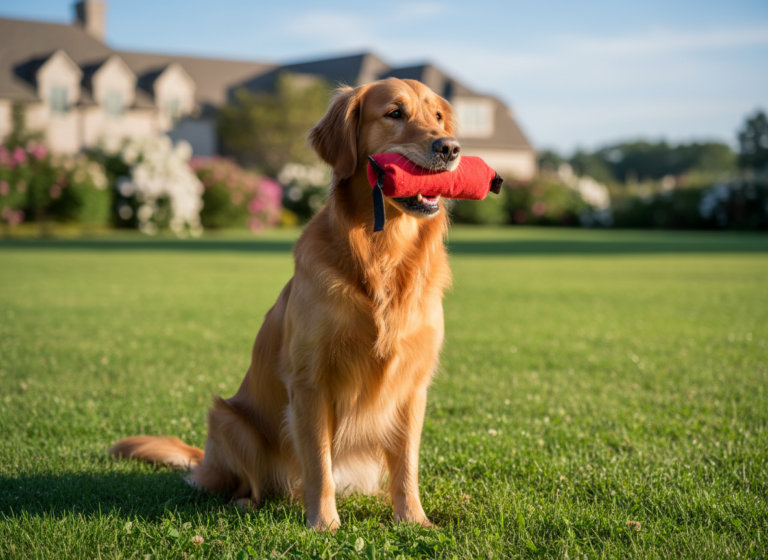
This is your most important piece of equipment. A formal obedience dumbbell isn’t the same as a chew toy. It’s typically made of wood or a durable synthetic material with a central bar (the ‘bit’) and two bells on the end. The key is proper sizing.
- The Bit: The bar your dog holds should be thick enough that they can get a good, comfortable grip, but not so thick that they have to strain their jaw.
- The Bells: The ends of the dumbbell should be large enough that they don’t poke your dog in the face, but not so big that they obstruct their vision. When your dog is holding it, their lips shouldn’t be squished uncomfortably against the bells.
- The Weight: For training, start with a light dumbbell. You can always move to a heavier, regulation-weight one later. The initial goal is learning the behavior, not building muscle.
Many online retailers specializing in dog competition gear offer sizing guides. When in doubt, it’s often better to go slightly larger than too small, as a tiny dumbbell can encourage chewing.
Other Essential Supplies
- High-Value Treats: We’re talking top-tier, five-star restaurant quality from your dog’s perspective. Think tiny pieces of cheese, boiled chicken, freeze-dried liver, or hot dogs. Kibble probably won’t cut it here. The reward needs to be exciting enough to make your dog eager to work for it.
- Clicker (Optional but Recommended): A clicker is a fantastic tool for marking the exact moment your dog does something right. That precise ‘click’ followed by a treat tells your dog, ‘YES! That’s the behavior I wanted!’ It helps build clarity and speed up the learning process. If you’re not using a clicker, you’ll need a consistent verbal marker, like a sharp ‘Yes!’.
- A Positive Attitude: This is non-negotiable! Your dog feeds off your energy. Training sessions should be short, upbeat, and fun. If you get frustrated, your dog will too. It’s better to end a session on a high note after just a few minutes than to drill for half an hour and end in frustration.
Phase 1: Making the Dumbbell the Best Thing Ever
Phase 1: Making the Dumbbell the Best Thing Ever
Okay, you’ve got your gear. Now, what’s the first step? It’s not shoving the dumbbell in your dog’s mouth! Our initial goal is to build a powerful, positive association with this strange wooden object. We want your dog to see the dumbbell and think, ‘Oh boy, my favorite game is about to start!’ This phase is all about shaping and rewarding curiosity, with zero pressure.
Step-by-Step Positive Association
- Introduce the Object: Sit on the floor with your dog in a quiet space. Place the dumbbell on the floor between you. Don’t say anything or point to it. Just let it be there.
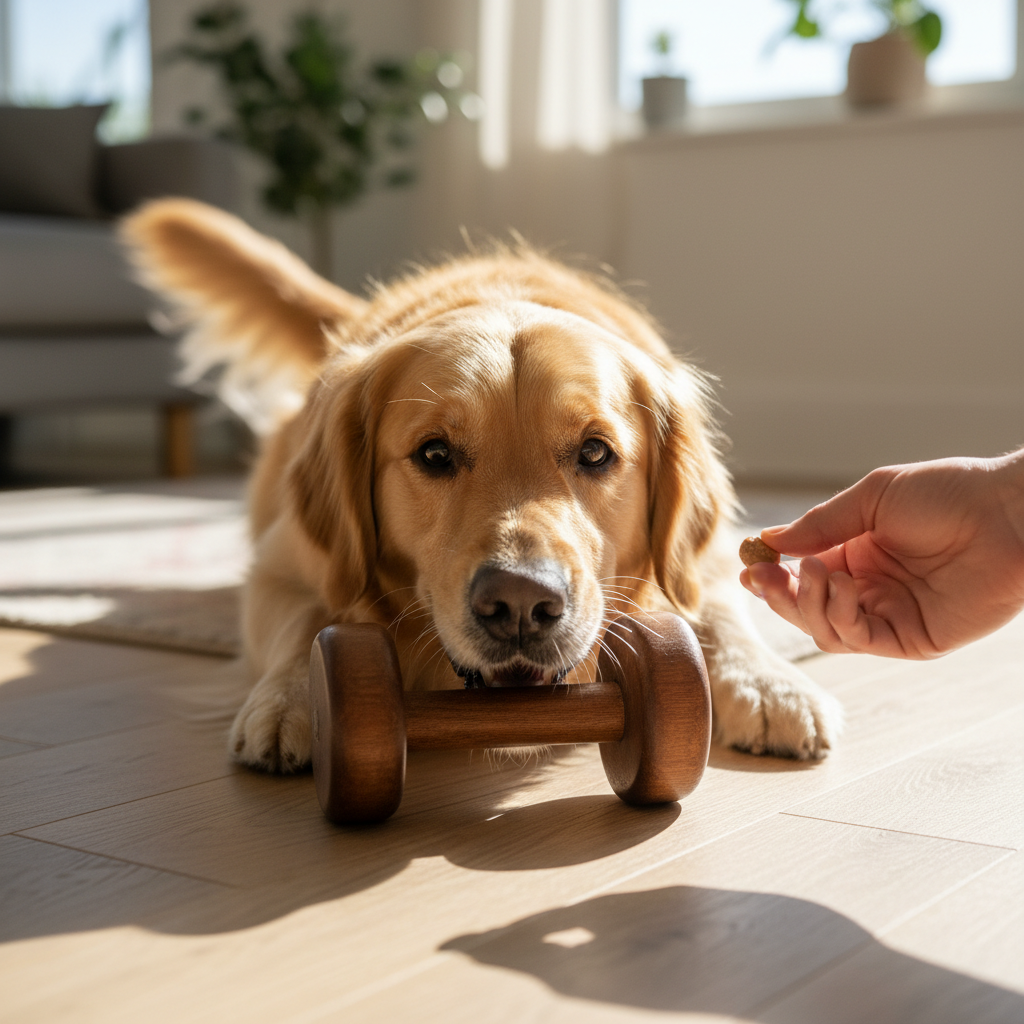
- Mark Any Interaction: The moment your dog shows any interest in the dumbbell—a sniff, a nose touch, even a glance—CLICK (or say ‘Yes!’) and give a treat. Toss the treat a short distance away so your dog has to get up, eat it, and then ‘reset’ by coming back to you and the dumbbell. This creates a loop of interaction.
- Shape Towards the Mouth: As your dog gets better at touching the dumbbell with their nose, we’ll start to hold out for a little more. Wait for them to open their mouth slightly near the dumbbell. It might be an accidental lip curl or a tiny nibble attempt. The second you see that mouth movement near the bit, CLICK and treat!
- Rewarding Mouth Touches: Continue this process, rewarding only when their open mouth makes contact with the bit of the dumbbell. We’re not asking for a hold yet, just a touch. This is the foundation of the grip. Keep sessions super short—maybe 1-2 minutes at a time, a few times a day.
Expert Tip: Avoid letting your dog paw at or play with the dumbbell like a toy. We want to build a specific context for this piece of equipment. If they start pawing, simply pick it up calmly, end the session, and try again later.
Phase 2: Introducing the ‘Hold’ Cue and the Grip
Phase 2: Introducing the ‘Hold’ Cue and the Grip
Once your dog is enthusiastically bopping the dumbbell with their mouth, it’s time to transition that enthusiasm into an actual grip. This phase is about gently encouraging your dog to close their mouth around the bit and hold it, even for a split second. Patience is your best friend here!
From Touch to Take
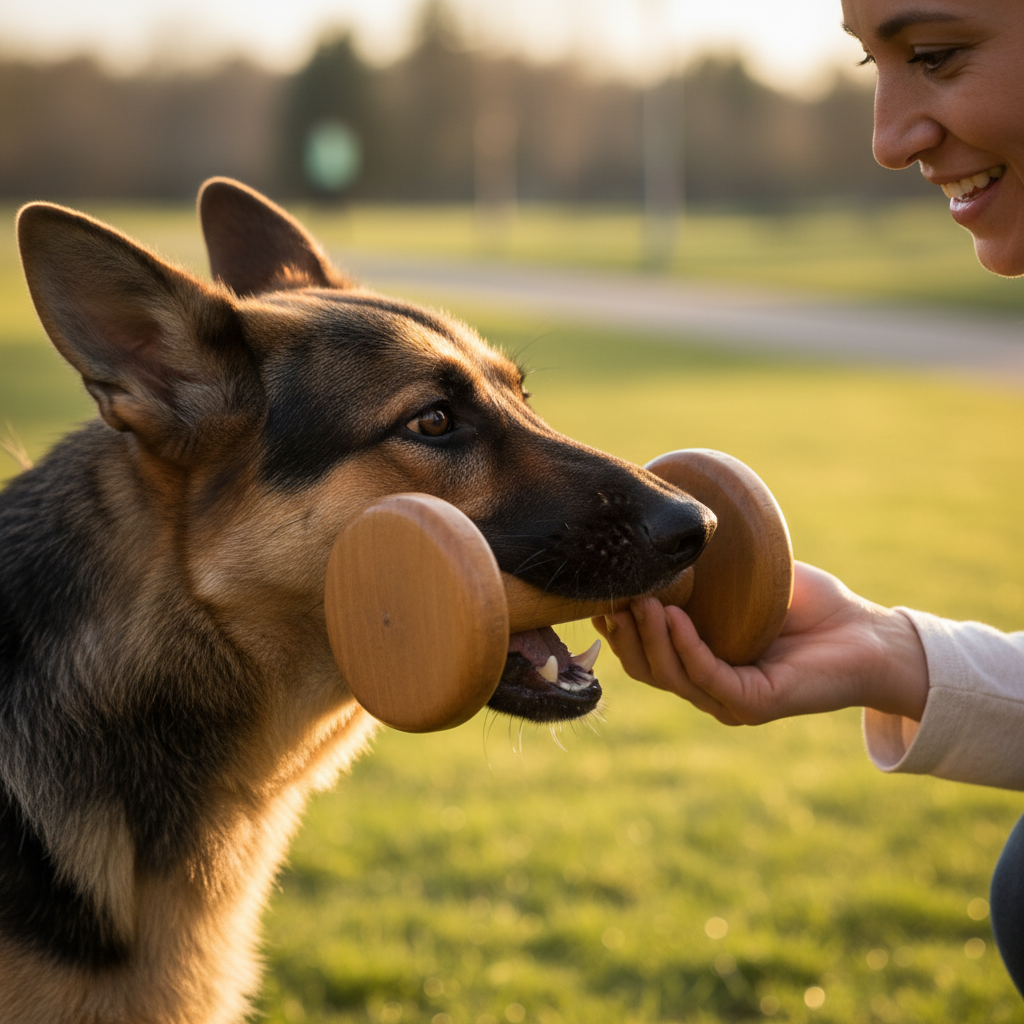
- Present the Dumbbell: Instead of leaving it on the floor, hold the dumbbell by the bells and present the bit directly in front of your dog’s mouth. Their muscle memory from Phase 1 should kick in, and they’ll likely move to touch it with their mouth.
- Encourage the Grip: As they make contact, gently encourage them to close their mouth. You can do this by slightly moving the dumbbell as their mouth touches it, which often causes a natural reflex to grip. The very instant you feel the slightest pressure of a closed mouth, CLICK and treat! We are rewarding the decision to grip.
- Introduce the Cue: Once they are reliably closing their mouth on the bit for a fraction of a second, we can add the verbal cue. Just as you present the dumbbell, say your cue—’Hold’ or ‘Take it’—in a happy, clear voice. Then, CLICK and treat for the grip. The sequence is: Say Cue -> Present Dumbbell -> Dog Grips -> Click/Treat.
- Start with a Micro-Hold: At first, we’re celebrating a hold that lasts less than a second. The goal is just to get the initial grip. Don’t try to build duration yet. We want hundreds of successful, super-short holds to build a strong foundation and a love for the game.
Remember, keep your energy up! Praise your dog lavishly for their effort. If they seem confused or hesitant, you may have moved too fast. It’s always okay to go back a step to Phase 1 and build more confidence before trying again.
Phase 3: Building Duration and Creating a ‘Quiet’ Hold

Phase 3: Building Duration and Creating a ‘Quiet’ Hold
Your dog is now taking the dumbbell on cue! That’s a huge win! Now, we need to shape that momentary grip into a calm, steady hold. This is where the ‘perfect’ part of the ‘perfect hold’ comes into play. Our goals in this phase are to increase the time they hold it and to eliminate any chewing, chomping, or fidgeting.
Stretching the Seconds
Building duration is a gradual process. We’re going to use a technique called ‘variable reinforcement.’ Instead of clicking for the initial grip, we’ll start waiting just a little bit longer.
- Start by waiting just one second before you click and treat. Then two seconds. Then back to one second. Then three seconds. The variation keeps your dog engaged and trying.
- If your dog drops the dumbbell before you click, that’s okay! It’s just feedback. It means you waited a little too long. On the next rep, ask for a shorter duration to ensure they succeed.
- Your goal is to slowly work up to a steady hold of 5-10 seconds. This will feel like an eternity at first, but with consistent, short sessions, you’ll get there.
Achieving the ‘Quiet’ Hold
A ‘quiet’ hold means the dog is holding the dumbbell firmly but without chewing, mouthing, or adjusting their grip. This is crucial for competition scores.
- Reward Stillness: Only click and treat when the dumbbell is still in their mouth. If they are chomping, wait for a moment of stillness, then immediately click. They will learn that a quiet mouth brings the reward.
- Check the Grip: Ensure your dog is holding the dumbbell with their molars, not just their front teeth. A proper grip is more stable and comfortable. You can gently encourage this by how you present the dumbbell, aiming it slightly further back in their mouth.
- Don’t Pull: Never try to pull the dumbbell out of your dog’s mouth to test their grip. This encourages them to clamp down harder and can lead to a game of tug-of-war. Instead, teach a ‘Give’ or ‘Drop it’ cue by offering a high-value trade (a super tasty treat for the dumbbell).
Pro Tip: Once your dog has a solid 5-second hold while sitting in front of you, start adding small distractions. Take one step to the side. Turn your head. Eventually, you’ll work up to having them hold it while you walk around them, which builds a rock-solid foundation for the full retrieve exercise.
Troubleshooting Common Dumbbell Hurdles

Troubleshooting Common Dumbbell Hurdles
Training is never a straight line from A to B. There will be bumps, detours, and moments of ‘What am I doing wrong?!’ Don’t worry, every trainer has been there. Here are some of the most common challenges with teaching the dumbbell hold and how to navigate them.
The key is to see these issues not as failures, but as valuable information. Your dog is telling you something—that they’re confused, bored, or that the criteria is too high. Your job is to listen and adjust your plan.
| The Problem | The Likely Cause & The Solution |
|---|---|
| Dropping the Dumbbell Prematurely | This almost always means you’re asking for too much duration too soon. Your dog isn’t being ‘disobedient’; they just haven’t built up the strength or understanding yet. Solution: Go back to rewarding shorter holds. Celebrate a 1-second hold like they just won the Olympics! Gradually increase the time again, making sure they are successful most of the time. |
| Chewing or ‘Mouthing’ the Dumbbell | This can stem from excitement, anxiety, or confusion. It can also happen if the dumbbell was ever used as a chew toy. Solution: Sharpen your timing. Click ONLY for moments of stillness. If your dog is constantly chomping, the session might be too long or too exciting. Try shorter, calmer sessions. Also, ensure the dumbbell is sized correctly; a bit that’s too thin can encourage chewing. |
| Refusing to Pick it Up from the Floor | This is a whole new step! Holding from your hand is very different from an independent pickup. Your dog hasn’t generalized the ‘Hold’ cue to this new picture. Solution: Break it down. Start by holding the dumbbell just an inch from the floor. Then rest one bell on the floor. Slowly transition to having it flat on the floor, rewarding any interaction and shaping the pickup just like you shaped the initial hold. |
| Running Away with the Dumbbell | Victory lap! This is common in dogs who love to play. They see the dumbbell as a fun possession and want to start a game of keep-away. Solution: Never chase your dog! That just reinforces the game. Instead, work in a smaller space or on a leash. Make coming back to you with the dumbbell the best thing in the world by rewarding heavily right at your side. Teach a solid ‘Give’ cue by trading for an even better toy or treat. |
| Pawing or Nudging Instead of Picking Up | Your dog may be reverting to the initial ‘interaction’ behaviors you rewarded in Phase 1. Solution: Stop rewarding nose or paw touches. Hold out for the desired behavior: an open mouth touching the bit. You may need to briefly go back to presenting it by hand to remind them of the goal before placing it back on the floor. Be clear with your criteria. |
Conclusion
And there you have it! Teaching the formal dumbbell hold is a marathon, not a sprint. It’s a dance of clear communication, positive reinforcement, and celebrating the smallest of victories. By breaking it down into manageable phases—building value, introducing the grip, adding duration, and troubleshooting with patience—you are setting your dog up for success. Remember to keep your sessions short, your attitude positive, and your treats delicious. The beautiful, precise hold you see in the competition ring is built on a foundation of hundreds of happy, fun, and rewarding training moments. More than just earning a ribbon, the time you invest in this process will strengthen the bond and understanding you share with your amazing canine partner. Now go have some fun with it!