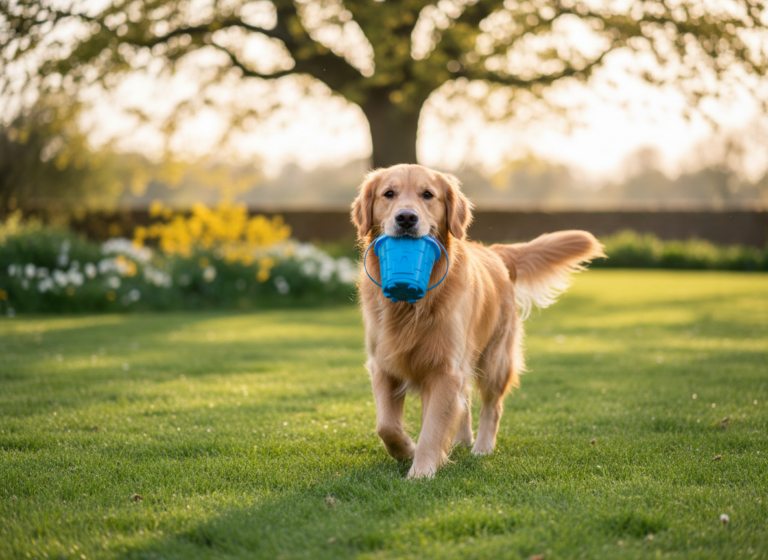
There’s something incredibly special about including your four-legged family member in your wedding. They’ve been there for you through thick and thin, so why not have them trot down the aisle to announce your arrival? It’s a heartwarming, memorable moment that your guests will adore. But let’s be real, turning this adorable dream into a reality requires a bit more than just wishful thinking. It takes patience, planning, and a whole lot of tasty treats!
Don’t worry, you don’t need to be a professional dog trainer to achieve this. This guide is designed for loving pet owners just like you. We’re going to break down the entire process, from picking the right gear to the final ‘I do’s’ and ‘Good boys.’ Together, we’ll walk through a simple, positive, and fun training plan that focuses on your dog’s comfort and confidence. Ready to create a moment that will have everyone reaching for the tissues (for all the right reasons)? Let’s get started!
Pre-Aisle Prep: Gearing Up for Success
Before you even think about the aisle, we need to set the stage for success. Just like you wouldn’t start baking a wedding cake without flour and sugar, you can’t start training without the right tools and a solid foundation. This prep phase is all about making the process smooth, safe, and enjoyable for your furry VIP.
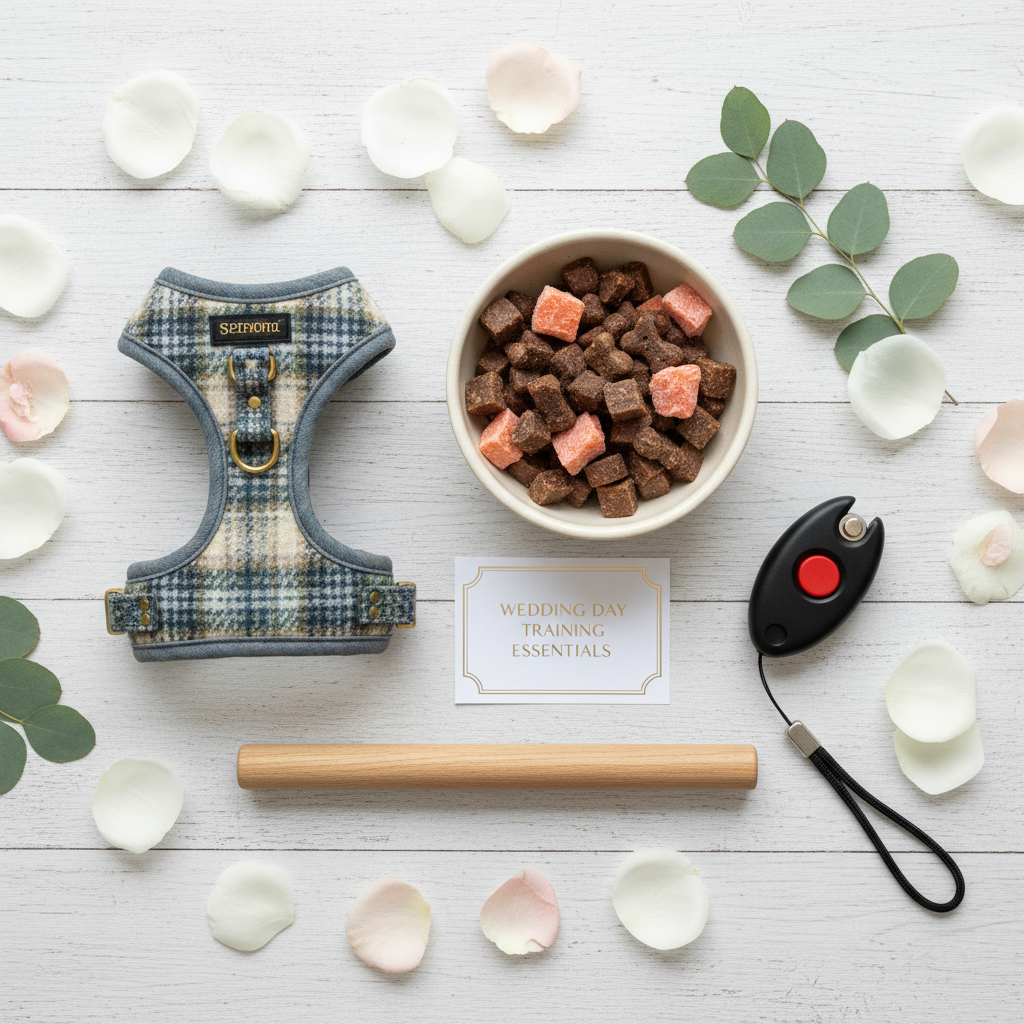
Essential Supplies
First things first, let’s go shopping! Having these items on hand from day one will make your training sessions much more effective.
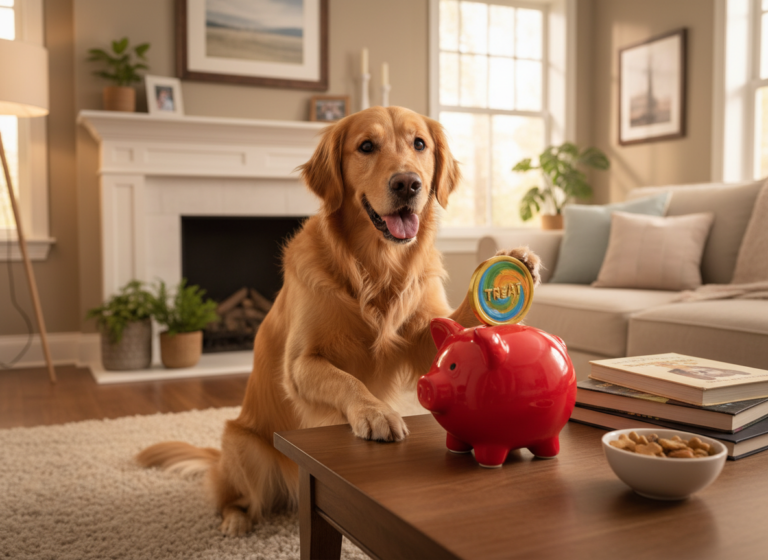
- High-Value Treats: We’re not talking about their everyday kibble. Think small, smelly, and super delicious tidbits like boiled chicken, tiny pieces of cheese, or high-quality commercial training treats. The goal is to make the reward so good that your dog is extra motivated to work for it.
- A Comfortable Harness: A well-fitting harness is non-negotiable. It provides better control than a collar and prevents any pressure on your dog’s neck, especially if they get a little excited. Look for one with a front clip, which can help discourage pulling.
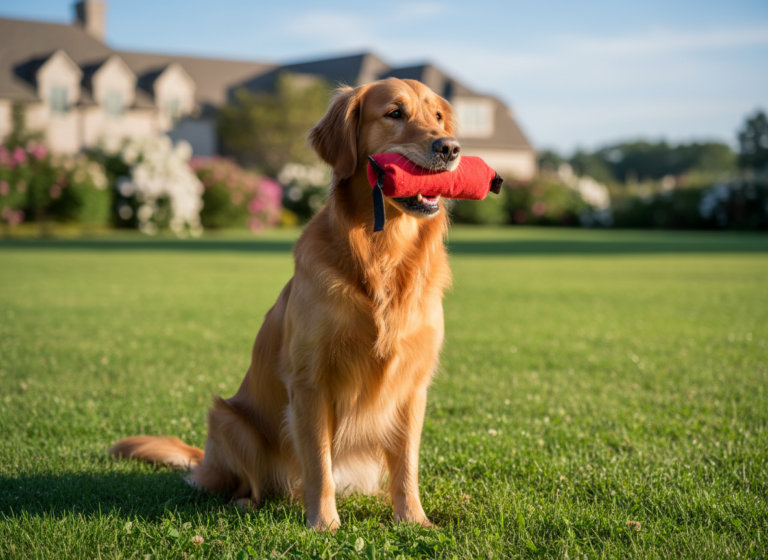
- The Training Sign: For now, you don’t need the final, beautifully lettered sign. You need a ‘stunt double.’ This could be a lightweight wooden dowel, a rolled-up magazine secured with a rubber band, or a small, soft toy. It should mimic the general shape and feel of what they’ll eventually carry.
- A Clicker (Optional but Recommended): A clicker is a fantastic tool for marking the exact moment your dog does something right. This precision helps your pup learn much faster. If you’re new to clicker training, it’s easy to learn and incredibly effective.
Foundation Skills Check
Your dog doesn’t need to be an obedience champion, but having a few key skills already in their toolbox will make this specific task much easier to teach. Before you begin, ensure your dog has a reliable understanding of:
- Sit and Stay: Crucial for waiting patiently before their big moment.
- Leash Manners: Can they walk beside you on a loose leash without excessive pulling or zig-zagging? A calm walk is the foundation for a calm walk down the aisle.
- Focus Amidst Distractions: Your wedding will be full of new sights, sounds, and smells. Practice basic commands in different environments to help them learn to tune out distractions and focus on you (or their designated handler).
Expert Tip: Keep your initial training sessions short and sweet! Dogs, especially younger ones, have short attention spans. Aim for several 5-10 minute sessions throughout the day rather than one long, grueling one. Always end on a positive note when your dog has successfully completed a task.
From Pup to Pro: Your 5-Step Aisle Training Plan
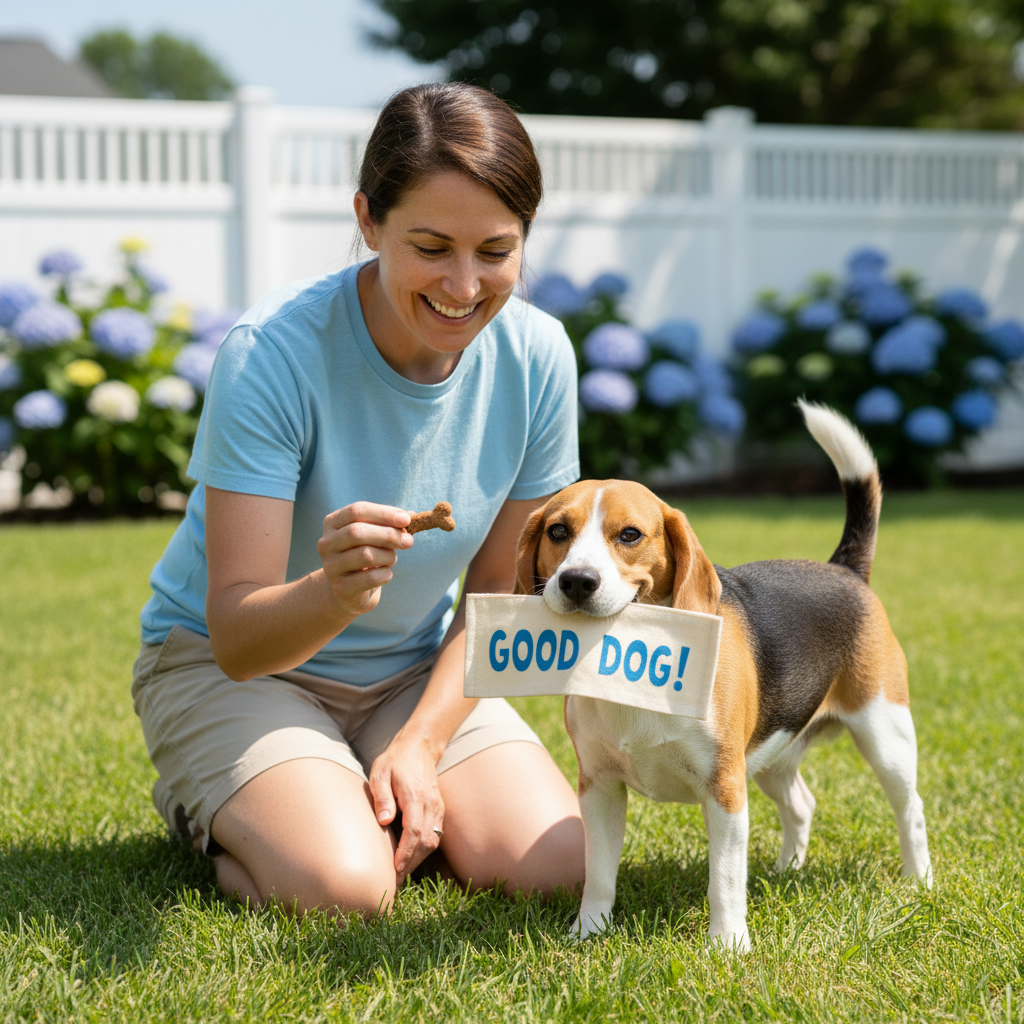
Alright, you’ve got your gear and your pup has the basics down. Now for the fun part! This step-by-step plan is designed to build your dog’s skills gradually. Remember, the key is positive reinforcement. Lavish your dog with praise, pets, and those yummy treats every time they make progress, no matter how small.
Step 1: Making Friends with the Sign
The sign, or its stand-in, needs to be the coolest new toy your dog has ever seen. We want them to associate it with wonderful things. Start by simply placing the object on the floor. The second your dog looks at it or sniffs it, click (if using) and give them a treat. Repeat this until they are happily booping it with their nose. The goal here is zero pressure. We’re just building a positive association: Sign = Fun and Food.
Step 2: Mastering the ‘Hold’ Command
This is the most technical part of the training. The goal is to teach your dog to hold an object gently in their mouth on command.
- Start by holding the training object (like the dowel) out to your dog. The moment their mouth touches it, even for a split second, click and treat.
- Gradually ask for more. Wait for them to put their mouth around the object for a second before you click and treat.
- Once they are comfortable mouthing the object, add a verbal cue like “Hold.” Say the word just as they are about to take it.
- Slowly increase the duration of the hold. Ask for two seconds, then three, and so on. Always reward them for releasing the object gently on your cue (a word like “Drop it” or “Give” works well).
Step 3: Add Some Motion: Walking While Holding
Once your dog can reliably hold the object for 10-15 seconds while stationary, it’s time to get moving. Ask them to ‘Hold’ the object, then take one step back and encourage them to come to you. When they do, reward them enthusiastically! Slowly increase the number of steps they take while holding the object. Keep it fun and light. If they drop it, no big deal! Just reset and try for a shorter distance.
Step 4: Practice Makes Paw-fect: The Aisle Simulation
Now, let’s put it all together in a simulated environment. Use a hallway in your home, a straight path at a quiet park, or even your driveway. This is also the time to introduce the designated handler—the person who will actually walk your dog down the aisle. Have the handler practice asking for the ‘Hold’ and then walking the ‘aisle’ with your dog. This ensures your pup is just as comfortable with them as they are with you. Practice with some gentle, pre-recorded crowd noise on your phone to help them get used to the sound.
Step 5: The Full Dress Rehearsal
If at all possible, try to have a rehearsal at the actual wedding venue when it’s empty. This is your chance to troubleshoot any last-minute issues. Let your dog sniff around and get comfortable with the space. Practice the full walk, from the starting point to where they’ll hand off the sign (or just be met with cuddles). This is also the time to practice with the actual wedding sign. By now, the concept of holding and walking is so ingrained that the switch to the real sign should be a piece of cake!
Crafting the Perfect Canine Carrier: Sign Safety & Design
The sign itself is a huge part of the final picture, but your dog’s safety and comfort are paramount. A sign that’s too heavy, awkward, or scary can derail all your hard work. Let’s talk about how to create something that’s both adorable and dog-friendly.
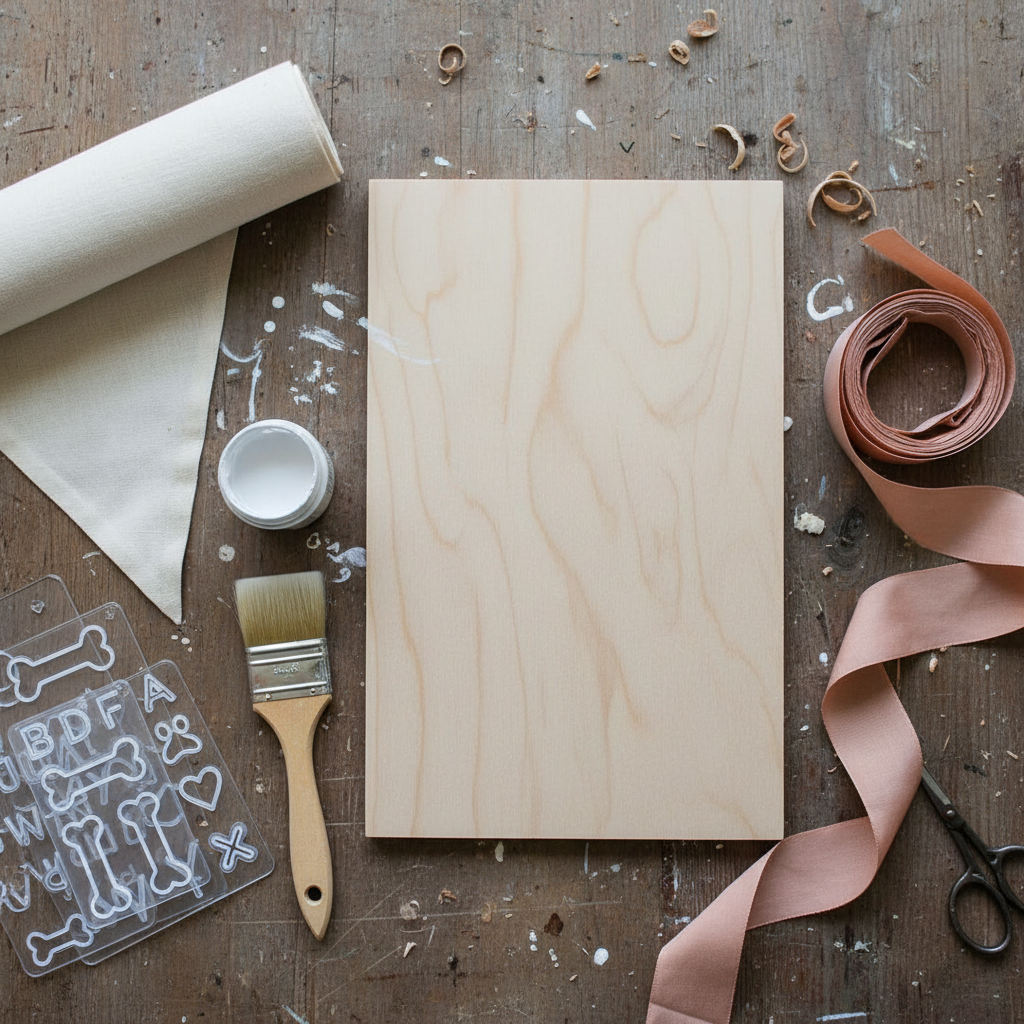
Choosing the Right Materials
Weight is the single most important factor. What feels light to you can be heavy for a dog to carry in its mouth for any length of time. Here’s a comparison of popular options:
| Material | Pros | Cons |
|---|---|---|
| Balsa Wood / Craft Wood | Extremely lightweight, easy to paint and customize, gives a rustic look. | Can be chewed or splinter if not sealed properly. |
| Foam Board | Feather-light, inexpensive, very easy to cut into custom shapes. | Not durable, easily damaged by teeth or weather. Best for one-time use. |
| Fabric Banner | Very soft on the mouth, no risk of splinters, can be beautifully embroidered or printed. | Can be floppy and hard to read if not designed correctly (e.g., with a dowel at the top). |
| Chalkboard | Cute and customizable. | Often too heavy. Only use mini, extremely lightweight craft versions. Chalk dust can be messy. |
Attachment and Carrying Methods
How your dog carries the sign is just as important as what it’s made of. You have a few great options:
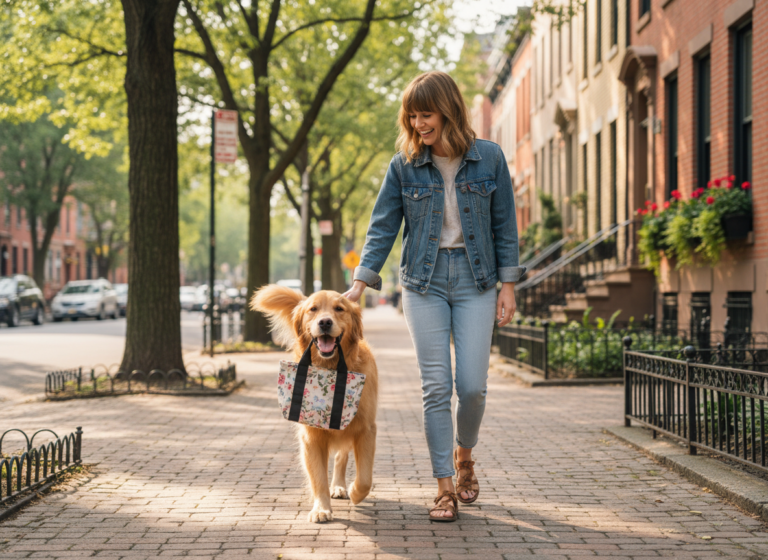
- The Ribbon/Handle: This is the most common method, where the dog holds a soft, wide ribbon or a smooth, thin dowel attached to the sign. Ensure the ribbon is silk or satin, not something rough that could irritate their mouth.
- The Pouch/Pillow: For a ring-bearer dog, you can attach small, lightweight rings to a small pillow or pouch that they carry.
- The Harness Mount: If you’re worried about your dog holding something, you can opt for a sign that attaches directly to the back or sides of their harness. This is a great hands-free (or mouth-free!) option, though it doesn’t have the same ‘carrying’ look.
Safety First! Whatever you choose, ensure there are no sharp edges, toxic paints or glues, or small, chewable parts that could become a choking hazard. Supervise your dog with the sign at all times.
The Big Day: Your Dog’s Wedding Day Checklist
The training is done, the sign is made, and the big day is finally here! A little bit of planning will ensure your dog’s starring role goes off without a hitch. The goal is to keep them calm, happy, and stress-free.
Appoint a Dedicated Dog Handler
This is the most important rule of having a dog in your wedding. You and your partner will be a little busy. Designate one trusted person—a responsible friend or family member who your dog knows and loves—to be the official dog handler. This person’s ONLY job is to care for your dog. They are in charge of potty breaks, water, keeping them calm before the ceremony, and managing them afterward. This person should not be in the wedding party.
Pre-Ceremony Prep
Just like a human performer, your dog needs to be prepped to go on stage.
- Exercise: A tired dog is a calm dog. Make sure your handler gives them a good, long walk or a game of fetch a couple of hours before the ceremony. This will help them get their zoomies out.
- Potty Break: Take them for one final potty break right before they are due to walk down the aisle. You don’t want any unexpected surprises!
- Find a Quiet Space: Don’t have your dog wait in the hustle and bustle with all the arriving guests. The handler should keep them in a quiet room, a designated outdoor space, or even their car (weather permitting and for a very short time) until it’s showtime.
During and After the Ceremony
Have a clear plan for what happens after their big moment. Does the handler discreetly lead them out a side exit? Do they go sit with a specific guest in the back row? Or is there a plan for them to go home or to a sitter after their part is done? Knowing this in advance prevents confusion. Never leave a dog unattended at a reception—it’s too overwhelming and there are too many potential hazards (like dropped chocolate cake!).
The Ultimate Pro Tip: What if it doesn’t go perfectly? What if your dog gets distracted by a flower girl or drops the sign halfway down? Laugh it off. It will still be an adorable, authentic moment that everyone will remember fondly. The goal is a happy memory, not flawless execution. Your dog’s well-being and happiness are all that truly matter.
Conclusion
Including your dog in your wedding is an incredibly rewarding experience that creates a memory you’ll cherish forever. By following these steps, you’re not just training your dog for a task; you’re strengthening your bond and creating a fun project to work on together during the exciting wedding planning process.
Remember the golden rules: keep it positive, be patient, and always prioritize your dog’s comfort and safety. From the first training session to the final walk down the aisle, this journey is about celebrating the love you share with your partner and your furry best friend. Now, go get training, and have the most wonderful, dog-friendly wedding day imaginable!