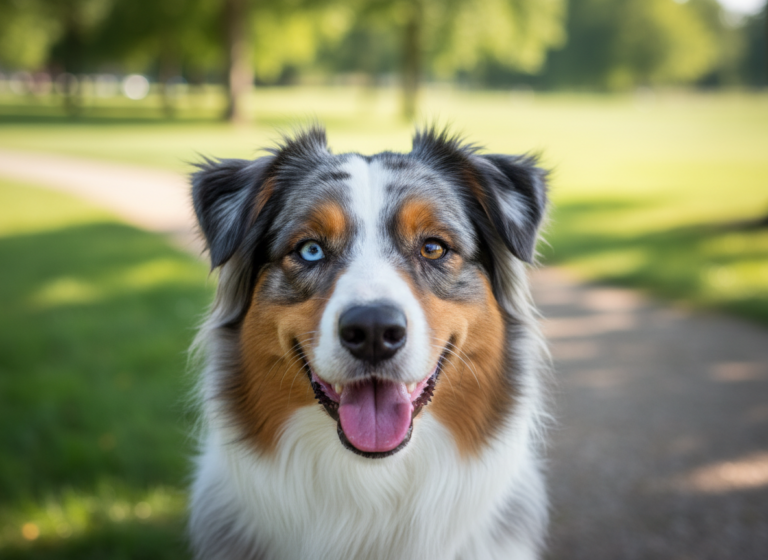
We’ve all been there. You see your dog doing something absolutely adorable, you whip out your phone to capture the moment, and… poof. The magic is gone. Suddenly, they’re fascinated by a piece of fluff on the carpet, their ears flop down, or they give you that classic side-eye before wandering off. Getting that perfect photo—the one with the alert expression and those wonderfully perky ears—can feel like winning the lottery.
But what if I told you it’s not about luck? What if you could get your dog to give you their full, photogenic attention on cue? It’s not only possible, it’s surprisingly easy with a little bit of fun, positive training. This isn’t about forcing your dog to pose; it’s about building a fun game of focus that strengthens your bond and results in frame-worthy photos every time.
In this guide, we’re going to walk you through, step-by-step, how to teach your dog a simple attention trick. We’ll cover everything from the basic tools you’ll need to troubleshooting common issues. Get ready to fill your camera roll with the best photos of your furry best friend you’ve ever taken!
Gathering Your Arsenal: The Simple Tools for Success
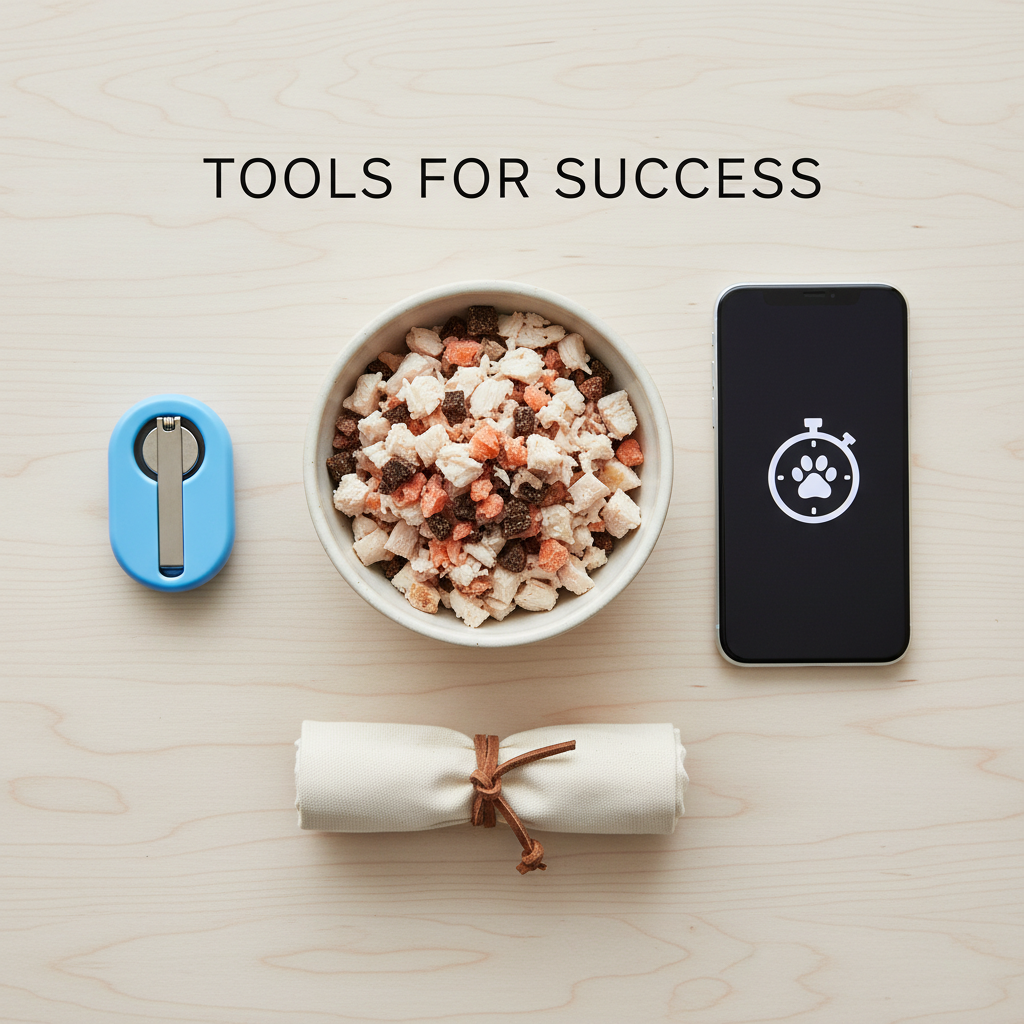
Before we dive into the training, let’s get our gear in order. The great news is you don’t need a professional trainer’s toolkit. In fact, you probably have everything you need right at home. The key is to set yourself and your pup up for a win from the very beginning.
Your Training Toolkit:
- High-Value Treats: We’re not talking about their everyday kibble. To get and keep your dog’s undivided attention, you need to break out the good stuff. Think small, pea-sized pieces of boiled chicken, cheese, hot dogs, or their favorite smelly, soft training treats. The goal is something they’ll go bonkers for and can eat quickly without much chewing.
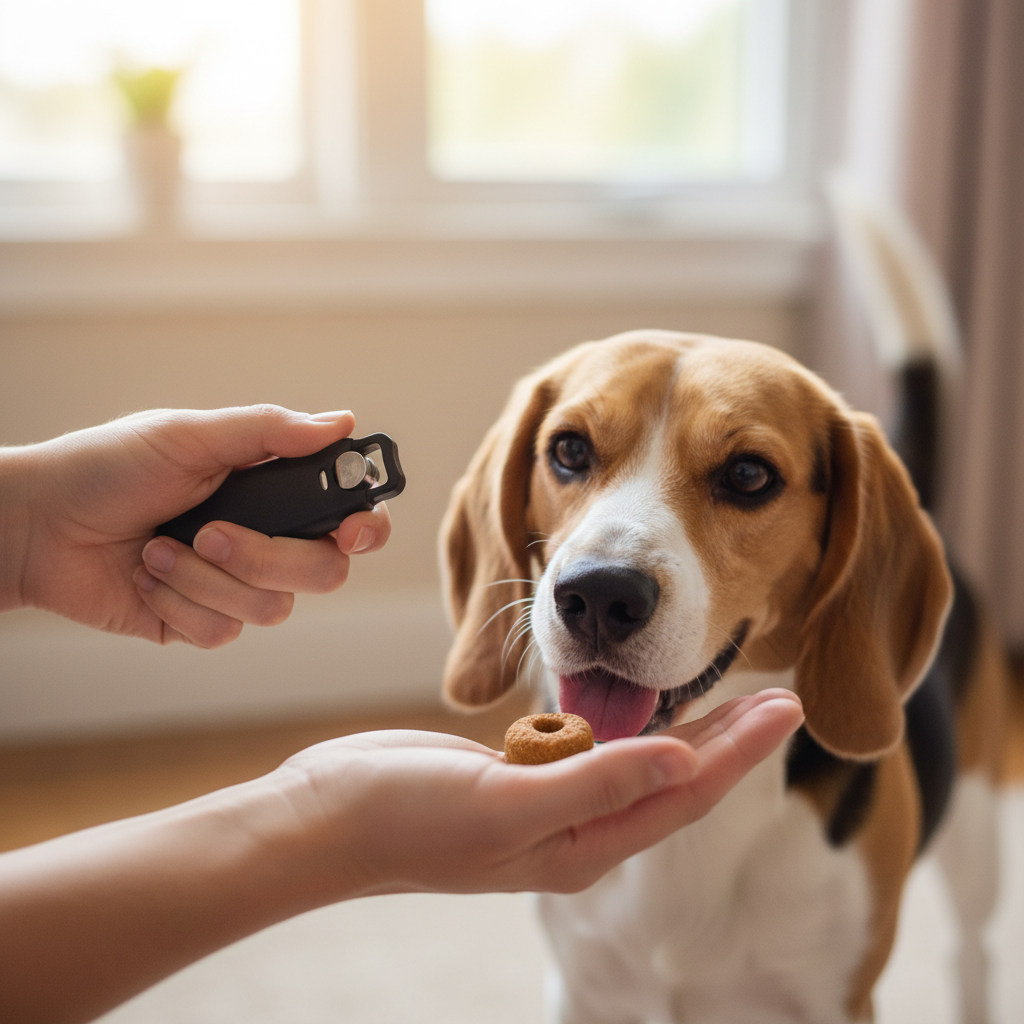
- A Clicker (Optional but Recommended): A clicker is a small plastic device that makes a distinct ‘click’ sound. It’s a powerful tool in positive reinforcement training because it acts as a precise marker, telling your dog the exact moment they did something right. If you don’t have one, don’t worry! You can use a verbal marker like a short, happy “Yes!” instead. The key is consistency.
- A Quiet, Distraction-Free Space: Your living room, a quiet bedroom, or even a hallway can work perfectly. The goal for the initial training phase is to eliminate as many competing sights, sounds, and smells as possible. You want to be the most interesting thing in the room.
- Your Camera or Smartphone: Of course, you’ll need the tool for the final masterpiece! For now, just have it nearby. We won’t be using it in the first few steps, as we want the focus to be on the training, not the scary black box pointed at them.
Expert Tip: Keep your training sessions short and sweet! Dogs, especially puppies, have short attention spans. Aim for several 3-5 minute sessions throughout the day rather than one long, frustrating 30-minute block. Always end on a positive note when your dog has successfully performed the action.
The Foundation: Charging Your Marker
Okay, so you’ve got your treats and you’ve chosen your marker (a clicker or the word “Yes!”). Now, we need to give that marker meaning. In training lingo, this is called ‘charging the marker.’ All it means is we’re teaching your dog that the sound of the click or the word “Yes!” predicts that a delicious treat is coming their way. It’s the foundation of clear communication.
Think of it like this: the click is a camera flash capturing the exact moment your dog does the right thing. The treat is their paycheck for a job well done. By charging the marker first, you create a powerful, positive association.
How to Charge Your Marker:
- Find your quiet space and have a handful of about 10-15 high-value treats ready.
- With your dog in front of you, simply click the clicker (or say “Yes!”) and immediately give them a treat. That’s it!
- Don’t ask your dog to do anything. They don’t need to sit, stay, or look at you. The sequence is simply: Click -> Treat.
- Pause for a second, then repeat. Click, then treat. Click, then treat.
- Do this for all 10-15 treats. You’ll quickly see your dog’s eyes light up and their ears perk up the moment they hear the sound. They’re learning that the sound means good things are coming!
Do a few short sessions of this over a day or two. You’ll know the marker is charged when you click, and your dog immediately looks at you expectantly for their treat. Once you have that reaction, you’re ready to move on to teaching the main event.
The Main Event: Teaching the ‘Watch Me’ Cue Step-by-Step
Now for the fun part! We’re going to teach a ‘Watch Me’ or ‘Look’ cue. This is the secret to getting that focused, ears-up expression in your photos. The goal is to teach your dog that making eye contact with you is a highly rewarding behavior.
Step 1: Luring the Gaze
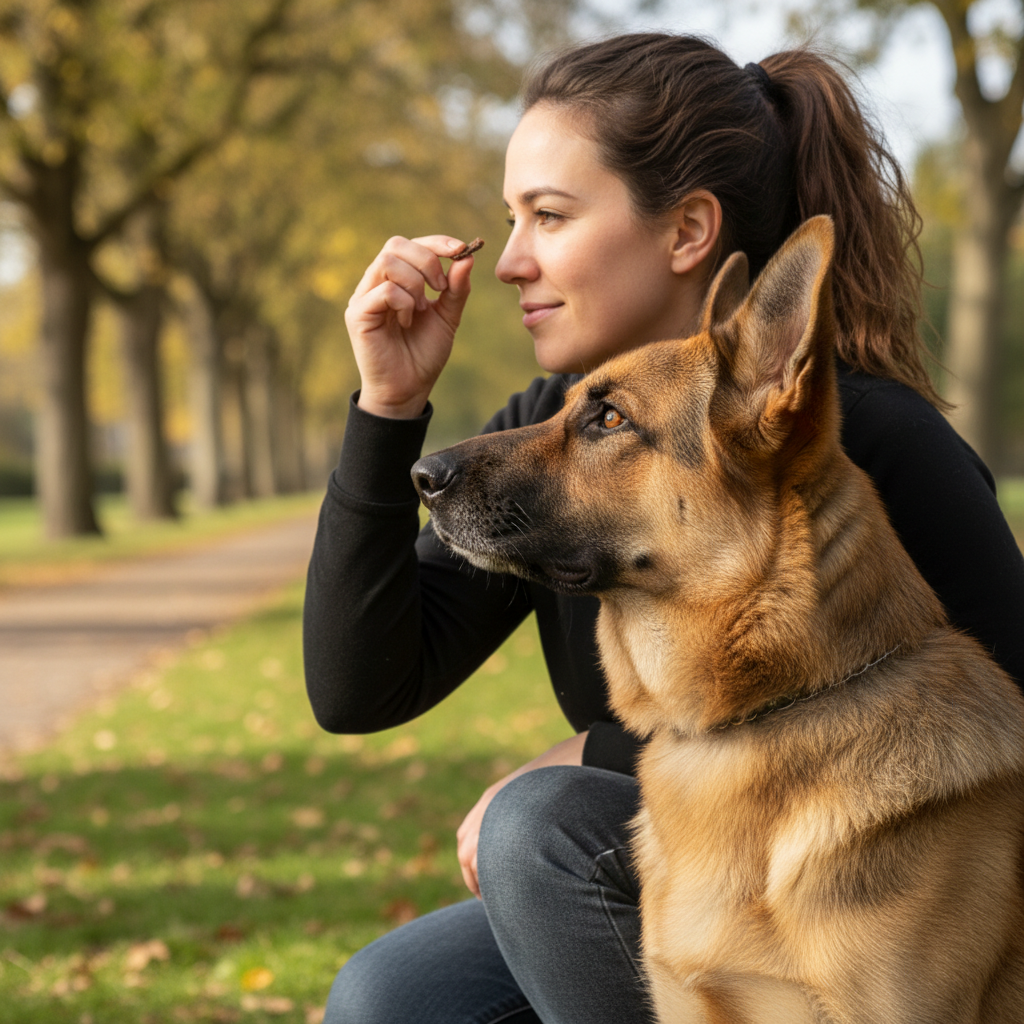
Start in your quiet space. Take one of your high-value treats and hold it in your fingers. Let your dog sniff it, then slowly bring the treat from their nose up to your own eyes. The moment their eyes leave the treat and meet yours, CLICK! (or say “Yes!”) and give them the treat from your other hand. The treat they followed is just the lure; the reward comes from your other hand to prevent them from just fixating on the treat-hand.
Step 2: Repeat, Repeat, Repeat
Practice this lure-and-reward motion several times. You are building a muscle memory for your dog: ‘following the treat to the human’s eyes results in a click and a reward.’ Keep the movements smooth. If your dog is struggling, make it easier by holding the treat right between your eyes to start.
Step 3: Adding the Verbal Cue
Once your dog is reliably following the lure and making eye contact, it’s time to name the behavior. Right before you start to move the treat to your face, say your chosen cue in a happy, upbeat tone. For example: “Watch Me!” then perform the lure. As soon as you get eye contact, CLICK and treat. After a dozen or so repetitions, your dog will begin to associate the phrase “Watch Me!” with the action of looking at your face.
Step 4: Fading the Lure
Our goal is for the dog to respond to the verbal cue alone, without needing to see a treat. Start by using the same hand motion (from their nose to your eyes) but without a treat in your hand. Say “Watch Me!”, make the motion, and when they make eye contact, CLICK and reward them with a treat from your other hand. Over time, make this hand signal smaller and smaller, until you can simply say “Watch Me!” and your dog looks right at you.
Step 5: Increasing Duration
Once your dog understands the cue, you can start asking for a little more duration. After they make eye contact, wait just one second before you click and treat. Then two seconds. Build this up slowly. This will be invaluable for giving you enough time to snap a photo.
From the Living Room to the Great Outdoors: Generalizing the Behavior
Your dog might be a ‘Watch Me’ superstar in the quiet of your living room, but the real world is filled with exciting distractions! The next crucial step is to ‘generalize’ the behavior, which means teaching your dog to perform the cue in different environments and situations.
Start Small, Win Big
Don’t go from the living room straight to the busy dog park. That’s like going from kindergarten to a college calculus exam. You need to increase the difficulty gradually.
- Different Rooms: First, practice the ‘Watch Me’ cue in every room of your house. The kitchen with all its smells, the bedroom, the bathroom—every new location is a small step up in distraction.
- The Backyard: Once they’re reliable indoors, take it outside to your backyard or a quiet patio. Here you’ll have new sounds, smells, and sights. You may need to use even higher-value treats to compete with the environment.
- Quiet Public Spaces: Try a walk on a quiet street during a non-busy time of day or an empty park. Keep the sessions short and successful.
Introducing the Camera
The camera itself can be a distraction or even intimidating for some dogs. We need to create a positive association with it.
- Just Have it Out: Start by simply having your phone or camera sitting on a table nearby while you do a quick training session. Click and treat for ‘Watch Me’ as usual. Your dog learns the camera’s presence doesn’t change the fun game.
- Hold the Camera: Next, hold the camera in your hand (down at your side) while you practice. Don’t point it at them yet. Just get them used to you holding it while you play the ‘Watch Me’ game.
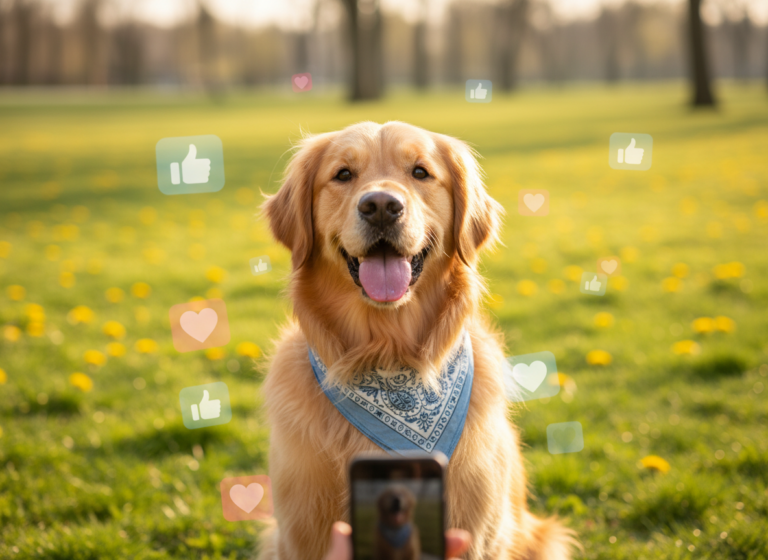
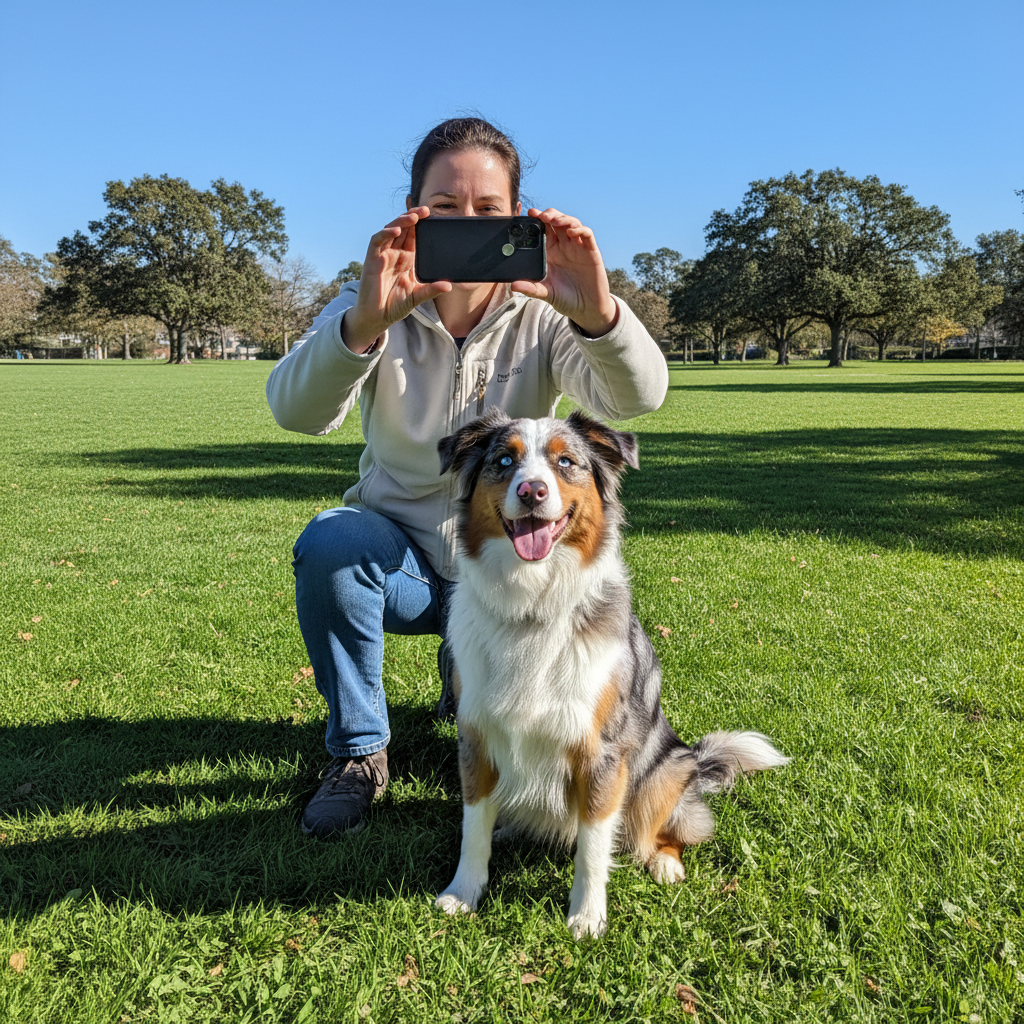
- Point and Shoot (Without Shooting): Now, hold the camera up in a picture-taking position. Ask for a “Watch Me!” and the moment they look at you (and by extension, the lens), CLICK and give a jackpot of treats! A jackpot is a huge reward—several treats at once—to mark a major breakthrough.
By following these steps, you teach your dog that looking at that lens is the most rewarding thing they can do. The perky ears you see are a natural byproduct of their intense focus and happy anticipation of a reward.
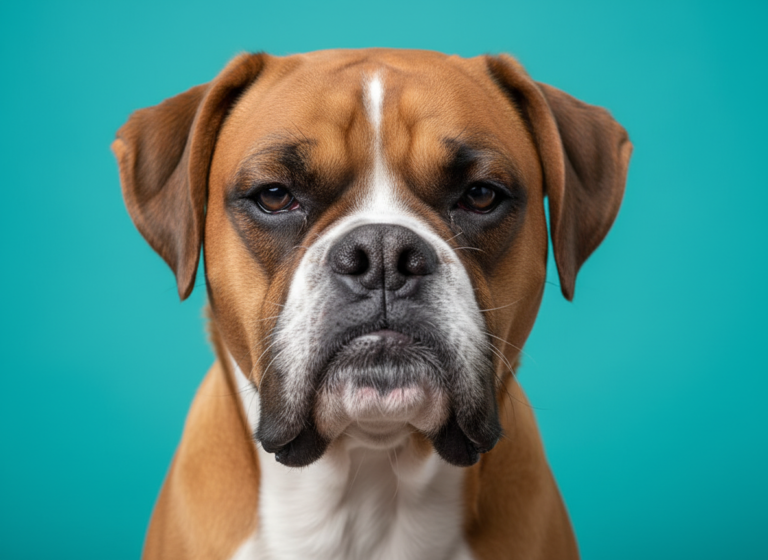
Troubleshooting & Pro Tips for Picture-Perfect Pups
Even with the best plan, you might hit a few bumps in the road. Don’t worry, it’s a normal part of the training process! Here are some common challenges and how to overcome them.
Help! My Dog Is…
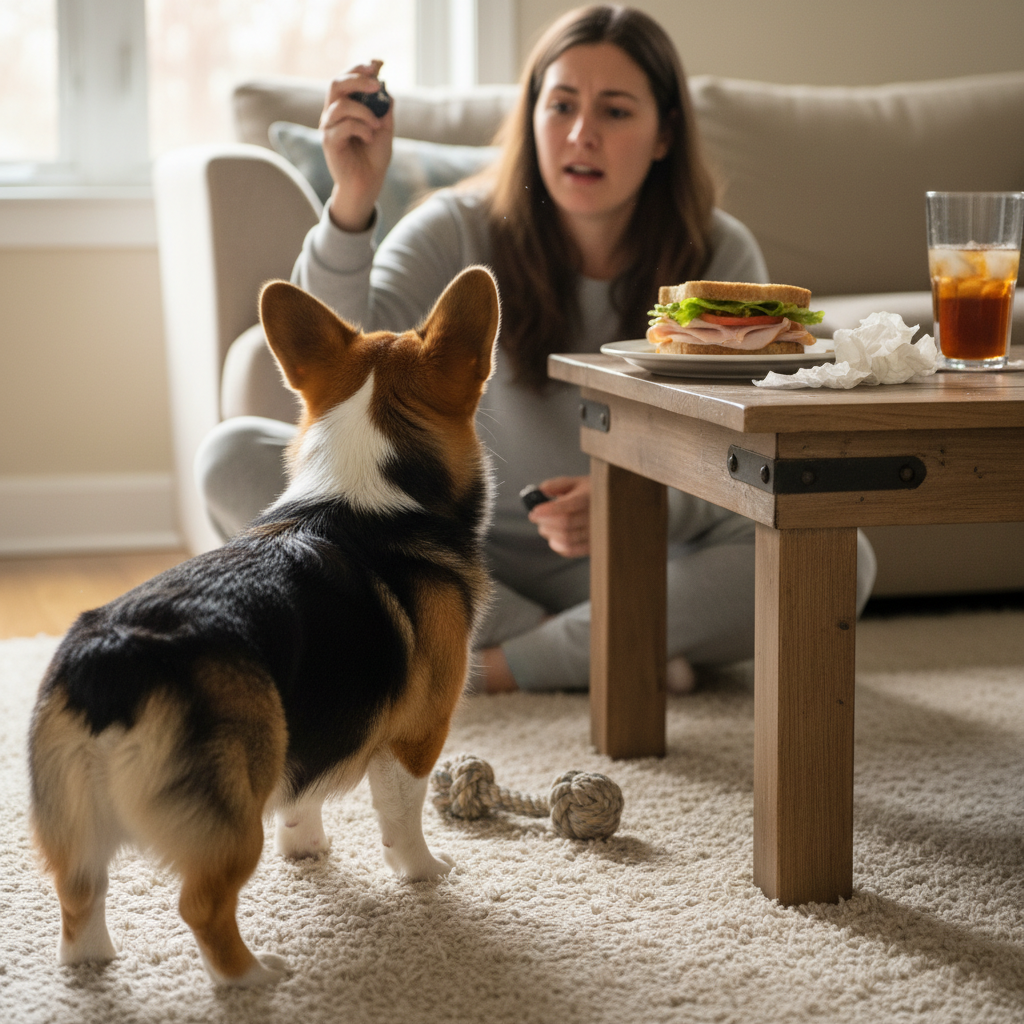
- …too distracted by everything else!
This is the most common issue. It usually means the environment is too challenging for their current level of training. Take a step back to a quieter location where they can be successful. Also, check your treats—are they truly high-value? The reward needs to be better than the distraction. - …staring at my treat hand, not my eyes.
This is called a ‘lure-bound’ dog. To fix this, make sure you are rewarding from your *other* hand, not the hand that lures them. You can also make the hand motion faster and more subtle. The goal is for the hand to be a hint, not the main attraction. - …doing it, but their ears are still floppy!
This is where the ‘trick’ part comes in! The ‘Watch Me’ cue gets their focus. To add that extra ‘perk,’ you can make a small, novel sound right after you say the cue. It could be a quiet whistle, a soft lip squeak, or a unique clicking sound with your tongue. The novelty of the sound will naturally make their ears pop up in curiosity. The key is to make the sound *after* you get their eye contact, then immediately click and reward. They’ll learn that eye contact + perky ears = big reward.
| Problem | Quick Solution | Pro Tip |
|---|---|---|
| Dog loses focus quickly | Shorten training sessions to 1-2 minutes. | Always end on a successful repetition so they want to play again later. |
| Dog won’t look up | Use a smellier, more enticing treat as a lure. | Start with the treat right on their nose and move it very slowly at first. |
| Dog is scared of the camera | Place the camera on the floor and put treats all around it (when you’re not training). | Use your camera’s ‘burst’ mode to capture multiple shots in the second of perfect attention you get. |
Remember the Golden Rule: Training should always be fun. If you or your dog are getting frustrated, it’s time to take a break. End the session with an easy win (like a simple sit), give them a treat, and try again later. Your positive attitude is the most important tool you have!
Conclusion
And there you have it! You are now equipped with a simple, powerful, and positive method to capture your dog’s beautiful, attentive expression on command. What starts as a fun trick to get better photos often blossoms into something more. Teaching the ‘Watch Me’ cue deepens the communication and bond you share with your dog, strengthening your relationship in all areas of your life together.
Remember to be patient, stay positive, and celebrate the small victories along the way. Before you know it, you’ll be the person whose friends are all asking, ‘How do you get such amazing photos of your dog?’ Go ahead, grab your treats and your camera, and start making some beautiful memories. Happy snapping!