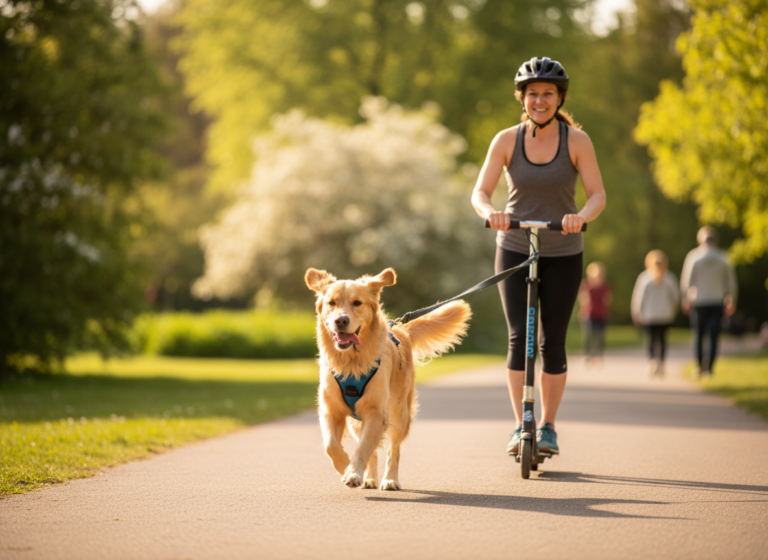
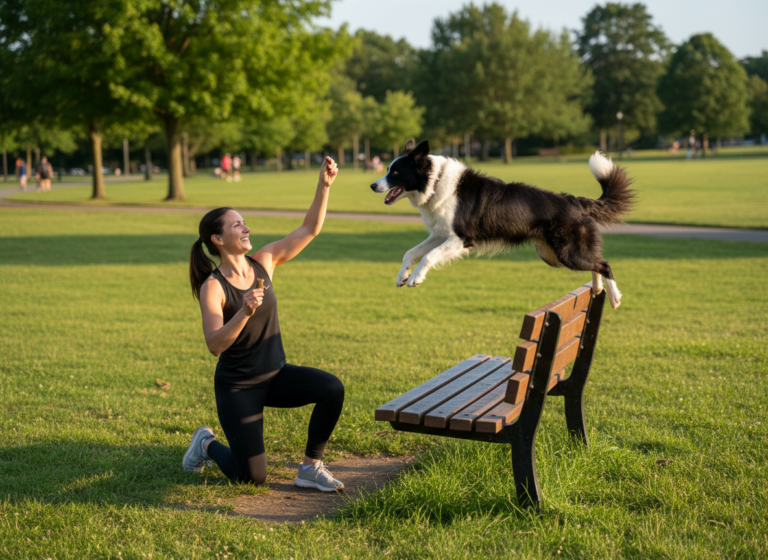
Ever scroll through Instagram and see those jaw-dropping photos of dogs on epic adventures? You know the ones—a majestic pup perched on a mountain peak, or a happy trail dog posing perfectly in a golden-hour forest. If you’ve ever thought, ‘I wish my dog would do that!’, then you’re in the right place. We’re about to unlock one of the most charming and photogenic poses in the canine modeling world: the ‘tree hug.’
This trick is more than just a cute photo opportunity; it’s a fantastic way to engage your dog’s mind, build their confidence, and strengthen your bond through positive, fun training. It combines basic obedience with a touch of flair, resulting in a behavior that’s sure to make people smile. Whether you’re a seasoned hiker or just love a good walk in the local park, teaching your dog to ‘hug a tree’ will add a new layer of fun to your outings. So grab your tastiest treats and your adventurous spirit, and let’s get ready to create some picture-perfect memories!
Setting the Scene: What You’ll Need for Success
Setting the Scene: What You’ll Need for Success
Before you and your furry friend head out to the nearest forest, let’s gather a few essentials. Proper preparation makes the training process smoother, more effective, and a lot more fun for both of you. Think of this as packing your toolkit for an awesome training adventure.
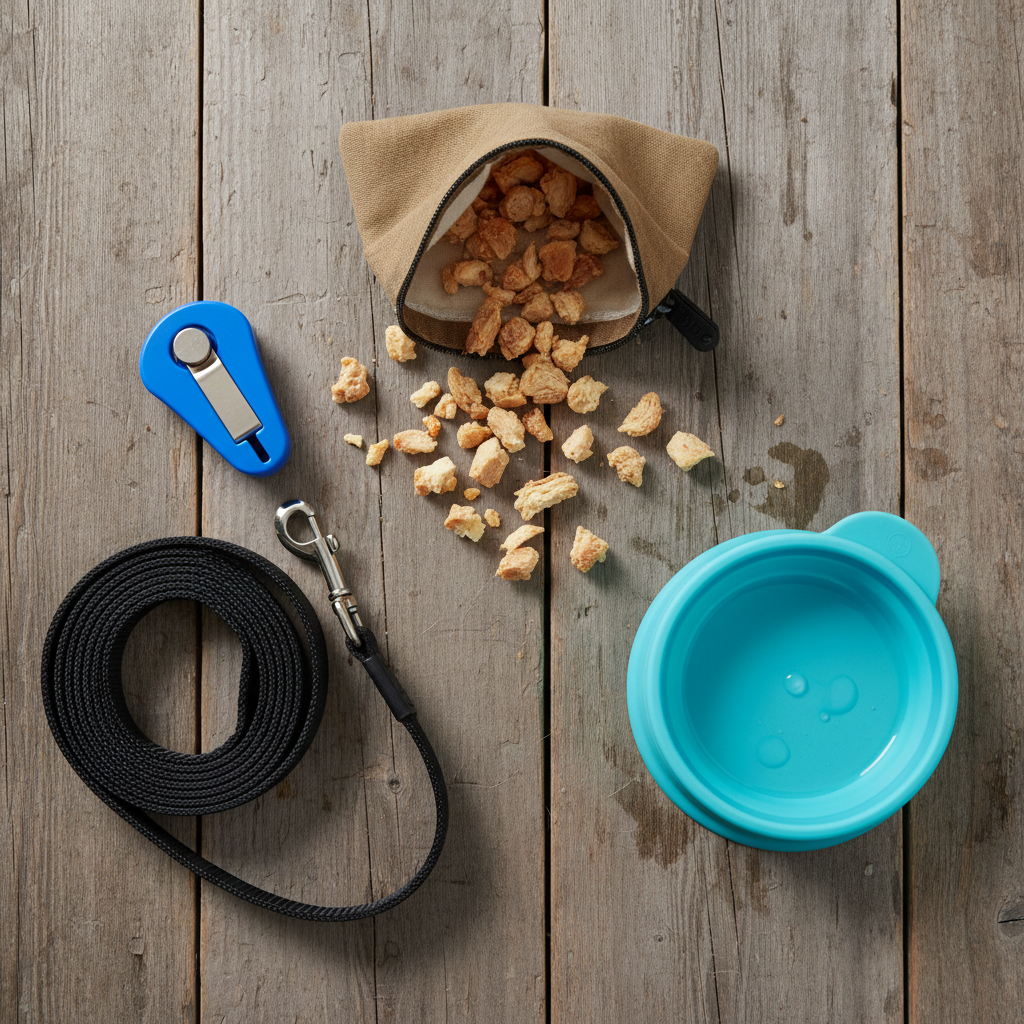
The Absolute Must-Haves:
- High-Value Treats: We’re not talking about your dog’s everyday kibble here. You need the good stuff! Think small, smelly, and super delicious tidbits like tiny pieces of cooked chicken, cheese, hot dogs, or high-quality commercial training treats. The goal is to make the reward so irresistible that your dog is highly motivated to work for it.
- A Clicker (Optional but Recommended): If you’re familiar with clicker training, this is a fantastic tool for this trick. A clicker allows you to mark the exact moment your dog does the right thing with a precise sound, followed by a treat. This clear communication can speed up the learning process significantly. If you’re not using a clicker, a consistent verbal marker like a sharp “Yes!” or “Good!” works great, too.
- Patience and a Positive Attitude: This is the most important tool in your kit! Every dog learns at a different pace. There will be moments of brilliance and moments of confusion. Your job is to stay positive, patient, and encouraging. Keep sessions short and sweet (5-10 minutes is perfect) to prevent frustration and end on a high note.
Choosing Your ‘Classroom’:
Where you practice matters, especially in the beginning. Start in a low-distraction environment. This could be your own backyard or a quiet corner of a park during an off-peak time. The fewer squirrels, people, and other dogs around, the more your dog can focus on you and the task at hand.
Expert Tip: When you eventually move to a more public space, be mindful of your surroundings. Always choose a sturdy, stable tree. Avoid trees with fragile bark, poison ivy, or lots of insects. Safety and respect for nature are paramount!
The ‘Paws Up’ Foundation: Mastering the Core Move
The ‘Paws Up’ Foundation: Mastering the Core Move
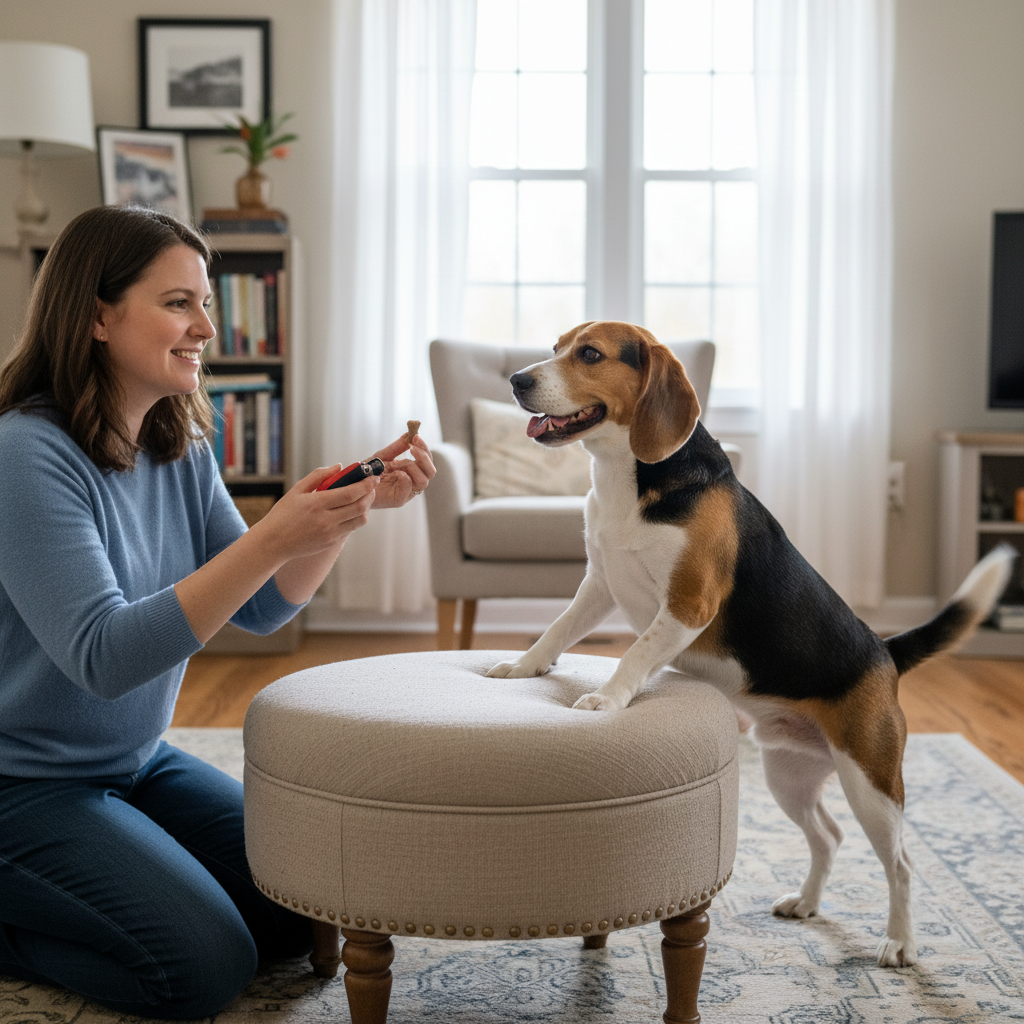
Before we ask our dogs to hug a majestic oak, we need to teach them the foundational skill: putting their front paws up on an object on command. This is the building block for the final trick. By mastering ‘paws up’ on a low, stable object at home, we build our dog’s confidence and create a clear understanding of the behavior we want.
Step 1: Choose Your Practice Object
Start with something low and stable inside your home or in your yard. Great options include:
- A sturdy ottoman or footstool
- The bottom step of a staircase
- A low, wide curb
- A large, stable cushion or dog bed
The key is that the object should not wobble or move when your dog puts their weight on it. A scary experience early on can create a negative association.
Step 2: Luring the Behavior
With your high-value treat in hand, stand near your chosen object. Get your dog’s attention and then use the treat as a lure. Slowly move the treat from your dog’s nose up and over the object. As your dog follows the treat, they will likely place one or both paws on the object to get closer to it. The instant their paw(s) touch the surface, click your clicker (or say your marker word like “Yes!”) and give them the treat. It’s all about timing! Mark the exact moment of contact.
Step 3: Repeat and Reinforce
Repeat this process several times. Lure, wait for the paws to touch, mark, and reward. At this stage, we are rewarding any interaction where their paws touch the object. Keep the sessions short and fun. If your dog offers the behavior without a lure, that’s a jackpot moment! Give them extra praise and a few treats.
Step 4: Adding the Verbal Cue
Once your dog is reliably placing their paws on the object when you lure them, it’s time to add a name to the action. Just before you begin the luring motion, say your chosen cue clearly. Something simple like “Paws Up” or “Up Up” works well. So the sequence becomes: Say “Paws Up,” then lure them, then mark and reward the moment their paws touch. After many repetitions, your dog will start to associate the words “Paws Up” with the action of placing their paws on the object. Eventually, you’ll be able to say the cue and they’ll perform the action without needing the treat lure. This transition takes time, so be patient!
From Stool to Trunk: The Step-by-Step Guide to the ‘Tree Hug’
From Stool to Trunk: The Step-by-Step Guide to the ‘Tree Hug’
Alright, you and your pup have mastered the ‘Paws Up’ foundation. Now it’s time to take the show on the road! This is where we generalize the behavior from your practice object to an actual tree. Remember to keep that positive, patient energy flowing!
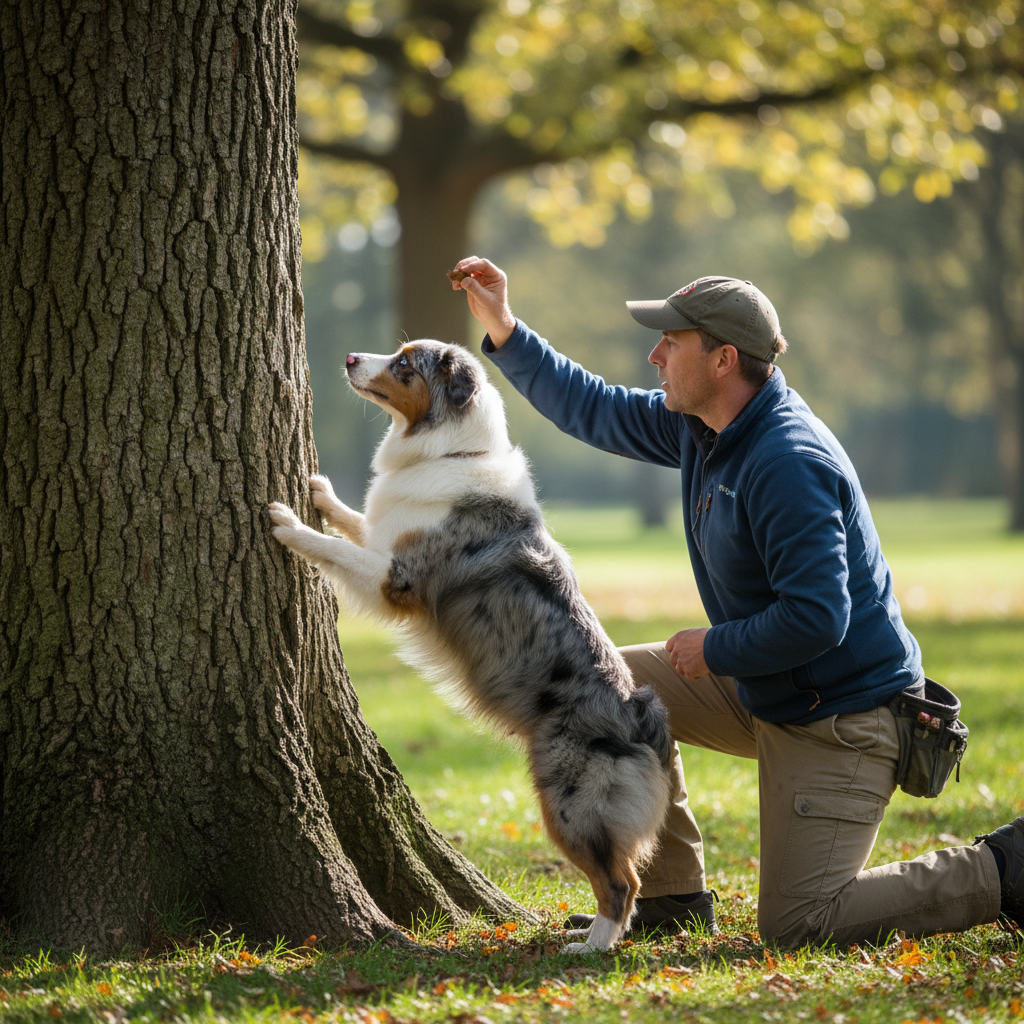
- Find the Perfect Tree: Your first ‘training tree’ should be chosen carefully. Look for one with a wide, stable trunk and rough, non-slippery bark that offers good grip. Avoid very smooth or skinny trees initially. A slight incline at the base can also make it easier for your dog to place their paws up. Make sure the area is clear of hazards.
- Transfer the ‘Paws Up’ Cue: Approach the tree with your dog on leash. Stand next to the trunk and get your dog excited. Give your verbal cue, “Paws Up!” and simultaneously use your treat lure, just like you did at home, moving your hand from their nose up onto the tree trunk.
- Mark and Reward Generously: The moment your dog’s paws make contact with the tree, have a mini-party! Click or say “Yes!” with lots of enthusiasm and deliver a high-value treat right at the tree. This helps them associate the tree itself with good things. In the beginning, reward even if just one paw touches the bark.
- Introduce the ‘Tree Hug’ Cue: Once your dog is confidently putting their paws up on the tree using the old cue, you can start to introduce a new, more specific cue for this particular trick. You could use “Hug a Tree,” “Tree Hug,” or just “Hug It.” Start by saying your new cue (“Hug a Tree!”) followed immediately by your old, familiar cue (“Paws Up!”). Over time, you can fade out the old cue, and your dog will learn that “Hug a Tree” means to put their paws on that specific object.
- Build Duration: Now we work on getting them to hold the pose. Ask for the “Tree Hug.” Once their paws are on the trunk, wait just one second before you mark and reward. In the next repetition, wait two seconds. Gradually and slowly increase the amount of time they hold the position. If they jump down before you mark, you’ve gone too fast. Simply go back to a shorter duration where they can be successful.
- Fade the Lure: As your dog gets the hang of it, start to fade the hand lure. Use the same hand motion but without a treat in it. When they respond, reward them with a treat from your other hand. The goal is for your dog to perform the trick based on your verbal cue and a simple hand gesture, without needing a treat waved in front of their nose every time.
Perfecting the Pose: Photography Tips for That ‘Wow’ Shot
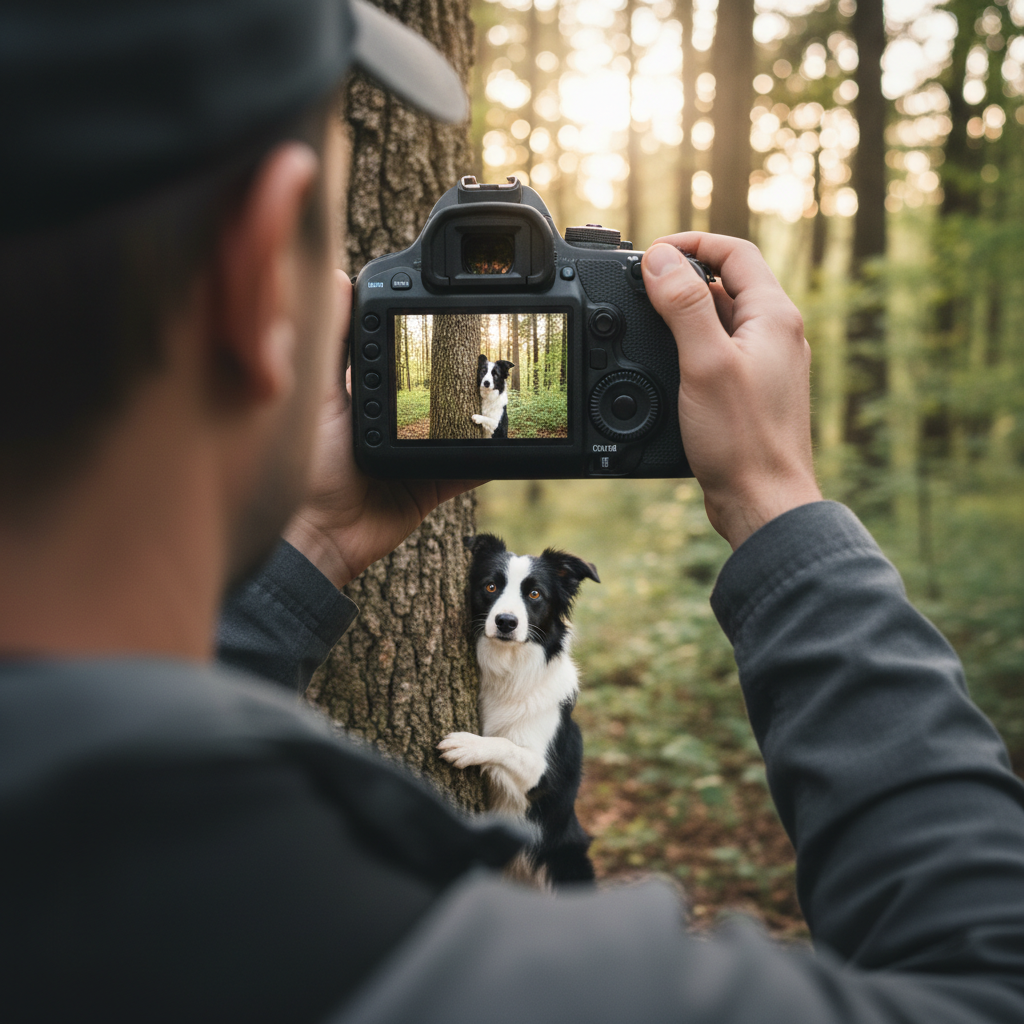
Perfecting the Pose: Photography Tips for That ‘Wow’ Shot
You’ve done the hard work of training; now it’s time to capture the magic! Getting that perfect photo involves more than just a well-behaved dog. A little bit of photography know-how can turn a good picture into an incredible one. Here are some tips to help you get that frame-worthy shot.
Get Down on Their Level
One of the biggest mistakes people make when photographing pets is shooting from a standing position, looking down. This perspective can be unflattering and doesn’t capture the world from their point of view. For the ‘tree hug’ pose, get low! Kneel or even lie on the ground to get your camera lens level with your dog’s eyes. This creates a much more intimate and powerful image.
Focus on the Eyes
The eyes are the window to the soul, and that’s true for dogs, too! In any portrait, human or canine, the eyes should be the sharpest point of focus. If you’re using a smartphone, tap on your dog’s eye on the screen to set the focus point there before you take the picture. A sharp focus on the eyes will make your photo look professional and full of life.
Master the Lighting
Lighting is everything in photography. The best times to shoot outdoors are during the ‘golden hours’—the first hour after sunrise and the last hour before sunset. The light during these times is soft, warm, and magical, eliminating the harsh shadows you get from the midday sun. If you are shooting in the middle of the day, look for a shady spot, like under a canopy of trees, to get more even, flattering light.
Composition is Key
- Rule of Thirds: Imagine your screen is divided into a 3×3 grid. Instead of placing your dog right in the center square, try placing them at one of the intersections of the lines. This often creates a more balanced and visually interesting photo.
- Leading Lines: Use natural elements like a winding path, a fallen log, or a line of trees to draw the viewer’s eye towards your dog.
- Capture the Environment: Don’t just zoom in on your dog. Pull back and include some of the beautiful scenery. The context of the forest, the mountains, or the field tells a bigger story.
Getting Their Attention
Need your dog to look at the camera? Make a high-pitched or unusual noise right before you snap the photo. Squeaky toys, whistles, or even just a funny word can work wonders to get that perfect head tilt and attentive expression. Have your camera ready, because you’ll only have a second or two!
Troubleshooting: When Your Tree Hugger Needs a Little Help
Troubleshooting: When Your Tree Hugger Needs a Little Help
Even with the best treats and the most beautiful scenery, training doesn’t always go according to plan. That’s completely normal! Here are some common hurdles you might encounter and how to patiently work through them.
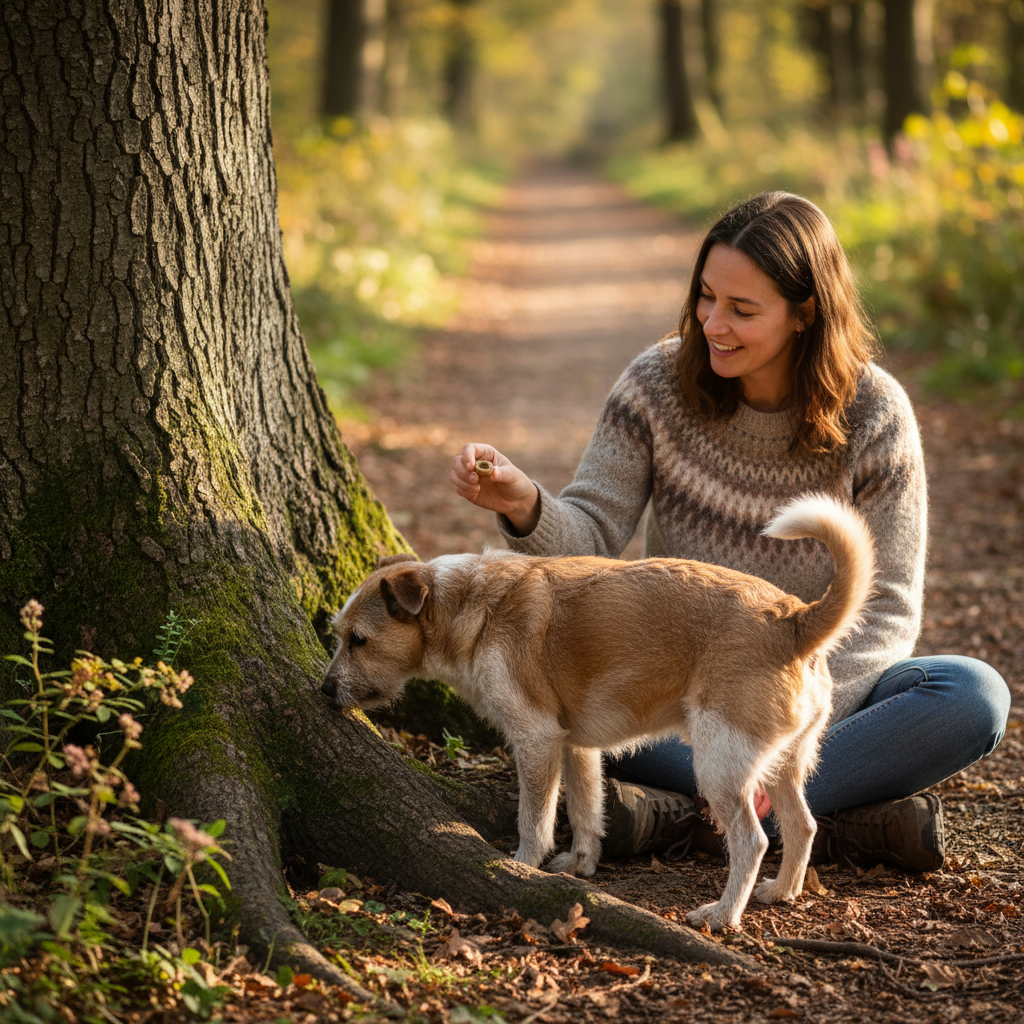
Problem: My dog is hesitant or scared to touch the tree.
Solution: Don’t force it! Fear will only set your training back. We need to build a positive association with the tree. Start by just rewarding your dog for being near the tree. Click/treat for sniffing it. Click/treat for looking at it. Play a fun game of fetch near the tree. Once they are comfortable being around it, go back to luring. Reward any tiny effort, even just a slight lift of a paw in the tree’s direction. You may need to find a different tree—perhaps one with a lower, more angled base that feels less intimidating.
Problem: My dog puts their paws up but immediately jumps back down.
Solution: This usually means you’re asking for too much duration too soon. Go back a step. For the next several repetitions, mark and reward the instant their paws touch the trunk. We want to reinforce the action of ‘paws up’ first. Once that is solid again, you can begin to build duration, but do it in tiny increments. Count ‘one-one-thousand’ in your head before marking. Then ‘one-one-thousand, two-one-thousand.’ If they jump down, just reset calmly and try again with a shorter duration.
Problem: My dog is too distracted by all the smells and sounds.
Solution: This is a classic challenge of outdoor training! Before you even start a training session, allow your dog a few minutes to just be a dog. Let them sniff around and get accustomed to the environment. This ‘sniffari’ helps them settle and makes it easier for them to focus when it’s time to work. Also, make sure your treats are extra high-value to compete with the exciting outdoor distractions. If the environment is just too overwhelming, find a quieter spot to practice before trying again in a busier location.
Problem: My dog just tries to jump on the tree or gets overly frantic.
Solution: Too much excitement can be just as challenging as a lack of motivation. If your dog is getting too wild, it’s a sign to slow things down. Keep your own energy calm and focused. Use smaller, more precise luring motions. You might also be using treats that are too exciting. You can also work on some basic calming exercises, like a simple ‘sit’ or ‘down-stay’ for a few seconds before you begin the ‘tree hug’ practice. This helps get their brain into a more focused, thinking mode rather than a frantic, jumping mode.
Conclusion
And there you have it! You’re now equipped with all the knowledge you need to teach your dog one of the most endearing tricks for your outdoor adventures. Remember, the journey of teaching the ‘hug a tree’ pose is just as important as the final photo. It’s about spending quality time together, communicating clearly, and celebrating the small victories along the way. Every successful ‘paws up,’ every moment of understanding, is a testament to the incredible bond you share.
So, get out there, find a beautiful spot, and have fun with it. Don’t worry about getting it perfect on the first try. Laugh at the goofy attempts, praise the effort, and cherish the process. Before you know it, you’ll have a confident tree-hugging pup and a camera roll full of memories that truly capture the spirit of your adventures together. Happy training!