When the temperature drops and the snow starts to fall, it’s easy to fall into a rut with your dog’s exercise routine. The usual walk around the block can lose its appeal, and finding ways to burn off that boundless canine energy becomes a real challenge. But what if you could turn the winter wonderland into your dog’s personal playground? Welcome to the exciting world of light sled pulling for pet dogs!
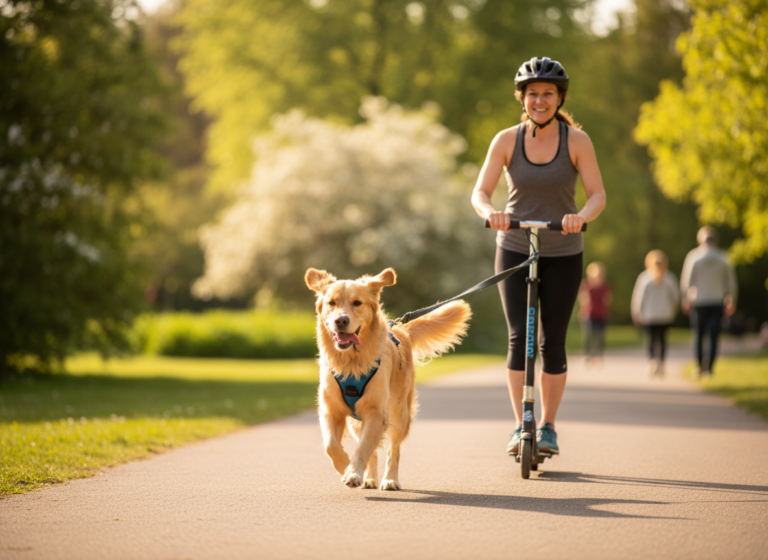
Now, before you picture the Iditarod, let’s be clear: we’re talking about a fun, recreational activity, often called urban mushing or joring, that’s perfect for many energetic family pets. It’s not about heavy loads or long-distance racing. It’s about teamwork, building confidence, and giving your dog a fulfilling ‘job’ to do. This guide is your starting point for safely and joyfully introducing your best friend to an activity that can transform your winters from dreary to dynamic. We’ll cover everything from figuring out if your dog is a good fit to gearing up and teaching the basic commands. So, grab a hot cocoa, and let’s get ready to mush!
Is Your Dog Built for the Pull? Assessing Suitability
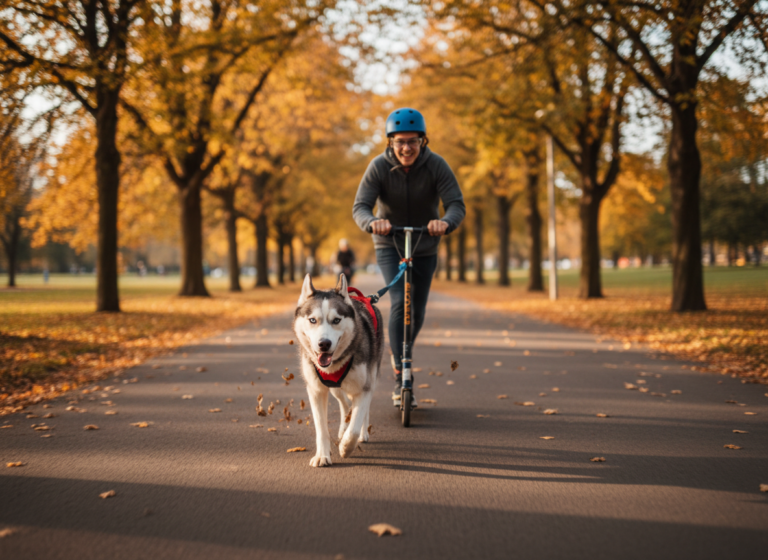
Before you rush out to buy a harness, the most important first step is to determine if this activity is right for your specific dog. While Northern breeds like Huskies and Malamutes are famous for pulling, many other breeds can excel at and enjoy this sport on a recreational level. It’s less about breed and more about individual health, structure, and temperament.
Health and Physical Readiness
This is non-negotiable. Light sled pulling is a physically demanding activity, and your dog’s health is the top priority.
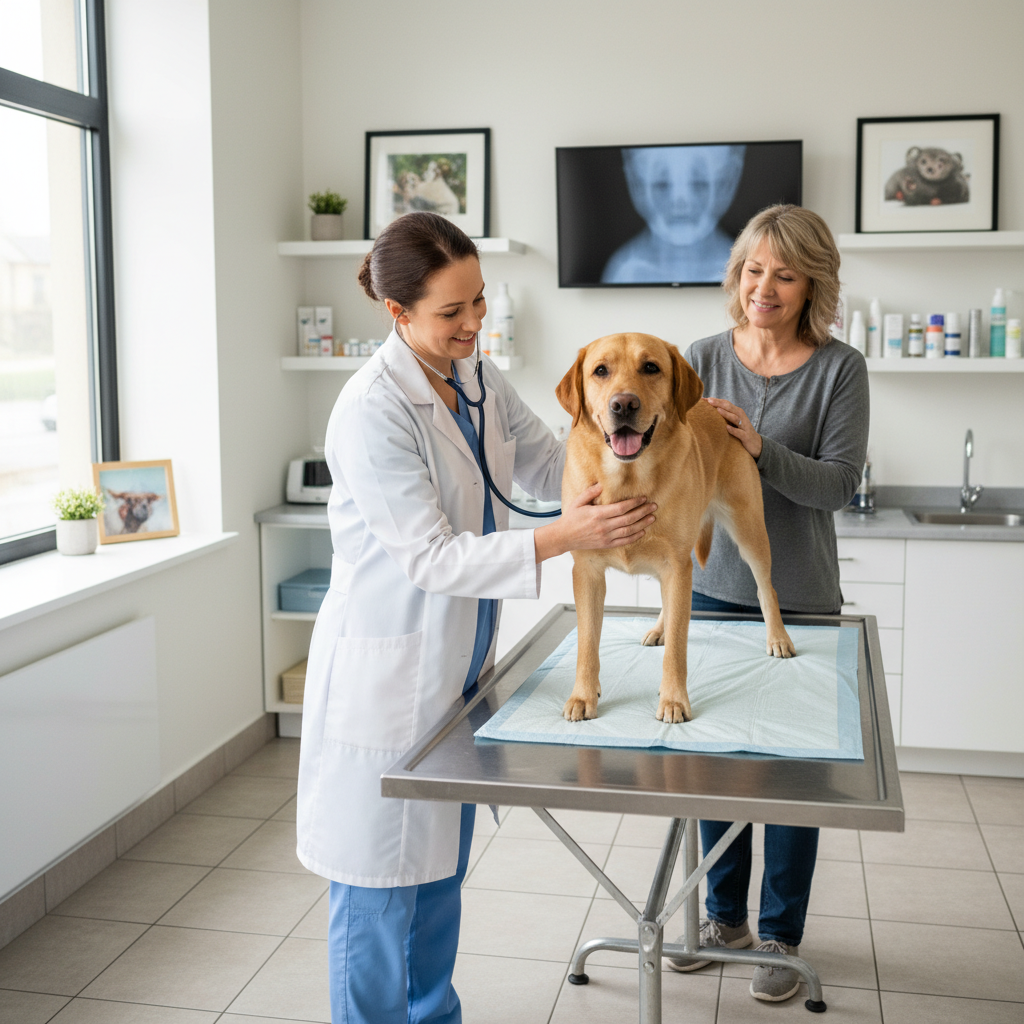
- Veterinary Check-up: Always start with a thorough check-up. Discuss your interest in sled pulling with your vet. They can check your dog’s heart, lungs, and joints (especially hips and elbows) to ensure they’re up for the task.
- Age Matters: This sport is for physically mature dogs only. A dog’s growth plates need to be fully closed before they engage in this kind of structured exercise. For most medium to large breeds, this means waiting until they are at least 18 to 24 months old. Starting too early can cause serious, long-term joint damage.
- Weight and Conditioning: Your dog should be at a healthy weight and have a good level of general fitness. If your pup has been more of a couch potato, you’ll need to build their stamina with regular walks, jogging, or hiking before introducing pulling.
Temperament and Drive
Physical health is only half the equation. Your dog’s personality plays a huge role in whether they’ll enjoy this activity.
- A Love to Run: Does your dog naturally lean into the leash on walks, eager to move forward? This is a great sign!
- Willingness to Work: Dogs that enjoy having a ‘job’ or are highly food or toy-motivated often take to pulling quickly. They see it as a fun and rewarding game.
- Confidence: A confident dog who isn’t easily spooked by new things (like a harness or a sled bumping along behind them) will have an easier time learning.
Never force a dog that shows fear or reluctance. This activity should be a source of joy and enrichment, not stress. The goal is a happy, willing partner.
Gearing Up: The Right Stuff for Safe Sled Pulling
Once your vet gives you the green light, it’s time for the fun part: getting the gear! Using the correct equipment is crucial for your dog’s safety and comfort. Skimping here can lead to chafing, injury, and a negative experience for your pup. Here’s what you’ll need to get started.
The All-Important Harness
A standard walking harness or collar is absolutely not safe for pulling. They can restrict breathing, put dangerous pressure on the throat and neck, and alter your dog’s gait. You need a specialized pulling harness designed to distribute weight across the dog’s chest and shoulders.
| Harness Type | Best For | Key Features |
|---|---|---|
| X-Back Harness | Dedicated pulling with a low attachment point (like a sled). | Criss-crosses over the back, providing excellent weight distribution. The classic mushing design. |
| Half-Harness / H-Back | Versatile activities like joring, bikejoring, or urban mushing where the attachment point is higher. | Shorter than an X-back, ending mid-back. Good for dogs who may not fit a standard X-back well. |
| Spreader Bar Harness | Dogs with a broad chest (e.g., Pit Bulls, Boxers). | Features a bar across the chest to prevent the straps from cutting into the armpits. |
When fitting a harness, it should be snug but not restrictive. You should be able to fit two fingers between the harness and your dog’s body. Ensure there is no chafing in the ‘armpit’ area.
The Rest of the Kit
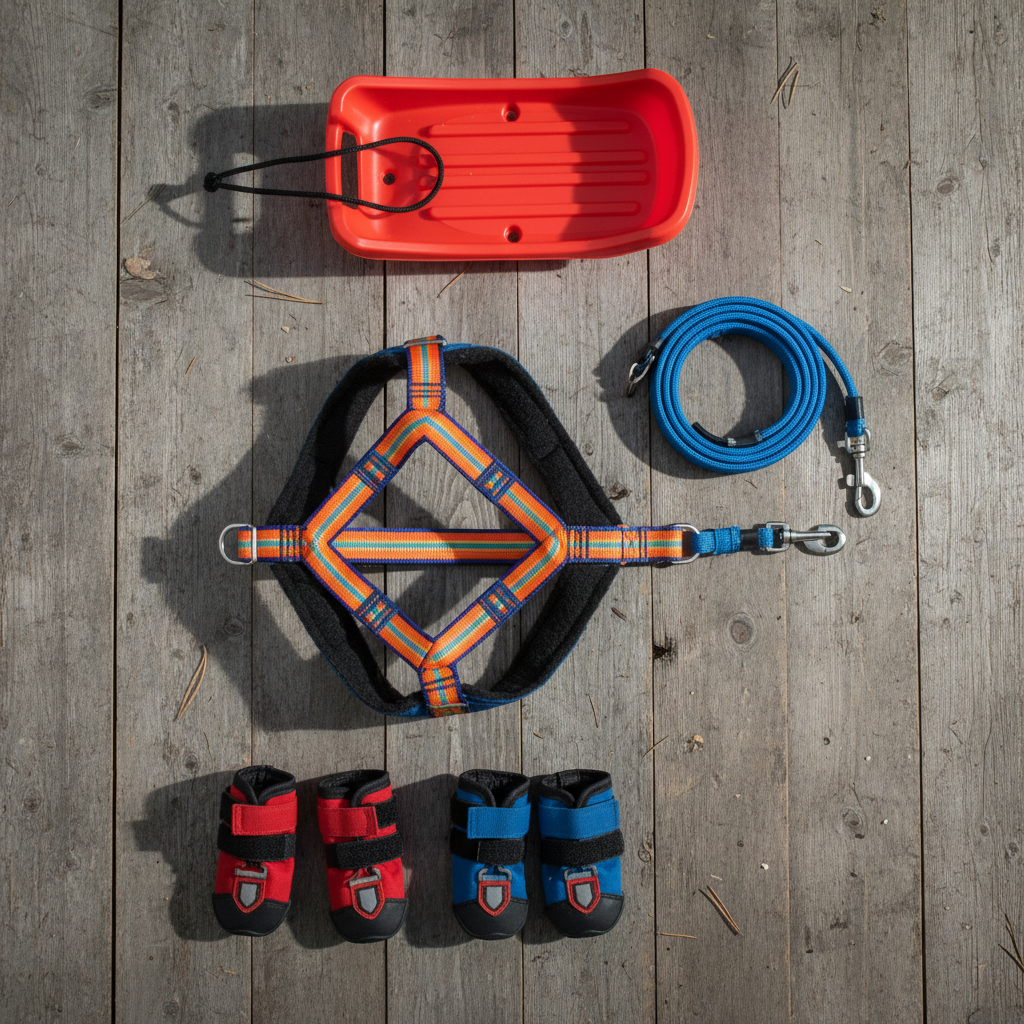
- Bungee Line: This is a towline with a built-in shock absorber. It connects your dog’s harness to the sled (or to you, if you’re skijoring). The bungee section is critical as it protects both your dog’s back and your body from jarring tugs.
- A Lightweight Sled: You don’t need a professional racing sled! Start with something very light. A child’s plastic pulk sled or even a simple car tire can be used for training. The key is to start with a weight your dog barely notices.
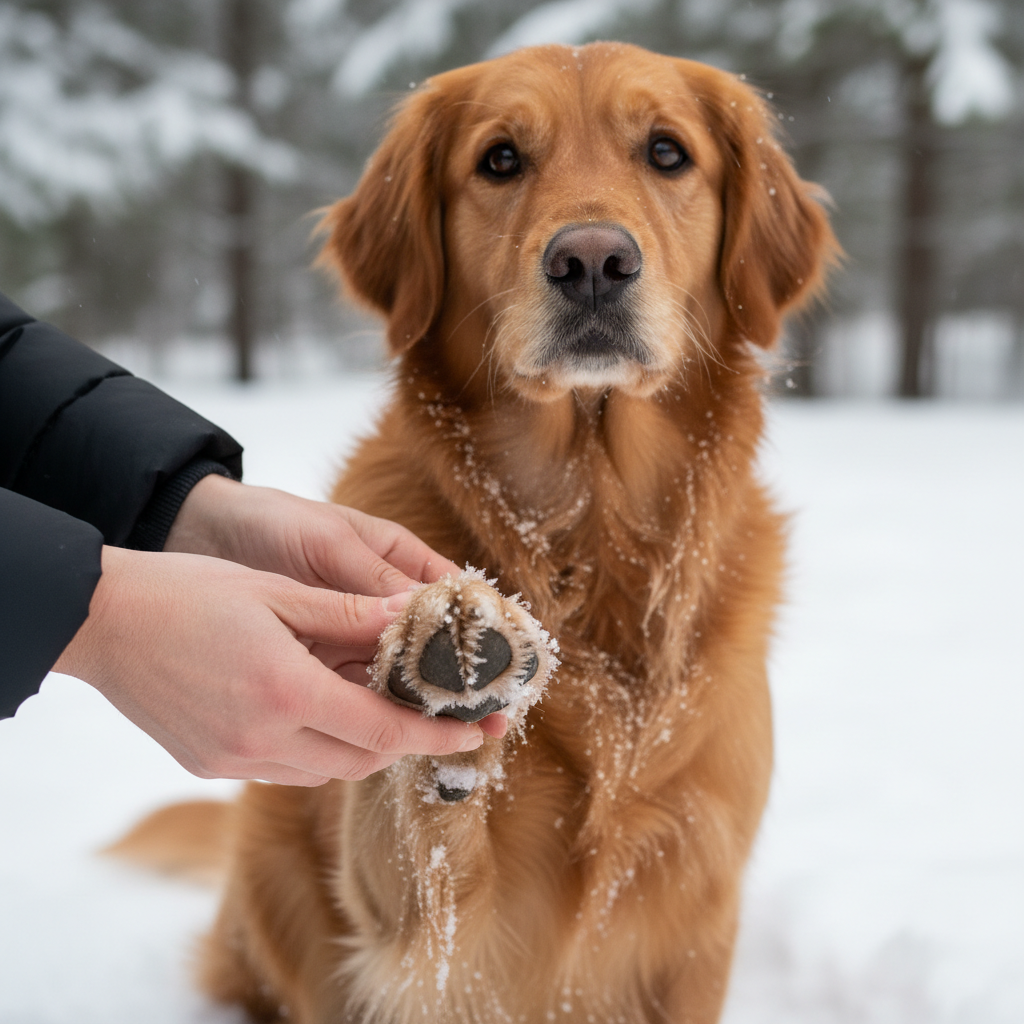
- Paw Protection: Snow and ice can be tough on paws. Invest in a good set of dog booties to prevent cuts, abrasions, and the painful buildup of ice balls between their toes. Also, have some paw balm on hand to soothe their pads after a run.
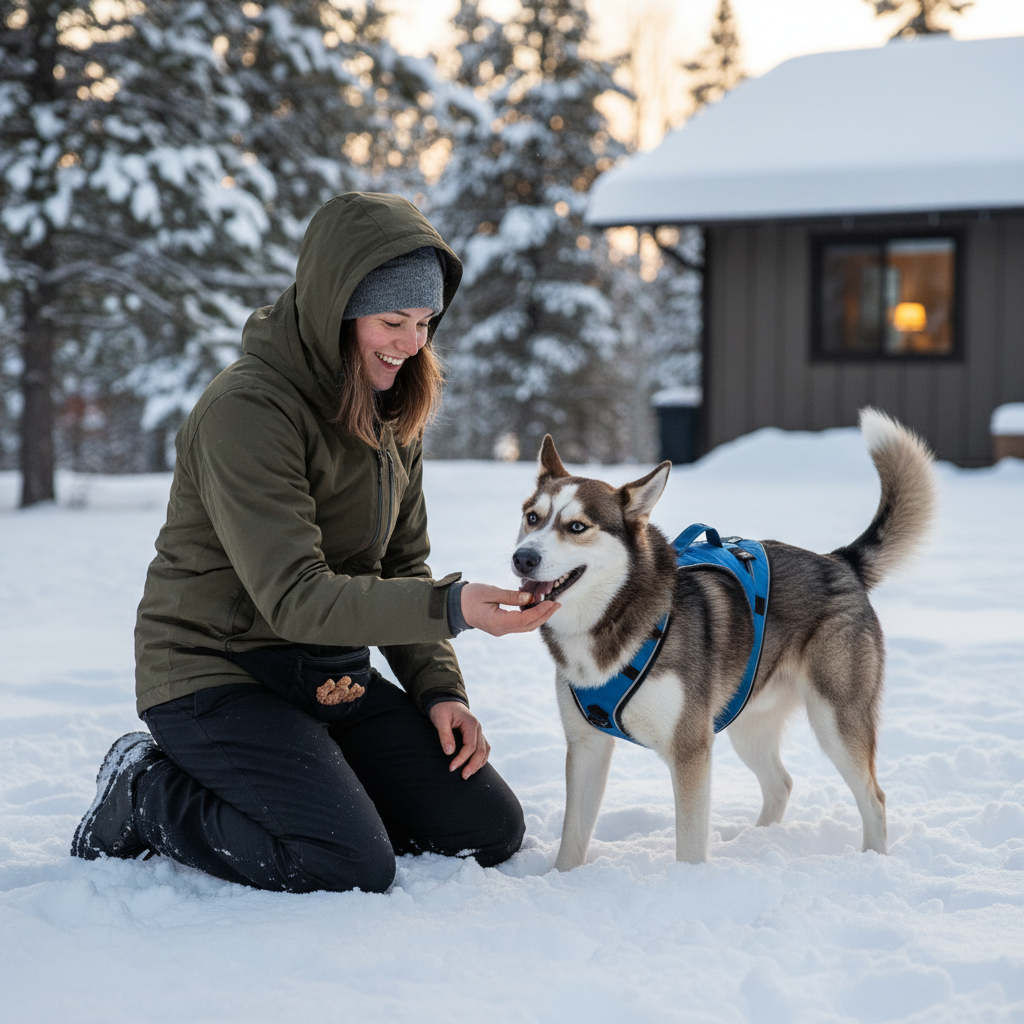
- High-Value Treats: This is a new skill, and you want to make it the most positive experience possible. Use extra-special treats (small pieces of cheese, chicken, or hot dogs) to reward every small success.
Step 1: Building the Foundation – Harness Comfort and Basic Cues
With all your gear ready, it’s tempting to hook everything up and go. But patience is key! The foundation you build now will determine your long-term success. This phase is all about creating positive associations and teaching the ‘language’ of the trail.
Getting Comfortable with the Harness
Your dog’s new pulling harness looks and feels different from their regular gear. You need to teach them that this new harness is the best thing ever.
- Introduction: Let your dog sniff the new harness. As they do, give them a high-value treat. Do this a few times.
- Positive Association: Hold the harness up. When your dog looks at it or touches it with their nose, reward them.
- Putting It On: Encourage your dog to put their head through the opening. Lure them with a treat. Once their head is through, praise them lavishly and give them the treat. Then, take it right off. Keep these sessions short and sweet (1-2 minutes).
- Wearing It Around: Gradually increase the time they wear the harness. Put it on them for feeding time or during a fun play session in the house or yard. You want them to associate the harness with fun, not work.
Teaching Essential Commands
Before your dog is pulling anything, you need a way to communicate. These verbal cues are your steering wheel and brakes. Practice them on your regular walks while your dog is on a leash.
- “Hike!” or “Let’s Go!”: This is your ‘go’ command. Use an excited, encouraging tone. When you start walking, say “Hike!” and reward them for moving forward with you.
- “Whoa!” or “Stop!”: Your brakes. As you slow to a stop, say “Whoa!” in a calm, clear voice. When they stop, reward them. Practice this frequently.
- “Gee” (Right) and “Haw” (Left): Your steering. As you approach a right turn on your walk, start saying “Gee, gee, gee” in a happy tone. Guide them around the turn with the leash and reward them. Do the same with “Haw” for left turns. Consistency is everything.
Expert Tip: Keep your training sessions short, around 5-10 minutes at a time. Always end on a positive note when your dog has successfully completed a task. This builds their confidence and keeps them eager to learn more.
Step 2: From Walking to Pulling – The First Tugs
This is the moment you’ve been working towards! Your dog is comfortable in their harness, and you’ve been practicing your commands. Now it’s time to introduce the concept of pulling. The key here is to start with virtually no weight and make it a super fun game.
Phase 1: Introducing the Drag
First, you’ll get your dog used to something trailing behind them. This can be the spookiest part for some dogs, so go slow.
- Attach just the bungee line to their harness. Let them drag it around the yard for a few minutes. Praise them and treat them for ignoring it.
- Once they’re comfortable with the line, attach a very light object that makes a little noise. A plastic water bottle with a few pebbles inside is perfect.
- Let them walk and run around with this light object. Most dogs will be curious at first. Your job is to be their cheerleader! Run with them, praise them, and make it exciting. If they seem nervous, go back a step.
Phase 2: Adding a Little Weight
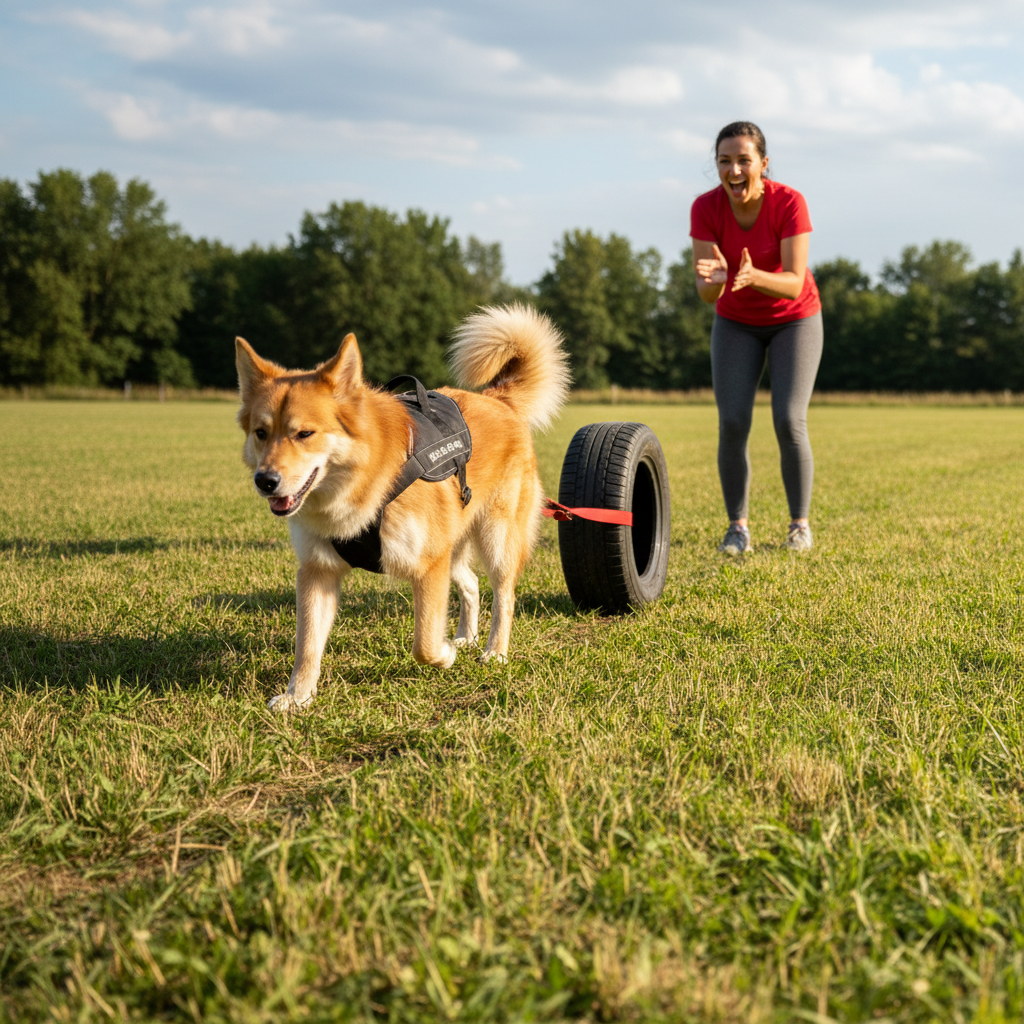
When your dog is confidently dragging the light object, you can add a bit of weight. A small car tire is a fantastic training tool for this stage.
It’s often helpful to have a second person for this part. Have your helper stand a short distance in front of the dog and excitedly call them. As the dog moves forward to their person, they’ll feel the resistance of the tire. The moment they start pulling, shower them with praise like “Good hike! Yes! Good dog!”. Keep these first pulls very short – just a few feet – and reward them with a jackpot of treats or a game of tug.
Phase 3: Hooking up the Sled
Finally, it’s time for the sled. Start with an empty sled. Repeat the process from Phase 2, with a helper calling the dog forward. Because the sled will glide easily on snow, it might feel even lighter to your dog than the tire did on grass.
Your role is to run alongside or just behind your dog, offering encouragement and using the commands you’ve practiced. Keep the first few sessions with the sled incredibly short and positive. Your goal isn’t distance; it’s to teach your dog that pulling the sled is the best game in the world.
Safety First! The Golden Rules of Recreational Mushing
You’re both having a blast, and your dog is starting to look like a natural. To keep things fun and safe for years to come, it’s essential to follow some golden rules every time you head out.
Before, During, and After the Run
- Warm-Up & Cool-Down: Just like human athletes, dogs need to prepare their muscles. Start with a 5-minute brisk walk or light jog before you hook them up. After your run, do another 5-10 minutes of walking to let their heart rate come down and prevent muscle soreness.
- Check Those Paws: Before you head out, check your dog’s paw pads for any cuts or cracks. After the run, check them again. Clean any snow or ice from between their toes and apply a soothing paw balm if needed.
- Hydration is Key: Dogs can get dehydrated even in the cold. Offer water before and after your run. For longer outings (over 30-45 minutes), bring water with you. Eating snow is not an adequate way for them to hydrate.
- Know the Conditions: Be mindful of the surface. Icy patches can be dangerous for you and your dog. Extremely deep, heavy snow can be exhausting. Pay attention to the temperature; avoid going out in extreme cold, as it can be dangerous for your dog’s lungs and paws.
Listen to Your Dog
This is the most important rule of all. You are your dog’s advocate and partner. You must learn to read their body language.
Pay close attention to your dog’s signals. If they slow down, start lagging, or seem less enthusiastic, it’s time to stop. Finishing a run a little early with a happy dog is always better than pushing them too far and risking injury, burnout, or creating a negative association with the sport.
By making safety your top priority, you ensure that light sled pulling remains a wonderful and enriching experience that strengthens the incredible bond you share with your dog.
Conclusion
Embarking on the journey of light sled pulling is more than just finding a new way to exercise your dog in the winter. It’s about discovering a new level of communication and teamwork with your canine companion. It’s about giving them an outlet for their natural instincts in a safe, positive, and incredibly rewarding way.
Remember the key pillars of success: always start with a vet’s approval, invest in the proper safety gear, build your foundation with patience and positive reinforcement, and always, always listen to your dog. By following these steps, you can unlock a thrilling hobby that will have both of you eagerly waiting for the snow to fall. So get out there, embrace the cold, and enjoy the magical feeling of working together as a team. Happy mushing!