That plastic rectangle in your door was supposed to be a gateway to freedom, right? A magical portal for potty breaks and squirrel-chasing adventures. But right now, it might as well be a monster from your dog’s perspective. If your furry friend approaches the doggy door with the same enthusiasm as a bath, you’re in the right place. Many dogs, especially those with a timid or cautious nature, find the sight, sound, and feel of a doggy door downright terrifying.
But here’s the good news: you can absolutely teach your scared dog to not only use the doggy door but to love it! It’s not about forcing them or losing your patience. It’s about building confidence, creating positive associations, and turning a scary obstacle into a fun game. Forget the weeks of frustration. We’ve crafted a gentle, step-by-step plan to guide your pup to doggy door independence in just three days. Ready to unlock a new level of freedom for you and your best friend? Let’s get started!
Before You Begin: Setting the Stage for Success
Before You Begin: Setting the Stage for Success
Great training starts with great preparation. Before you even think about luring your pup through the door, let’s make sure you have everything set up perfectly. A little prep work now will make the next three days infinitely smoother and less stressful for your dog.
Choose the Right Door
Not all doggy doors are created equal. If you have a particularly anxious dog, consider a door with a flexible, lightweight flap over a hard, rigid one. A magnetic closure that’s too strong can make a loud ‘snap’ that frightens a sensitive dog. Ensure the door is the correct size—your dog should be able to walk through comfortably without crouching or squeezing.
Gather Your Training Toolkit
Think of this like gathering ingredients for a recipe. Having everything on hand means you can focus all your attention on your dog. You’ll need:
- High-Value Treats: We’re not talking about their everyday kibble. Think tiny pieces of boiled chicken, cheese, hot dogs, or their absolute favorite store-bought training treats. The smellier and tastier, the better!
- A Favorite Toy: Does your dog have a squeaky toy or a fetch ball they’d do anything for? Keep it handy as an alternative reward.
- A Helper (Highly Recommended): Training is much easier with two people. One person can be on the inside, and one can be on the outside to encourage the dog from both directions.
- Patience and a Positive Attitude: This is the most crucial tool in your kit! Your dog will pick up on your energy. Stay calm, happy, and encouraging, even if you have a setback.
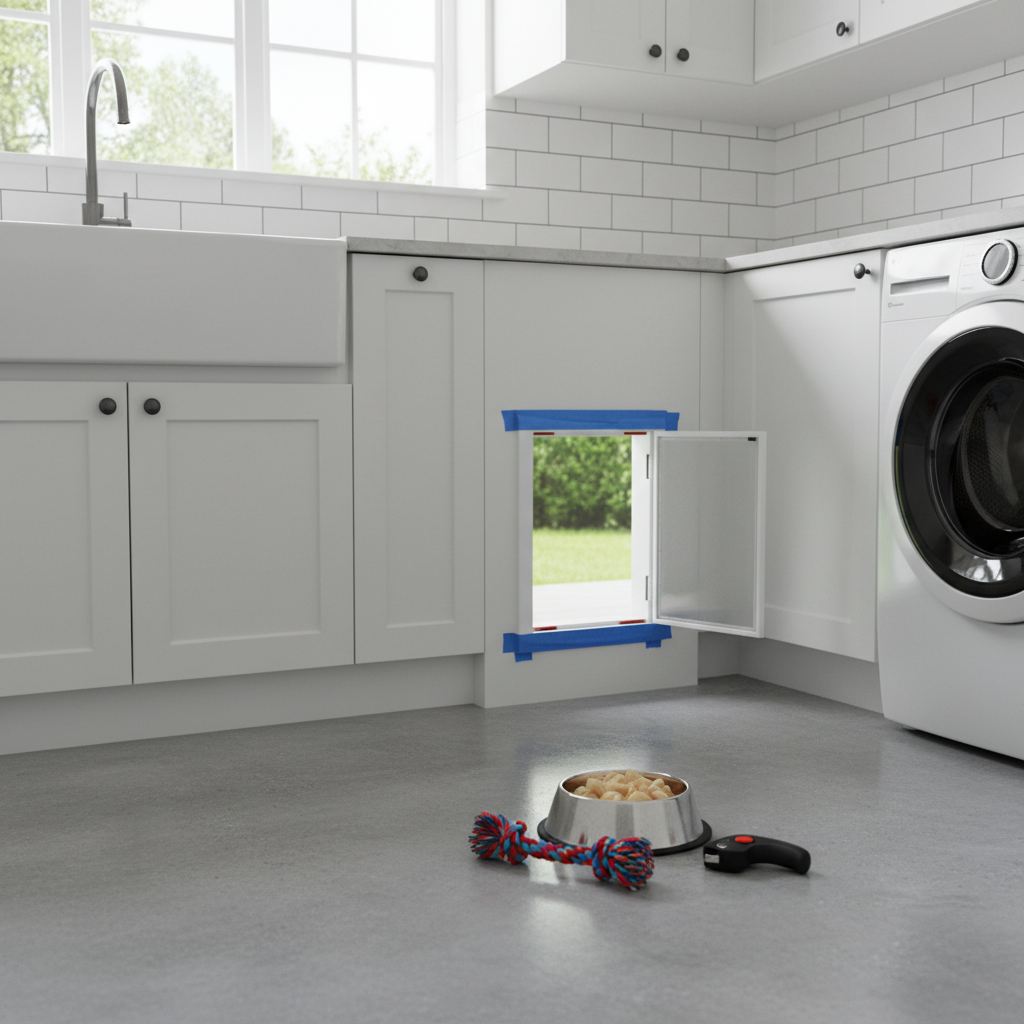
Expert Tip: Before you begin, simply tape the flap all the way up and open so the door is just an empty frame. Let your dog investigate it on their own terms for a few hours or even a day. Drop treats near it. Let them see it’s not a threat before the training even starts.
Day 1: Making Friends with the Door (The Flap is Gone!)
Day 1: Making Friends with the Door (The Flap is Gone!)
Today is all about one thing: convincing your dog that the empty hole in the door is the best thing since sliced bacon. We will not be using the flap at all today. The goal is zero fear and 100% positive association.
- Start with the Flap Taped Up: Ensure the flap is completely out of the way and secured. The opening should be clear and non-threatening.
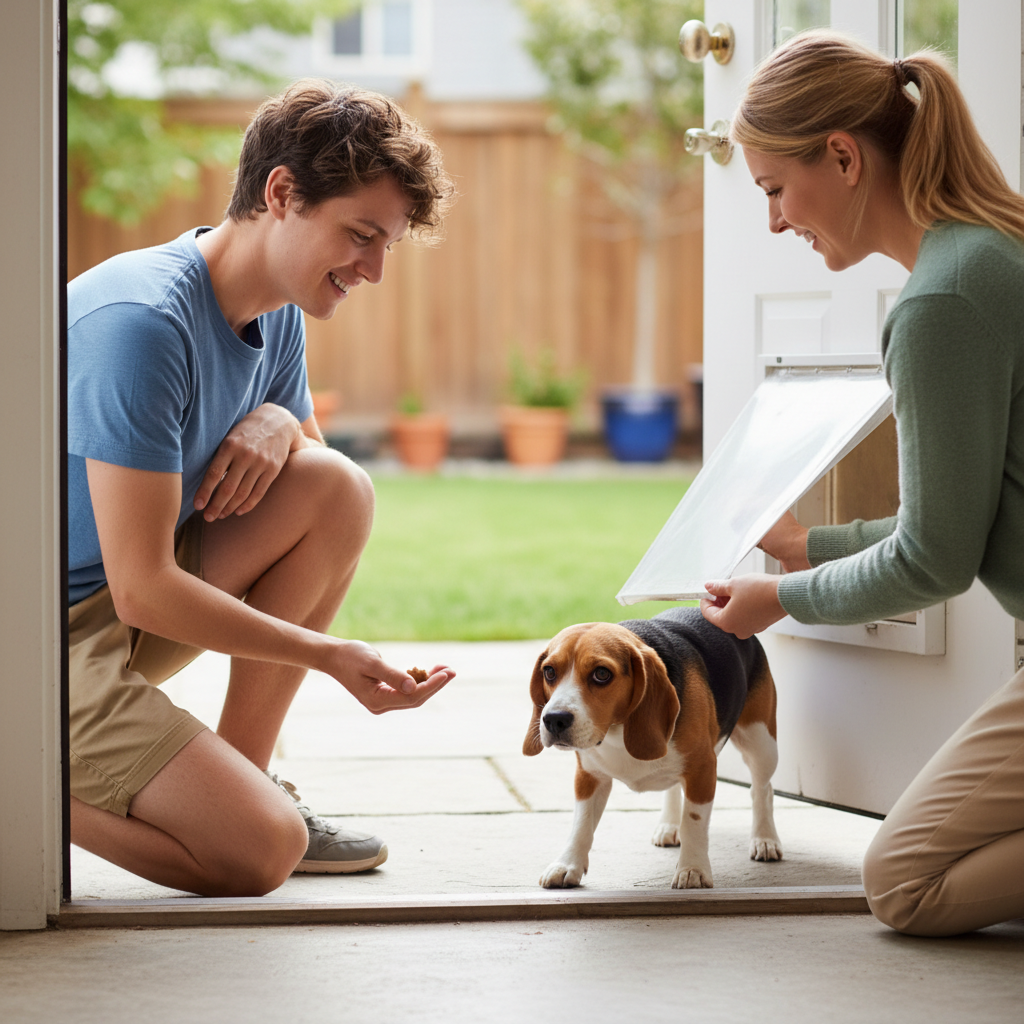
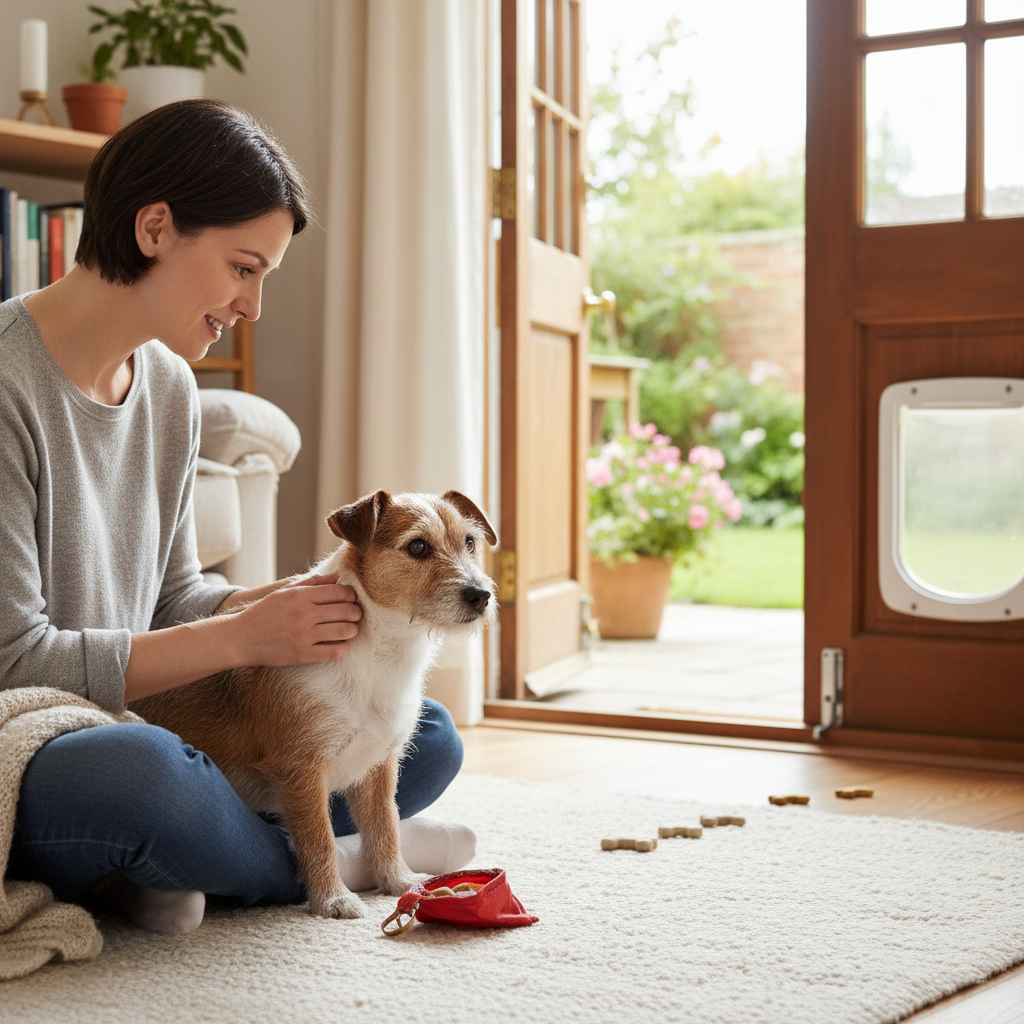
- Introduce the Game: Sit on one side of the door while your helper (or you, if you’re solo) sits on the other. Start by tossing a high-value treat near the opening on your dog’s side. When they take it, praise them enthusiastically! “Good job, Fido!”
- Lure Them Closer: Gradually toss the treats closer and closer to the opening. Let your dog set the pace. If they are hesitant, go back a step. The goal is for them to comfortably take a treat right at the threshold of the opening.
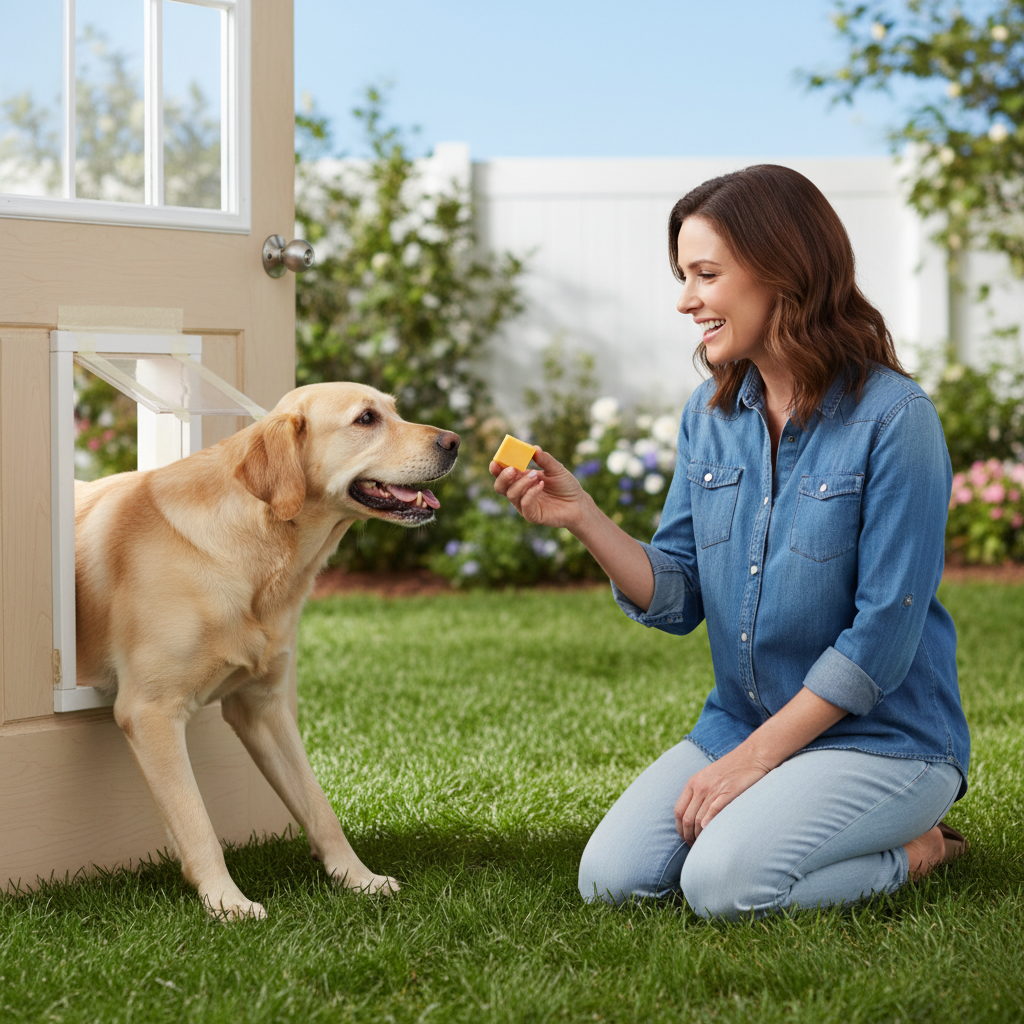
- The First Pass-Through: Now for the big moment. Have your helper call the dog’s name excitedly from the other side while showing them a super tasty treat. As your dog pokes their head through to get it, shower them with praise. The moment they step all the way through, have a jackpot party! This means multiple treats, lots of petting, and happy voices.
- Repeat, Repeat, Repeat: Practice this for several short sessions (5-10 minutes each) throughout the day. Go both ways—inside to outside, and outside to inside. Always end on a positive, successful note. Don’t push them to the point of frustration.
By the end of Day 1, your dog should see the open frame as a magical treat dispenser. They shouldn’t be showing signs of fear about the opening itself. If they are still hesitant, don’t worry! Just spend a little more time on this step before moving on.
Day 2: Tackling the Terrifying Flap
Day 2: Tackling the Terrifying Flap
Okay, team, it’s time to face the final boss: the flap. This is often the scariest part for a dog. The sensation of something touching their back and the noise it makes can be very unsettling. Our strategy is to introduce it so gradually that they barely notice.
- Start with the Flap Off: Begin with a quick, successful pass-through with the flap still taped up, just to remind your dog that this is a fun game.
- Introduce a Gentle Touch: Untape the flap. For the first few attempts, have your helper hold the flap all the way open, just like yesterday. Then, on the next try, have your helper hold it open but lower it just enough so it gently brushes your dog’s back as they go through for their treat. Praise them lavishly!
- Lower it Incrementally: With each successful pass-through, have your helper lower the flap a little more. The goal is to slowly get your dog used to the sensation and the sound. They will have to push it a tiny bit themselves. If they balk, go back to the previous step where they were comfortable.
- Encourage the Push: Eventually, you’ll get to a point where your helper is only holding the very bottom of the flap. Encourage your dog with an irresistible treat on the other side. They will have to nudge the flap with their nose or head to get through. The moment they do, it’s another jackpot party!
- Practice Both Ways: Just like yesterday, practice going in and out. Some dogs find it scarier to push the door from the outside in, so be patient. Keep sessions short and always end with a success.
Expert Tip: To make the flap less intimidating, you can rub a bit of peanut butter or cream cheese right on the bottom edge of the flap (on the side your dog is on). This encourages them to interact with it in a positive way, licking it and realizing it’s not so scary after all.
Day 3: The Final Push to Independence
Day 3: The Final Push to Independence
This is it! Today, we fade out our direct involvement and encourage your dog to make the decision to use the door all by themselves. Confidence is our keyword for the day.
- Phase Out the Helper: Start the session with your helper holding the flap, but quickly move to just letting it hang. Stand on the other side of the door and call your dog in an excited voice. Show them their favorite toy or a delicious treat. Wiggle it, talk it up, make it irresistible!
- Use Natural Motivation: Instead of just luring with treats, use real-life scenarios. When it’s time to go out for a potty break, stand by the back door, but gesture to the doggy door and say “Go outside!” with enthusiasm. When they use it, praise them and let them do their business. When they come back in, give them a treat.
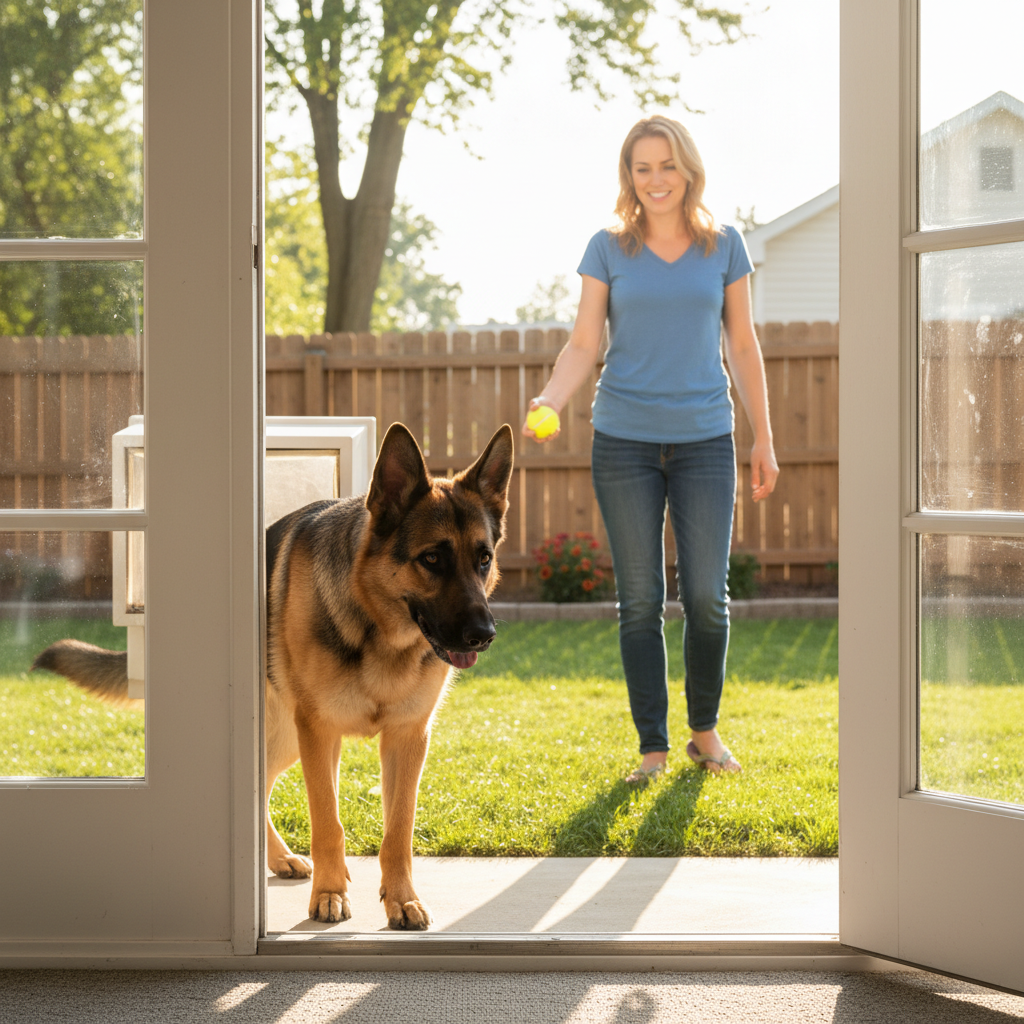
- Create a Reason to Use It: Go outside yourself and call them to come play. Toss their favorite ball in the yard. Create fun reasons for them to want to join you on the other side. The motivation shifts from just getting a treat to joining in on the fun.
- Fade the Lures: As they get more confident, stop showing them the treat beforehand. Call them through, and then surprise them with the reward once they make it. We want them to use the door because they know how, not just because they see a snack.
By the end of today, your dog should be using the door with little to no hesitation. They understand the mechanics and associate it with good things—treats, praise, and access to the fun backyard. You did it!
Uh-Oh! Troubleshooting Common Doggy Door Dramas
Uh-Oh! Troubleshooting Common Doggy Door Dramas
Sometimes, even with the best plan, you hit a snag. Don’t panic! Nearly every doggy door issue is solvable with a little patience and creative thinking. Here are some common hurdles and how to clear them.
- My dog will only go one way (e.g., out but not in).
This is very common! Often, the view from one side is more inviting (the exciting yard) or intimidating (the quiet house). Simply go back a step in your training for the direction they are struggling with. Spend an entire session just practicing coming inside, making the reward for coming in even better than the reward for going out. - The ‘snap’ of the magnet scares my dog.
For a noise-sensitive dog, that click can be a dealbreaker. You can temporarily muffle the sound by placing a small piece of painter’s tape over the magnet in the door frame. This will weaken the connection and make the sound much softer. As your dog gets used to it, you can remove the tape. - My dog gets halfway through and then backs out.
This is a classic confidence issue. They’ve committed to the head-push but get scared when the flap touches their back. Go back to Day 2, where you or a helper holds the flap up so it doesn’t touch them as they pass through. Then, re-introduce the sensation of the flap on their back very, very gradually. - Another pet in the house uses it, but this dog won’t.
Sometimes, a timid dog needs to see a confident dog use the door multiple times to understand it’s safe. Let your confident pet go in and out while you praise them. This can often build confidence by example. However, don’t force the scared dog to compete; let them watch and process at their own pace.
The golden rule of troubleshooting is to never push your dog through the door. This will shatter their trust and create a huge negative association. If you hit a wall, it’s always okay to take a break and go back to the last step where your dog was successful and happy.
Conclusion
Congratulations! You and your furry student have made it through the 3-day doggy door academy. Take a moment to appreciate how far you’ve come. That scary plastic square is now a portal to a whole new world of sniffing, playing, and sunbathing. By replacing fear with fun and pressure with patience, you’ve given your dog an incredible gift: the confidence to navigate their world and the freedom to do it on their own terms.
Remember that every dog learns at their own pace. If it took your pup a little longer than three days, that’s perfectly fine! The important thing is that you listened to your dog, built their trust, and worked together as a team. Now, sit back, relax, and enjoy fewer interruptions to open the door. You’ve both earned it!