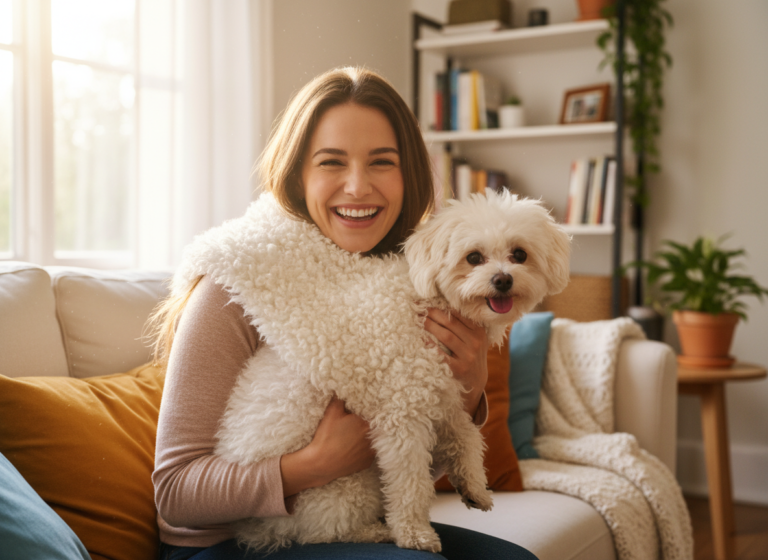
Your brilliant pup has done it! Whether they’ve graduated from puppy kindergarten, aced their advanced obedience course, or simply graduated from another year of being the world’s best dog, it’s a milestone worth celebrating. And what better way to capture the moment than with an adorable graduation photoshoot? You can already picture it: your dog, looking distinguished in a tiny cap and gown, posing like a true scholar.
But then reality hits. How in the world do you get them to wear the cap without an immediate shake-off? And how do you convince your perpetually wiggly friend to stay still for more than half a second? It can feel like an impossible task, but don’t worry! It’s totally achievable. This isn’t about forcing your dog into a costume; it’s about turning the experience into a fun game for both of you. With a little patience, a lot of tasty treats, and the right approach, you can capture those precious photos you’re dreaming of. Let’s break down the process step-by-step, making it a positive and rewarding experience for your furry graduate.
Setting the Stage: Gathering Your Pawsome Photoshoot Props
Before you even think about putting a cap on your dog’s head, the first step is to get organized. A smooth photoshoot is all about preparation! Having everything you need within arm’s reach will keep the session flowing and prevent you from having to scramble for things while your dog’s patience wears thin. Think of it as setting up your own little pet photography studio. Your goal is to create a calm, positive, and irresistible environment for your star pupil.
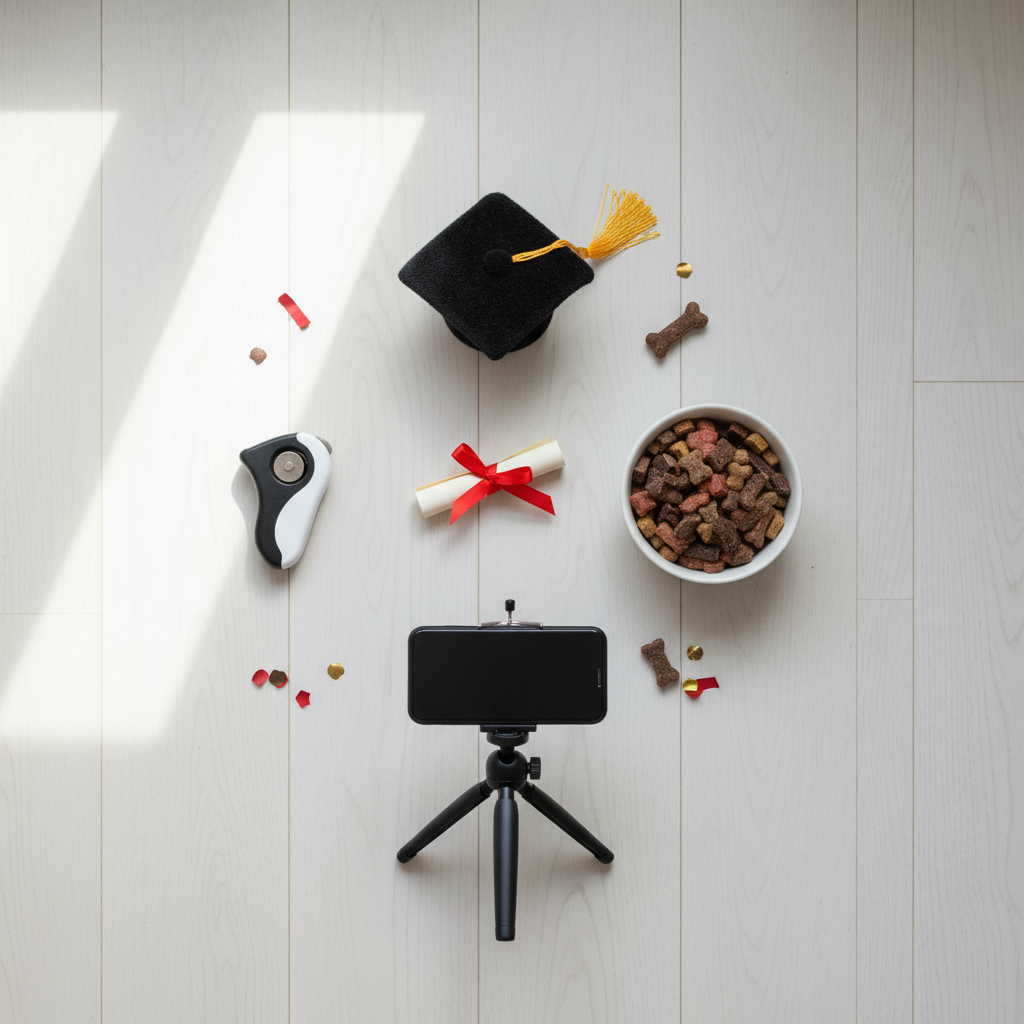
Essential Gear for Graduation Day Success:
- A Dog-Friendly Cap & Gown: This is crucial! Look for a cap with a soft, adjustable elastic chin strap that isn’t too tight. The material should be lightweight. If you’re crafty, you can even make one yourself. The key is comfort; if it’s poky or heavy, your dog will reject it immediately.
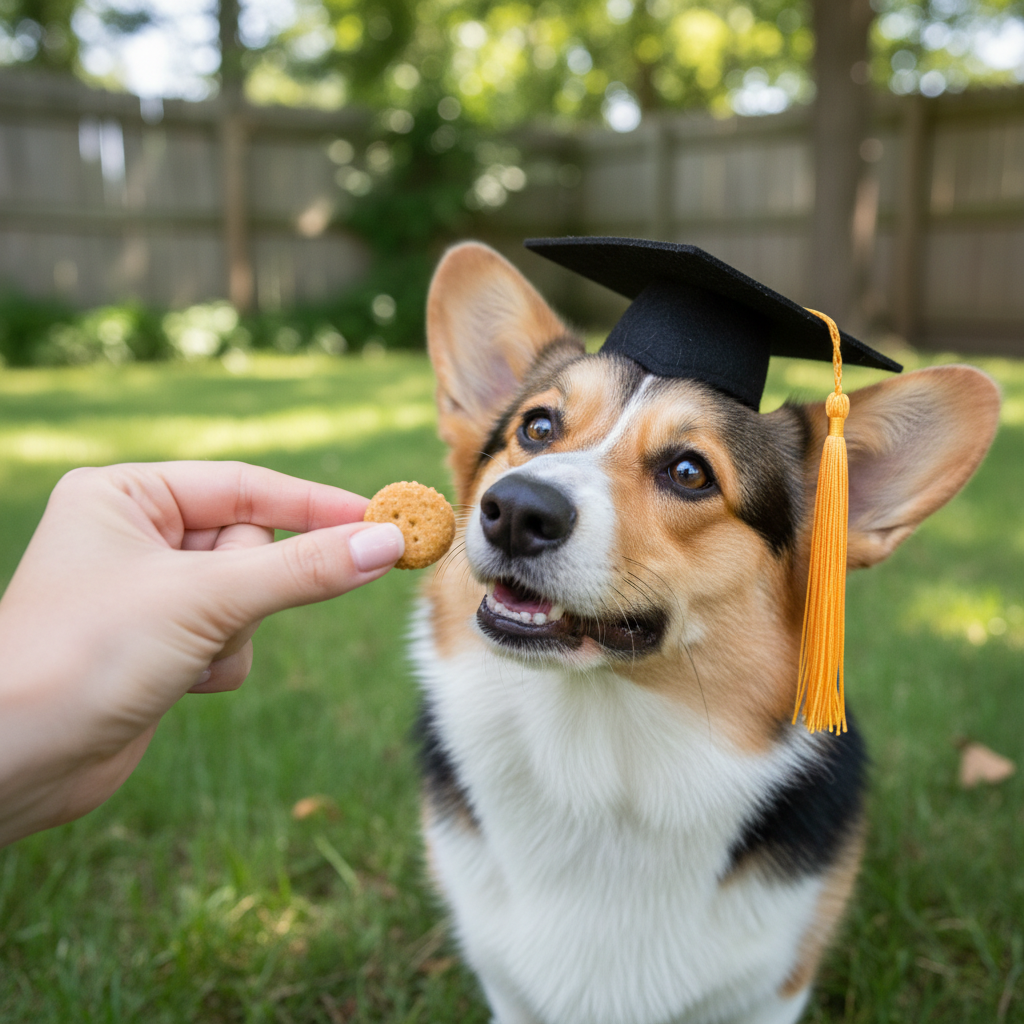
- High-Value Treats: We’re not talking about their everyday kibble. You need the good stuff! Think small, smelly, and delicious morsels like freeze-dried liver, tiny pieces of chicken, or their absolute favorite training treat. These super-tasty rewards will keep them motivated and focused.
- A Clicker (Optional, but Recommended): If your dog is clicker-trained, this is a fantastic tool for marking the exact moment they perform the right behavior (like tolerating the cap for a second). It provides clear communication and can speed up the training process.
- Your Camera or Smartphone: You don’t need a professional DSLR. Modern smartphone cameras are amazing! Just make sure your lens is clean and you have plenty of storage space. Consider using a tripod to keep your hands free for treating and positioning your dog.
- A Quiet, Familiar Location: Choose a spot where your dog feels safe and comfortable, like your living room or a quiet corner of your backyard. Avoid busy areas with lots of distractions that will pull their attention away.
- Good Lighting: Natural light is your best friend! Set up near a large window to get soft, flattering light that makes your dog’s coat shine. Avoid harsh overhead lighting or direct, bright sunlight which can cause squinting. If you must shoot indoors at night, use multiple lamps to brighten the space.
- A Simple Backdrop: A plain wall, a solid-colored sheet, or a nice patch of green grass works perfectly. You want your dog to be the star, so avoid cluttered or busy backgrounds.
Expert Tip: Before you start, put all your treats in an easily accessible pouch or pocket. Fumbling with a crinkly bag can be distracting and break your dog’s focus. The quicker you can deliver the reward, the clearer your message will be.
Step-by-Step Guide: From Cap-Shy to Cap-Confident
This is the most important part of the process, and the secret is to go slowly. We need to convince your dog that this strange new object—the cap—is actually a magical hat that makes delicious treats appear! We’ll use a process called desensitization and counter-conditioning. In simple terms, we’re going to get them used to the cap in tiny, non-scary steps, all while associating it with wonderful things (treats!).
Remember to keep your training sessions super short and upbeat—just 2-5 minutes at a time is perfect. End each session on a high note while your dog is still engaged and happy.
-
Step 1: The Introduction
Don’t try to put the cap on yet. Simply place it on the floor. The moment your dog looks at it or sniffs it, say “Yes!” (or click your clicker) and give them a treat. Do this a few times. You’re teaching them: Cap on the floor = yummy snack.
-
Step 2: Object Interaction
Now, hold the cap in your hand. Encourage your dog to touch it with their nose. The instant their nose makes contact, mark the behavior and reward them. They are learning that interacting with the cap is a great choice.
-
Step 3: The Brief Touch
With the cap in one hand and a treat in the other, briefly touch the cap to the top of your dog’s head for just a split second, then immediately give them the treat. The sequence is: touch, treat, remove cap. The cap should barely register before the delicious reward arrives.
-
Step 4: Introducing the Strap
Let your dog get used to the chin strap. Gently touch the strap under their chin (without the cap on their head), and then treat. Repeat this until they are comfortable with the sensation.
-
Step 5: The One-Second Wear
This is the big moment! Gently place the cap on their head and let the strap rest under their chin for a single second. Then, immediately and cheerfully remove it and give them a jackpot of treats! Lots of praise! You want them to think, “Wow, that was easy and I got SO many treats!”
-
Step 6: Building Duration
Once your dog is comfortable with the one-second wear, you can slowly start to increase the time. Go from one second to two seconds. Then to three. Go slowly and watch your dog’s body language. If they shake their head or try to paw it off, you’ve moved too fast. Simply go back to the previous step where they were successful and practice a bit more before trying again.
Remember: Patience is everything. Every dog learns at a different pace. If your dog seems stressed, just end the session with a fun trick they know (like ‘shake’) and a reward, and try again later. The goal is a happy graduate!
Mastering the ‘Stay’: The Secret to a Picture-Perfect Pose

Getting your dog to wear the cap is only half the battle. Now you need them to hold a pose long enough for you to snap that perfect picture. A solid ‘stay’ command is your best tool here. Even if your dog already knows ‘stay,’ practicing it in the context of a photoshoot can be a whole new challenge. We’ll reinforce the command using the ‘3 Ds’ of dog training: Duration, Distance, and Distractions.
Refining Your ‘Stay’ for the Camera
- Duration: Start by asking for a ‘stay’ for just a few seconds before you release them with a cheerful “Okay!” and a treat. Gradually increase the time they have to hold the position. Can they do five seconds? Ten? Thirty? Make it a game!
- Distance: Once they can hold a stay for a reasonable time while you’re right next to them, start adding distance. Take one step back, return, and reward. Then two steps. Slowly work your way up to being several feet away—the distance you’ll need to be to take a photo.
- Distractions: This is where you introduce the camera! While they are holding their stay, lift your phone or camera to your eye. If they hold their position, return and reward. Next, try making the shutter sound or a quiet click. The goal is to teach them that the sight and sound of the camera are just normal parts of the ‘stay’ game.
Tips for a Super ‘Stay’:
- Use a Release Word: Always use a release word like “Okay!” or “Free!” to let your dog know when the ‘stay’ is over. This teaches them they must hold the position until you give them permission to move.
- Reward in Position: When practicing, walk back to your dog to deliver the treat while they are still in the ‘stay’ position. This reinforces that staying put is what earns the reward, not getting up to come to you.
- Keep it Positive: If your dog breaks the stay, don’t scold them. Simply say “Oops!” in a neutral tone, lead them back to the original spot, and ask for a shorter, easier ‘stay’ that you know they can succeed at. We always want to set them up for success.
Troubleshooting Common Cap-tastrophes and Photo Fails
Even with the best preparation, things don’t always go according to plan. Your dog isn’t a professional model, and that’s okay! Anticipating common issues can help you handle them with grace and keep the photoshoot from turning into a frustrating experience. Here are some common problems and how to solve them.
The most important rule of troubleshooting is to never get frustrated with your dog. If something isn’t working, it’s a sign that we need to adjust our training plan, not that our dog is being ‘stubborn.’ Take a deep breath, reset, and try a different approach.
| The Problem | The Solution |
|---|---|
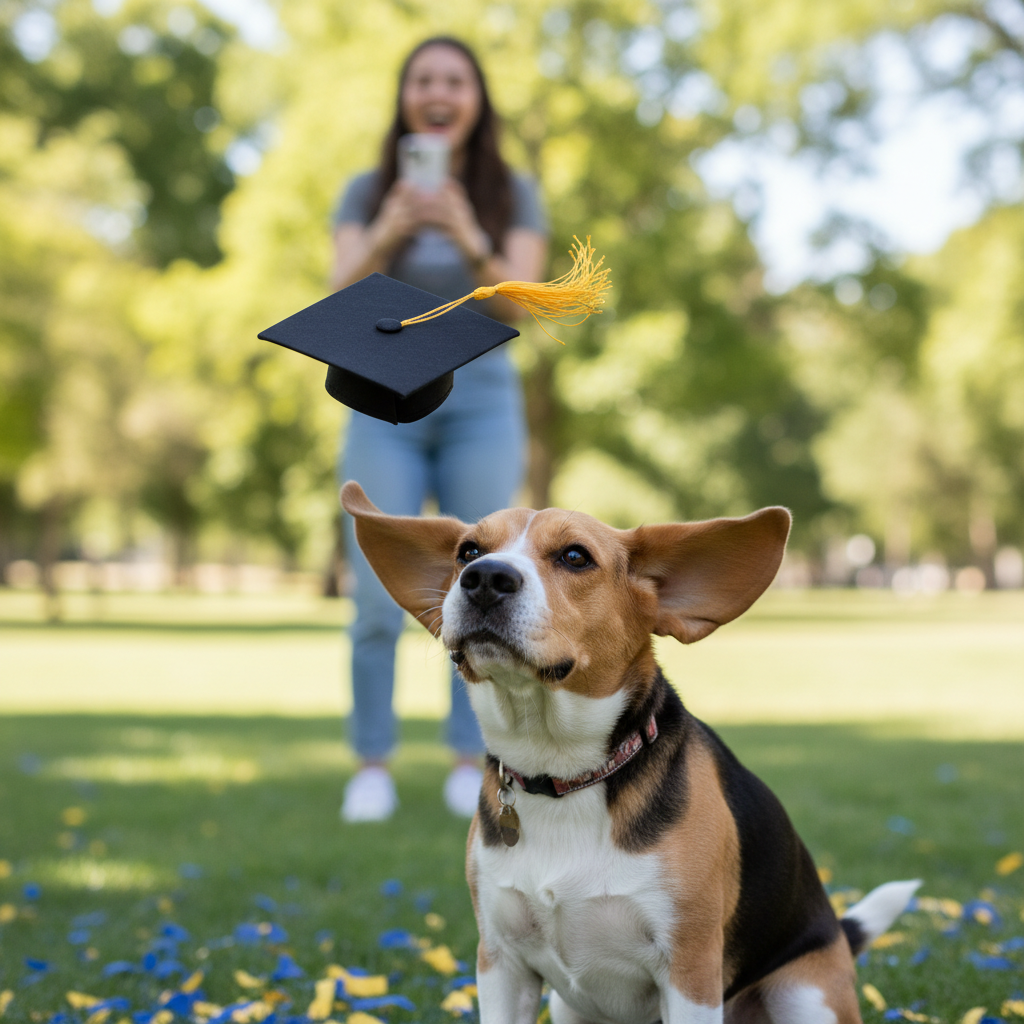
| My dog immediately shakes the cap off. | You’ve likely moved too fast. Go back to the earlier steps of just touching the cap to their head for a split second and rewarding. Make sure the chin strap isn’t too tight or uncomfortable. The goal is for the cap to be so rewarding they briefly forget it’s there. |
| My dog runs away when they see the cap. | The cap has developed a negative association. You need to rebuild the fun! Put the cap away for a day or two. Then, reintroduce it from a distance. Place it on the other side of the room and reward your dog for simply looking at it. Slowly decrease the distance over several sessions, always pairing it with super high-value treats. |
| My dog won’t look at the camera. | Hold a high-value treat or a squeaky toy right next to the camera lens. This will naturally draw their gaze toward the camera. You can also make interesting noises (kissy sounds, quiet whistles) to get their attention and maybe even a cute head tilt! |
| The photos are blurry because my dog is moving. | Ensure you’re shooting in a well-lit area. Good lighting allows your camera to use a faster shutter speed, which freezes motion. You can also use ‘burst mode’ on your phone to take a rapid series of photos, increasing your chances of capturing a clear, sharp image in the bunch. |
| My dog is getting stressed and yawning or licking their lips. | These are signs of stress. It’s time to stop! End the session immediately on a positive note. Play a quick game of tug or ask for a simple trick they love, reward them, and call it a day. Pushing a stressed dog will only make them dislike the process more. |
Conclusion
And there you have it! Capturing the perfect dog graduation photo is less about luck and more about patience, preparation, and positive reinforcement. By turning the cap and the camera into a fun game, you’re not just getting a great picture; you’re also strengthening your bond and communication with your dog.
Remember, the goal is to celebrate your wonderful companion. If you only get a few blurry shots with the cap askew, or a photo of your dog happily munching on their ‘diploma,’ those are still beautiful memories. The real achievement is the love and joy your dog brings into your life every single day. So, grab your treats, have fun, and congratulations to your furry, four-legged graduate! You both deserve to celebrate.