There’s nothing quite like exploring the great outdoors with your canine companion by your side. The fresh air, the beautiful scenery, the shared experience—it’s pure magic! If you’re looking to take your adventures to the next level, you might be considering a hiking backpack for your dog. It’s a fantastic way for them to carry their own essentials like water, food, and poop bags, making them feel like a true working member of the pack.
But you can’t just strap on a pack and hit the trail. Getting your dog comfortable and happy with their new gear is a process that requires patience, positivity, and a little bit of training. Think of it as a new, fun trick you get to teach them! This guide is here to walk you through every step, from picking the perfect pack to that triumphant first hike. Let’s get your pup adventure-ready!
Step 1: Gearing Up – How to Choose the Right Dog Backpack
Before the training can even begin, you need the right equipment. A poorly fitting or uncomfortable backpack can turn hiking into a miserable experience for your dog and can even cause sores or injuries. Think of it like buying your own hiking boots—fit and comfort are everything! Here’s what to look for when shopping for the perfect canine pack.
Finding the Perfect Fit
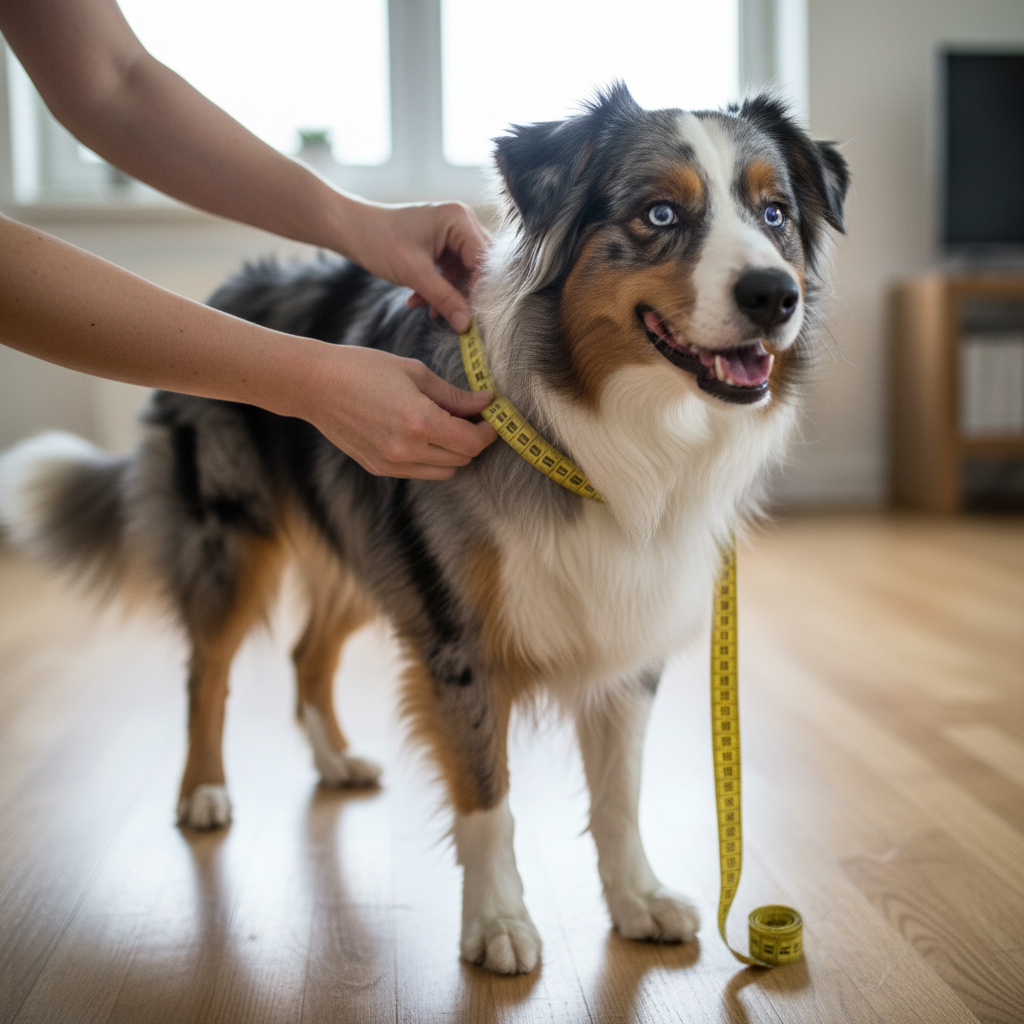
This is the most critical factor. A pack that’s too loose will shift and chafe, while one that’s too tight will restrict movement and breathing. Get out your soft measuring tape!
- Measure Chest Girth: This is the most important measurement. Wrap the tape around the widest part of your dog’s chest, right behind their front legs.
- Measure Body Length: Measure from the base of their neck to the base of their tail. The pack shouldn’t extend too far down their back, as this can put pressure on their hips.
- Check the Straps: Look for packs with multiple adjustment points (usually around the chest and belly). This allows you to create a snug, custom fit. You should be able to fit two fingers comfortably under all the straps.
Key Features to Consider
Not all dog backpacks are created equal. Here are some features that can make a big difference on the trail:
- Saddlebag Design: Most packs have two saddlebags. Look for ones that are well-balanced and don’t sag. Some are fixed, while others are removable, which can be handy for rest stops.
- Durable, Lightweight Material: You want something tough enough to handle branches and scrapes but not so heavy that it weighs your dog down before you even pack it. Ripstop nylon is a popular choice.
- Padding and Breathability: Check for padding under the straps and across the back plate. A breathable mesh lining will help keep your pup cool and prevent hot spots.
- A Sturdy Leash Attachment: A strong D-ring, preferably made of metal, is essential for securely attaching your leash.
- A Padded Handle: This is a lifesaver! A handle on top of the pack allows you to help your dog over obstacles like logs or streams, or to quickly gain control if needed.
Expert Tip: When you first get the pack, let your dog wear it around the house empty for a few days before you even start formal training. This helps them get used to the feel of it in a low-stress environment.
Step 2: The Meet-and-Greet – Introducing the Backpack

Your dog’s first impression of the backpack will set the tone for all future training. Your goal here is simple: make the backpack the most exciting, treat-dispensing object your dog has ever seen! This phase is all about building a positive association. No pressure, no straps, just fun.
Keep it Positive and Fun
- The Investigation: Place the new, empty backpack on the floor in a common area of your house. Let your dog approach it on their own terms. When they sniff it, praise them enthusiastically and give them a high-value treat.
- Treat Party: Scatter some of your dog’s favorite treats on and around the backpack. Let them eat the treats off the pack. This teaches them that good things happen when this object is around.
- Use a Marker Word: If you use a clicker or a marker word like “Yes!”, use it the instant your dog shows positive interest in the pack, then follow up with a reward.
- Short and Sweet Sessions: Keep these introductory sessions very short—just a minute or two at a time, a few times a day. You want to end on a high note, leaving your dog wanting more, rather than boring them.
During this stage, never force your dog to interact with the pack. If they seem nervous, simply leave it on the floor and reward any glance or step towards it. Patience is your best friend here. You’re building a foundation of trust that will pay off on the trail.
Step 3: Trying It On for Size – The First Wear
Once your dog is happily associating the backpack with treats and praise, it’s time to try it on. Again, the key is to take it slow and make it a fantastic experience. We’re still working with a completely empty pack at this stage.
The Gradual Fitting Process
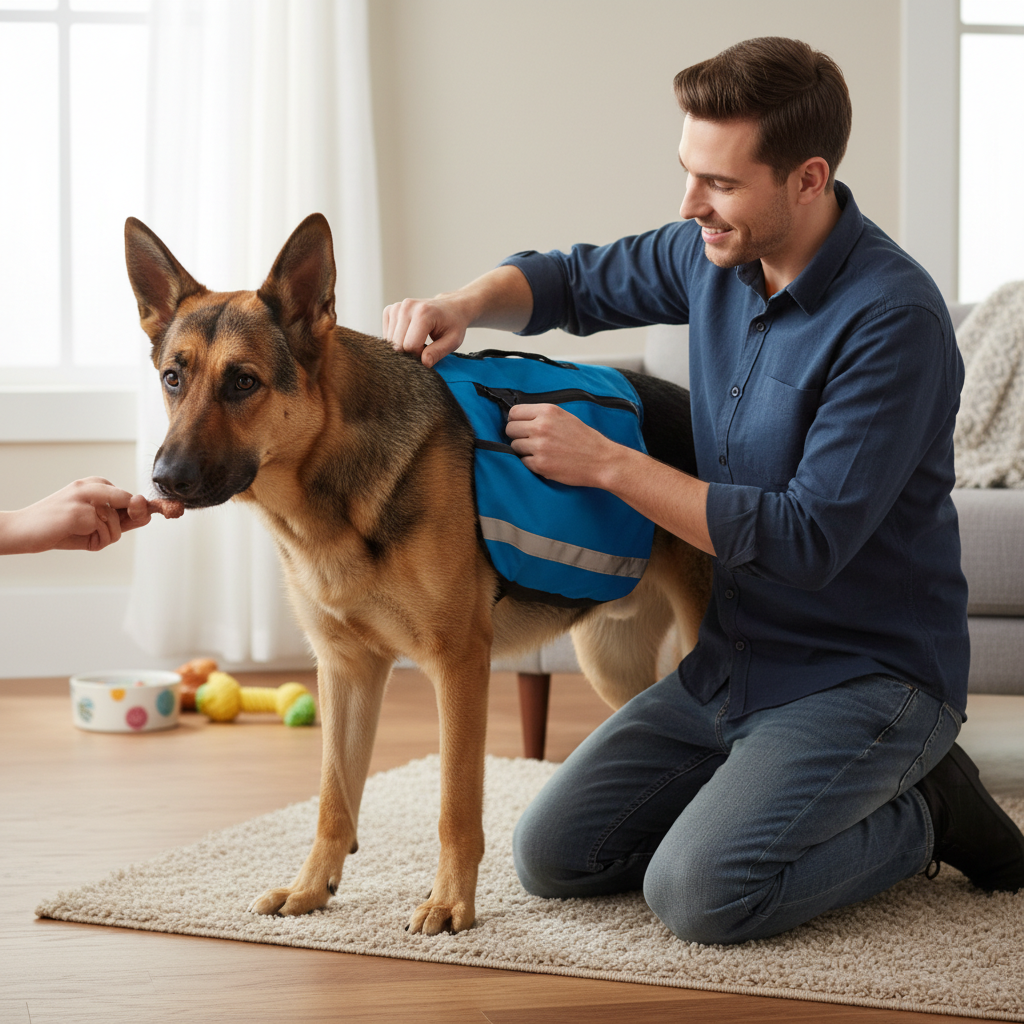
- Drape and Reward: With your dog standing, calmly drape the empty pack over their back for just a second or two. As you do it, feed them a steady stream of small treats. Then, remove the pack and stop the treats. Repeat this several times.
- First Buckle: Once they are comfortable with the draping, it’s time to fasten a strap. Start with the chest strap. Buckle it loosely, continue the treats and praise, then unbuckle it after a few seconds. Repeat until this is no big deal.
- All Buckled Up: Now, fasten all the straps, keeping them loose. Let your dog wear the pack for 30 seconds while you continue to praise and treat them. Then, take it off and end the session with a fun game of tug or fetch.
- Increase Duration: Gradually increase the amount of time your dog wears the empty pack around the house. Start with a minute, then five, then ten. Do this during fun times, like during dinner prep or playtime, so they associate the pack with normal, happy activities.
Troubleshooting Tip: If your dog freezes or seems uncomfortable, they might be feeling overwhelmed. Go back a step! Shorten the duration or just go back to draping it over their back. The goal is a happy dog, not a fast timeline.
Once your dog is comfortably walking around the house with the empty pack, you’re ready to move on to the next exciting step!
Step 4: Let’s Get Packing! Gradually Adding Weight
Your pup is now a pro at wearing their empty pack! It’s time to introduce the concept of carrying a load. This must be done gradually to allow your dog’s muscles to adapt and to ensure they remain comfortable. A sudden, heavy load can be confusing and physically straining.
The Rule of Weight
The golden rule is that a healthy, fit dog should carry no more than 10% to 25% of their body weight. However, you should always start much, much lower. For the first few weighted walks, aim for just 5% or less. Puppies, senior dogs, and dogs with any health issues should carry very little weight, if any at all—always consult your vet first!
How to Add Weight Safely
Start with items that are light but bulky to help the pack keep its shape, like a rolled-up tea towel or some crumpled newspaper in each saddlebag. From there, you can slowly increase the weight.
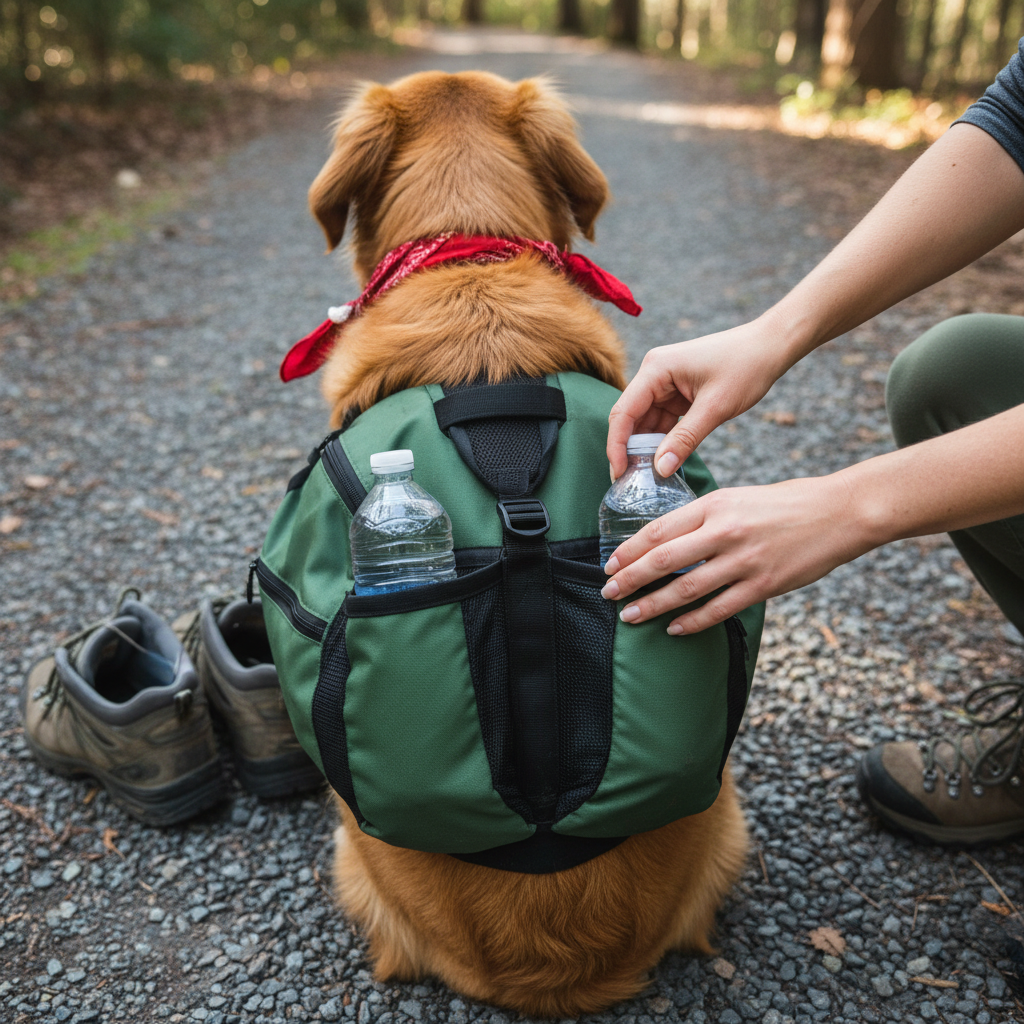
- Balance is Key: The weight in both saddlebags must be as equal as possible. An unbalanced pack will be uncomfortable and can cause chafing. Use a kitchen scale if you need to! Good items for balanced weight include water bottles, bags of rice, or hand weights.
- Start Indoors: Have your dog wear the lightly weighted pack around the house first. Watch their gait. Are they walking normally? Do they seem comfortable?
- First Weighted Walks: Take them for short walks around the neighborhood with the light pack. This gets them used to the feeling of movement with weight on their back.
Sample Weight Progression Schedule
This is just an example for a healthy, 50-pound adult dog. Adjust based on your dog’s fitness and comfort level.
| Week | Total Pack Weight | Example Items | Activity |
|---|---|---|---|
| Week 1 | 1-2 lbs (2-4%) | Two 16oz water bottles | Short walks (15-20 mins) around the block |
| Week 2 | 3-4 lbs (6-8%) | Two 1.5L water bottles (partially full) | Longer walks (30-45 mins) on flat terrain |
| Week 3 | 5 lbs (10%) | Full water bottles, bags of kibble | A short, easy trail hike (1-2 miles) |
| Week 4 & Beyond | Up to 7.5 lbs (15%) | Actual hiking gear (water, food, bowl) | Gradually increase hike duration and difficulty |
Always monitor your dog closely. If they seem tired or sore, reduce the weight or take a few days off. Building strength takes time!
Step 5: Adventure Awaits! The First Official Hike
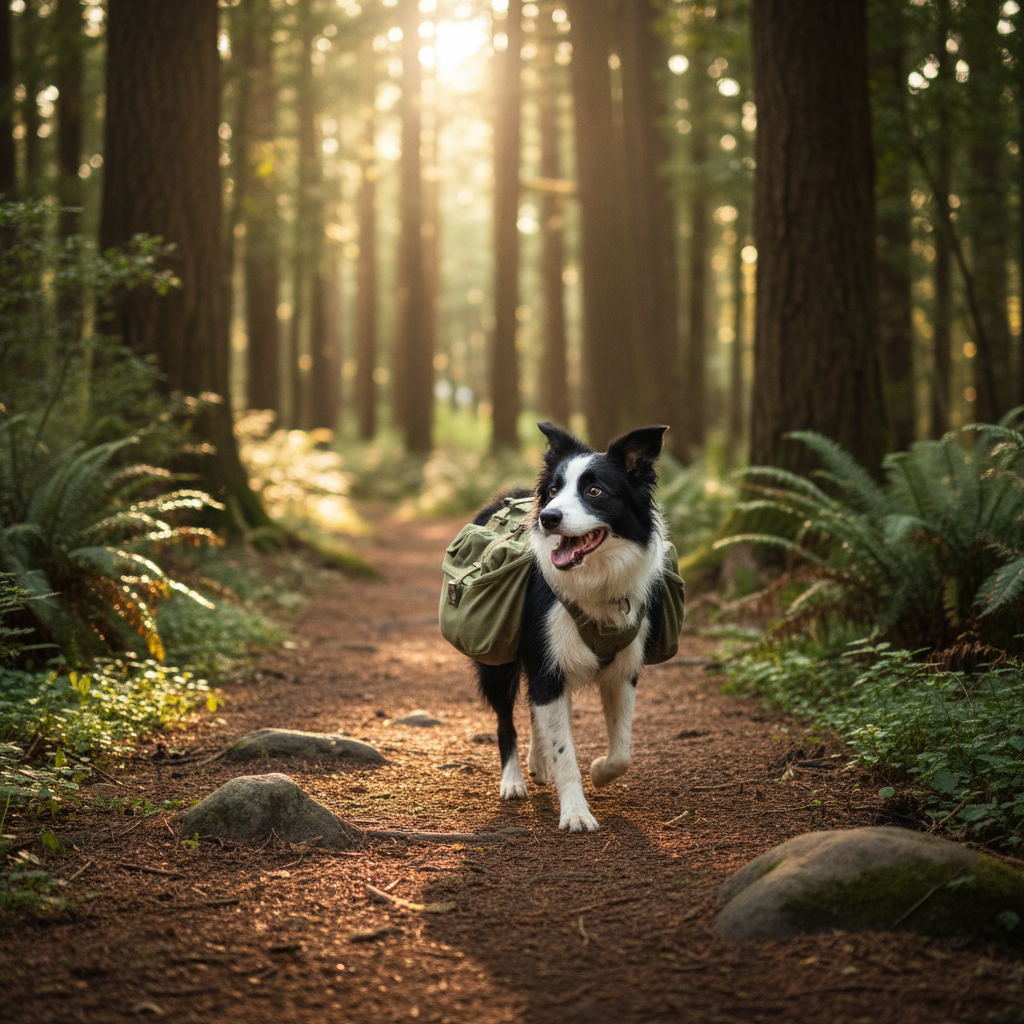
This is the moment you’ve both been training for! It’s time to hit the trails. The first real hike with a weighted pack should be a positive, confidence-building experience. Don’t plan a 10-mile mountain trek for your first outing.
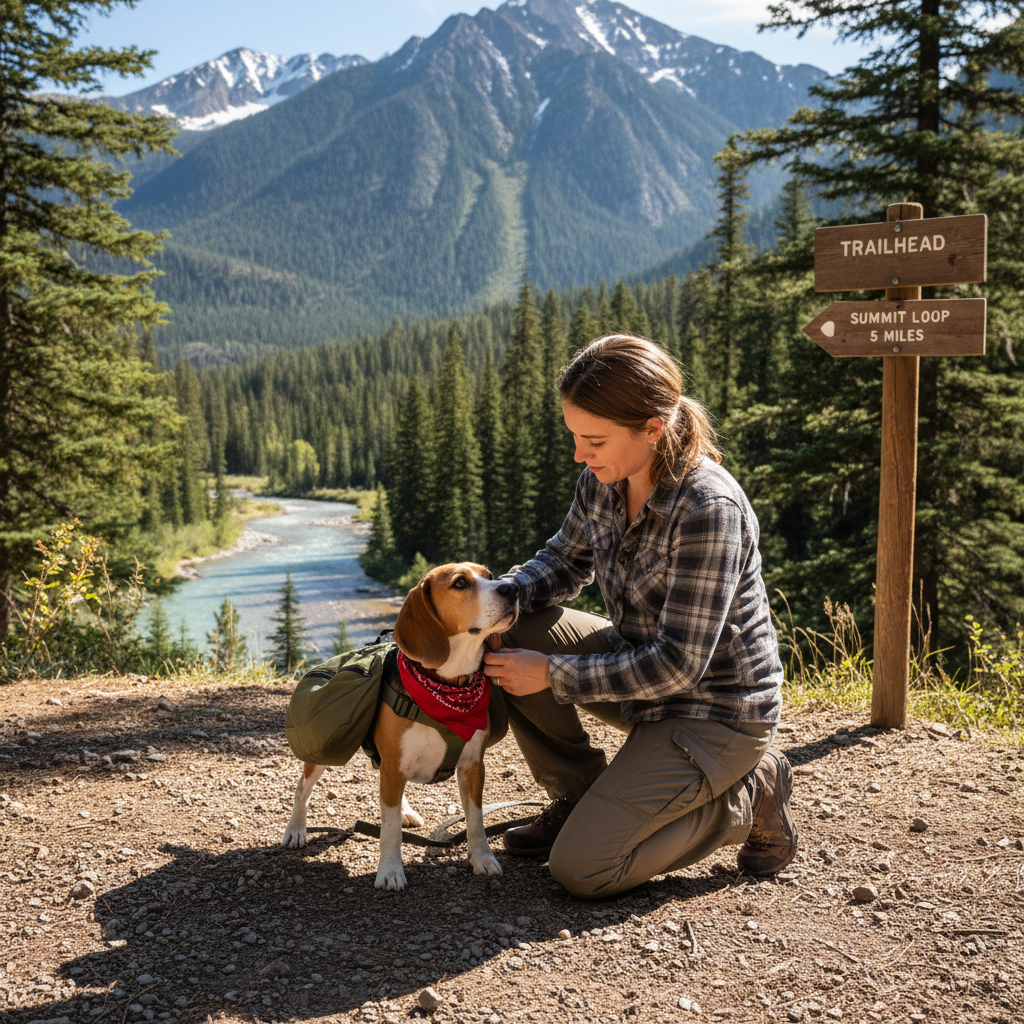
Setting Up for Success
- Choose an Easy Trail: Pick a trail that is familiar, relatively short, and on easy terrain. You want your dog to focus on the experience of hiking with the pack, not on navigating difficult obstacles.
- Keep it Light: For the first few hikes, keep the pack weight on the lower end of what they’ve been training with. Their body is still adjusting to carrying a load on uneven ground.
- Pack Smart: Pack their essentials: plenty of water, a collapsible bowl, some high-energy snacks, and poop bags. Make sure soft items are against their body to prevent poking from hard objects.
- Frequent Checks: Stop every 20-30 minutes to check the pack. Make sure the straps are still snug but not too tight. Check under the straps and pack for any signs of redness or chafing.
- Hydration and Breaks: Your dog will be working harder than usual, so offer water more frequently. Take plenty of breaks to let them rest and sniff around.
- Be Their Biggest Cheerleader: Praise them often! Let them know what a great job they’re doing. Your positive energy is contagious and will help them associate hiking with the pack as a super fun activity.
After the hike, remove the pack immediately and give them a good once-over, checking again for any sore spots. And of course, tell them they’re the best hiking buddy in the world. They earned it!
Troubleshooting and Pro-Tips for Happy Trails
Even with the best training plan, you might run into a few little bumps in the road. Don’t worry, it’s totally normal! Here’s how to handle common issues and a few pro-tips to make every hike a great one.
Common Training Hurdles
- My dog freezes and won’t move! This is a classic sign of being overwhelmed. The pack feels strange, and they don’t know what to do. The solution is to go back a step. Take the pack off, end the session with a fun game, and try again tomorrow for a much shorter duration with more high-value treats.
- My dog keeps trying to bite or scratch at the pack. This usually means something is uncomfortable. The first thing to do is check the fit. Are the straps too tight? Is the pack unbalanced? Is it rubbing them somewhere? Adjust the fit and if it continues, you may need to try a different style of pack.
- The pack is shifting all over the place! This is a fit issue. It’s likely too loose. Try tightening the straps to get a more snug, secure fit. The pack should feel like part of your dog, not a piece of luggage sloshing around.
Pro-Tips for the Trail
Expert Tip: Before every single hike, do a quick gear check. Put the pack on your dog and have them walk around. Check all the straps and buckles for wear and tear, and ensure the fit is still perfect.
- Pack Mindfully: Place heavier items towards the front of the saddlebags (closer to the shoulders) and lower down. This helps with stability and centers the weight over their strongest point.
- Post-Hike Care: After a long or muddy hike, be sure to clean the backpack according to the manufacturer’s instructions. This prevents dirt and grime from building up, which could cause chafing on the next trip.
- Know Your Dog’s Limits: A backpack adds an extra workout for your dog. Pay close attention to their body language. Excessive panting, lagging behind, or lying down are all signs that it’s time for a long break or to call it a day. The goal is fun, not an endurance test.
Conclusion
Congratulations! You now have all the tools and knowledge to successfully train your dog to wear a hiking backpack. By following these steps—choosing the right gear, creating positive associations, and gradually increasing duration and weight—you’re not just teaching your dog a new skill. You’re preparing them for a lifetime of shared adventures while strengthening the incredible bond you have.
Remember that every dog learns at a different pace. Be patient, stay positive, and celebrate the small victories along the way. The effort you put in now will pay off tenfold when you’re both out on the trail, exploring the world together, with your pup proudly carrying their share of the load. Now, get out there and make some memories!