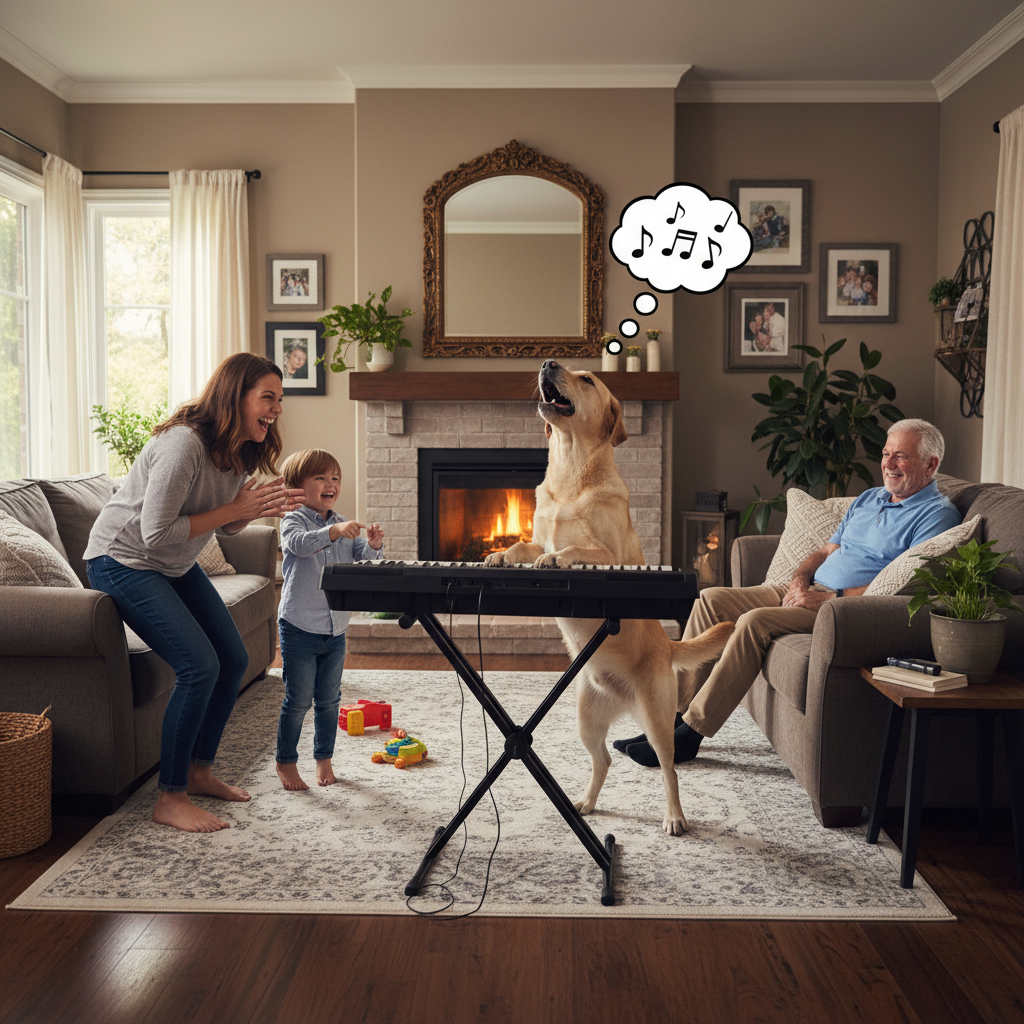
Have you ever watched a viral video of a dog tinkling the ivories and thought, ‘Could my dog do that?’ Well, we’re here to tell you that the answer is a resounding YES! Unlocking your pup’s inner Mozart isn’t about preparing them for a concert at Carnegie Hall; it’s about providing incredible mental stimulation, strengthening your bond through positive training, and, let’s be honest, teaching one of the coolest party tricks on the planet.
Teaching a dog to play the piano is a fantastic enrichment activity that engages their mind and body in a unique way. It builds confidence, hones their ability to learn, and is a hilarious and heartwarming process for you both. Forget ‘fetch’ for a moment—we’re about to embark on a musical journey. This guide will walk you through everything you need, from setting the stage to taking your final bow, all using fun, force-free methods. Ready to create some beautiful (or at least, memorable) music together?
Setting the Stage: Gathering Your Canine Concert Supplies
Setting the Stage: Gathering Your Canine Concert Supplies
Before you can debut your dog’s musical stylings, you need to gather a few essential props. Think of this as setting up your pup’s very own recording studio! The right tools will make the training process smoother, safer, and much more fun for your furry artist. You don’t need to spend a lot of money, but having these items on hand is key.
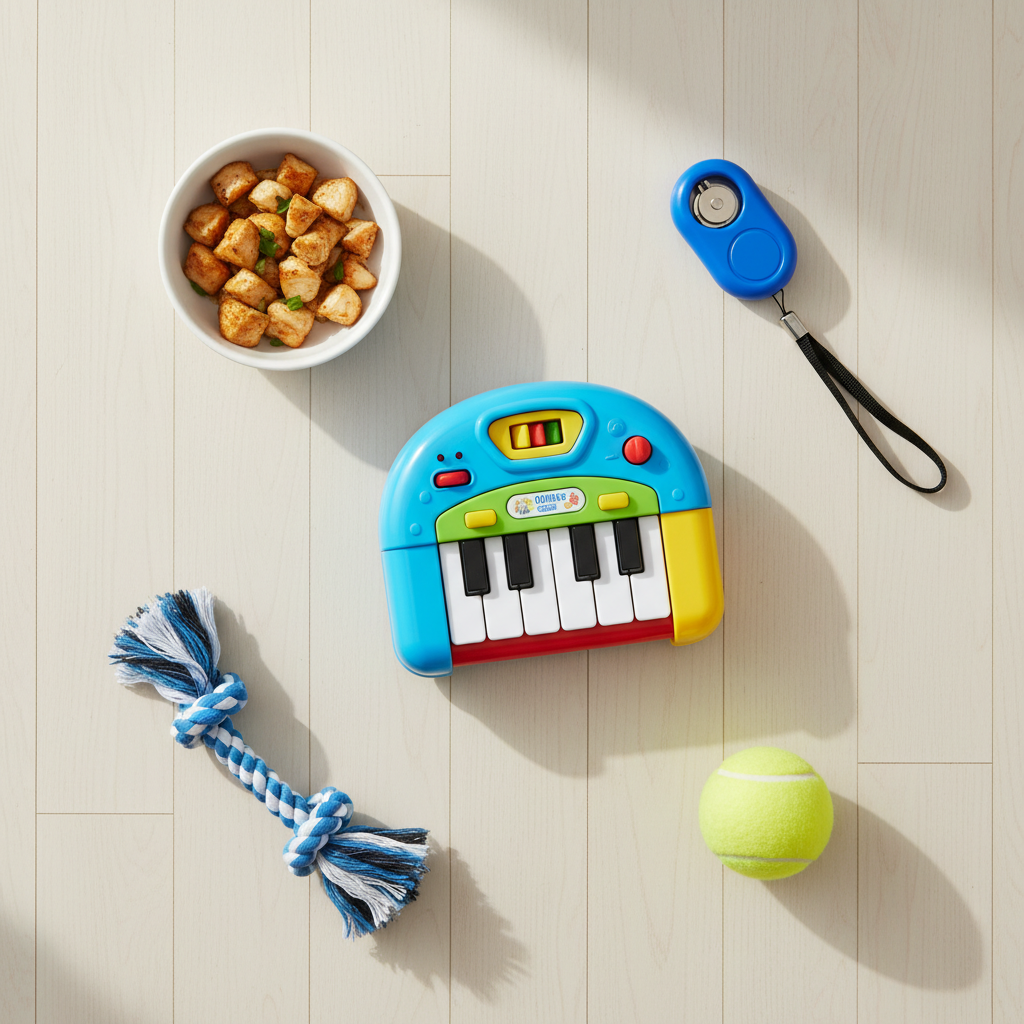
What You’ll Need:
- A Dog-Friendly Keyboard: You don’t need a Steinway grand piano for this! A small, inexpensive children’s toy piano or a mini electronic keyboard works perfectly. The most important factors are that it’s sturdy enough not to tip over when your dog puts their paws on it and that the keys are easy to press. Floor models are often ideal.
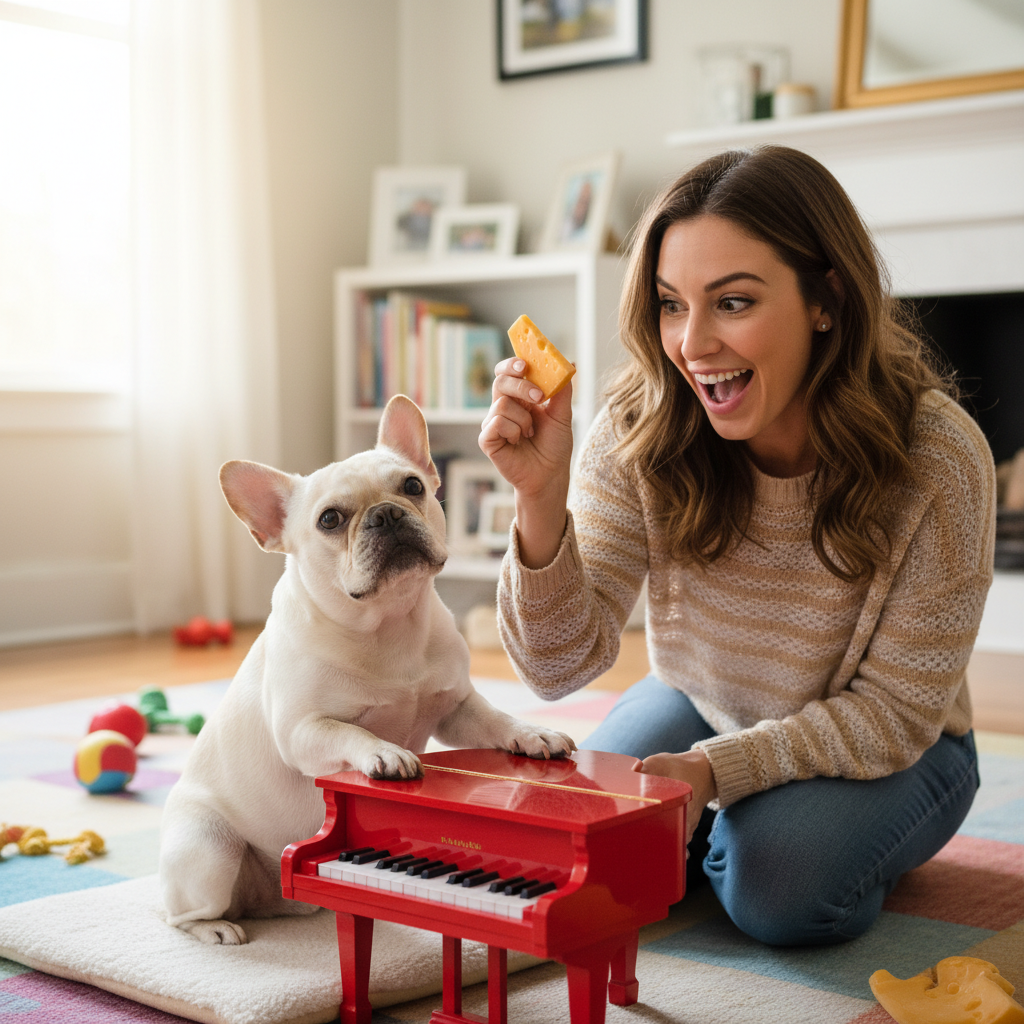
- High-Value Treats: We’re talking about the good stuff—the treats your dog would do just about anything for. Think tiny pieces of cooked chicken, cheese, hot dogs, or their absolute favorite store-bought training treats. Since you’ll be rewarding frequently, make sure the pieces are pea-sized to avoid overfeeding.
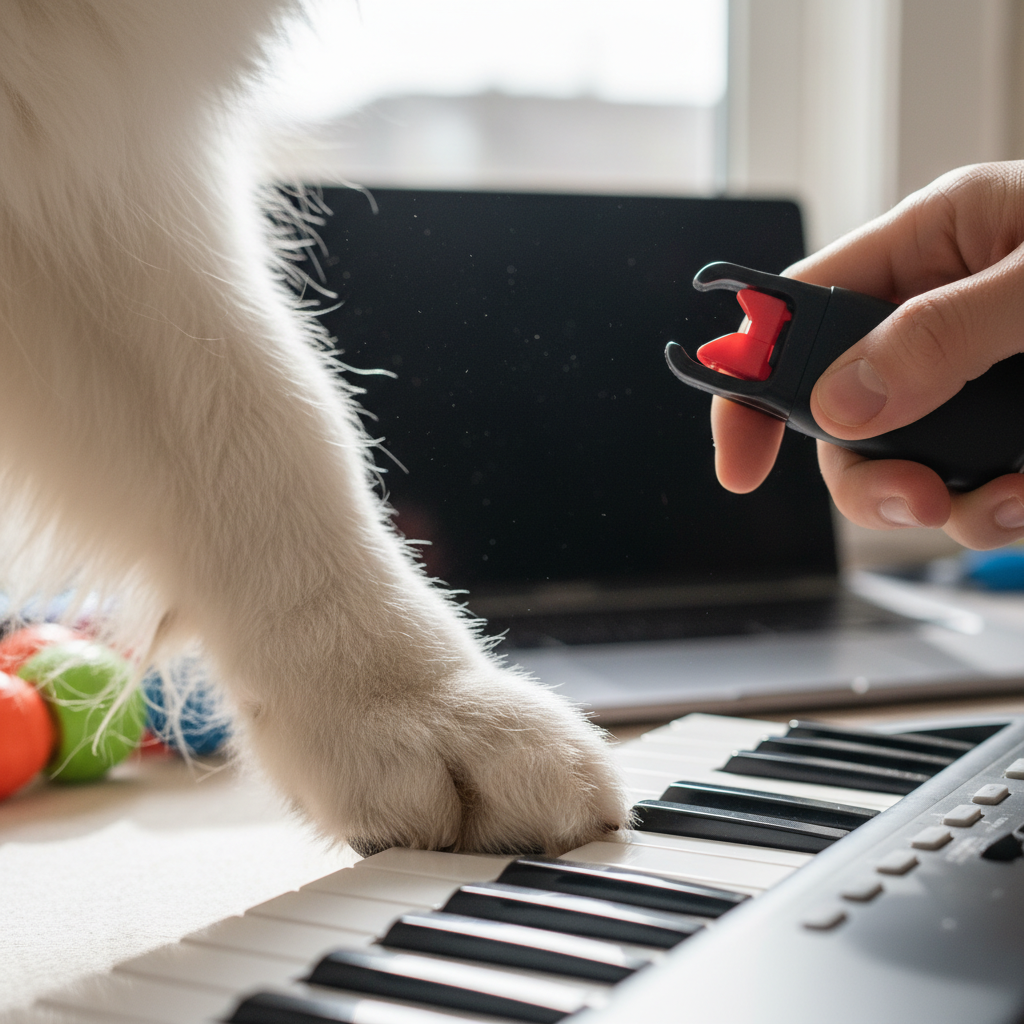
- A Clicker (Optional, but Recommended): A clicker is a fantastic tool for marking the exact moment your dog does the right thing. This precision communication can speed up the learning process significantly. If you’ve never used one, don’t worry! It’s simple: click at the moment of the desired action, then immediately give a treat. The ‘click’ becomes a powerful signal for ‘Yes! That’s what I want!’
- Patience and a Positive Attitude: This is the most crucial item on the list. Training should always be a fun game. Keep your sessions short (5-10 minutes max), end on a positive note, and celebrate the small wins. Your enthusiasm is contagious!
Expert Tip: When choosing a keyboard, consider the sound. Some electronic keyboards have volume control, which is perfect. You can start with the volume off or very low to avoid startling a sound-sensitive dog, and gradually increase it as they get more comfortable.
Act I: Introducing the Instrument and Building Positive Vibes
Act I: Introducing the Instrument and Building Positive Vibes
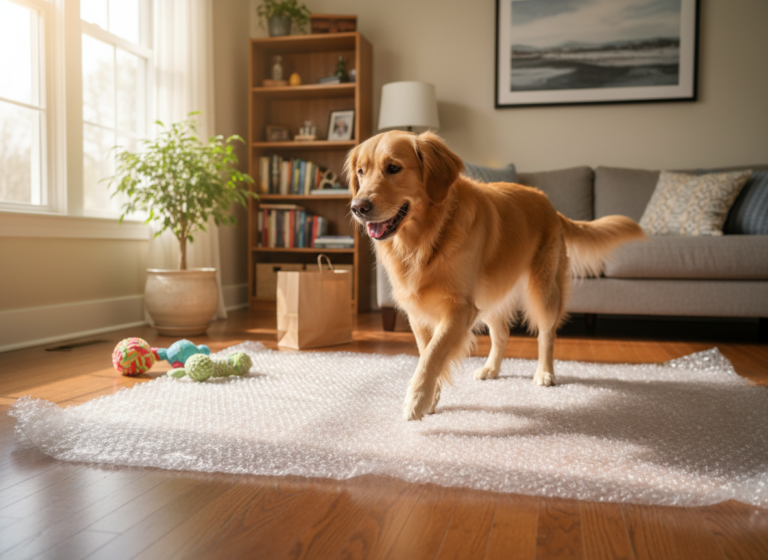
First impressions matter, especially for our canine companions. Your dog’s first interaction with the piano needs to be overwhelmingly positive. The goal of this phase is to make your dog think the piano is the most wonderful, treat-dispensing machine ever invented. We want them to love it before we ever ask them to play it.
Step 1: The Grand Unveiling
Place the keyboard on the floor in a neutral area of your home. Don’t force your dog to approach it. Simply let their natural curiosity take over. When they go to sniff or investigate it, praise them warmly and give them a treat. Let them walk around it, look at it, and get comfortable with its presence. Do this for a few short sessions until the piano is just another boring piece of furniture.
Step 2: The Magic Treat Dispenser
Now, let’s level up the association. With the keyboard turned off, place a high-value treat directly on the body of the piano (not the keys just yet). Let your dog take the treat. Repeat this several times. They will quickly learn that good things happen when they are near this strange new object. You can then start placing treats on the keys themselves. The act of them taking the treat might cause a key to make a sound (even if it’s off), which is a great, low-pressure introduction to the instrument’s mechanics.
Important: Watch your dog’s body language. If they seem nervous, back up a step. Go back to just rewarding them for looking at the piano from a distance. Every dog learns at a different pace, and pushing a fearful dog will only create a negative association that’s hard to undo. Keep it light and fun!
Act II: From Paws to Keys – The Step-by-Step Method
Act II: From Paws to Keys – The Step-by-Step Method
Okay, your dog thinks the piano is a fantastic treat machine. Now it’s time to teach them how to operate it! We’ll use a training technique called ‘shaping,’ where we reward small approximations of the final behavior until we get the desired result. Here’s your playbook:
- Teach a Paw Target: The foundation of this trick is a solid ‘paw target’ or ‘touch’ command. Hold your hand out flat, a few inches from your dog’s nose. The moment their paw touches your hand (even by accident at first!), click and treat. Repeat until your dog is deliberately bopping your hand with their paw. Once they have that down, you can add a verbal cue like ‘Touch’ or ‘Paw’.
- Transfer the Target to an Object: Now, instead of your hand, use an object like a sticky note or a small yogurt lid as the target. Get them reliably touching the object with their paw. This step is important because it teaches them to target something other than you.
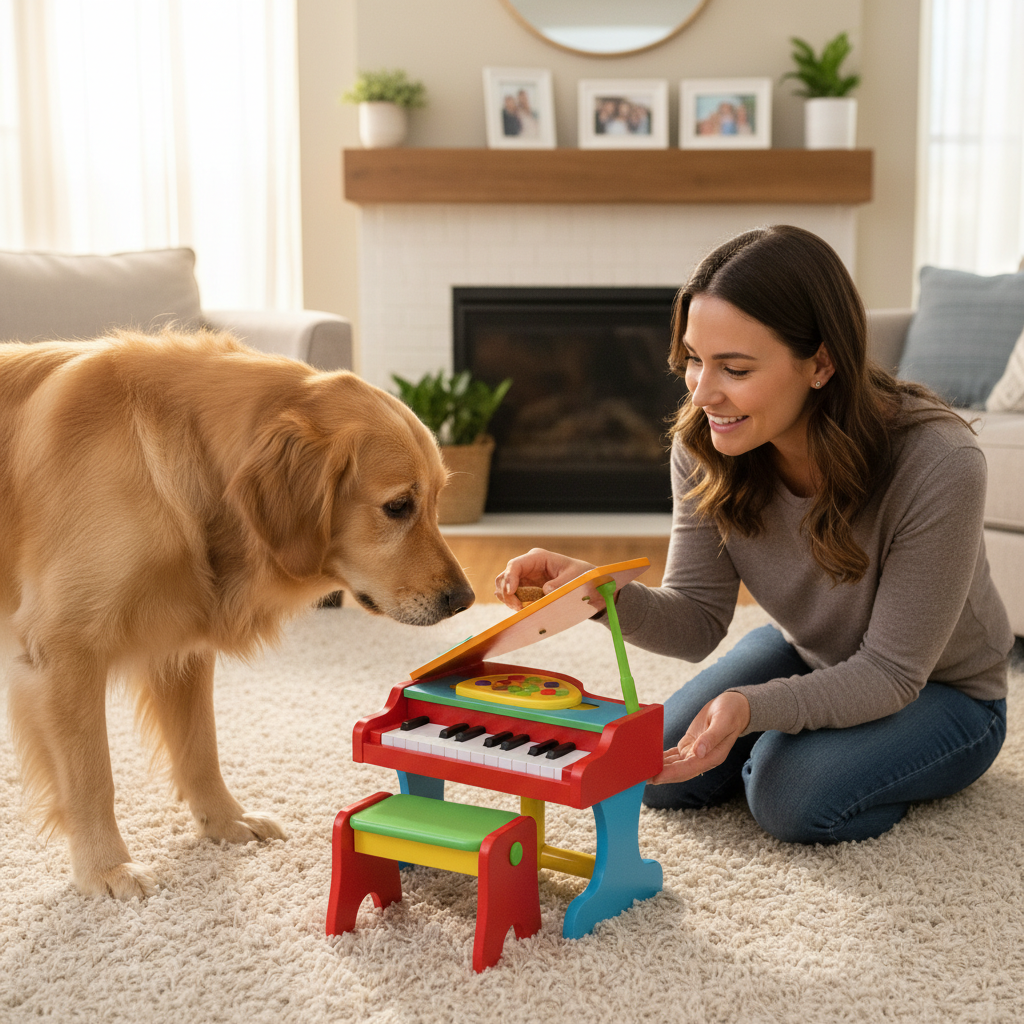
- Move the Target to the Piano: Place your target (the sticky note) onto one of the piano keys. Give your ‘Touch’ cue. When your dog paws the sticky note, they will inevitably press the key. This is the jackpot moment! The key will make a sound, you’ll click, and they’ll get a huge reward. Throw a mini party! Lots of praise and multiple treats.
- Fade the Target: After several successful repetitions, try giving the cue without the sticky note present. Your dog will likely remember the location and press the key anyway. If they hesitate, simply put the target back on for a few more tries before removing it again. The goal is for them to press the key on cue without the visual aid.
- Introduce the ‘Play’ Cue: Once your dog is reliably pressing a key without the target, you can introduce a new, specific cue like ‘Play!’ or ‘Piano!’. Start by saying your new cue right before you know they’re about to press the key. After several repetitions, they’ll associate the new word with the action.
- Encourage Exploration: To get them to ‘play’ more than one note, you can start rewarding them for pressing any key. You can also place sticky notes on multiple keys to encourage them to move their paws around. The goal is movement and exploration, not a specific tune!
Encore! Troubleshooting and Fine-Tuning Your Performance
Encore! Troubleshooting and Fine-Tuning Your Performance
Even the most gifted prodigies hit a few sour notes during practice. It’s completely normal to encounter some bumps along the road. The key is to stay patient and figure out what the communication breakdown is. Here are some common issues and how to resolve them.
Help! My dog is scared of the sound!
This is very common. If the ‘plink’ of the piano sends your dog running, you’ve moved a little too fast. Go back to basics. Start with the keyboard’s volume turned completely off. Reward your dog just for touching the silent keys. Once they are comfortable with that, turn the volume to the absolute lowest setting. Reward one touch, then end the session. Keep these sessions extremely short and positive. Over time, you can slowly increase the volume as their confidence grows.
Help! My dog keeps using their nose instead of their paw!
A classic! Noses are a dog’s primary investigation tool. If your dog is booping the keys with their snoot, simply ignore the nose-touch (no click, no treat) and wait for a paw movement. You can gently lift their paw and tap the key with it, followed immediately by a click and treat, to remind them what you’re looking for. Go back to practicing the hand target with their paw to reinforce the desired action.
Help! My dog is too rough and is slamming the keys!
An enthusiastic musician is great, but you don’t want a broken piano. This is a sign of over-excitement. You can teach a softer touch by only rewarding the gentler presses. When they slam the keys, withhold the reward. When they press more softly, give them the jackpot. You can also work on general impulse control games away from the piano to help them learn to moderate their actions.
Help! My dog gets bored and wanders off.
This is a clear signal that your training sessions are too long or your rewards aren’t valuable enough. A training session should always end before your dog loses interest. Aim for just 2-3 minutes at a time, a few times a day. And make sure you’re using those high-value treats we talked about—this trick requires A-list payment!
The Grand Finale: Advanced Moves and Keeping the Music Alive
The Grand Finale: Advanced Moves and Keeping the Music Alive
Congratulations, your dog is a pianist! They understand the cue and are happily making music. But why stop there? Once your pup has mastered the basics, you can introduce some fun variations to keep their minds sharp and the trick fresh and exciting.
Taking Your Show on the Road
Can your dog play the piano in the living room? Great! Now try it in the kitchen. Try it in the backyard. Practicing in different environments helps ‘proof’ the behavior, meaning your dog learns that the ‘Play’ cue means the same thing no matter where you are. This is key if you ever plan to show off their skills to friends and family.
Introducing Color Cues
For a truly advanced challenge, you can try teaching your dog to target specific keys. Place brightly colored, distinct sticky notes (e.g., a blue one and a yellow one) on two different keys, far apart. Start by rewarding your dog for touching either one. Then, start rewarding them only for touching the blue one, using a cue like ‘Blue!’ Once they master that, you can do the same for the yellow one. This is a complex task that builds on their targeting skills and introduces discrimination.
Making it a Duet
Turn this solo act into a collaborative performance! You can sit at the piano with your dog and play together. You hit a key, then cue them to hit a key. This is a wonderful bonding activity that reinforces the idea that this is a fun game you play together.
The Most Important Thing: Never let this fun trick become a chore. Your dog doesn’t know or care about performing for your friends. They are doing this because it’s a fun game that earns them rewards and quality time with you. If they ever seem stressed or uninterested, take a break. The goal is always a happy, confident, and mentally enriched dog. The music they make is just a beautiful bonus.
Conclusion
And there you have it—your comprehensive guide to transforming your pup from a furry friend into a four-legged instrumentalist! We’ve covered everything from choosing the right keyboard to troubleshooting those inevitable quirky moments. Remember, the journey of teaching your dog to play the piano is the real reward. Every short, happy training session, every little ‘plink’ of a key, and every triumphant wag of the tail is a note in the beautiful song of your relationship.
This isn’t just about a trick; it’s about discovering a new way to communicate, challenge, and connect with your dog. It’s about celebrating their intelligence and enjoying their unique personality. So, be patient, keep the treats flowing, and most importantly, have fun. Now go ahead, unlock your pup’s inner Mozart, and make some joyful noise together!