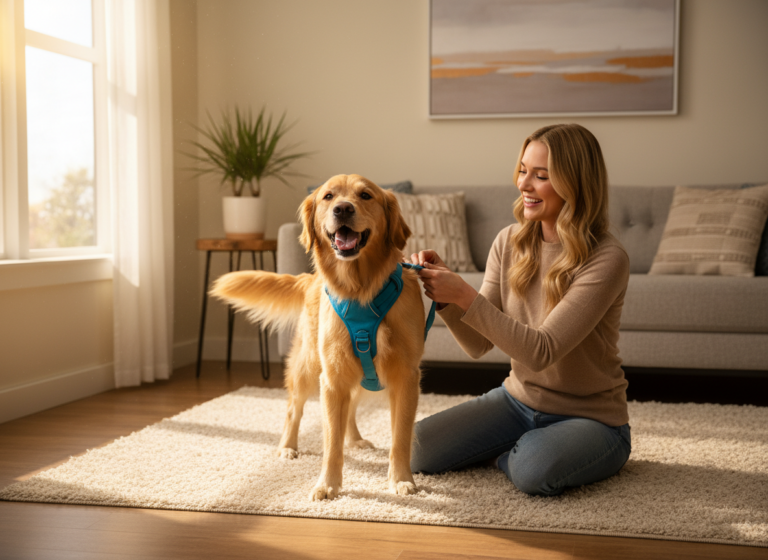
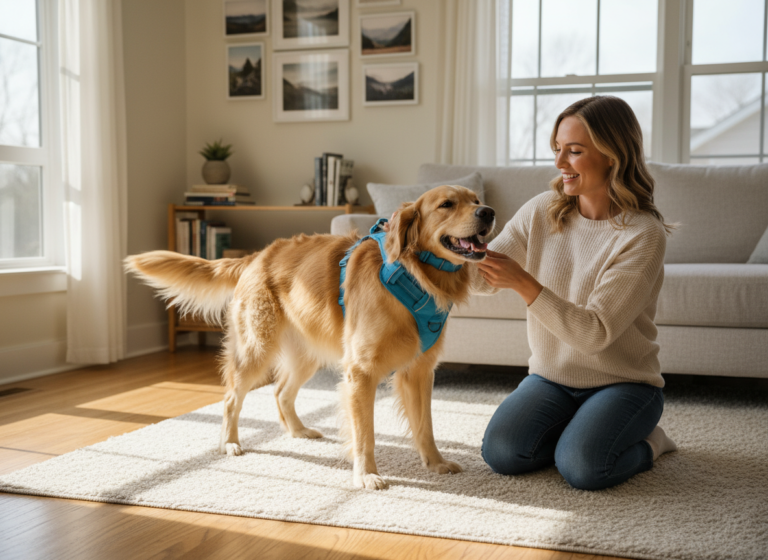
Picture this: you’re walking back from the local market, juggling your keys, your phone, and that one small bag with the loaf of bread and fresh herbs you just couldn’t resist. Wouldn’t it be amazing to have a furry little helper to lighten the load? Well, you’re in luck! Teaching your dog to carry a light grocery bag isn’t just a cute party trick; it’s a fantastic way to boost their confidence, provide mental stimulation, and strengthen the bond you share.
This isn’t about turning your pup into a pack mule, but rather engaging them in a fun and rewarding ‘job’ that makes them feel important and involved. It’s a task that taps into their natural instincts to work alongside their humans. In this guide, we’ll break down the training process into simple, positive steps. We’ll cover everything from choosing the right gear and making sure your dog is ready, to a detailed step-by-step training plan and troubleshooting common issues. So grab some tasty treats, and let’s get ready to unlock your dog’s inner helper!
Getting Started: The Right Gear and a Pre-Flight Check
Getting Started: The Right Gear and a Pre-Flight Check
Before you jump into training, a little preparation goes a long way. Setting the stage with the right equipment and ensuring your dog has the foundational skills will make the entire process smoother and more enjoyable for both of you. Think of this as gathering your ingredients before you start cooking!
The Perfect Training Toolkit
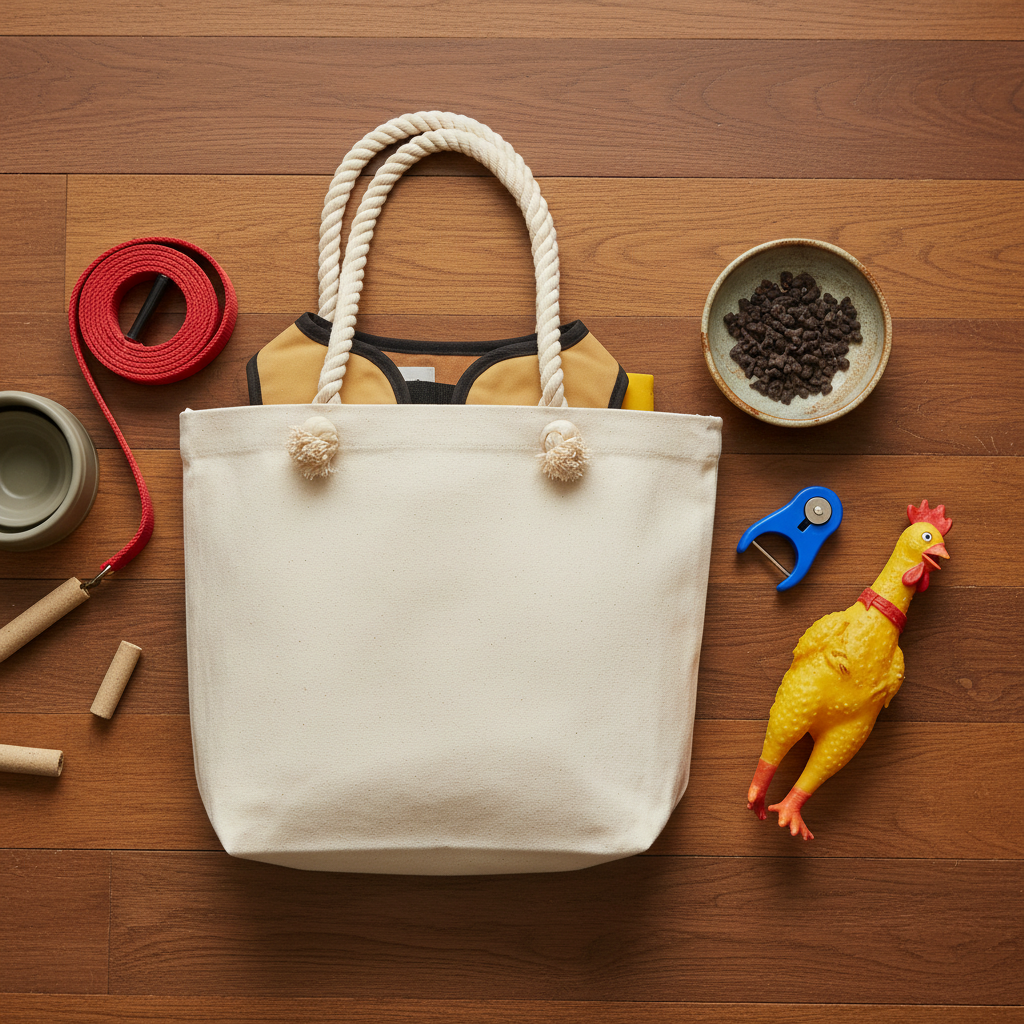
You don’t need a lot of fancy equipment, but having the right items on hand is crucial for safety and success. Here’s what you should gather:
- A Dog-Friendly Bag: This is the most important item! Look for a lightweight canvas or cloth tote bag with soft, comfortable handles. Rope or padded fabric handles are ideal. Avoid plastic bags entirely, as they are a safety hazard, and bags with hard plastic or wooden handles that could be uncomfortable or damaging to your dog’s teeth.
- High-Value Treats: We’re talking about the good stuff! Small, soft, and extra-tasty treats that your dog absolutely loves will keep them motivated. Think tiny pieces of chicken, cheese, or their favorite commercial training treats.
- A Clicker (Optional): If you’ve used a clicker for other training, it can be a powerful tool here. The ‘click’ marks the exact moment your dog does the right thing, making communication crystal clear. If you’re not a clicker user, a consistent verbal marker like a happy “Yes!” works just as well.
- A Quiet Training Space: Start your sessions indoors in a familiar, distraction-free area like your living room. This helps your dog focus solely on you and the new task at hand.
Is Your Dog Ready for the Job?
Not every dog is ready to jump straight into carrying things. A quick ‘pre-flight check’ ensures your pup has the basics down and is physically up for the task.
- Basic Cues: Your dog should have a solid understanding of a few foundational cues. A reliable ‘Take It’ and ‘Drop It’ (or ‘Give’) are essential. If your dog doesn’t know these yet, spend some time teaching them with a favorite toy before introducing the bag.
- Good Physical Health: Get a green light from your veterinarian, especially if your dog is a senior, a very small breed, or has a history of neck, back, or dental issues. While the bag will be light, the act of carrying it engages different muscles.
- A Confident Temperament: The ideal canine candidate is confident and enjoys learning new things. A dog who is generally anxious or nervous about new objects may find this task stressful, so it’s important to go at their pace and never force them.
Expert Tip: Before you even think about the bag, play some fun games of fetch or tug that reinforce the ‘Take It’ and ‘Drop It’ cues. The more fun they have putting things in their mouth on cue, the easier it will be to transition to the bag.
The Main Event: A Step-by-Step Training Guide
The Main Event: A Step-by-Step Training Guide
Alright, you’ve got your gear and your dog is ready to learn! Remember, the key to success is to break the process down into tiny, achievable steps. Keep your training sessions short (5-10 minutes is perfect) and always end on a positive, successful note. Let’s begin!
-
Step 1: Positive Association with the Bag
First, we need to teach your dog that the bag is the best thing ever. Place the empty bag on the floor. Any time your dog looks at it, sniffs it, or shows any interest, click (or say “Yes!”) and give them a treat. Don’t ask for anything more. We’re just building a positive emotional response to the object itself. Do this for a few short sessions until your dog’s eyes light up when they see the bag.
-
Step 2: Mastering ‘Take It’ with the Handle
Now, let’s focus on the handle. Hold the bag so one of the soft handles is dangling right in front of your dog’s mouth. Say your ‘Take It’ cue. The moment their mouth touches the handle, click/”Yes!” and reward. At first, you’re rewarding just for touching it. Gradually, wait for them to put their mouth around the handle before you reward. We’re shaping the behavior piece by piece.
-
Step 3: Building the ‘Hold’
Once your dog is confidently taking the handle, we’ll add a little duration. After they take it, wait just one second before you click/reward. Then, gradually increase the time to two seconds, then three. If they drop it before you click, that’s okay! Just go back to a shorter duration where they can be successful. The goal is a calm, relaxed hold. Once they can hold it for 5-10 seconds consistently, you’re ready for the next step.
-
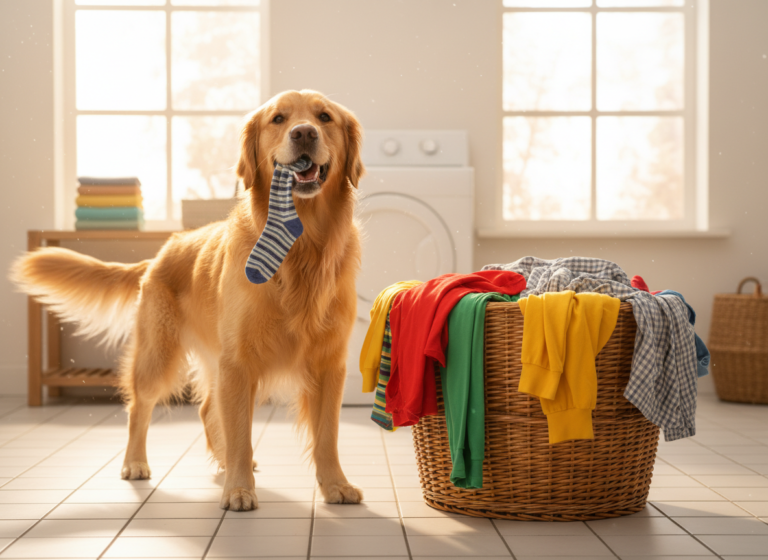
Step 4: Adding a Feather-Light Item
With your dog comfortably holding the empty bag, it’s time to add a tiny bit of weight. Choose something incredibly light, like a single sock or a piece of mail. Place it in the bag while they are holding it, then immediately click/reward and ask them to ‘Drop It’. This teaches them that the feeling of weight in the bag is a good thing that earns a reward.
-
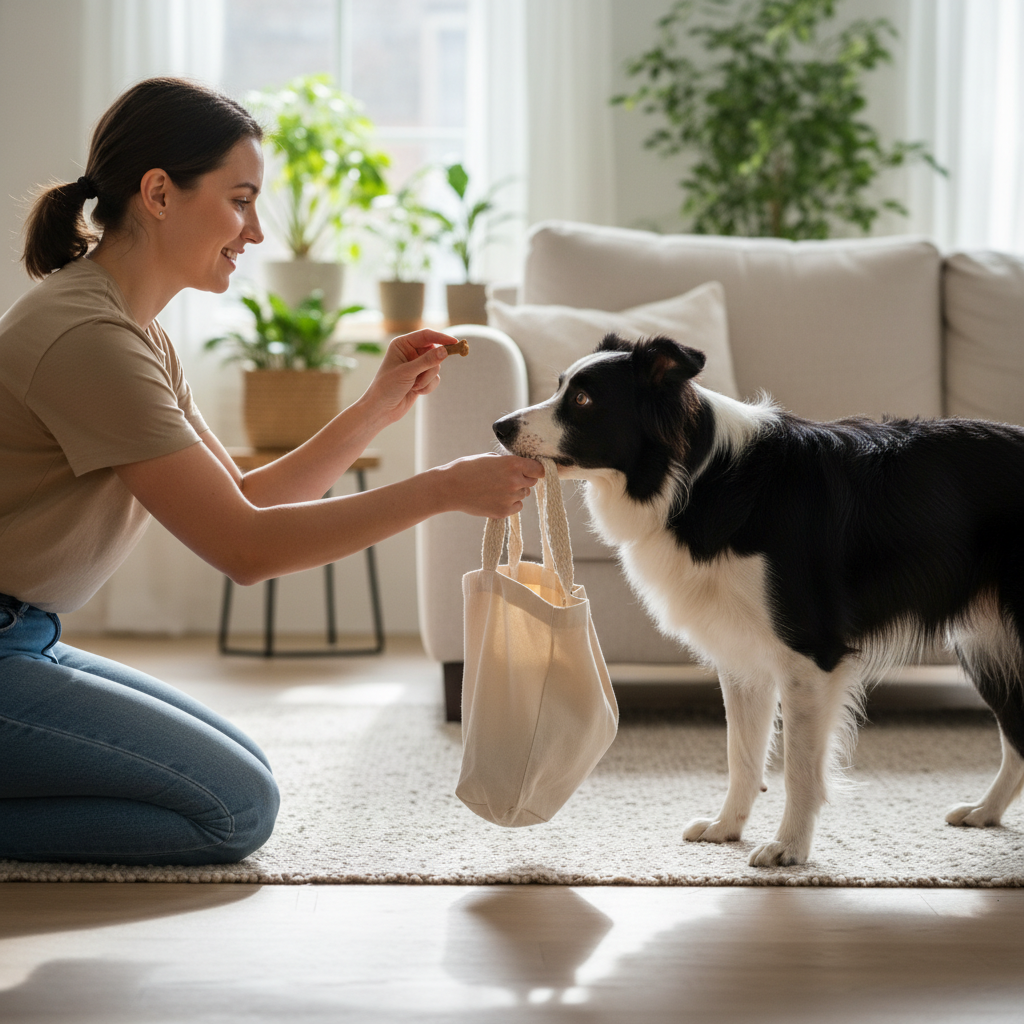
Step 5: Introducing Movement
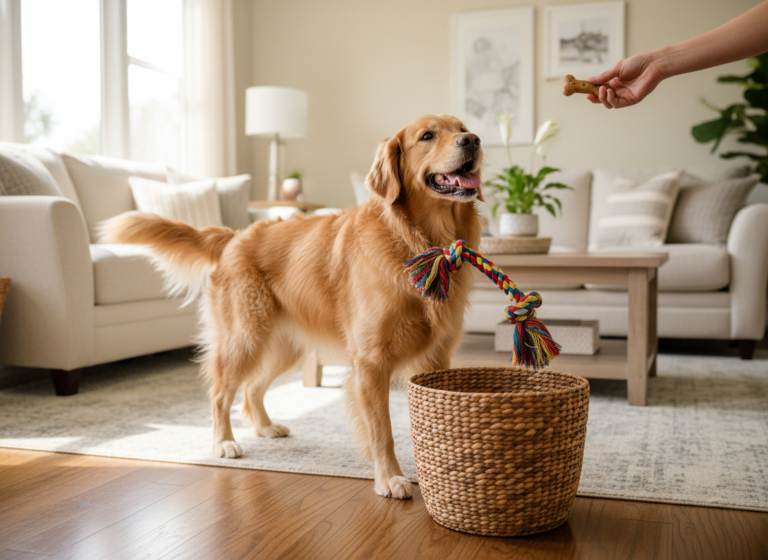
This is where it all comes together! Ask your dog to ‘Take It’. Once they are holding the bag, take one small step backward and encourage them to follow you. The moment they take a step towards you while still holding the bag, have a jackpot party! Lots of treats and praise. They just carried the bag! Keep practicing, gradually increasing from one step to a few steps across the room.
-
Step 6: Taking It on the Road
Once your dog can confidently carry the lightly weighted bag around the house, it’s time for a field trip. Start with a very low-distraction environment, like your backyard. Then, try a short walk from the car to your front door. This is the final proofing stage. Keep it overwhelmingly positive, and make them feel like the cleverest dog in the world for helping you.
Troubleshooting Common Hiccups and Sticking Points

Troubleshooting Common Hiccups and Sticking Points
Even with the best plan, you might hit a snag or two. Don’t worry, it’s a normal part of the training process! The key is to stay patient, positive, and figure out what your dog is trying to tell you. Here are some common challenges and how to work through them.
“My dog keeps dropping the bag immediately!”
This is very common! It usually means one of two things: you’ve asked for too long of a ‘hold’ too soon, or the handle is uncomfortable. Go back to Step 3 and reduce the duration. Reward for even a one-second hold to rebuild confidence. Also, double-check the bag. Is the handle too thick, too thin, or too hard? Try a different bag with a softer, more pliable handle.
“Help, my dog is chewing or shaking the bag!”
If your dog starts chewing the handle or shaking the bag like a toy, it’s a sign that the line between ‘job’ and ‘play’ has blurred. This often happens if the training session goes on for too long and the dog gets overexcited or bored. Keep your sessions shorter and more focused. Use a clear ‘Drop It’ cue and reward calmly for releasing the bag. Avoid turning it into a game of tug-of-war, as this will encourage the behavior you’re trying to avoid.
“My dog seems nervous or scared of the bag.”
Never, ever force your dog to interact with the bag. If they show signs of fear (tucking their tail, backing away, yawning), it means you need to go way back to the beginning. Go back to Step 1 and rebuild that positive association from scratch. Place the bag on the floor and just toss high-value treats near it, then on it. Let your dog approach and investigate in their own time. This process may take several days, and that’s perfectly fine. The goal is a confident, happy helper.
“They do it perfectly inside, but forget everything outside!”
Ah, the power of distractions! The outside world is full of exciting sights, sounds, and smells. It’s completely normal for a dog’s focus to waver. The solution is to manage the environment. Don’t go from the living room straight to a busy park. Practice in your quiet backyard first. Then, try the front porch. Then, a very short walk on a quiet street during a non-busy time. Essentially, you have to re-train the behavior in each new environment, gradually increasing the level of distraction as your dog becomes more confident.
Remember the Golden Rule of Dog Training: If your dog is failing, you’re likely asking for too much, too soon. Take a step back to the last point where they were successful, and build up from there more slowly. Patience is your superpower!
The Rules of the Road: Safety and Best Practices
The Rules of the Road: Safety and Best Practices
Teaching your dog this fun skill comes with a responsibility to keep them safe and comfortable. This is a partnership, and their well-being should always be the top priority. Here are the non-negotiable rules for having your dog carry a bag.
Rule #1: Keep It Super Light
This cannot be stressed enough. This task is for novelty and enrichment, not for actual labor. The bag should only ever contain one or two very light items. Think a loaf of bread, a bunch of herbs, your mail, or a magazine. A general guideline for working dogs with proper packs is 10-12% of their body weight, but for this mouth-carrying task, you should aim for significantly less. Never put heavy items like cans, glass bottles, or a full load of groceries in the bag.
Rule #2: The Bag Matters Most
Your choice of bag is critical for safety. Let’s recap the key features:
- Soft, Padded Handles: This prevents bruising or damage to your dog’s teeth, gums, and jaw. Rope or thick, soft fabric is best.
- Lightweight Material: The bag itself should be light so it doesn’t add unnecessary weight. Canvas or cloth is perfect.
- No Zippers or Hard Bits: Avoid anything that could clank against or poke your dog’s teeth.
- NO PLASTIC BAGS: They are a serious suffocation risk and should never be used for this training.
| Bag Feature | Safe Choice (Do This!) | Unsafe Choice (Avoid This!) |
|---|---|---|
| Handle Material | Soft rope, padded fabric, or thick canvas | Hard plastic, thin wire, wood, or chains |
| Bag Material | Lightweight canvas or cloth | Plastic bags, heavy leather, or vinyl |
| Contents | A loaf of bread, mail, a newspaper | Canned goods, glass jars, heavy produce |
Rule #3: Always Supervise and Read Their Body Language
Your dog should only ever carry the bag under your direct supervision. Pay close attention to their body language. A happy helper will have a wagging tail, a relaxed body, and a bright expression. If you see signs of stress—like a tucked tail, pinned-back ears, excessive panting, or lip licking—it’s a signal that they are uncomfortable. They might be tired, the bag might be too heavy, or they’re just not in the mood. Respect their communication and end the session on a positive note by trading the bag for a treat.
Rule #4: Keep it Fun!
This should always feel like a special game you play together. Keep your energy high and your praise plentiful. If you treat it like a chore, your dog will pick up on that and lose their enthusiasm. By keeping it a fun, rewarding, and special activity, you ensure your dog looks forward to their important ‘job’ every time.
Conclusion
Congratulations! You now have all the tools and knowledge to teach your dog one of the most charming and helpful tricks around. More than just a way to carry the bread home, this training journey is an incredible opportunity to deepen your communication and strengthen your bond. It builds your dog’s confidence and gives them a wonderful sense of purpose.
Remember to be patient, stay positive, and celebrate every small success along the way. Every dog learns at a different pace, so enjoy the process and the quality time you’re spending together. Before you know it, you’ll have a proud, happy helper trotting by your side, ready to take on the world—one light grocery bag at a time. Happy training!