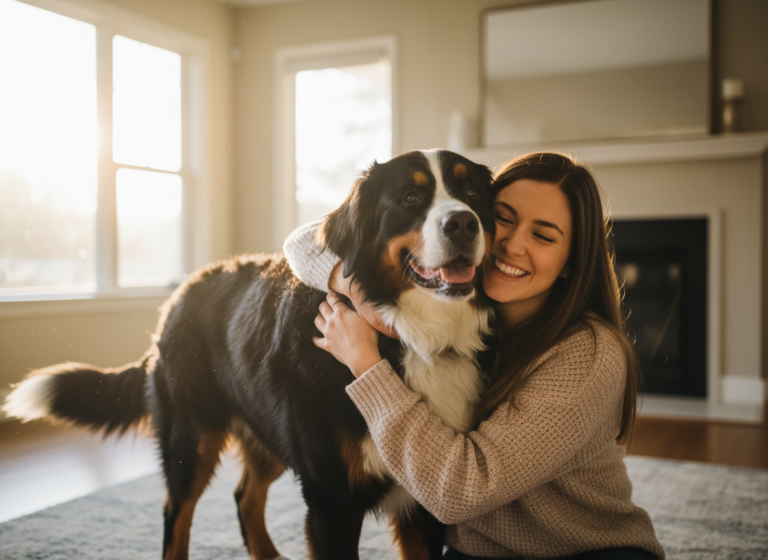
Welcome, fellow puppy parent! If you’re looking for a fun new way to challenge your furry friend’s brain and deepen your bond, you’ve come to the right place. Teaching your puppy to ‘roll over’ is more than just a cute party trick; it’s a fantastic exercise in communication, trust, and mental stimulation. It builds on other foundational commands like ‘down’ and helps improve your pup’s body awareness.
But as with any training, especially with a growing, delicate puppy, safety and positivity are paramount. This guide is designed to walk you through the process step-by-step, ensuring each training session is a tail-wagging success. We’ll cover everything from the initial setup to troubleshooting common hiccups, all while keeping your puppy’s well-being front and center. So grab some tasty treats, find a comfy spot, and let’s get rolling!
Setting the Stage: What You’ll Need for a Pawsitive Session
Before you and your pup hit the floor, a little preparation goes a long way. Think of it as setting up a fun classroom where your puppy is destined to be the star student. A positive environment minimizes distractions and maximizes learning. Here’s your checklist for success:
The Perfect Training Space
Comfort is key! A puppy won’t want to roll around on a hard, slippery, or cold surface. Opt for a space that is:
- Soft: A carpeted floor, a plush area rug, or a soft patch of grass outdoors are all great options. This cushions their back and joints.
- Spacious: Make sure there’s enough room for your pup to roll over completely without bumping into furniture or walls.
- Quiet: Choose a time and place with minimal distractions. Turn off the TV, ask family members to give you some space, and put away any tempting toys that aren’t part of the training.
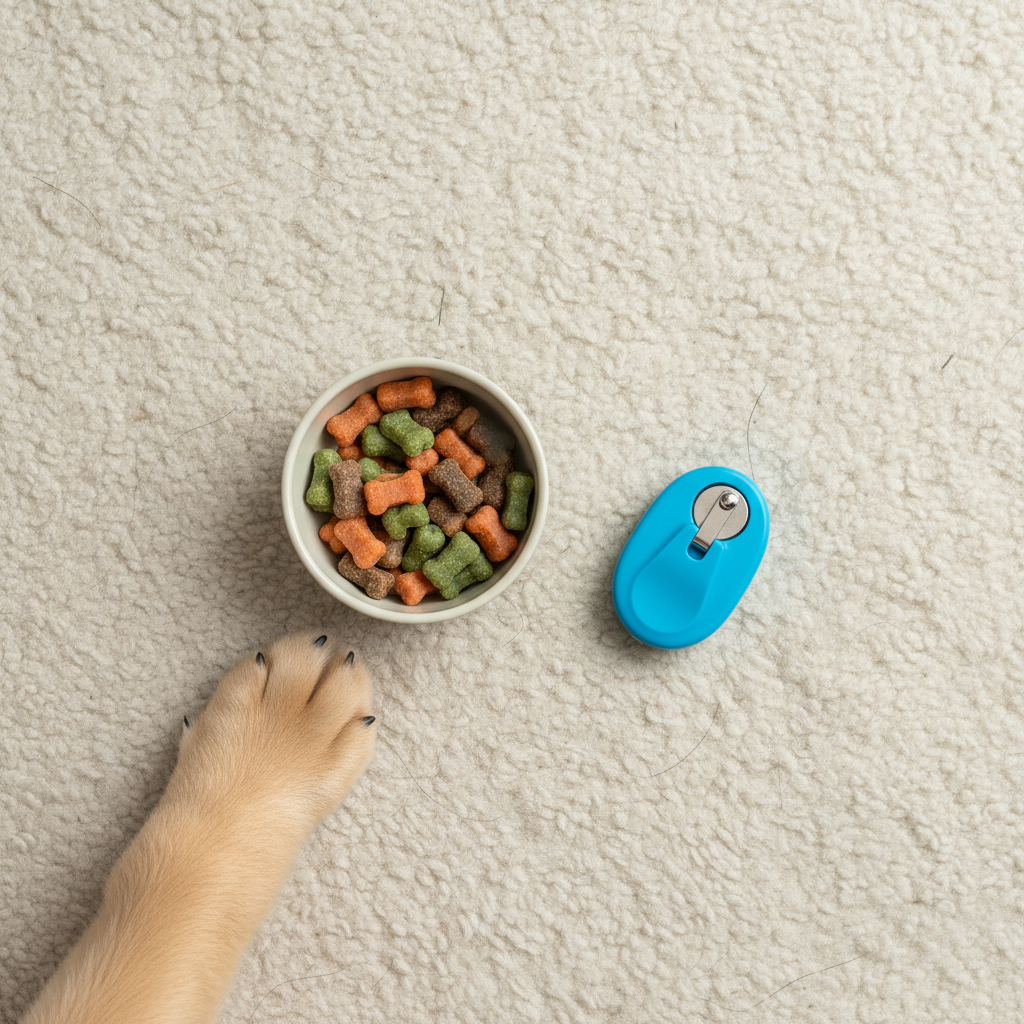
High-Value Treats
This is the secret weapon of puppy training! While their daily kibble might work for simple commands, ‘roll over’ is a multi-step process that requires a little extra motivation. High-value treats are special, delicious morsels that your puppy doesn’t get every day. Think:
- Small, pea-sized pieces of cooked chicken or turkey
- Tiny cubes of cheese
- Soft, smelly training treats specifically designed for puppies
- A dab of xylitol-free peanut butter on a spoon
Remember to keep treats tiny! You’ll be using a lot of them, and you don’t want to upset your pup’s tummy or fill them up too quickly.
A Clicker (Optional but Recommended)
A clicker is a fantastic tool for marking the exact moment your puppy does something right. The ‘click’ acts as a precise signal that says, “YES! That’s what I want!” followed immediately by a treat. This can speed up the learning process by removing any ambiguity. If you’re not using a clicker, you can use a consistent verbal marker like a cheerful “Yes!”
Expert Tip: Keep your training sessions short and sweet! A puppy’s attention span is brief. Aim for multiple 3-5 minute sessions throughout the day rather than one long, frustrating one. Always end on a positive note, even if it’s just for a simple ‘sit’ or ‘down’.
From ‘Down’ to ‘Done!’: The 5 Steps to a Perfect Roll Over
Alright, the stage is set, and your eager student is ready! The key to teaching this complex behavior is to break it down into tiny, achievable pieces. We’ll use a technique called ‘luring,’ where you use a treat to guide your puppy’s nose—and their body will follow. Let’s begin!
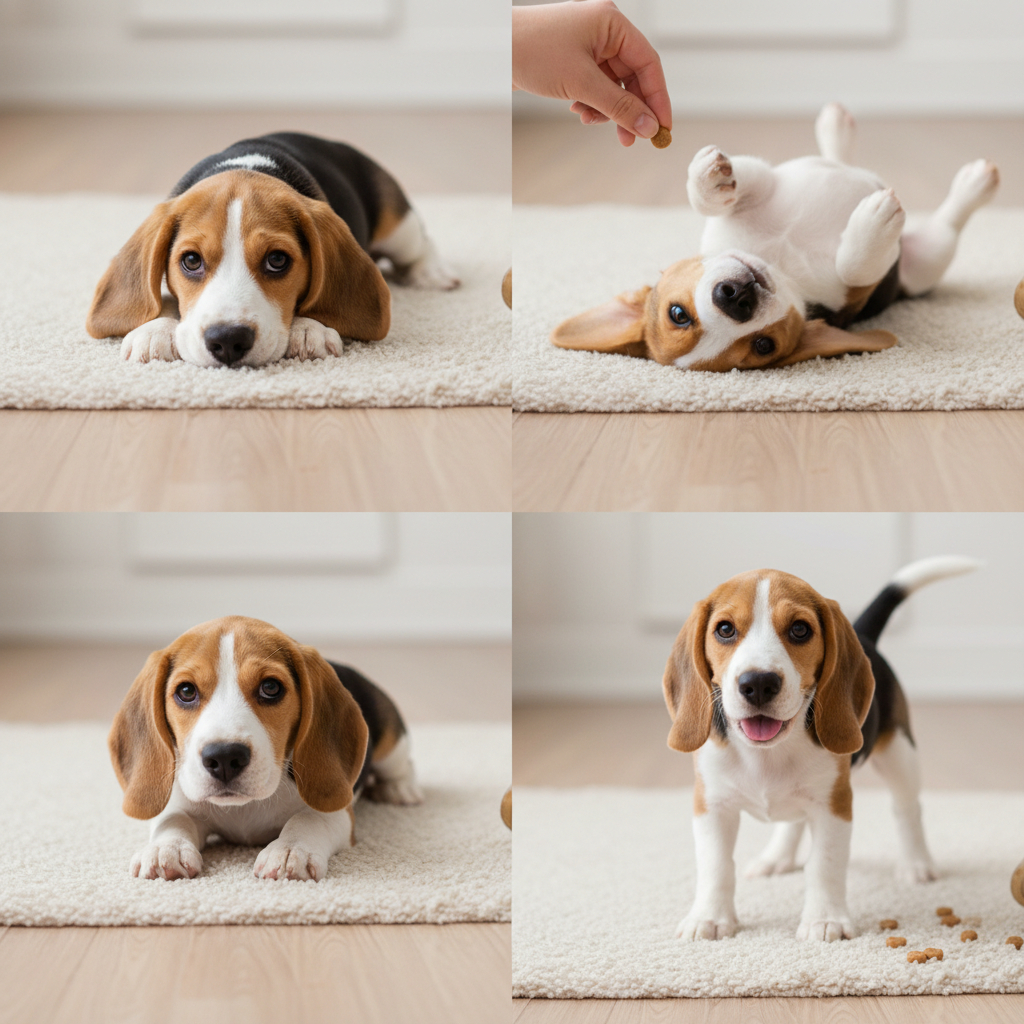
Step 1: Start with a Solid ‘Down’
Your puppy can’t roll over from a standing position, so the first step is a reliable ‘down’. Ask your puppy to lie down. Once they are calmly in the down position, give them a click (or say “Yes!”) and a treat. Practice this a couple of times to get them settled and focused.
Step 2: Lure to the Side (‘Capture the Hip Flop’)
With your puppy lying down, hold a treat near their nose. Slowly move the treat from their nose towards their shoulder, encouraging them to turn their head. As they follow the treat, their weight will naturally shift onto one hip. The moment they flop onto their side, click/”Yes!” and give them the treat. This is a huge milestone! Repeat this step several times until your puppy is comfortably flopping onto their side to follow the treat.
Step 3: Lure Over the Back
Once your pup is a pro at flopping onto their side, it’s time to encourage the next part of the movement. From the ‘down’ position, lure them onto their side as before. This time, don’t give them the treat just yet. Continue moving the treat in an arc from their shoulder up and over their spine. Their head will follow the treat, which will cause their body to start rolling onto their back. The very first time they even slightly lift their other shoulder off the ground, click/”Yes!” and reward. You’re rewarding the effort of rolling over.
Step 4: Complete the Full Roll
Now, let’s connect the dots. As your puppy gets more comfortable with the motion from Step 3, continue the lure in one smooth motion. Start at their nose, guide them to their shoulder, over their back, and all the way to the other side. As they follow the treat, they should complete a full roll. The first time this happens is a jackpot moment! Give them lots of praise, pets, and a few extra treats. Practice this complete motion until it becomes smoother and more reliable.
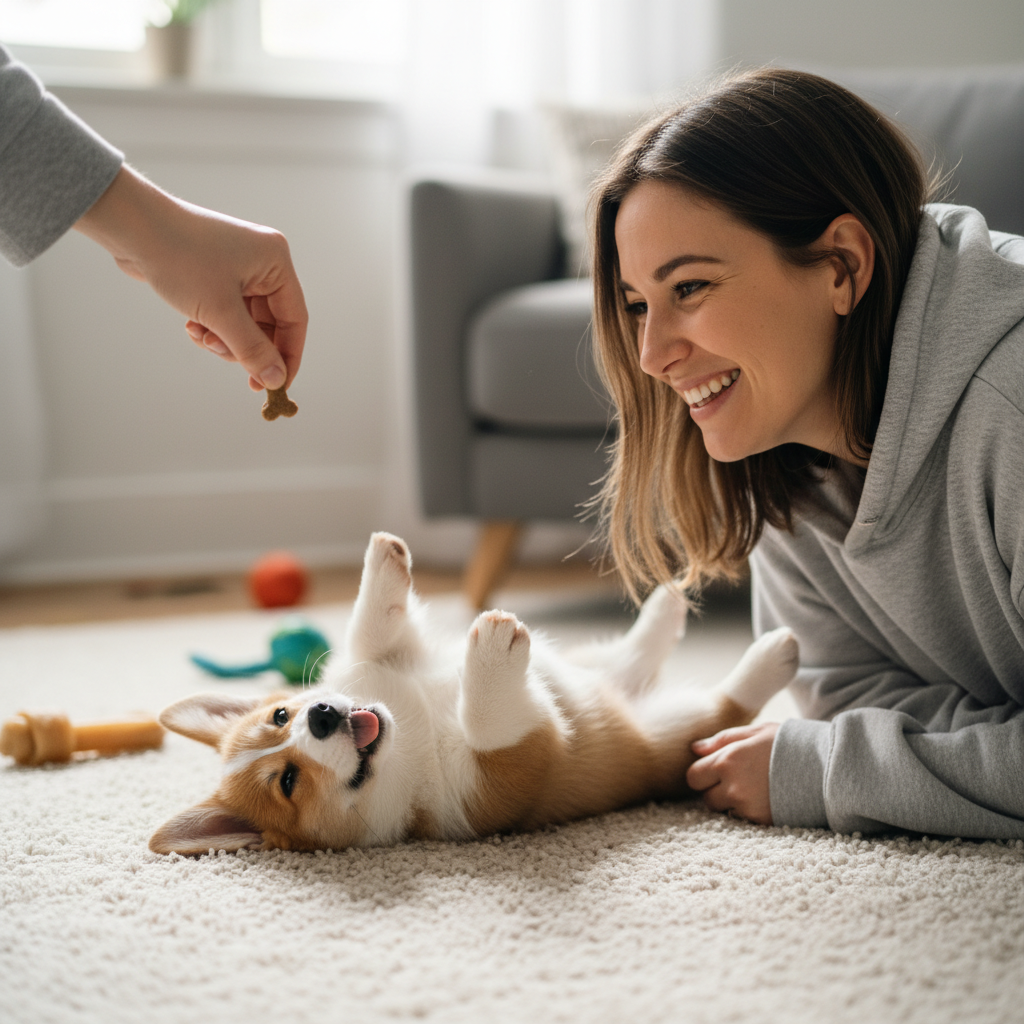
Step 5: Add the Verbal Cue and Hand Signal
Once your puppy is consistently performing the full roll with the treat lure, you can start adding your verbal cue. Just before you start the luring motion, say your chosen cue clearly, such as “Roll Over!”. Then, perform the lure as usual. After several repetitions, your puppy will start to associate the phrase with the action. At the same time, you can morph your luring motion into a more subtle hand signal, like a circular motion with your finger. Eventually, you can fade the treat lure altogether and your puppy will respond to just the verbal cue and/or hand signal.
Oops, We’re Stuck! Troubleshooting Common Puppy Problems
Even with the best plan, sometimes our furry students get a little stuck. Don’t worry, this is completely normal! Training is never a straight line. If you hit a snag, take a deep breath, and remember to keep it fun. Here are some common issues and how to navigate them.
- My puppy just nibbles the treat but won’t move.
This often means the treat is too accessible. Try holding the treat more firmly between your thumb and forefinger so they have to follow it to get a lick, rather than just grabbing it. You can also try a slightly less exciting treat if they are too focused on the food itself. - My puppy keeps standing up to get the treat.
You might be luring too high or too fast. Keep the treat low and close to their nose and body. If they stand up, simply reset them into the ‘down’ position without any fuss and try again, moving the lure more slowly. - My puppy seems scared or resists going onto their back.
Lying on their back is a vulnerable position for a dog. Never, ever force them. This could be a sign of fear or even physical discomfort. Go back to rewarding them for simply relaxing on their side (Step 2). Spend a lot of time making that a happy, positive position. You can also try gentle belly rubs when they are on their side to build positive associations. If they consistently resist, it’s okay! This trick isn’t for every dog. - My puppy only rolls in one direction.
This is very common! Dogs, like people, often have a dominant side. While it’s not essential, you can try teaching them to roll the other way by practicing the luring steps on their non-preferred side. It may take a bit more time and patience. - My puppy gets the zoomies in the middle of training!
This is a classic sign of being over-stimulated or tired. It’s their way of saying, “My brain is full!” Take this as a cue to end the session on a positive note (maybe with one last successful ‘sit’) and let them have a play break or a nap.
Expert Tip: Pay close attention to your puppy’s body language. A tucked tail, flattened ears, or lip licking can be signs of stress. If you see these, it’s time for a break. Training should always be a ‘want to’ activity, not a ‘have to’ one.
Safety First! The Dos and Don’ts of Teaching ‘Roll Over’
The ‘safely’ part of our guide is the most important. A puppy’s growing body requires special consideration, and their emotional well-being is our top priority. The goal is a fun trick, not a stressful ordeal. Here’s a clear breakdown of the dos and don’ts to keep in mind.
| The Dos (What You SHOULD Do) | The Don’ts (What to AVOID) |
|---|---|
| DO keep it 100% positive. Use praise, pets, and treats to make it a fun game. Your enthusiasm is contagious! | DON’T ever physically force, push, or roll your puppy over. This can cause injury, fear, and damage your bond of trust. |
| DO train on a soft surface like a carpet or grass. This protects their spine and joints from impact. | DON’T train on a full stomach. Wait at least an hour after a meal to avoid discomfort or the risk of bloat, a serious condition. |
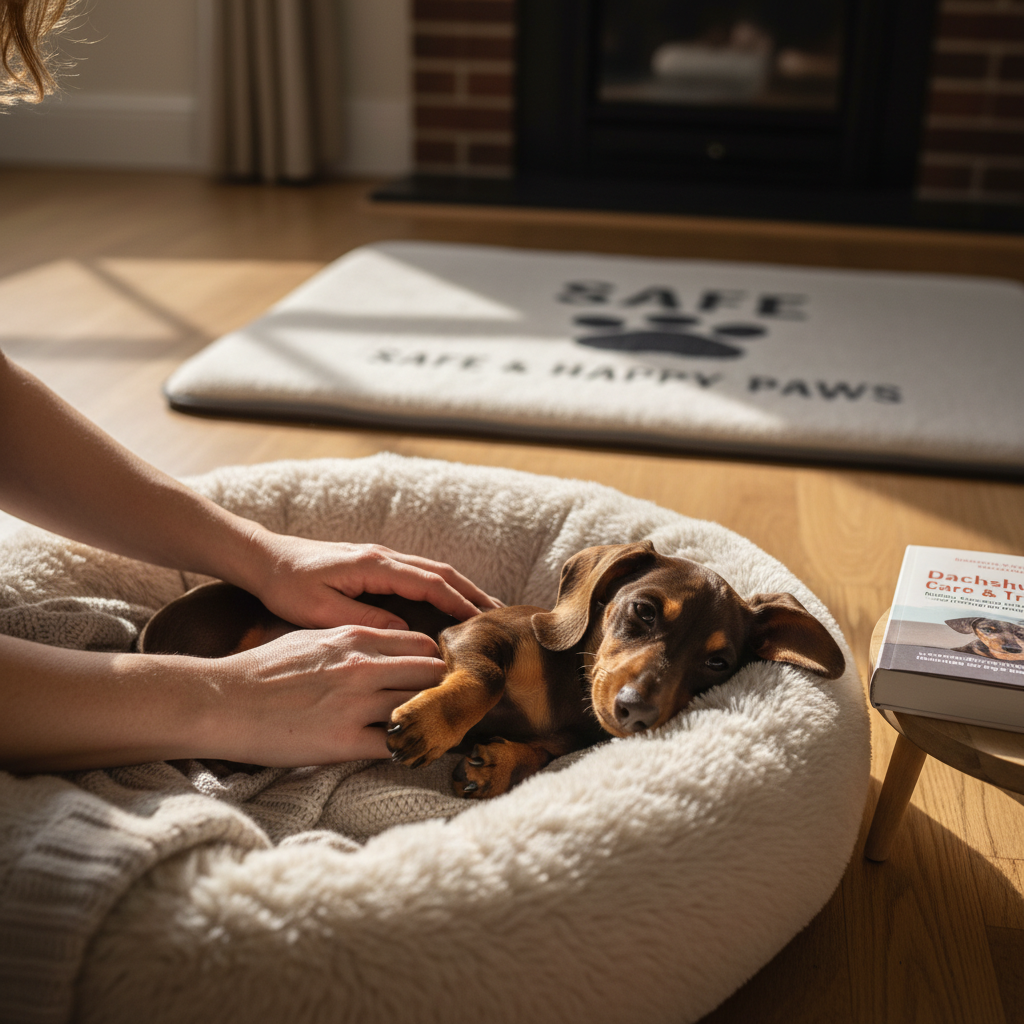
| DO watch your puppy’s body language. End the session if they seem tired, frustrated, or stressed. | DON’T train if your puppy is injured, sore, or has known back/hip issues. Consult your vet first. |
| DO be mindful of your dog’s breed. Breeds with long spines, like Dachshunds or Corgis, can be more susceptible to back injuries. Be extra gentle and consider stopping at a ‘go to your side’ trick instead. | DON’T get frustrated. If you feel your patience wearing thin, it’s better to end the session cheerfully and try again later. Your puppy can sense your frustration. |
Ultimately, you are your dog’s advocate. If your puppy consistently shows reluctance or discomfort with this trick, it’s perfectly fine to skip it. There are hundreds of other fun tricks like ‘spin,’ ‘shake,’ or ‘high-five’ that don’t involve being in a vulnerable position on their back. The most important thing is that you and your pup are having fun together.
Conclusion
Congratulations! You now have all the tools and knowledge to teach your puppy to roll over in a way that is safe, effective, and incredibly fun. Remember that the journey is just as important as the destination. Every little hip flop and partial roll is a victory worth celebrating. Patience and positive reinforcement are your best friends in this process.
By breaking the trick down into manageable steps, troubleshooting with kindness, and always prioritizing your puppy’s comfort and safety, you’re doing more than just teaching a command. You’re building a foundation of trust, communication, and joyful collaboration that will last a lifetime. So celebrate the small wins, laugh at the goofy mistakes, and cherish these precious moments of learning together. Happy training!