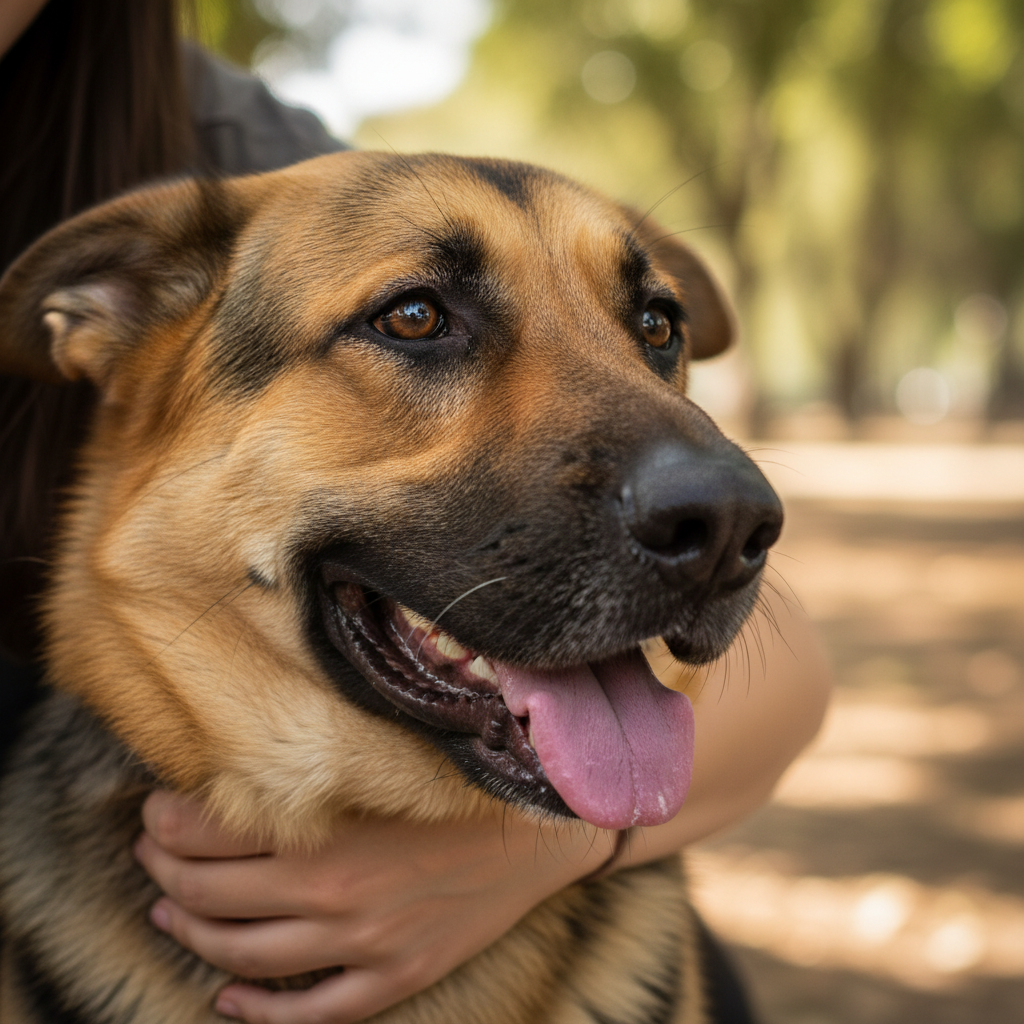
Have you ever watched your dog sleep and just felt an overwhelming wave of love? We all cherish that special bond we share with our pets, and we’re always looking for new ways to strengthen it. While belly rubs and games of fetch are fantastic, teaching your dog a unique trick can build communication and trust in a whole new way. Enter the ‘arm hug’—a trick that’s not only incredibly adorable but is also a beautiful, tangible display of the connection you’ve built together.
Forget complex or intimidating training routines. This guide is all about fun, patience, and positive reinforcement. We’re going to walk you through, step-by-step, how to teach this heartwarming trick. It’s a journey that’s less about the destination (the perfect hug) and more about the quality time and mutual understanding you’ll gain along the way. So grab some tasty treats, find a comfy spot, and let’s get started on teaching your best friend their new favorite way to show some love!
Setting the Stage for Success: Prep Work and Supplies
Setting the Stage for Success: Prep Work and Supplies
Before you jump into training, a little preparation goes a long way. Creating the right environment and having the right tools on hand will make the process smoother and more enjoyable for both you and your pup. Think of it as setting up for a fun date night with your best friend!
The Perfect Training Environment
Your dog’s ability to focus is key. Start your training sessions in a quiet area of your home where distractions are at a minimum. Turn off the TV, ask family members to give you some space, and put away any noisy toys. A calm, familiar space helps your dog relax and tune into you.
Essential Supplies
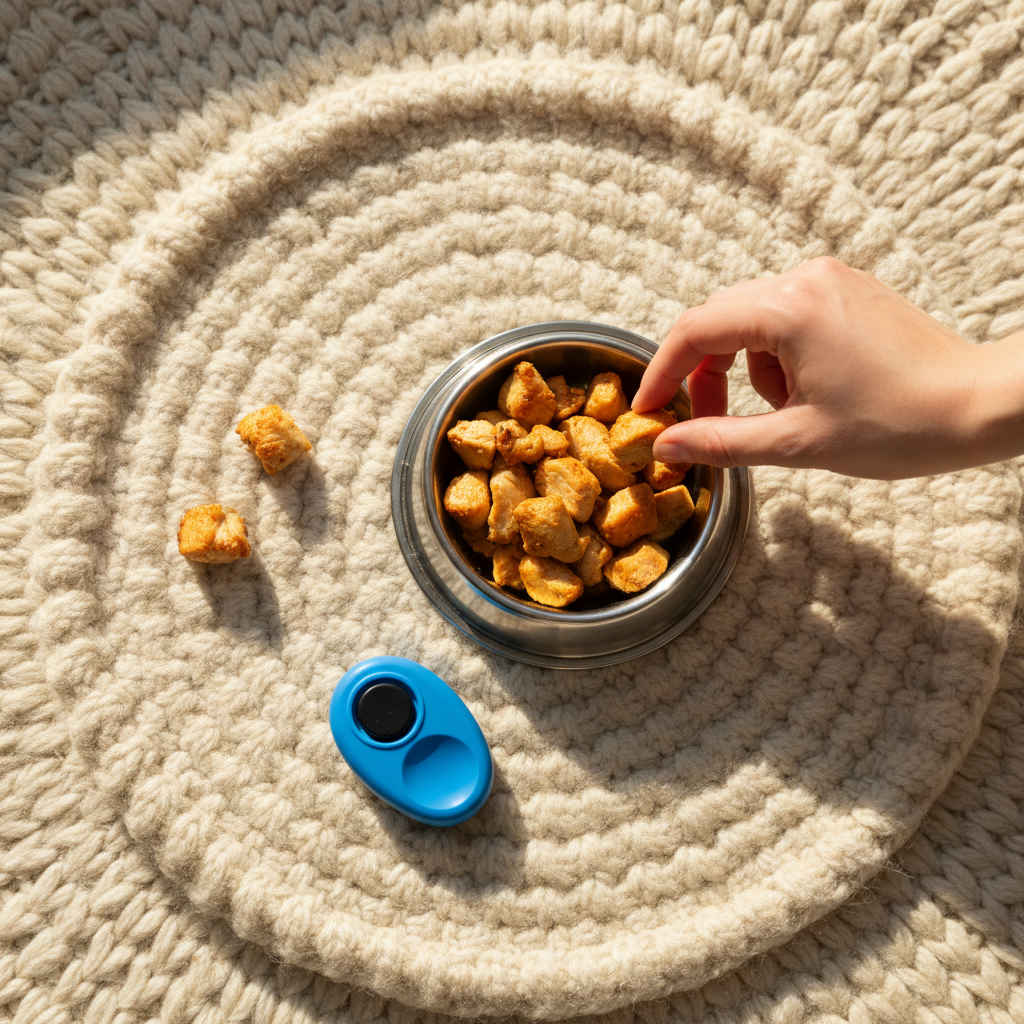
You don’t need a lot of fancy equipment, but a few key items will make you a training superstar:
- High-Value Treats: We’re not talking about their everyday kibble. High-value treats are the special, super-tasty morsels your dog would do just about anything for. Think small pieces of cooked chicken, cheese, or soft, smelly training treats. They should be small enough that your dog can eat them quickly without getting full.
- A Clicker (Optional but Recommended): A clicker is a fantastic tool for marking the exact moment your dog does the right thing. The ‘click’ provides clear, instantaneous feedback, which can speed up the learning process. If you don’t have one, a consistent marker word like ‘Yes!’ or ‘Good!’ works great, too.
- A Positive Attitude: This is the most important tool you have! Your dog is highly attuned to your emotions. Stay patient, keep it lighthearted, and be ready to celebrate the small wins. Your enthusiasm is contagious!
Expert Tip: Keep your training sessions short and sweet, especially in the beginning. Aim for 5-10 minute sessions once or twice a day. Always try to end on a high note, with a successful repetition, so your dog is excited for the next session.
The Arm Hug in 5 Simple Steps: A Detailed Walkthrough
The Arm Hug in 5 Simple Steps: A Detailed Walkthrough
Alright, it’s time for the main event! We’ve broken down the ‘arm hug’ into five manageable steps. Remember to master each step before moving on to the next. Patience is your best friend here. Let’s begin!
-
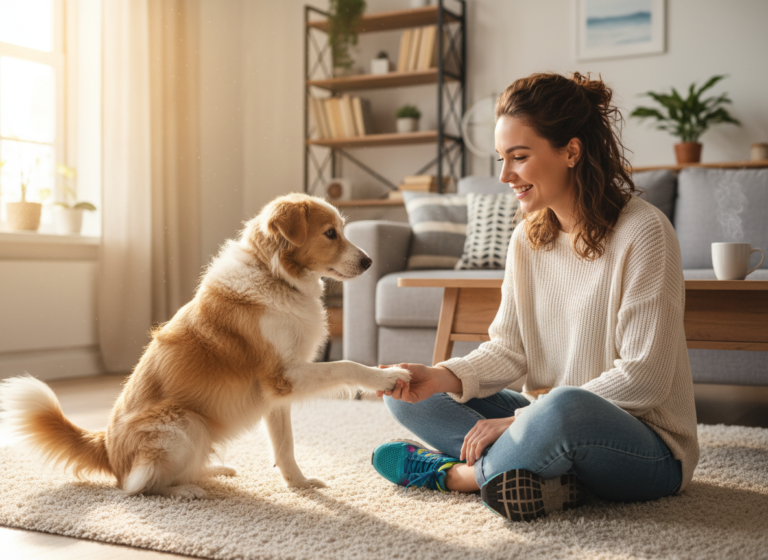
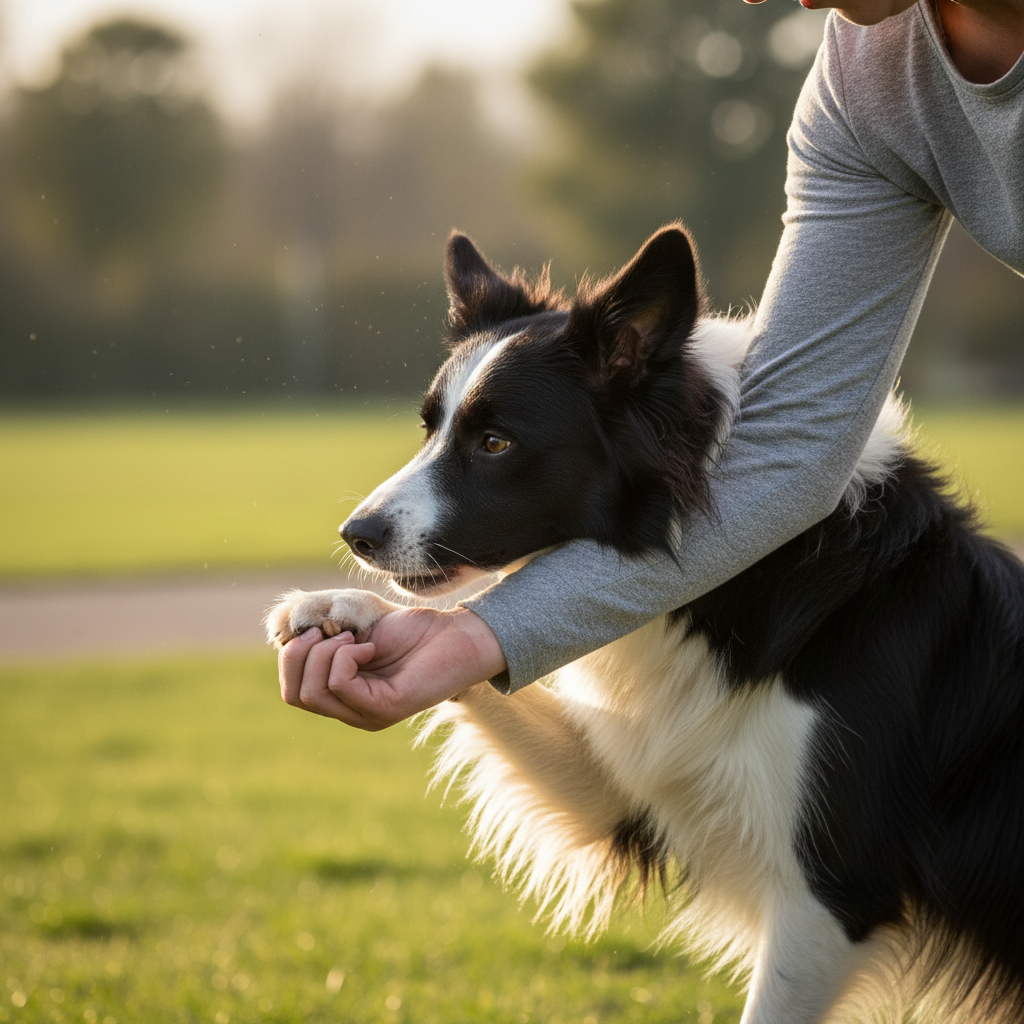
Step 1: The ‘Paw’ Foundation
Before your dog can hug your arm, they need to be comfortable offering their paw. If your dog doesn’t already know ‘paw’ or ‘shake’, start there. Ask for their paw, and the moment they lift it or touch your hand, mark the behavior (with a click or ‘Yes!’) and give them a treat. Practice this until they are confidently offering their paw on cue.
-
Step 2: Introducing the Arm
Now, let’s switch things up. Sit on the floor with your dog and, instead of offering your open palm for a ‘shake’, present your forearm, held horizontally in front of them. Use your other hand to gesture towards your arm and encourage them to target it. The instant their paw touches your arm, mark and reward. Repeat this until they are deliberately placing their paw on your arm without hesitation.
-
Step 3: Encouraging the ‘Wrap’
This is where the magic happens! Hold a high-value treat in the hand of the arm your dog is targeting. As they place their paw on your arm, slowly lure their head around your arm with the treat. To get the treat, they will need to crane their neck, which will naturally cause them to shift their weight and ‘wrap’ their leg more securely around your arm for balance. The very first time you see that slight wrapping motion, have a jackpot party! Mark it and give them several treats and lots of praise. This is the core motion you’re looking for.
-
Step 4: Adding the Verbal Cue
Once your dog is consistently performing the wrapping motion (Step 3), it’s time to name it. Just before you present your arm and lure them, say your chosen cue word clearly. Good options include ‘Hug’, ‘Cuddle’, or ‘Love’. Say the cue, present your arm, lure the wrap, and then mark and reward. The sequence is: Cue -> Action -> Reward. Repetition will help your dog build a strong association between the word and the action.
-
Step 5: Fading the Lure and Generalizing
The final step is to transition from relying on the treat lure to just the verbal cue. Start by luring them but with an empty hand. When they perform the hug, reward them with a treat from your other hand. Gradually, you can reduce the hand motion until you are simply presenting your arm and saying the cue. Once they have it down in your quiet training spot, start practicing in other rooms of the house to help them ‘generalize’ the command and understand it applies everywhere, not just in the living room.
Is It a Hug or a Hassle? Reading Your Dog’s Cues
Is It a Hug or a Hassle? Reading Your Dog’s Cues
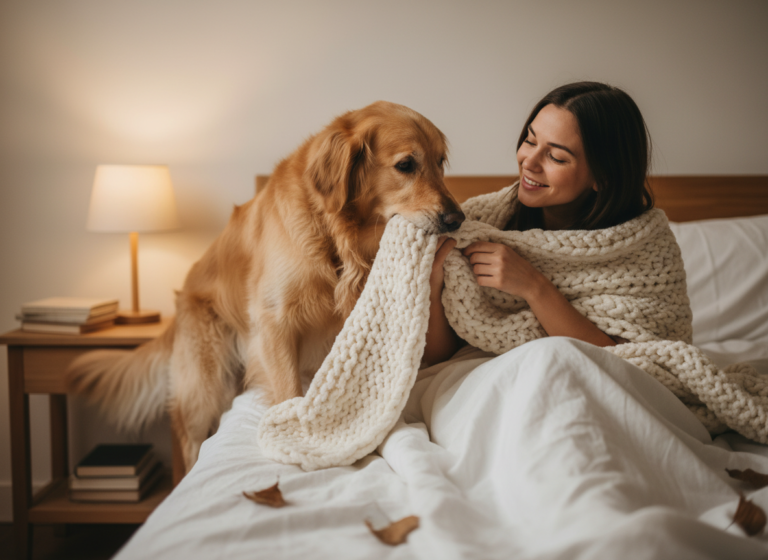
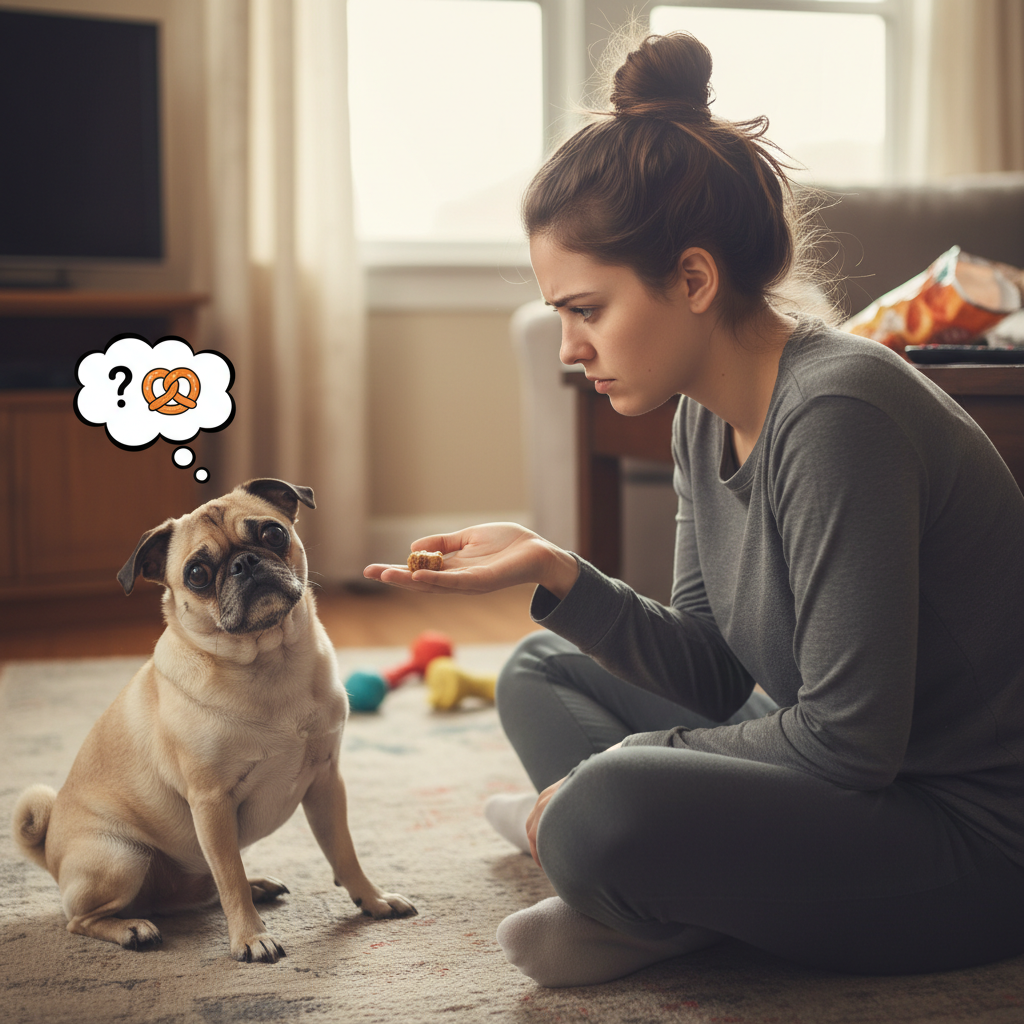
Teaching a trick is fun, but being a responsible and empathetic pet owner is paramount. A ‘hug’ is a human gesture of affection. For a dog, being held or constrained can sometimes be stressful. That’s why it’s absolutely critical to pay close attention to your dog’s body language throughout this process to ensure they are genuinely enjoying the interaction.
Signs of a Happy Hugger
When your dog is comfortable and having fun, they’ll show you. Look for these positive signals:
- Loose, Wiggly Body: A relaxed, flowing body posture is a great sign.
- Soft, Gentle Eyes: No wide-eyed staring; just a relaxed, happy gaze.
- A Gently Wagging Tail: The tail should be in a neutral or slightly raised position, with a loose, sweeping wag.
- Leaning In: A dog that voluntarily leans into the touch is showing comfort and trust.
Signs of Stress or Discomfort
If you see any of these signals, it’s time to stop the session and give your dog a break. Never force the interaction. Respecting their boundaries will build more trust than any trick ever could.
- Stiff or Frozen Body: A sudden stiffness is a clear sign of anxiety.
- Whale Eye: When a dog shows the whites of its eyes, it’s a classic sign of stress.
- Lip Licking or Yawning: These can be appeasement signals, indicating your dog is feeling pressured.
- Tucked Tail: A tail tucked between the legs is a universal sign of fear or anxiety.
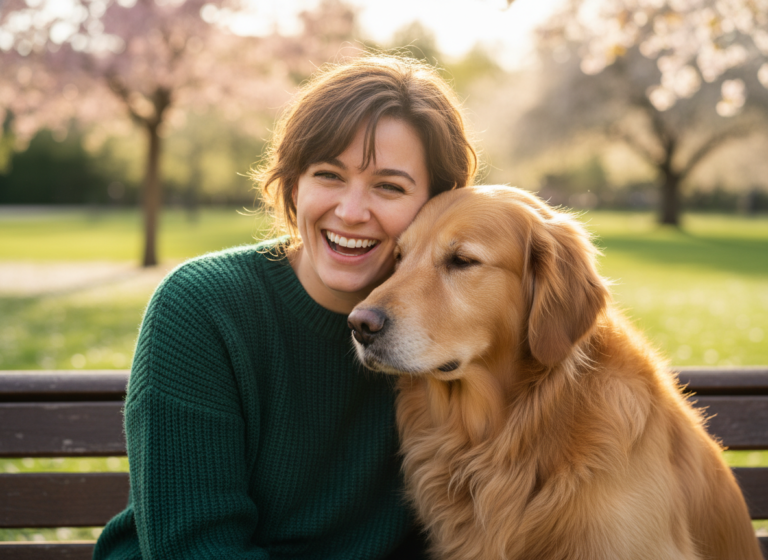
A Bond is a Two-Way Street: Remember, the goal of this trick is to enhance your bond. A true hug from your dog is one they offer willingly and joyfully. By learning to read their subtle cues, you’re telling them, ‘I hear you, and I respect you,’ which is the foundation of any great relationship.
Stuck in a Rut? How to Overcome Common Training Challenges
Stuck in a Rut? How to Overcome Common Training Challenges
Even with the best plan, training can sometimes hit a snag. Don’t worry, it’s completely normal! Every dog learns at a different pace. If you find yourself stuck, check this troubleshooting table for some common issues and their solutions. A small adjustment is often all it takes to get back on track.
| The Problem | The Solution |
|---|---|
| My dog just paws my arm but won’t ‘wrap’. | This usually means the lure in Step 3 isn’t compelling enough. Try using an even higher-value treat (something extra smelly!). Also, break it down: reward even a tiny head turn around your arm first, then gradually ask for a bigger turn before giving the treat. |
| My dog gets mouthy or nippy when taking the treat. | This is common with excited dogs! Work on gentle treat-taking separately. You can also deliver the treat with your other hand, away from the ‘hugging’ arm, so they aren’t focused on biting the hand that’s being hugged. |
| My dog loses interest after just a minute or two. | You’re likely training for too long. Cut your session length in half. For a dog with a short attention span, a 2-minute session is far more productive than a 10-minute one. Always end while they’re still engaged and wanting more. |
| My dog will only do it when they see a treat in my hand. | This means it’s time to work on fading the lure (Step 5). Use an empty hand to lure them, but then reward from your other hand or a pocket after they complete the hug. This breaks the ‘I only work for visible bribes’ habit. |
| My dog seems nervous about reaching around my arm. | Your dog may be naturally more cautious. Go back a step and build more confidence with just placing a paw on your arm (Step 2). Keep the sessions very short and use lots of verbal praise. Don’t push them; let them build trust at their own pace. |
Conclusion
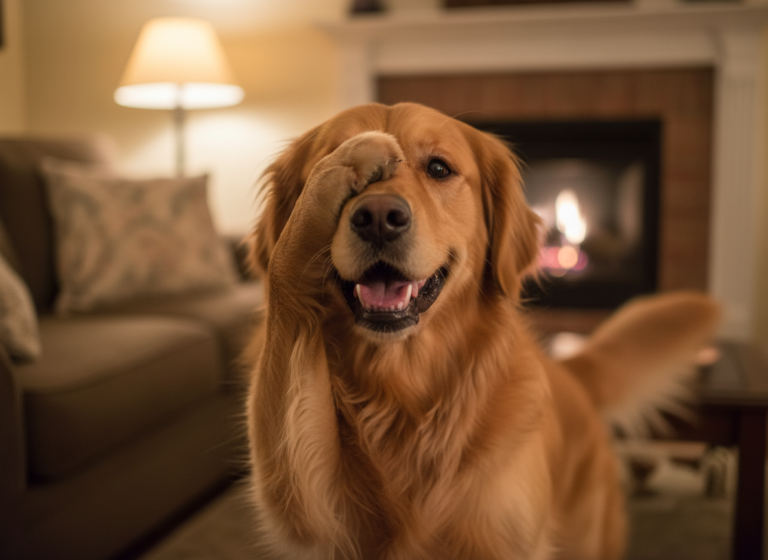
Congratulations on embarking on this wonderful training adventure! Teaching your dog to hug your arm is so much more than just a party trick; it’s a testament to your communication, patience, and the special language you share. The process itself—the little wins, the funny mistakes, and the ‘aha!’ moments—is what truly forges an unbreakable bond.
Remember to always keep it positive, listen to your dog’s body language, and celebrate every bit of progress. Before you know it, you’ll have a heartwarming new way to connect with your furry best friend. Happy training, and here’s to many happy hugs ahead!