So, you’ve found ‘the one.’ The person you want to share your life, your home, and maybe even your side of the bed with. The big question is on your mind, and you’re brainstorming ways to make your proposal absolutely perfect. You want it to be personal, memorable, and full of love. But what if the ‘one’ isn’t the only one who has your heart? What about that furry, four-legged family member who’s been there for you through thick and thin?
Including your dog in your proposal is a beautiful way to celebrate the family you’re building together. And what could be more charming than having your loyal companion help you pop the question? Imagine this: you’re in the perfect spot, you get down on one knee, and on cue, your dog performs a graceful bow, presenting the ring box. It’s a movie-worthy moment, and guess what? It’s completely achievable!
Don’t worry, you don’t need to be a professional dog trainer to pull this off. With a little patience, a handful of tasty treats, and a whole lot of love, you can teach your pup this incredible trick. This guide will walk you through every step, from gathering your supplies to troubleshooting common hiccups. Let’s get started on creating a proposal that will be talked about for years to come!
Setting the Stage for Success: What You’ll Need

Before you and your furry assistant begin your training journey, it’s important to gather a few key items. Having everything ready will make your sessions smoother, more effective, and a lot more fun for both of you. Think of this as your proposal prep toolkit!
The Essentials List:
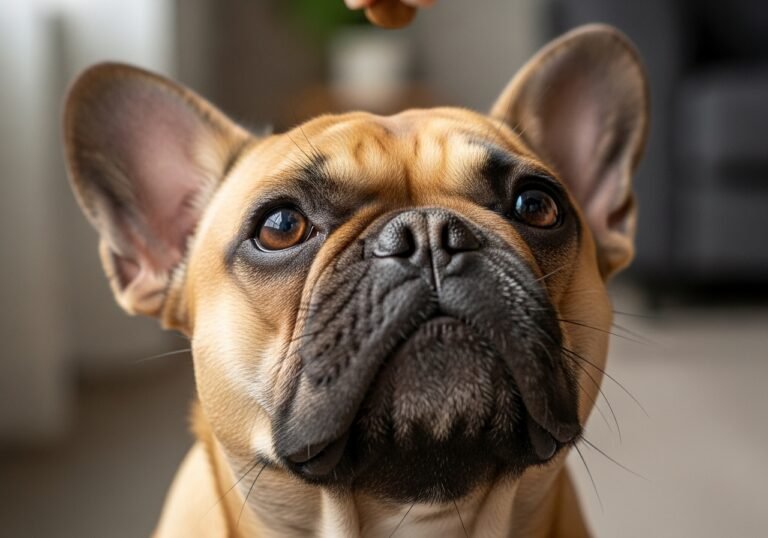
- High-Value Treats: We’re not talking about their everyday kibble. For a special trick like this, you need the good stuff! Think small, soft, and extra-tasty morsels like tiny pieces of cooked chicken, cheese, or commercial training treats that your dog goes wild for. The smaller the better, so you can reward them frequently without filling them up too quickly.
- The Ring Box (A Stand-In!): For training purposes, you’ll want to use an empty ring box or a similar small, lightweight box. This way, you don’t have to worry about the actual ring getting lost or slobbered on during practice. Make sure it’s a box you don’t mind getting a few teeth marks on!
- A Clicker (Optional, but Recommended): A clicker is a fantastic tool for marking the exact moment your dog does something right. This clear communication can speed up the learning process significantly. If you’ve never used one, don’t fret! The concept is simple: click the instant your dog performs the correct action, then immediately give a treat. The click becomes a powerful signal for ‘Yes, that’s what I want!’
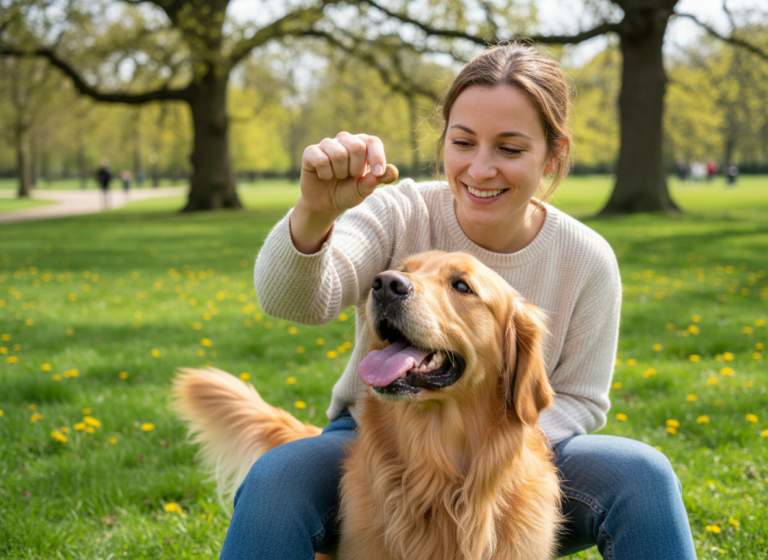
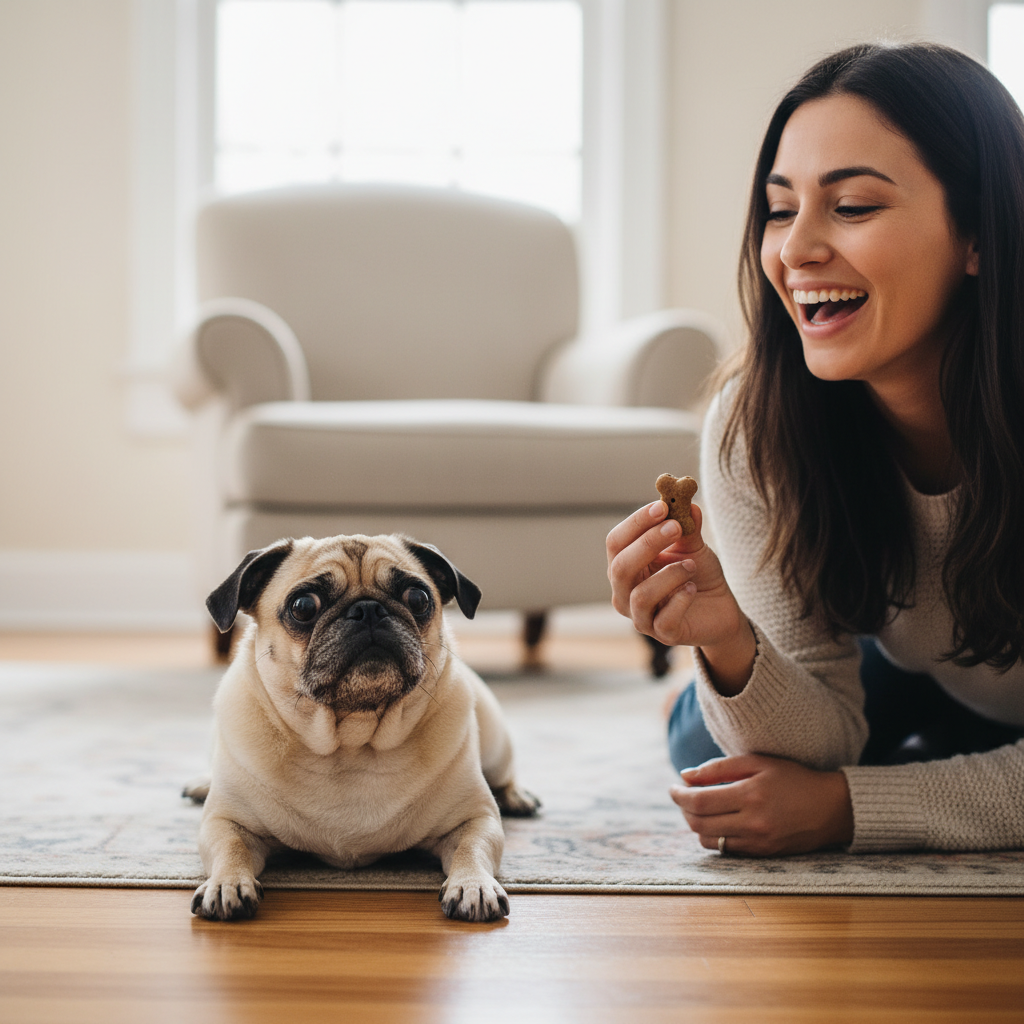
- A Quiet Training Space: Choose a location with minimal distractions. Your living room, a quiet backyard, or any space where your dog feels comfortable and can focus on you is perfect. Avoid busy parks or areas with other dogs during the initial learning phase.
- A Positive Attitude and Patience: This is the most crucial ‘tool’ of all! Dog training is a journey, not a race. There will be moments of amazing progress and times when you feel stuck. Stay positive, keep sessions short (5-10 minutes is great), and always end on a good note. Your dog feeds off your energy, so a happy, patient trainer makes for a happy, eager student.
Expert Tip: Keep your training sessions short and sweet. A few 5-minute sessions throughout the day are far more effective than one long, frustrating 30-minute session. This keeps your dog engaged and excited to learn.
From ‘Sit’ to ‘She Said Yes!’: Your Step-by-Step Guide to the Bow
Alright, you’ve got your treats and your trusty canine companion is looking at you with anticipation. It’s time to get down to the fun part! We’ll break this down into simple, manageable steps. Remember to master one step before moving on to the next. Let’s begin!
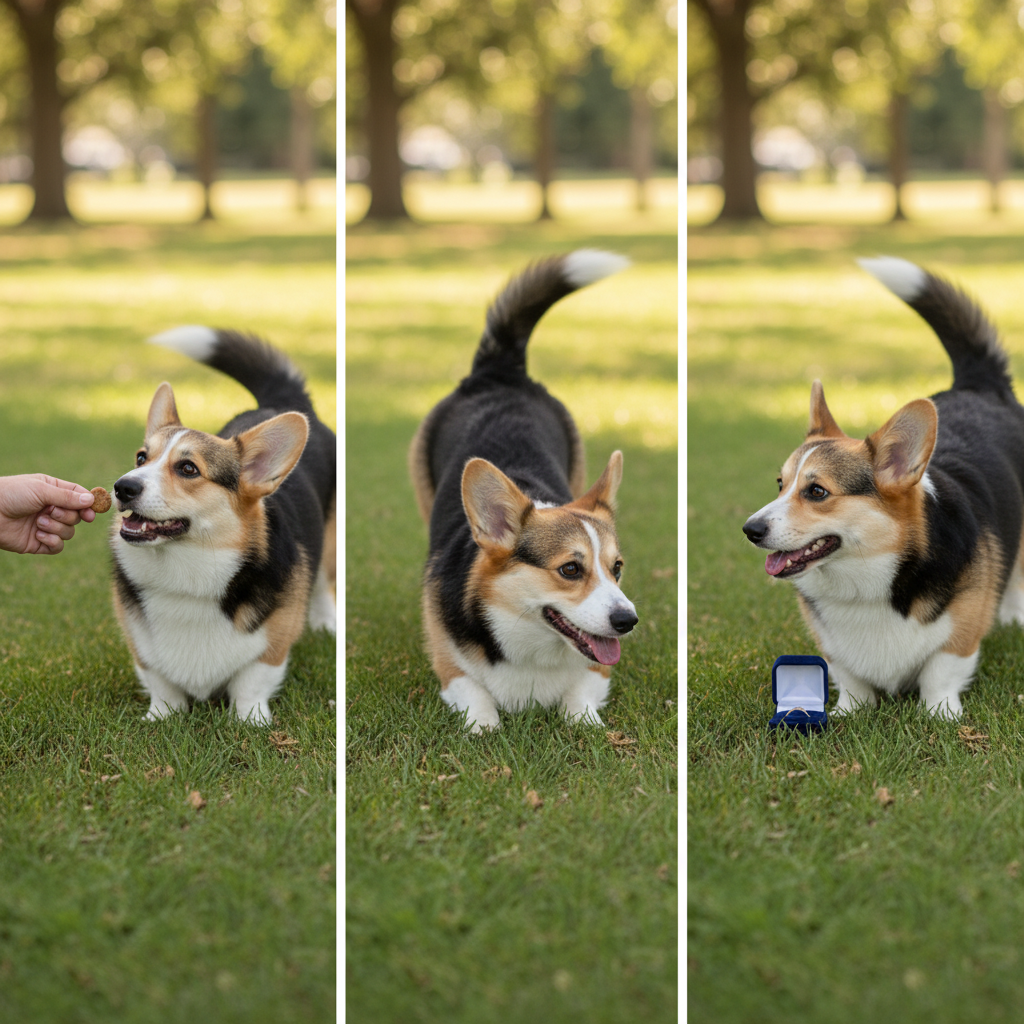
- Step 1: Luring the Basic Bow Movement. The foundation of this trick is the ‘bow’ itself. It’s a natural stretching position for dogs, often called a ‘play bow.’ Our job is to capture it on cue.
- Start with your dog in a standing position.
- Take a tasty treat and hold it in front of your dog’s nose.
- Slowly lower the treat straight down between their front paws. As their head follows the treat, their rear end should naturally pop up into the air. The moment their elbows touch the floor and their rump is up, you’ve got a bow!
- Mark this exact moment with a ‘Yes!’ or a click, and release the treat for them to eat.
- Let them get up, and repeat this several times until they are confidently following the lure into the bow position.
- Step 2: Adding the Verbal Cue. Once your dog understands the lured movement, it’s time to give it a name.
- As you begin to lure them into the bow, say your chosen cue word clearly. ‘Bow,’ ‘Present,’ or ‘Proposal’ are all great options. Choose one and stick with it.
- Say the cue word just before you start the hand motion. The sequence should be: Say ‘Bow’ -> Lure with treat -> Dog bows -> Mark with ‘Yes!’/click -> Reward.
- After many repetitions, your dog will start to associate the word ‘Bow’ with the action.
- Step 3: Introducing the Ring Box. Now we need to get your dog comfortable with the prop. We want them to see the box as a wonderful thing.
- Place the empty ring box on the floor near you.
- Anytime your dog shows positive interest in it—sniffing it, looking at it, nudging it—mark the behavior and give them a treat. We are building a positive association. Don’t ask for any specific action yet, just reward their curiosity.
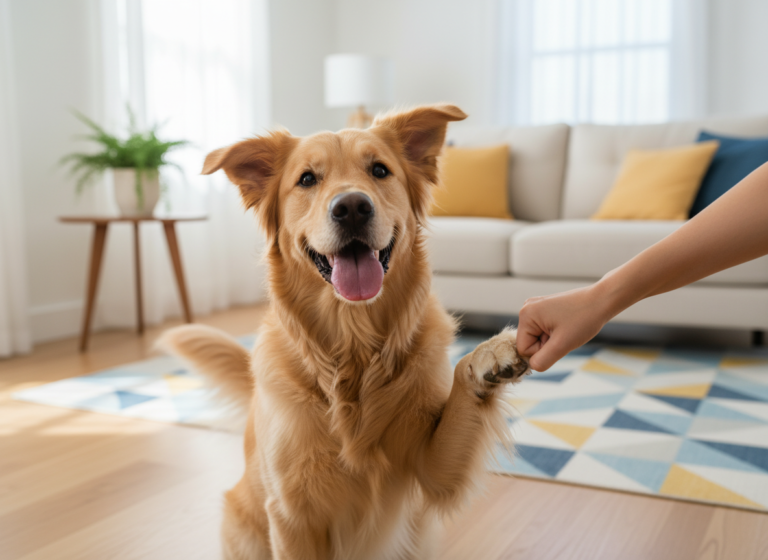
- Step 4: Combining the Bow and the Box. This is where it all comes together.
- Place the ring box on the floor in front of your dog.
- Now, use your lure to ask for a ‘Bow’ right next to or over the box. The goal is for them to end up in the bow position with their nose pointing toward the box.
- Mark and reward this enthusiastically! They are now performing the full behavior. Practice this in different spots in the room.
- Step 5: Fading the Lure. Our ultimate goal is for the dog to bow on the verbal cue alone, without needing a treat in your hand to guide them.
- Start making your hand motion smaller and less obvious. Pretend to hold a treat, but have it hidden in your other hand to deliver after they succeed.
- Gradually, you’ll be able to simply point to the ground near the box as you say ‘Bow.’
- Eventually, the verbal cue alone should be enough. This step takes time and patience, so don’t rush it!
Adding the ‘Wow’ Factor: Advanced Tips for a Flawless Performance
Your dog is now bowing on cue next to the ring box—fantastic! You’re already 90% of the way there. But if you want to elevate this trick from ‘cute’ to ‘absolutely breathtaking,’ here are a few advanced tips to polish the performance and prepare for the big day.
Increasing Duration
For the proposal, you’ll want your dog to hold the bow for a few seconds to give your partner time to process the moment (and to give you time to get the ring!).
- Once your dog is in the bow position, delay your ‘Yes!’ or click by just one second before rewarding.
- Gradually increase this delay over several training sessions, from one second to two, then three, and so on.
- If your dog breaks the bow before you mark it, that’s okay! Simply go back to a shorter duration where they were successful and build up more slowly. This teaches them that the reward comes for holding the position.
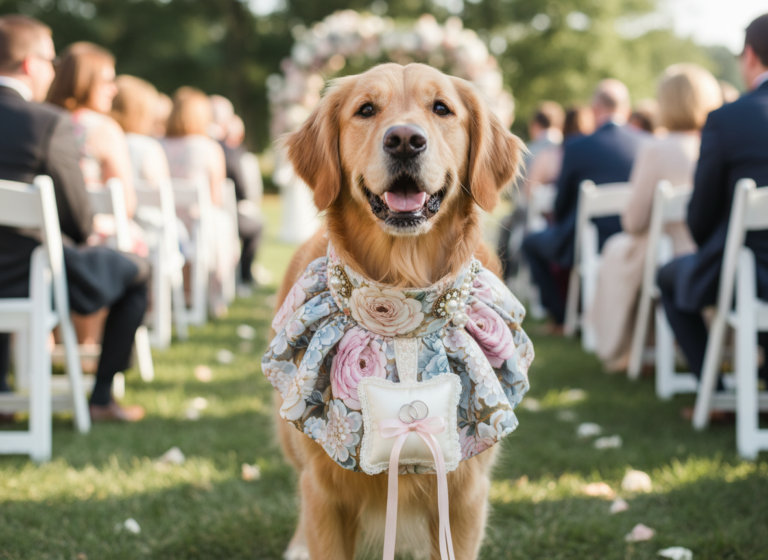
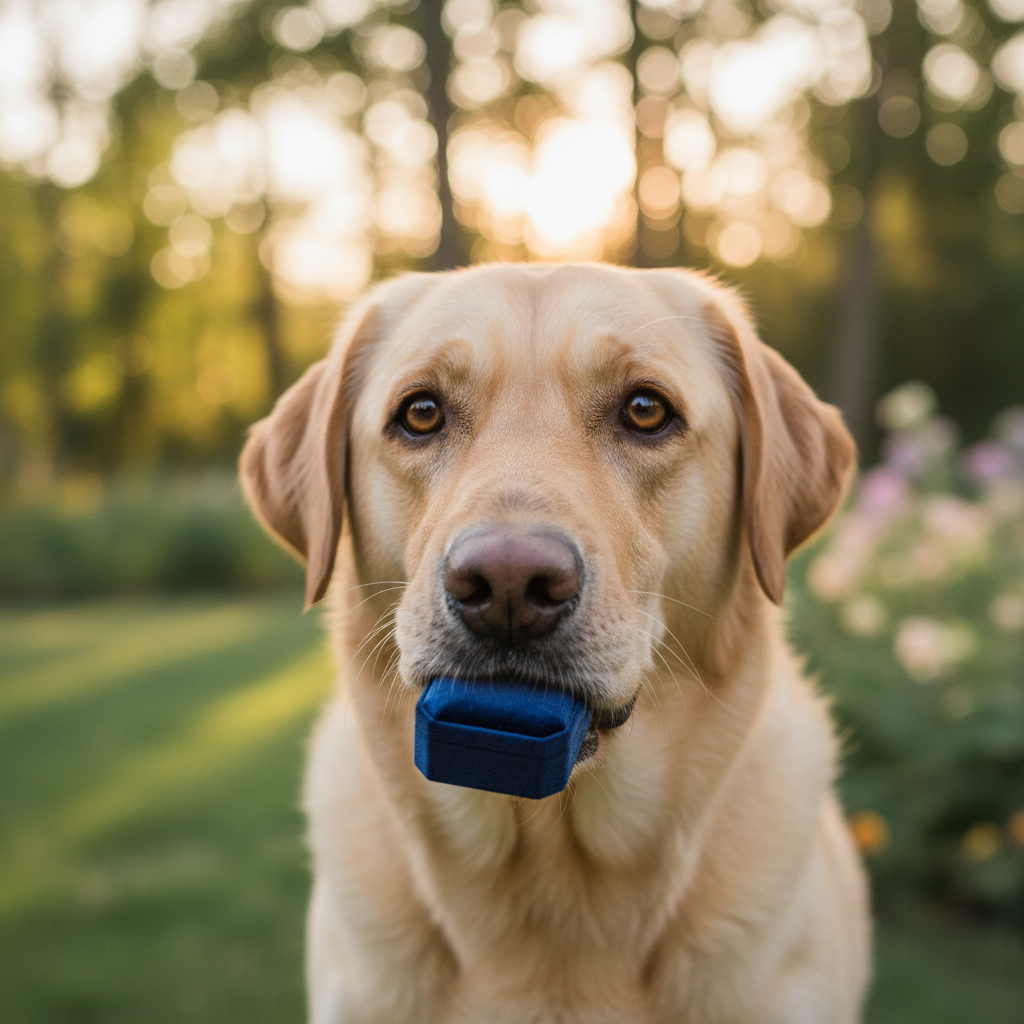
What About Holding the Box?
Teaching a dog to gently hold a box in their mouth is a much more advanced skill and isn’t necessary for a beautiful proposal. Simply bowing next to the box is often safer and just as effective. However, if you have a dog with a natural ‘soft mouth’ (like many retrievers) and you want to try, proceed with caution.
Important Safety Note: Never force a dog to hold something. If they seem uncomfortable, or if they tend to chew things, it’s best to skip this step. An alternative is to securely tie the ring box (with a fake ring for practice!) to a wide, comfortable ribbon around their collar.
The Dress Rehearsal
You wouldn’t show up to a play without a dress rehearsal, right? The same logic applies here. To ensure everything goes smoothly on the day, you need to practice in a similar environment.
- Generalize the Behavior: Practice the ‘Bow’ command in different locations—the backyard, a quiet park, a friend’s house. This teaches your dog that ‘Bow’ means bow everywhere, not just in the living room.
- Simulate the Moment: Do a few practice runs of the real thing. Have a friend stand in for your partner. Walk to your chosen spot, get into position, and cue your dog. This helps you work out any kinks in your timing and helps your dog understand their role in the sequence of events.
- Plan for Distractions: The real world is full of squirrels, sounds, and smells. During your dress rehearsals, gradually introduce low-level distractions to help your dog learn to stay focused on you.
Oops-a-Daisy! Troubleshooting Common Training Snags
Even with the best plan, you might hit a few bumps in the road. Don’t get discouraged! Every dog learns differently, and troubleshooting is a normal part of the training process. Here are some common challenges and how to overcome them.
| The Problem | The Solution |
|---|---|
| My dog just lies down completely instead of bowing. | This is very common! It usually means you’re holding the lure still for too long. Try moving the treat from their nose down and slightly back towards their chest. This slight backward motion encourages them to keep their rear end up instead of collapsing into a ‘down.’ |
| My dog is afraid of or keeps chewing the ring box. | If they’re scared, go back to basics. Place the box on the floor and toss high-value treats near it without asking for any interaction. Let them approach it on their own terms. If they’re chewing it, the box might be too exciting. Use a less interesting object for practice (like a small block of wood) and only use the ‘special’ box for the final performance. Always supervise them with the prop. |
| My dog gets too excited and can’t focus. | This is a sign that your training sessions might be too long or the environment is too stimulating. Shorten your sessions to just 2-3 minutes. You can also try a ‘calming’ exercise first, like a few minutes of ‘sit’ and ‘stay,’ to get them in a more focused mindset before you begin trick training. |
| My dog performs perfectly for me, but not for my partner. | Your dog has built a training relationship with you. To ensure they’ll perform on the big day, have your partner join in on some of the fun! Let them give the treats and eventually the ‘Bow’ cue during practice sessions so the dog sees you both as a team. |
| We’re getting close to the date, and they’re just not getting it. | Take a deep breath. It’s okay! The most important thing is the proposal itself. If the trick isn’t 100% reliable, have a backup plan. Maybe the dog can simply sit beside you with the ring box attached to their collar. The goal is to include them in a low-stress, happy way. Their presence is the real gift. |
Conclusion
Teaching your dog to be part of your proposal is more than just learning a trick; it’s about creating a memory that weaves your beloved pet into the very fabric of your love story. The time you spend training, the little moments of success, and even the funny mistakes along the way become part of the journey. You’re not just preparing for a question; you’re strengthening the bond you share with your furry best friend.
Remember to be patient, keep it positive, and focus on the fun. Whether your dog performs a perfect, crisp bow or a slightly wobbly, over-excited one, their involvement will make the moment infinitely more special. It’s a testament to the love you share and the beautiful family you are creating together.
So, grab those treats and get ready to create a little magic. We wish you the very best of luck with the training, and more importantly, with your proposal. May your future be filled with as much joy, love, and happy tail wags as possible!