Have you ever found yourself in a crowded place, wishing you had a magic ‘safe zone’ for your dog? Or maybe you’ve needed to quickly get your dog out of the way of an approaching off-leash dog or a passing bicycle. It turns out, there’s a simple, fun, and incredibly useful command that does just that: the ‘middle’ command.
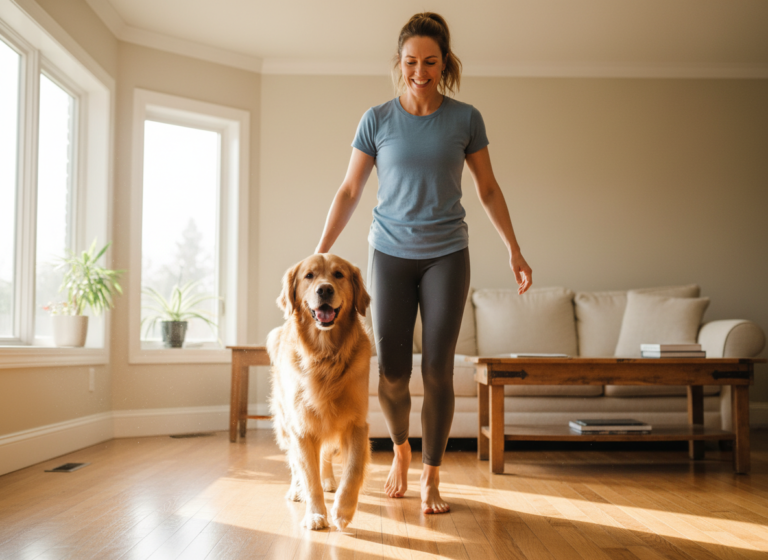
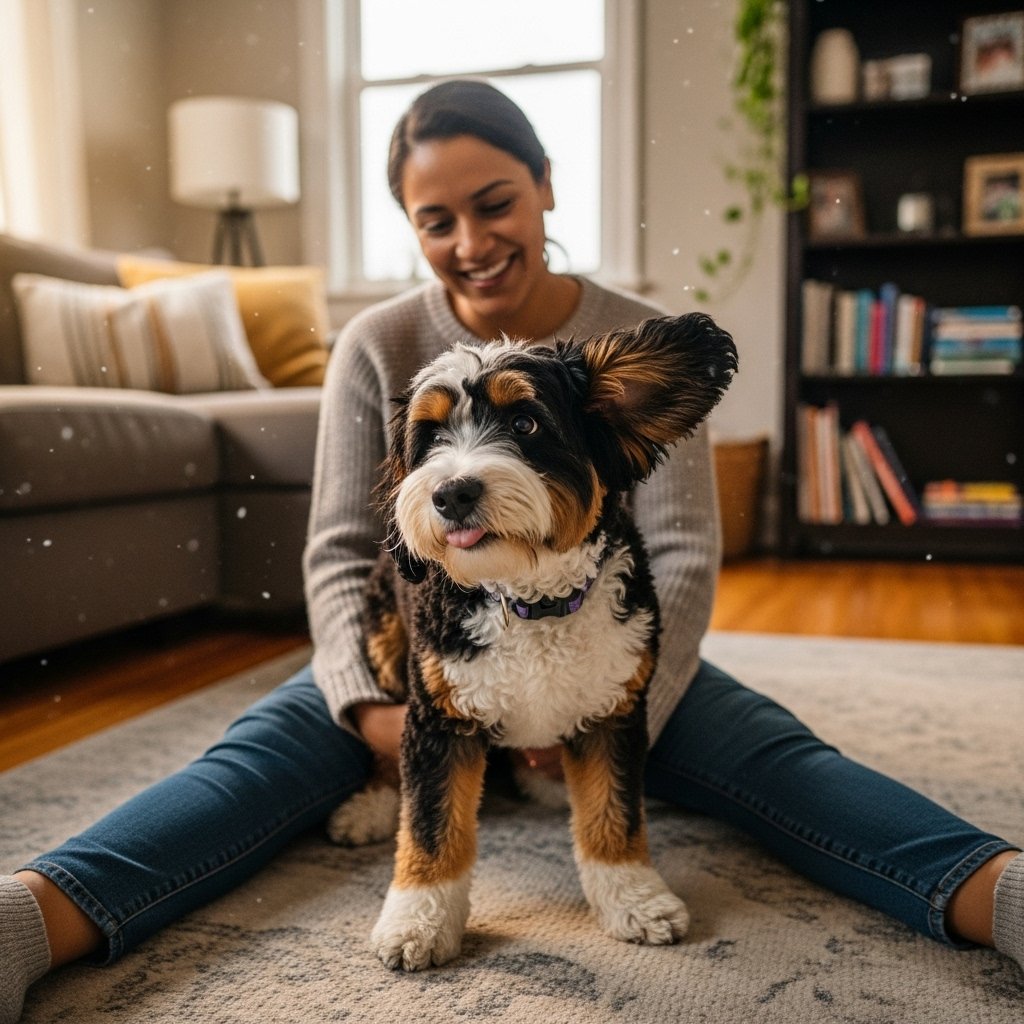
Far more than just an adorable party trick, teaching your dog to go between your legs and stay there is a powerful tool for management, safety, and focus. It essentially creates a portable ‘home base’ for your pup, a place where they know they are safe and can look to you for guidance. Whether you have a small, nervous dog who needs reassurance or a large, boisterous one who needs a moment of calm, the ‘middle’ command can be a total game-changer. In this guide, we’ll walk you through everything you need to know, from the practical benefits to a step-by-step training plan that will have you and your furry friend mastering this skill in no time. Let’s get started!
More Than Just a Cute Trick: Practical Benefits of the ‘Middle’ Command

Before we dive into the ‘how-to,’ let’s talk about the ‘why.’ Understanding the real-world applications of the ‘middle’ command will motivate you through the training process. It’s one of the most versatile behaviors you can teach, seamlessly blending safety with fun.
Key Advantages of a Solid ‘Middle’:
- Safety in Crowds: Navigating a busy farmers market, a crowded sidewalk, or a pet-friendly event can be stressful. ‘Middle’ keeps your dog tucked safely between your legs, preventing them from being stepped on, getting tangled, or darting into someone’s path.
- Managing Reactivity: If your dog is nervous or reactive around other dogs, people, or objects, ‘middle’ provides a secure management tool. Instead of reacting, your dog can focus on you in their safe space, allowing the trigger to pass at a distance.
- Building Confidence: For anxious or fearful dogs, the world can be a scary place. The physical contact and proximity of the ‘middle’ position can be incredibly comforting, acting like a reassuring hug and building their confidence in new environments.
- A Convenient ‘Stay’: It’s a great alternative to a ‘sit-stay’ or ‘down-stay,’ especially on wet or cold ground. You can use it when you’re chatting with a neighbor, waiting to cross the street, or paying for a coffee at a dog-friendly patio.
- Foundation for Fun Tricks: Once mastered, ‘middle’ can be a starting point for canine freestyle moves, fun recall games, and other advanced tricks that strengthen your bond.
Expert Tip: Think of ‘middle’ as your dog’s ‘reset button.’ Whenever things get a little too overwhelming for them, you can cue ‘middle’ to bring their focus right back to you and help them feel secure.
Gearing Up for Success: Setting the Stage for Training
The beauty of this command is its simplicity. You don’t need a lot of fancy equipment to get started, but having the right tools on hand will make the process smoother and more enjoyable for both you and your dog. The most important thing you can bring is a positive, patient attitude!
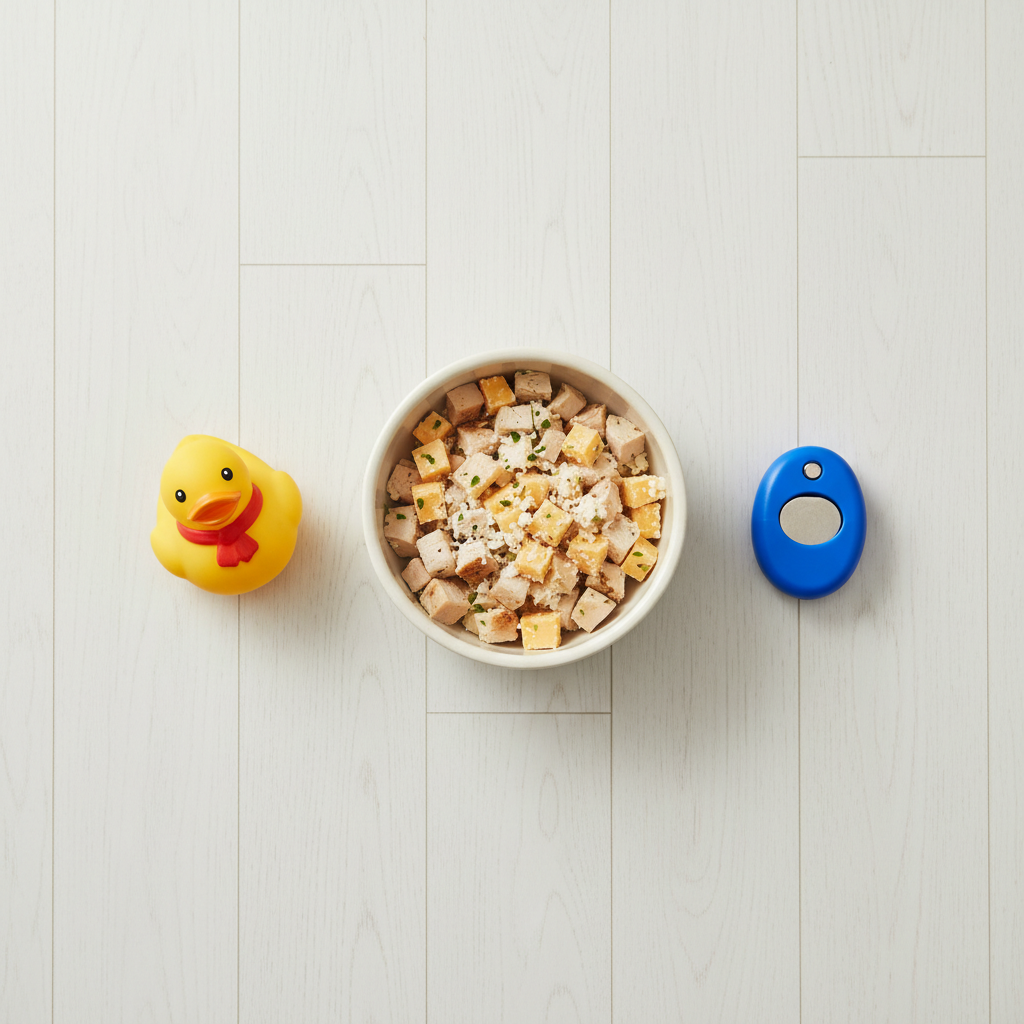
Your Training Toolkit:
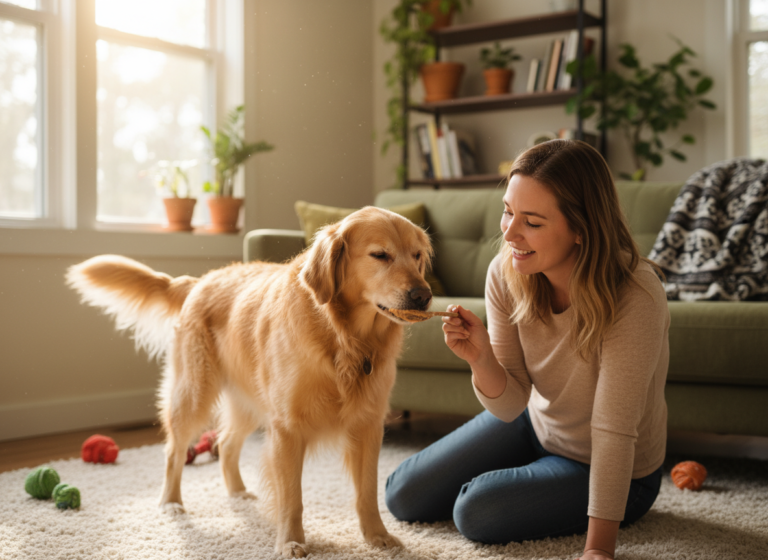
- High-Value Treats: These are the ‘special occasion’ treats that your dog absolutely loves and doesn’t get all the time. Think small pieces of cooked chicken, cheese, hot dogs, or super tasty commercial training treats. The goal is to make the reward so good that your dog is highly motivated to work for it.
- A Clicker (Optional): If you use a clicker in your training, have it ready. The ‘click’ is a fantastic way to precisely mark the exact moment your dog does the right thing—in this case, moving between your legs. If you don’t use a clicker, a verbal marker like a sharp “Yes!” works just as well.
- A Quiet Training Space: Start your training sessions in a low-distraction environment, like your living room or a quiet backyard. This helps your dog focus on the task at hand without being tempted by squirrels, other dogs, or interesting smells.
- An Enthusiastic Attitude: Dogs are incredibly perceptive. If you’re excited and having fun, they will be too! Keep your energy light and positive, and remember to celebrate the small wins along the way.
Let’s Get Training! Teaching ‘Middle’ Step-by-Step
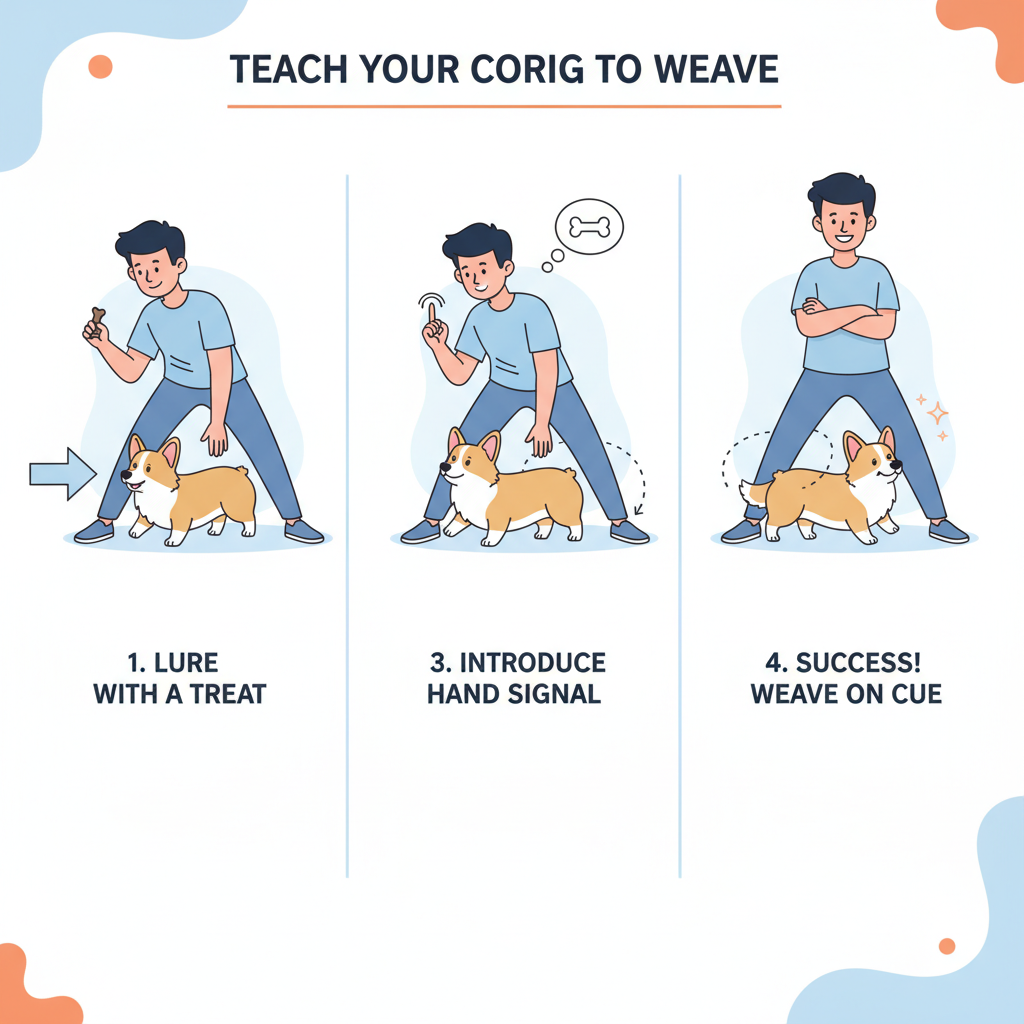
Alright, it’s time for the fun part! We’re going to use a technique called ‘luring,’ which means using a treat to guide your dog into the desired position. Remember to keep your training sessions short and sweet—just 5-10 minutes at a time is perfect to keep your dog engaged and eager to learn.
-
Step 1: The Basic Lure (Front to Back)
Stand with your feet about shoulder-width apart, creating an inviting tunnel for your dog. Hold a smelly, high-value treat in your hand. Show it to your dog to get their attention, then lure them from the front, through your legs, to the back. As soon as their head and shoulders pass through, say your marker word (“Yes!”) or click, and give them the treat behind your legs. Repeat this 5-10 times until your dog is moving through confidently.
-
Step 2: Luring into Position
Now, instead of luring them all the way through, we’ll guide them into the ‘middle’ position. With your dog in front of you, lure them with the treat so they step between your legs and are positioned right under you. The moment they are in the correct spot, mark (“Yes!”) and reward them with several small treats, one after another, while they stay there. This teaches them that remaining between your legs is a fantastic place to be!
-
Step 3: Adding the Verbal Cue
Once your dog is reliably following the lure into position, it’s time to name the behavior. Just before you start the luring motion, say your chosen cue clearly and cheerfully—for example, “Middle!” Then, perform the lure as you did in Step 2. Mark and reward. After several repetitions, your dog will start to associate the word ‘Middle’ with the action of moving between your legs.
-
Step 4: Fading the Lure
Our goal is for the dog to respond to the verbal cue alone, not just the hand motion. Start making your hand lure less obvious. Instead of a big motion with a treat, just point between your legs as you say “Middle!” When your dog moves into position, reward them enthusiastically. Gradually make the hand signal smaller and smaller until you can simply say the word “Middle!” and your dog happily trots into position.
-
Step 5: Building Duration and Distance
Now that your dog knows the command, we can ask them to hold the position for longer. Cue them to “Middle,” and then slowly count to two before you mark and reward. Gradually increase the time they stay there. You can also start adding distance. Take one step away and cue “Middle!” and reward them big time when they come to you and get into position. This builds a reliable and impressive command.
Training Pro-Tip: End every session on a high note! Finish with a successful repetition or a fun game of tug. This ensures your dog always associates training time with positive, rewarding experiences.
Hitting a Snag? Common ‘Middle’ Command Problems and Solutions
Even with the best plan, you might run into a few little bumps in the road. Don’t worry, it’s completely normal! Dog training is all about problem-solving. Here are some of the most common challenges and how to work through them with patience and positivity.
| The Problem | The Solution |
|---|---|
| My dog only goes halfway and stops. | This often happens because the reward is happening too early. Make sure you are only marking and rewarding when your dog is fully in the correct position. You can also try using a higher-value treat to increase motivation. For larger dogs, you may need to widen your stance to make the ‘tunnel’ more inviting. |
| My dog backs out immediately after getting the treat. | To build duration, switch from giving one big treat to ‘machine-gun’ feeding several tiny treats in a row while they hold the position. This teaches them that staying between your legs is a prolonged, rewarding activity. |
| My dog is too small/big for this! | This command is adaptable! For tiny dogs, you can practice by sitting on a stool or chair and having them go under your legs. For giant breeds, you’ll need a very wide stance. The principle remains the same: create a safe, tunnel-like space for them. |
| My dog gets distracted and won’t focus. | Go back to basics. Are you training in a quiet environment? Are your treats exciting enough to hold their attention? Keep sessions short to prevent burnout. If your dog is distracted, it’s a sign that the environment is too challenging for their current level of training. |
Advanced ‘Middle’: Proofing and Practical Applications

Once your dog has mastered the ‘middle’ command in your living room, it’s time to take the show on the road! ‘Proofing’ a behavior means teaching your dog to perform it reliably in different environments and with various distractions. This is the step that makes the command truly useful in everyday life.
How to Proof the ‘Middle’ Command:
- Change the Scenery: Start by practicing in your backyard. Then move to the quiet sidewalk in front of your house. Gradually work your way up to more distracting places, like a quiet park, and eventually, a busier area. Go at your dog’s pace and be ready to use extra-high-value rewards in new places.
- Add Distractions: Once your dog is solid in a new location, add some controlled distractions. Have a family member walk by. Roll a ball a few feet away. Ask for a ‘middle’ while another dog is visible at a distance. The key is to start with low-level distractions and slowly increase the difficulty.
- Send from a Distance: Turn it into a fun recall game! While on a long line in a safe area, walk a few feet away from your dog, turn to face them, widen your stance, and excitedly call “Middle!”. When they run to you and get into position, have a huge party with treats and praise.
- Incorporate into Daily Life: The more you use it, the stronger it gets. Use ‘middle’ when the doorbell rings to prevent jumping on guests. Use it on a hiking trail to let other hikers pass. Use it when you stop to tie your shoe. Look for opportunities to make it a normal, rewarding part of your dog’s routine.
By proofing the ‘middle’ command, you’re not just teaching a trick; you’re building a reliable, real-world skill that enhances safety, strengthens your communication, and deepens the incredible bond you share with your best friend.
Conclusion
Congratulations! You now have all the tools and knowledge you need to teach your dog the amazing ‘middle’ command. What starts as a simple, treat-lured movement in your living room can grow into an invaluable skill for safety, management, and fun. Remember to be patient, keep it positive, and celebrate every small step of progress. Training isn’t just about obedience; it’s about building a language and a relationship with your dog based on trust and mutual understanding. The ‘middle’ command is a perfect example of this partnership in action—a simple behavior that says, ‘Stick with me, and you’ll be safe.’ So grab those treats, find a quiet spot, and start building your dog’s new favorite safe space today!