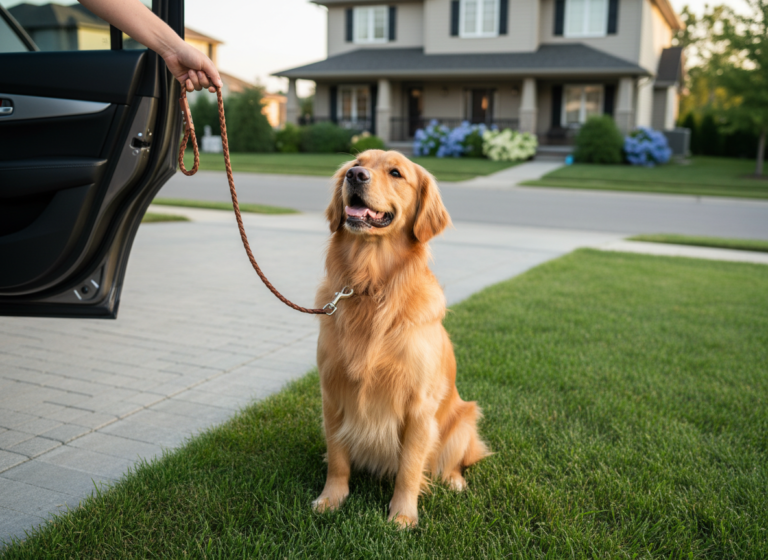
Is your daily walk more of a drag than a delight? You leave the house with visions of a peaceful stroll, but reality hits: your arm is being pulled out of its socket, and your dog is so absorbed by every single smell on the ground that you feel more like an anchor than a walking companion. It’s a common frustration for so many pet owners. But what if there was a simple, positive way to change the entire dynamic of your walk? What if you could teach your dog to want to pay attention to you?
Enter the ‘auto check-in.’ This isn’t a command you bark or a leash you yank. It’s a beautifully simple, trained behavior where your dog, on their own, chooses to look back at you periodically during your walk. It’s a glance that says, “Hey, I’m still with you! What are we doing next?” This small action is a massive game-changer. It builds focus, strengthens your bond, and lays the foundation for a truly enjoyable loose-leash walk. In this guide, we’ll break down exactly how to teach this invaluable skill, step-by-step, turning your chaotic tug-of-war into a connected, cooperative adventure.
Why the ‘Auto Check-In’ is a Game-Changer for Your Walks
Before we dive into the ‘how,’ let’s talk about the ‘why.’ Understanding the profound impact of the auto check-in will motivate you to stick with the training. This isn’t just another trick; it’s a fundamental shift in your communication with your dog.
From a Monologue to a Dialogue
Without a check-in, a walk is a monologue. Your dog is exploring their world, and you’re just… there. When your dog starts checking in, the walk becomes a dialogue. Their glance is a question, and your response—a treat, a smile, a word of praise—is the answer. This back-and-forth builds a ‘bubble of connection’ around you both, even in a distracting environment. Your dog learns that you are the source of all good things and that paying attention to you is rewarding.
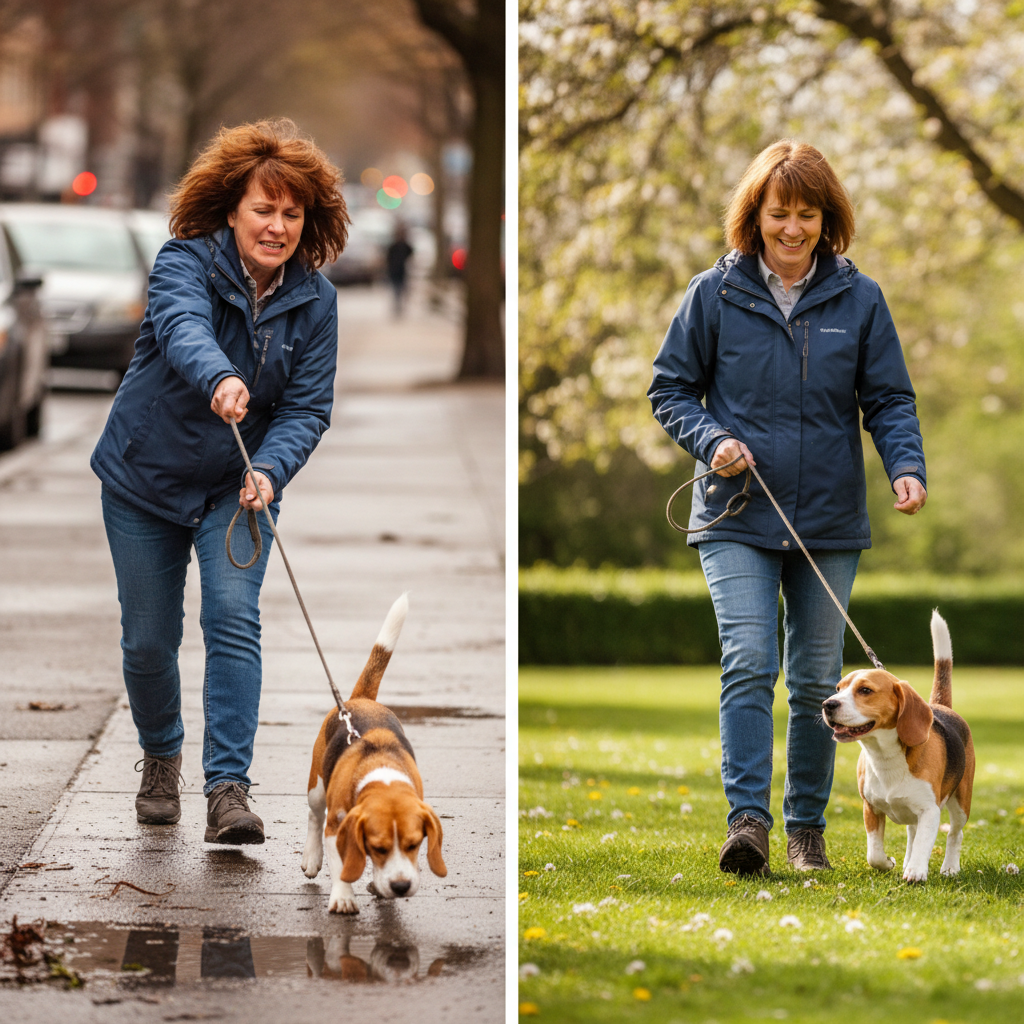
The Foundation of Loose-Leash Walking
Constant pulling on the leash often stems from a dog that is completely disengaged from their handler. Their focus is 100% on the environment ahead. An auto check-in forces that focus to shift back to you. A dog that is looking at you cannot be pulling ahead at the same time. By reinforcing these moments of connection, you are actively teaching your dog that staying close to you is more rewarding than charging ahead. It’s the cornerstone of teaching a dog to walk politely without tension on the leash.
A Boost in Safety and Confidence
A dog that checks in is a dog you can communicate with quickly. See a potential hazard ahead, like a squirrel, another dog, or a dropped piece of food? If your dog is in the habit of looking at you, it’s much easier to get their attention and guide them in a different direction before they react. This makes your walks significantly safer and less stressful. For nervous or reactive dogs, knowing that their human is present and engaged can also provide a huge boost in confidence, helping them feel more secure in overwhelming situations.
Expert Tip: Think of the auto check-in as building a ‘responsiveness muscle.’ The more you practice and reward it, the stronger and more reflexive that behavior becomes, even when faced with major distractions.
Gather Your Toolkit: What You’ll Need for Success
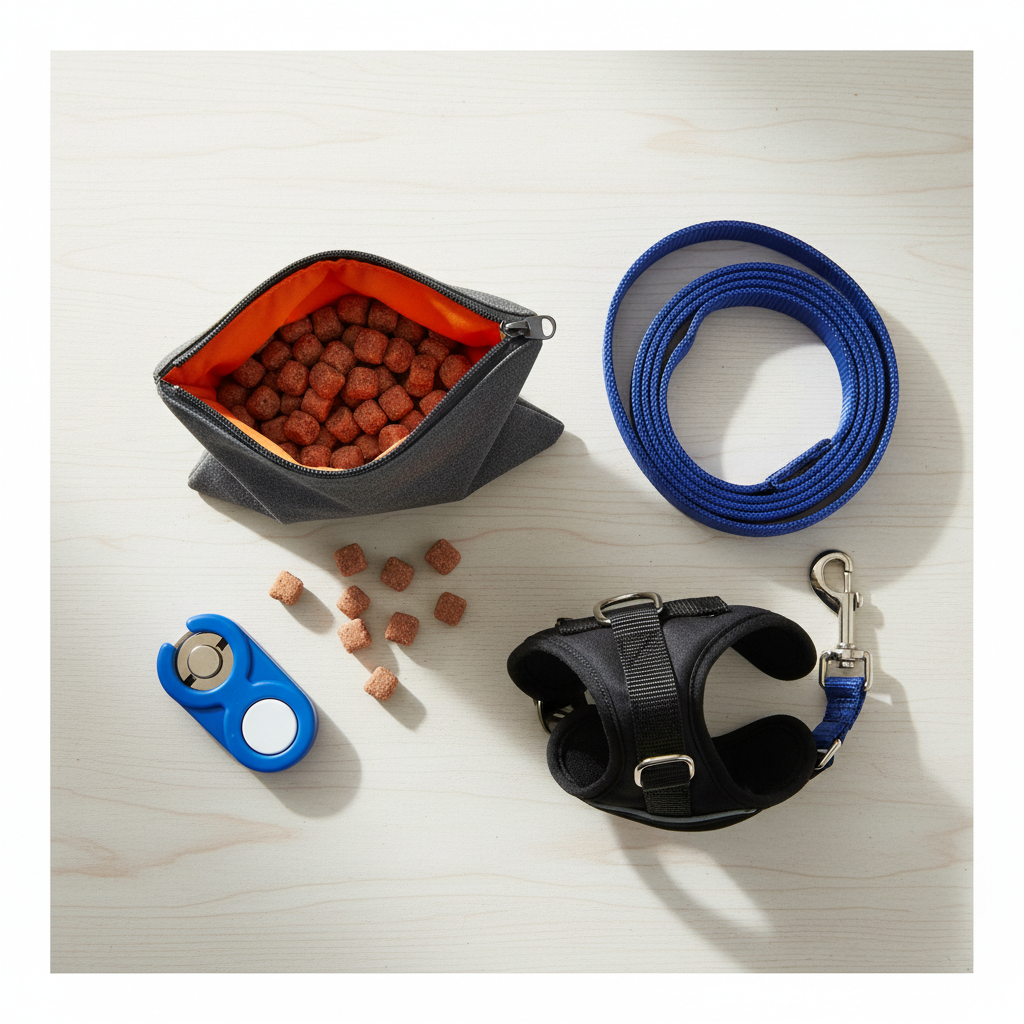
The beauty of this training is its simplicity. You don’t need a lot of fancy or expensive equipment to get started. In fact, you probably have most of what you need already. Setting yourself up with the right tools makes the process smoother and more effective.
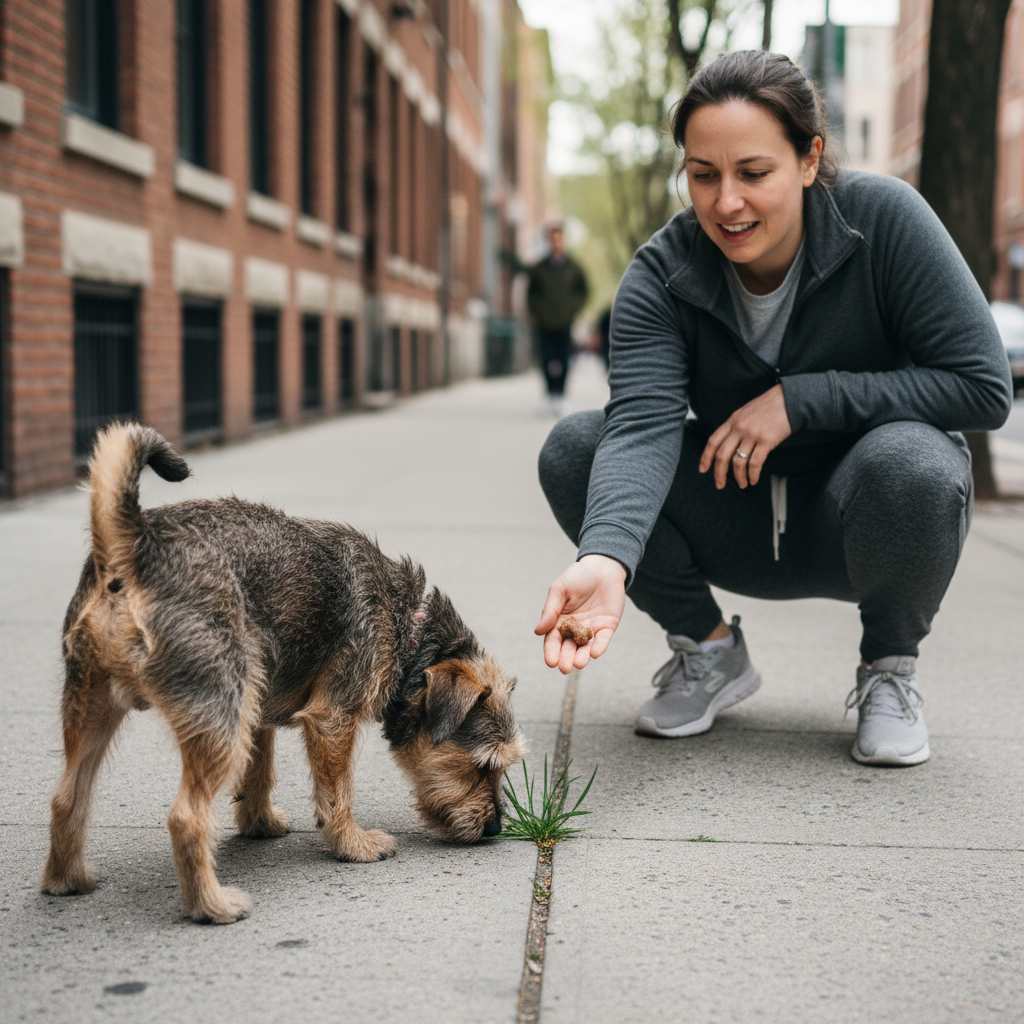
- High-Value Treats: This is your number one tool. We’re not talking about dry, boring biscuits. You need something your dog finds absolutely irresistible. Think small, pea-sized pieces of cooked chicken, cheese, hot dogs, or soft, smelly training treats. The goal is to make looking at you more appealing than anything else in the environment.
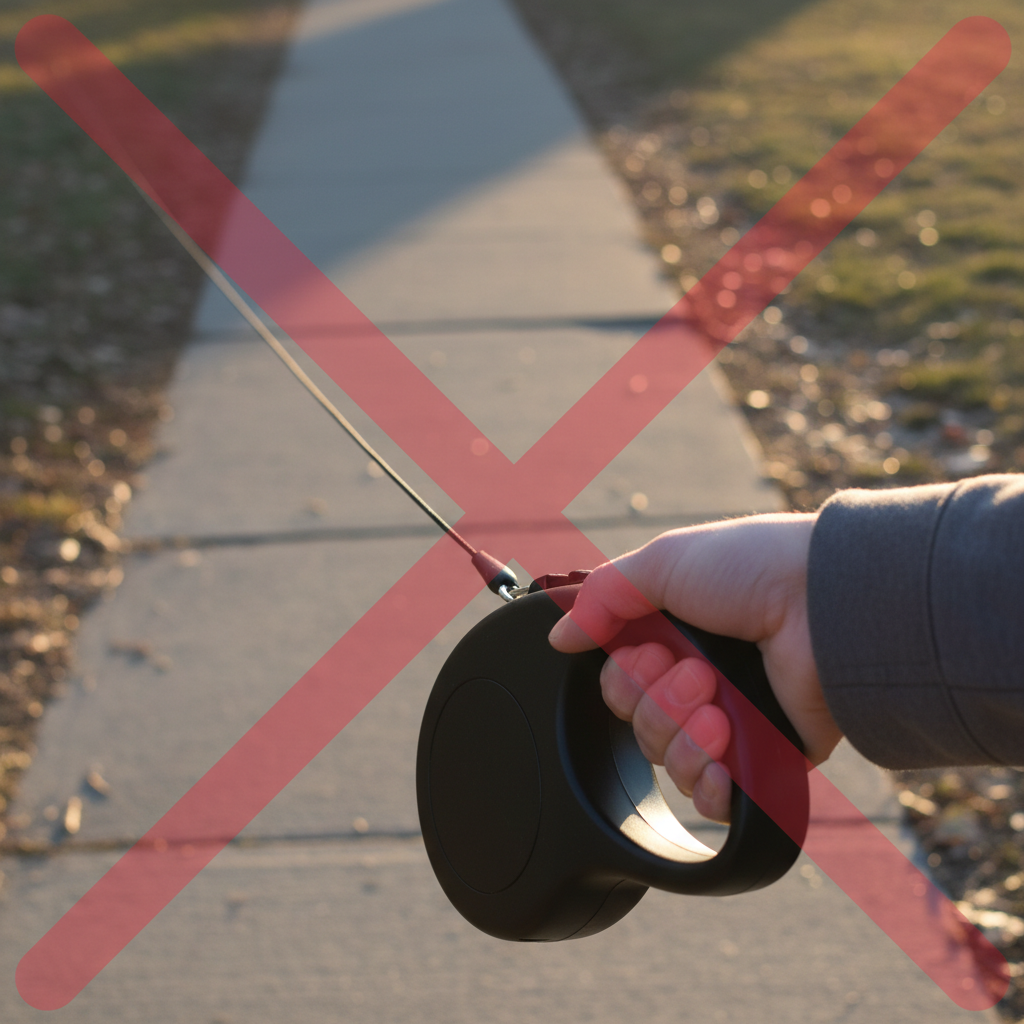
- A Standard 6-Foot Leash: Ditch the retractable leash for this training. A standard, non-retractable leash provides clear, consistent communication and helps you keep your dog in the ideal position to learn. You can’t reward a check-in if your dog is 15 feet away!
- A Properly Fitted Harness or Collar: Whatever you normally use is fine, as long as it’s comfortable and doesn’t cause your dog pain. Many trainers prefer a front-clip harness, as it gently discourages pulling by redirecting your dog’s momentum back towards you, which can help encourage check-ins.
- A Treat Pouch: Fumbling in your pockets for treats is slow and inefficient. A treat pouch that clips to your belt or waistband allows for immediate access. The speed of your reward is crucial in the beginning stages; you need to mark the exact moment your dog looks at you.
- A Clicker (Optional): A clicker is a fantastic tool for marking the precise moment your dog does the right thing. The ‘click’ is faster and more consistent than a verbal marker like “Yes!”. If you’ve never used one, you’ll first need to ‘charge’ it by clicking and immediately giving a treat, repeated many times, until your dog associates the sound with a reward.
The Step-by-Step Guide to Teaching the Auto Check-In
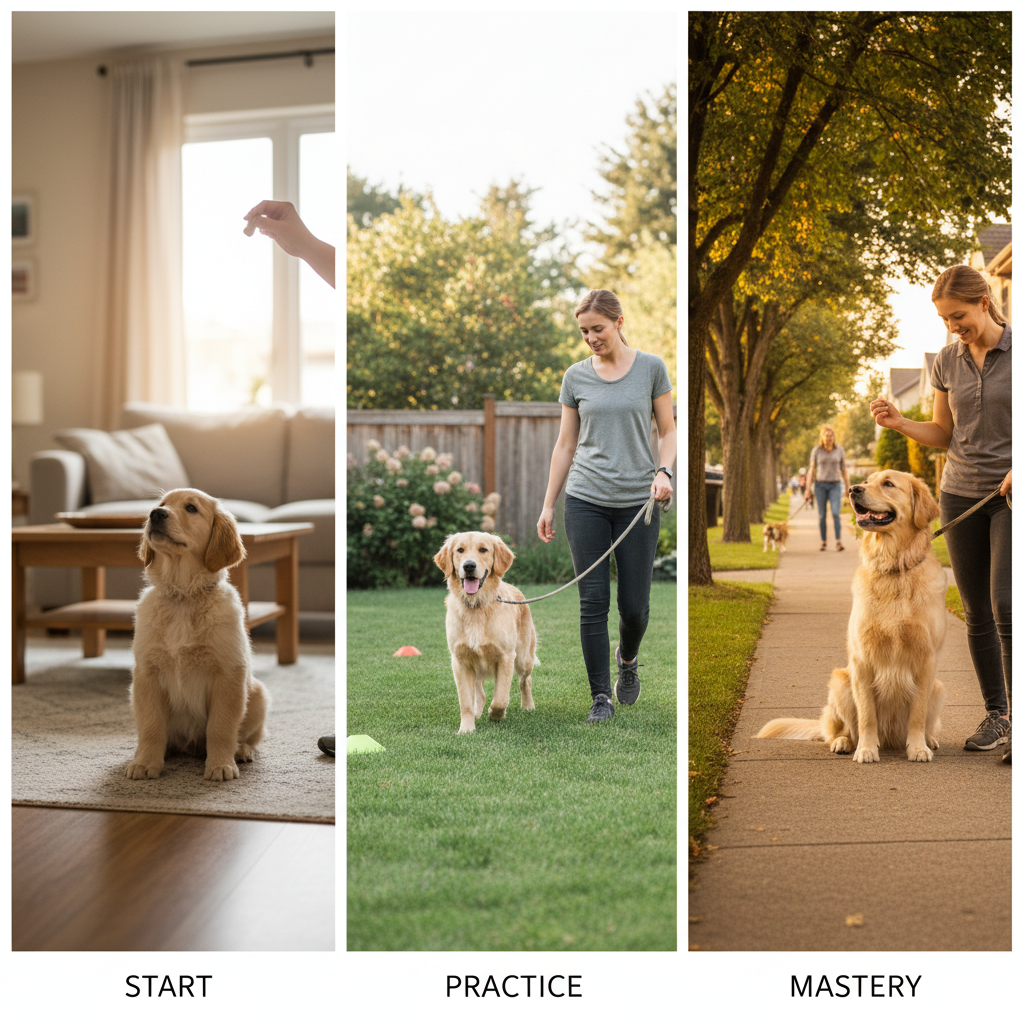
Patience and positivity are your best friends here. Keep your training sessions short (5-10 minutes at a time) and always end on a high note. Let’s build this behavior from the ground up.
-
Step 1: Start Indoors with Zero Distractions
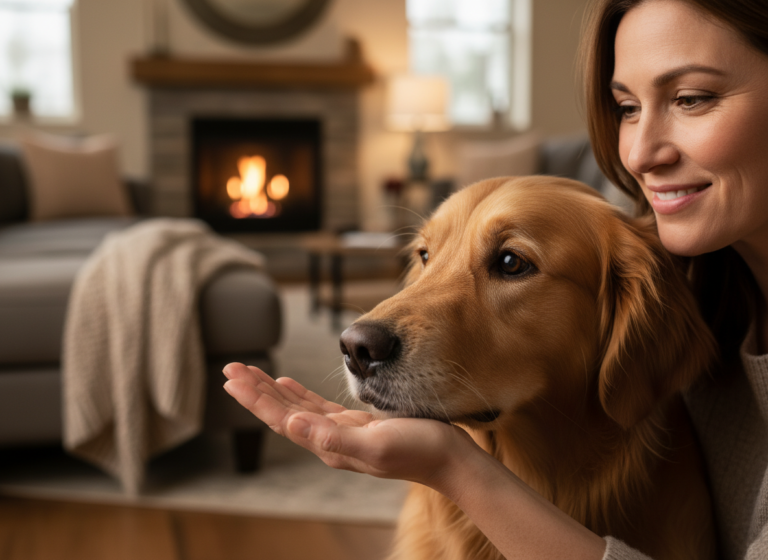
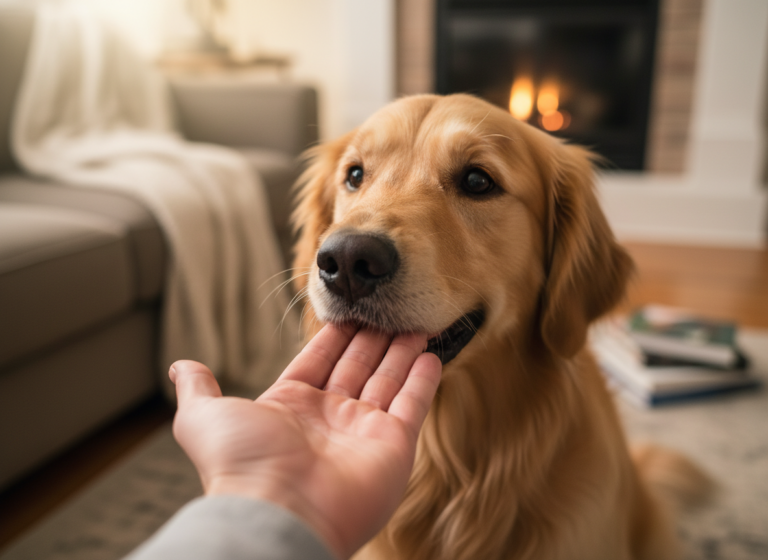
Your goal here is simple: teach your dog that looking at your face makes good things happen. Find a quiet room in your house. Have your high-value treats ready. Stand still and just wait. The second your dog glances up at your face, mark the behavior (with a ‘click’ or a verbal “Yes!”) and immediately give them a treat. Don’t say their name or ask for attention. We want this to be their choice. Repeat this over and over. Your dog will quickly learn, “Hey, looking at that human’s face is a pretty sweet deal!”
-
Step 2: Introduce Movement Indoors
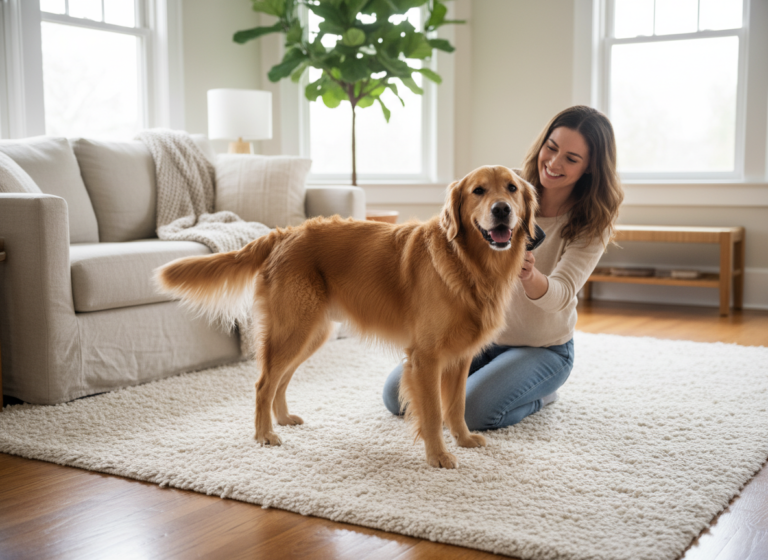
Once your dog is whipping their head around to look at you as soon as you stop, it’s time to add movement. Take one or two slow steps in your quiet room. The moment your dog catches up and looks at you, mark and reward. Walk a few more steps. Wait for the glance. Mark and reward. You are now linking the act of walking with the behavior of checking in.
-
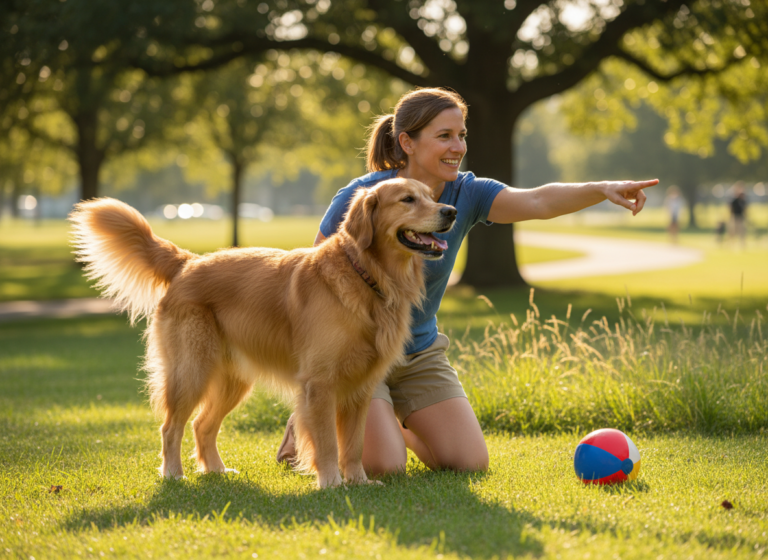
Step 3: Graduate to the Backyard
Now it’s time to add a few distractions. Move your training session to your backyard or a very quiet, fenced-in area. The smells, sights, and sounds will make it harder for your dog to focus. This is normal! Be patient. Repeat the process from Step 2. Walk a few paces and wait. It might take longer for your dog to look at you. That’s okay. The moment they do, have a mini-party! Use lots of praise and a super high-value treat. Keep the sessions short and successful.
-
Step 4: The Real World – The Quiet Street
This is the big leap. Leash up your dog and head out to the quietest street you can find at the quietest time of day. Your goal on this first ‘real’ walk is to reward every single glance. Don’t worry about distance. If you only make it two houses down the block in 10 minutes because you’re stopping to reward so many check-ins, that is a HUGE success! You are building a strong foundation of reinforcement in a new environment.
-
Step 5: Building Duration and Fading Rewards
Once your dog is reliably checking in on quiet streets, you can start to ‘level up.’ Gradually start walking in slightly more distracting areas. At the same time, you can begin to ask for a little more. Instead of rewarding every quick glance, maybe you wait for a more deliberate head turn. Then, you might reward every second or third check-in. This is called a ‘variable schedule of reinforcement,’ and it makes the behavior even stronger. Your dog learns that a check-in could pay off at any time, so they offer it more frequently.
Troubleshooting Common Problems
Training is never a straight line; there will be bumps in the road. Here’s how to navigate some of the most common challenges when teaching the auto check-in.
“My dog is too distracted and never looks at me outside!”
This is the most common issue, and it almost always means you’ve increased the difficulty too quickly. The environment is simply too overwhelming. Go back a step. Find a less distracting place—even if it’s just the end of your driveway or a deserted parking lot early in the morning. Success in a boring environment is better than failure in an exciting one. Also, check your treats. Are they high-value enough to compete with the smells on the ground? A piece of kibble might not cut it when there’s a squirrel to watch.
“My dog only looks at my hand or treat pouch, not my face.”
This happens when the dog learns to target the source of the food. To fix this, make sure you are marking the moment their eyes meet yours, and then delivering the treat from your pouch. Try holding the treat up near your chin for a few repetitions to guide their gaze upwards. Once they are looking at your face, you can go back to delivering the treat from your hand or pouch.
“This works for the first five minutes, and then my dog loses interest.”
It’s likely your training sessions are too long! Remember, this is mentally taxing work for a dog. Keep your focused training sessions to just 5-10 minute chunks. You can do a short session at the beginning of the walk, then let your dog have a ‘sniffari’ where they can just be a dog, and then do another short session on the way home. Always try to end before your dog gets bored or frustrated.
Remember: A ‘bad’ training session is just data. It’s telling you that the criteria was too hard, the environment was too distracting, or the reward wasn’t valuable enough. Don’t get discouraged—just adjust your plan for next time!
Common Mistakes to Avoid
Sometimes, what we don’t do is just as important as what we do. Avoiding these common pitfalls will help you and your dog succeed much faster.
- Using the Dog’s Name: Resist the urge to say “Fido, look at me!” The goal of the auto check-in is that it’s automatic and offered freely by the dog. If you are constantly prompting it, the dog isn’t learning to make the choice on its own.
- Yanking or Popping the Leash: This is a positive reinforcement technique. Using leash corrections or punishment will create anxiety and a negative association with you and the walk. It will make your dog less likely to want to look at you. Keep the leash loose and the vibes happy.
- Rushing the Process: Don’t try to go from your living room to a busy park in one weekend. Every dog learns at a different pace. Celebrate small wins and be prepared to take a step back if your dog is struggling. Solid foundations are everything.
- Being Boring: You are part of the equation! When your dog checks in, reward them with enthusiasm. A happy “Good boy!” and a warm smile along with the treat goes a long way. If you are acting like a stoic, uninteresting treat dispenser, your dog will be less motivated to engage with you. Be the fun, rewarding center of their universe on the walk.
- Using a Retractable Leash: This tool is the enemy of the auto check-in. It teaches the dog that constant tension on the leash is normal and that their job is to be far away from you. Stick to a 6-foot leash to build that bubble of connection.
Conclusion
Teaching the auto check-in is one of the most powerful investments you can make in your relationship with your dog. It’s more than just a training exercise; it’s a profound shift in communication that transforms your walk from a chore into a cherished point of connection. By patiently following these steps and celebrating every small success, you’re not just building a dog that walks nicely on a leash—you’re nurturing a dog that sees you as a partner in their adventures.
Remember to be patient, keep it positive, and have fun. The journey of a thousand miles begins with a single step, and the journey to a perfect walk begins with a single, voluntary glance. Before you know it, that joyful check-in will become a natural part of your daily ritual, a silent conversation that strengthens your bond with every step you take together.