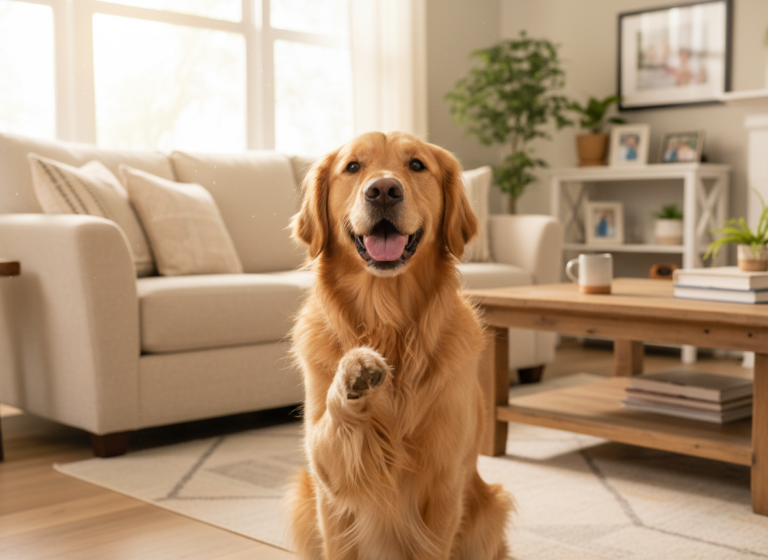
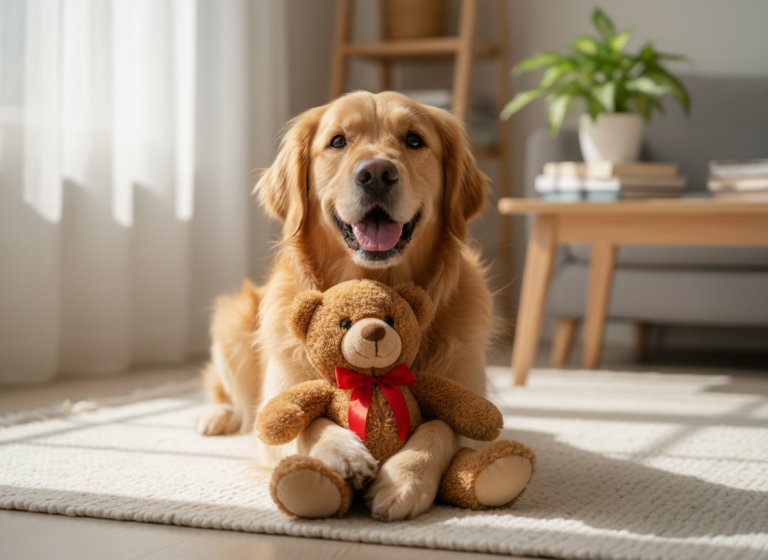
As a pet owner, there’s nothing harder than watching your best friend struggle with anxiety. The trembling during a thunderstorm, the frantic barking when the doorbell rings, or the shutdown at a busy park—it’s heartbreaking. You’ve probably tried comforting them with cuddles, soothing words, or maybe even special calming treats. While these can help, what if you could give your dog a tool they could actively use to feel safe? A secret weapon against their fears?
Enter the ‘cover’ position. While the name might sound like something straight out of a K9 police manual, this ‘tactical’ command is one of the most practical and profound tools you can teach any dog, especially one prone to anxiety. It’s more than just a cool trick; it’s a portable safe space. It’s a clear way for your dog to communicate, ‘I’m scared, please help,’ and for you to respond, ‘I’ve got you. You’re safe right here.’ In this guide, we’ll break down exactly what the cover position is, why it works so well for anxious minds, and a complete step-by-step plan to teach it to your furry companion. Get ready to empower your dog and deepen your bond in a whole new way.
Understanding the ‘Cover’ Position: Your Dog’s Portable Safe Space
So, what exactly is the ‘cover’ position? At its core, it’s a command where your dog tucks themselves into your personal space, usually by placing their head and shoulders between your legs or under your arm if you’re sitting down. They essentially ‘hide’ in a safe, enclosed area that you create with your body. But the magic isn’t just in the physical act; it’s rooted in canine psychology.
Why It Works Wonders for Anxiety
- Den Instinct: Dogs are naturally den animals. Enclosed, tight spaces signal safety and security. The ‘cover’ position mimics this den-like environment, instantly tapping into your dog’s primal instinct to seek shelter when feeling threatened or overwhelmed.
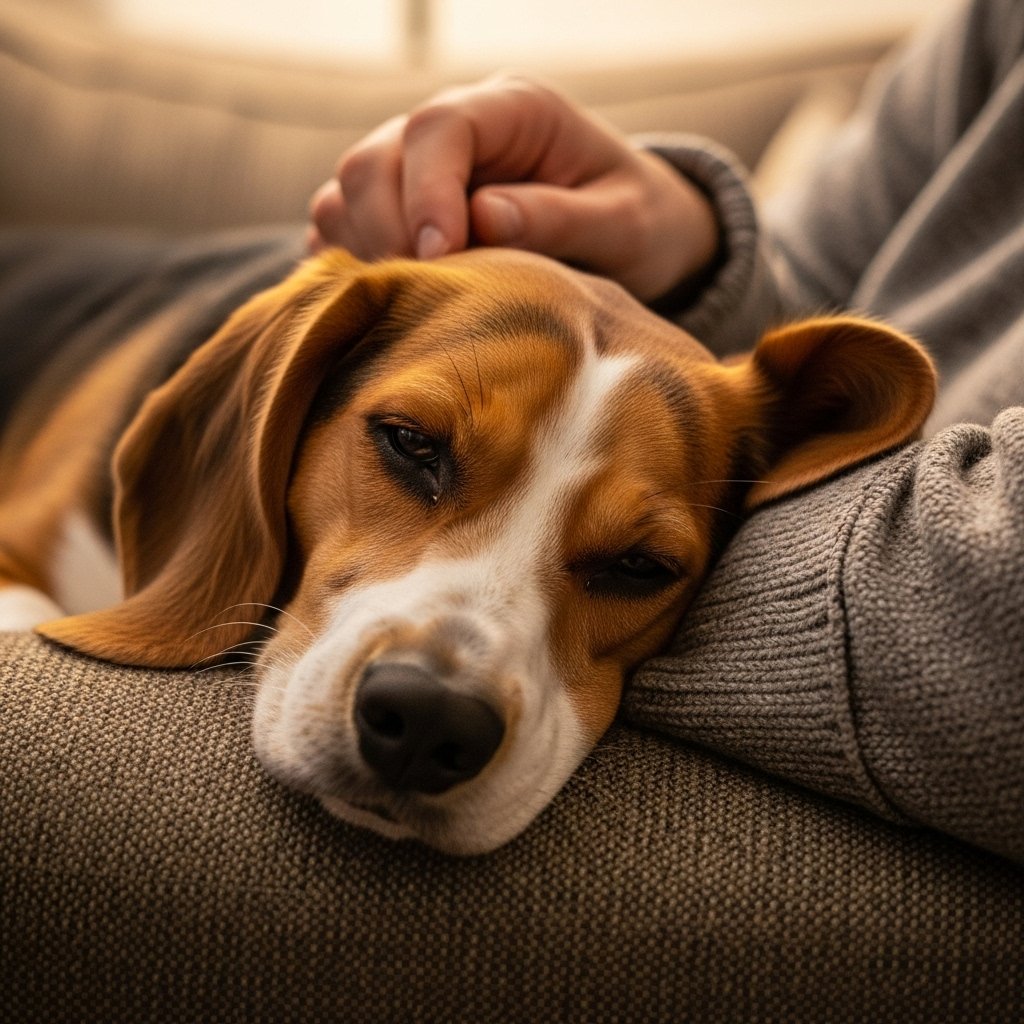
- Pressure Therapy: You’ve probably heard of anxiety vests or Thundershirts. These work by applying gentle, constant pressure to a dog’s torso, which has a calming effect on the nervous system, much like swaddling an infant. The ‘cover’ position creates a similar sensation of gentle pressure and physical contact, releasing calming endorphins and lowering stress levels.
- Blocking Stimuli: For a dog experiencing sensory overload—too many sights, sounds, or smells—the world can be terrifying. By tucking into you, they physically block out a significant amount of this overwhelming input. Their world shrinks to just you, their safe person, allowing their brain to reset and calm down.
- A Learned Coping Mechanism: Unlike a passive comfort item, ‘cover’ is an active choice. By teaching your dog to perform this behavior when they feel anxious, you are giving them a concrete action they can take to control their environment and emotions. This sense of agency is incredibly empowering and builds confidence over time.
Expert Tip: Think of ‘cover’ not as a command for you, but as a tool for them. You’re teaching your dog a language to ask for help and a strategy to find their own calm in a stressful situation.
Setting Up for Success: Your Training Toolkit

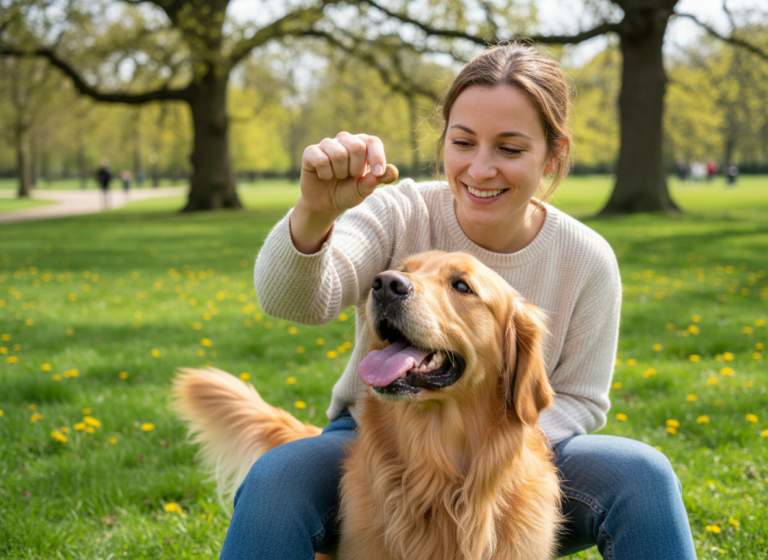
Before you jump into training, let’s get our gear in order. The great news is, you don’t need a lot of fancy equipment to teach the ‘cover’ position. The most important tools are patience and a positive attitude! But having a few key items on hand will make the process smoother and more fun for both of you.
What You’ll Need:
- High-Value Treats: We’re not talking about their everyday kibble. You need the good stuff! Think small, pea-sized pieces of cooked chicken, cheese, hot dogs, or smelly, soft training treats. The goal is to make the reward so irresistible that your dog is highly motivated to learn.
- A Clicker (Optional but Recommended): A clicker is a fantastic tool for marking the exact moment your dog does the right thing. This precise communication speeds up learning significantly. If you’re not using a clicker, you can use a verbal marker word like ‘Yes!’ said in a sharp, happy tone.
- A Quiet, Comfortable Training Space: Start your training sessions in a low-distraction environment where your dog already feels safe, like your living room. A comfy rug or carpet can make it more inviting for your dog to get into position.
- An Enthusiastic Attitude: Your dog feeds off your energy. Keep your training sessions short (5-10 minutes is perfect), upbeat, and always end on a positive note. If you or your dog gets frustrated, it’s time to take a break and play a fun game instead.
Remember, this is about building trust and creating a positive association. Every part of the process, from gathering your treats to the training itself, should feel like a fun and engaging game for your dog.
The Step-by-Step Guide to Teaching the ‘Cover’ Command
Alright, you’ve got your treats and your positive mindset—it’s time for the fun part! We’re going to build this behavior in small, easy-to-understand steps. Remember to go at your dog’s pace and celebrate every little bit of progress. Let’s begin!
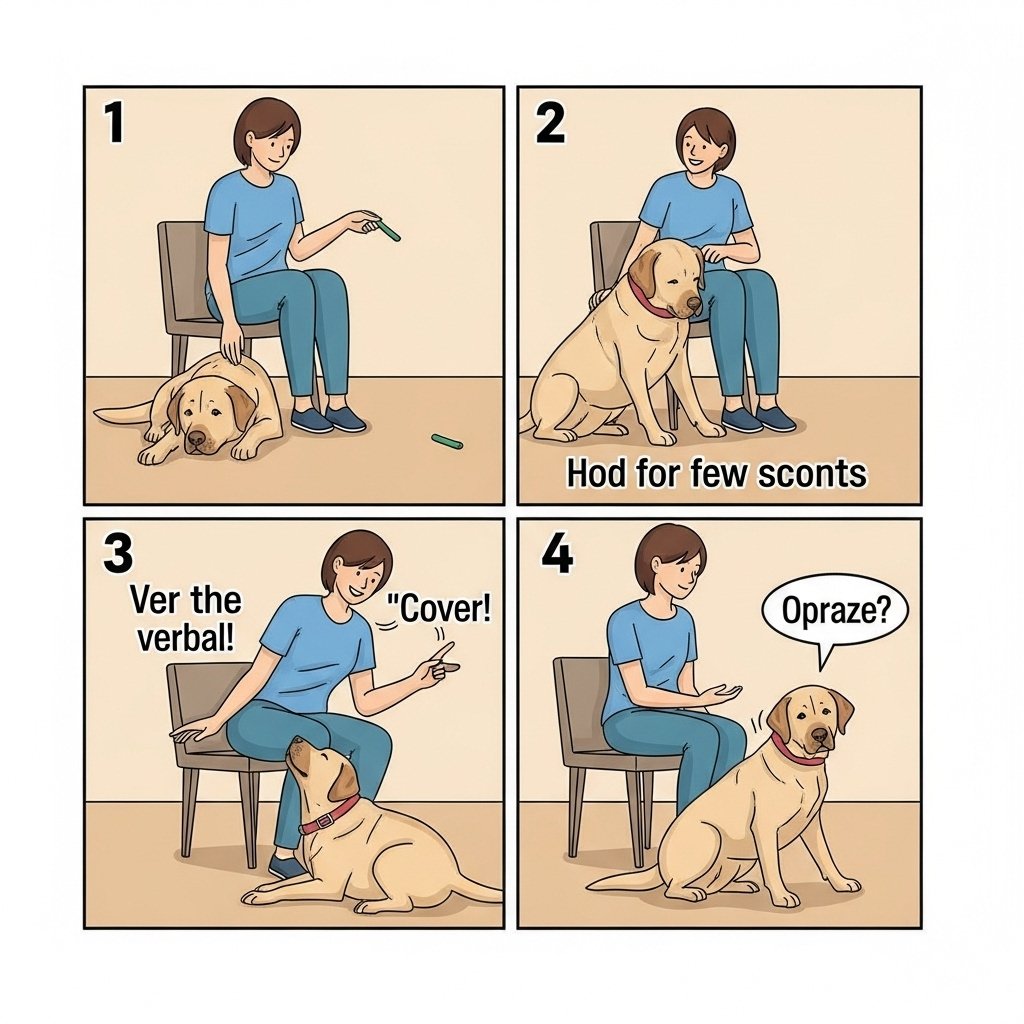
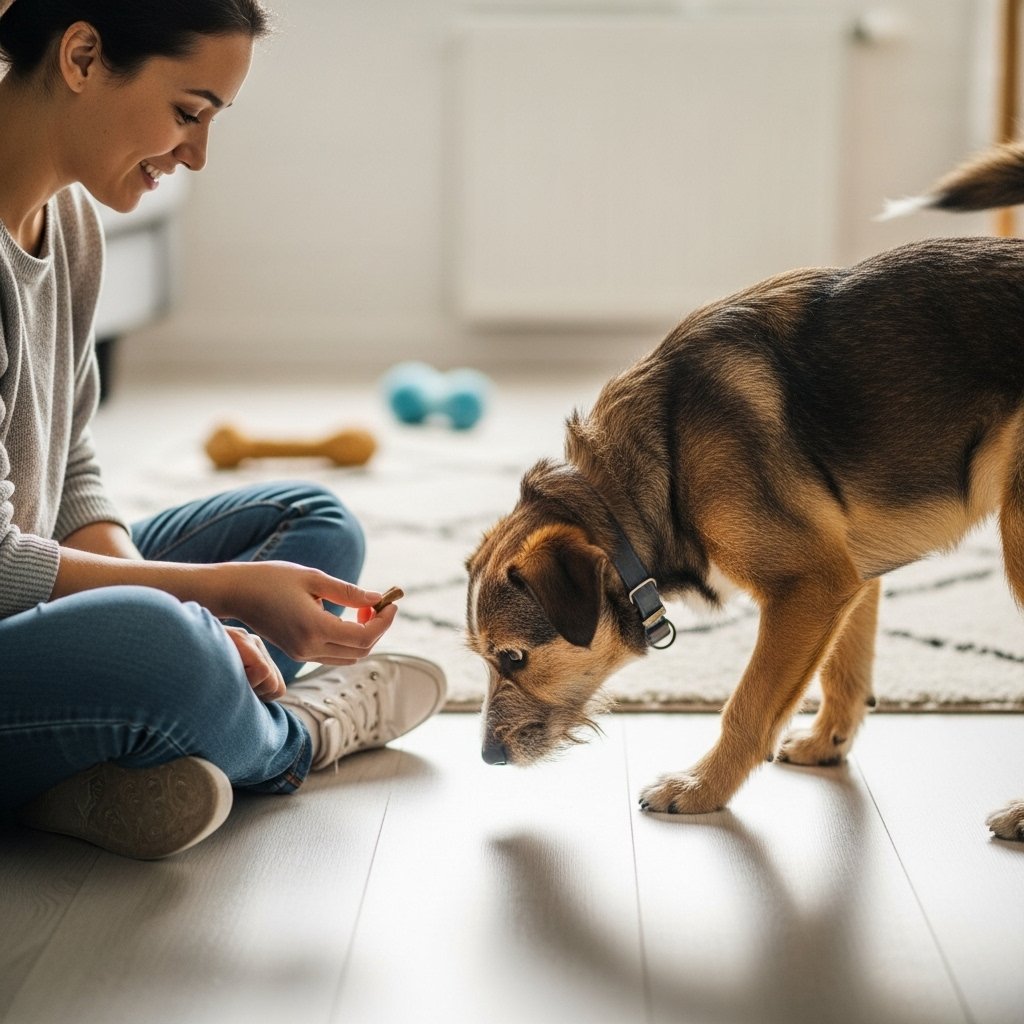
- Step 1: Introduce the Position with a Lure. Start by sitting in a chair or on the floor with your knees slightly apart. Take a high-value treat in your hand. Show it to your dog to get their interest, then slowly move the treat between your legs, luring their head to follow. The moment their head and shoulders pass between your knees, click your clicker (or say ‘Yes!’) and give them the treat while their head is still there. Repeat this 5-10 times.
- Step 2: Build a Little Duration. Once your dog is eagerly pushing their head between your legs for the treat, start to delay the click and reward by just one second. Lure them in, they hold the position, count ‘one-one-thousand,’ then click and treat. Gradually increase this duration to two seconds, then three. The goal is to teach them that staying in the position is what earns the reward.
- Step 3: Add the Verbal Cue. When your dog is reliably moving into position with the lure and holding it for a few seconds, it’s time to name the behavior. Just before you lure them in, say your chosen cue word in a clear, happy voice. ‘Cover!’ is a great choice. Say ‘Cover!’, then lure them in, click, and treat. After several repetitions, they will start to associate the word with the action.
- Step 4: Fade the Hand Lure. Now we need to remove our reliance on the treat lure. Start by saying ‘Cover!’ and using the same hand motion but without a treat in your hand. When they move into position, click and then give them a treat from your other hand. Over time, make your hand signal smaller and more subtle, until eventually, your dog responds to just the verbal cue ‘Cover!’.
- Step 5: Generalize the Behavior. Your dog knows ‘cover’ in the living room, but what about elsewhere? Start practicing in different rooms of the house. Then, try it in the backyard. The next step is a quiet park. We call this ‘proofing’ the behavior. You’ll also want to practice from different starting positions—while you’re standing, sitting on a park bench, etc. This teaches your dog that ‘cover’ means tucking into you, no matter where you are or what you’re doing.
Troubleshooting Common Training Roadblocks
Training is never a straight line; there will be bumps and wiggles along the way! That’s completely normal. If you hit a snag while teaching the ‘cover’ command, don’t panic. Here are some of the most common challenges and how to work through them with patience and understanding.
‘My dog is too big/small to fit between my legs!’
The ‘cover’ position is adaptable! If your dog is a Great Dane, having them go between your legs while you’re sitting might be impossible. Instead, teach them to tuck their head under your leg as you sit on a couch or under your arm. For tiny dogs, you might teach them to ‘cover’ by crawling onto your lap and tucking under your arm. The principle is the same: creating a safe, enclosed space. Get creative and find what works for your team.
‘My dog just grabs the treat and leaves immediately.’
This is a classic sign that you might be moving too fast with building duration. Go back a step. Make sure you are only rewarding your dog while they are still in position. Don’t let them ‘drive-by’ for the treat. You can also try using a treat that takes longer to eat, like a small smear of peanut butter on a wooden spoon, to naturally keep them in position longer.
‘My dog seems scared or hesitant to go between my legs.’
Never force your dog into a position. If they are hesitant, it could be that the space feels too confining at first. Start by making it a wider, more open space. Reward them for simply putting their nose in the space, then for putting their whole head in. Build up very slowly, making it a super positive game. This is especially important for rescue dogs who may have a history that makes them wary of confinement or being cornered.
Remember this golden rule: If your dog is failing, it’s not their fault. It usually means we, the trainers, need to break the task down into even smaller, more manageable steps. Take a deep breath, simplify the exercise, and celebrate the tiniest try.
Putting It Into Practice: Real-World Scenarios for ‘Cover’
You’ve done the hard work, and your dog now has a reliable ‘cover’ command. Congratulations! Now it’s time to use this amazing new tool to help them navigate the real world. The key is to be proactive, not reactive. Try to ask for a ‘cover’ before your dog is already overwhelmed.
When and Where to Use the ‘Cover’ Command:
| Scenario | How ‘Cover’ Helps |
|---|---|
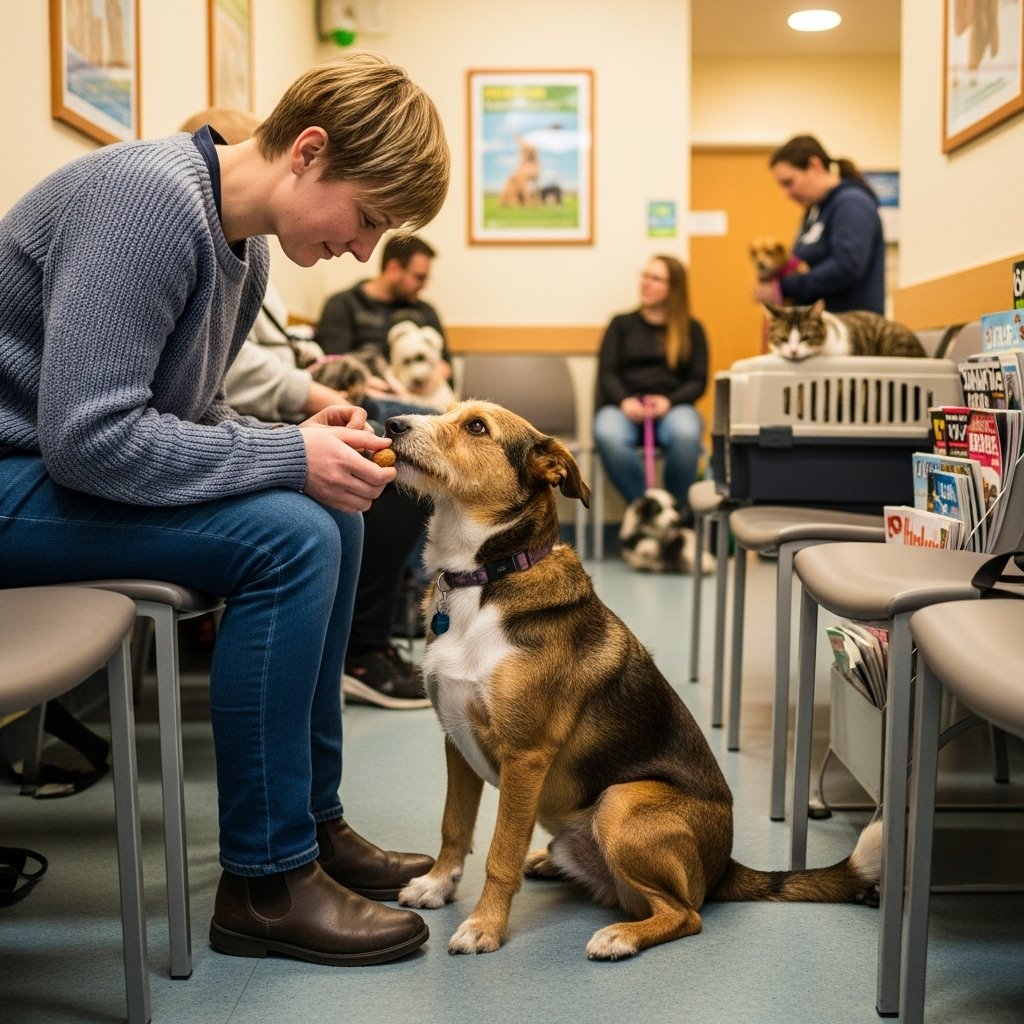
| At the Vet’s Office | The waiting room can be a cocktail of scary smells and sounds. Having your dog in a ‘cover’ position keeps them close, focused on you, and less likely to react to other anxious pets. |
| During Fireworks or Thunderstorms | These are common triggers for noise phobia. When the storm rolls in, cue the ‘cover’ command while you’re on the couch. You provide physical comfort and a safe space, helping them ride out the noise. |
| When Visitors Arrive | For dogs who are shy or overly excited with guests, ‘cover’ gives them a designated safe spot. It prevents jumping and allows them to observe from a secure location until they are comfortable. |
| On Walks with Triggers | If you see a known trigger approaching (like a big, barking dog), you can step to the side, have your dog go into a standing ‘cover’ between your legs, and feed them high-value treats as the trigger passes. You’re turning a scary event into a positive training opportunity. |
| In Crowded Public Spaces | At a pet-friendly cafe or farmers market, the chaos can be too much. The ‘cover’ position allows your dog to take a break from the stimulation and check in with you, their anchor in a busy world. |
By using this command in various situations, you are reinforcing to your dog that no matter what happens, you are their safe harbor. You are their predictable source of comfort and security in an unpredictable world. This doesn’t just manage their anxiety; it builds a foundation of trust that will strengthen every aspect of your relationship.
Conclusion
Teaching your dog the ‘cover’ position is so much more than adding another command to their repertoire. It’s a profound act of communication and trust. You’re providing your dog with a tangible, effective strategy to cope with their biggest fears, empowering them to face the world with more confidence. Every time they tuck into your space, they are reinforcing the idea that you are their ultimate source of safety and security.
Remember to be patient, keep it positive, and celebrate the journey. Some days will be smoother than others, and that’s okay. The goal isn’t perfection; it’s connection. By investing the time to teach this skill, you are telling your dog, in a language they can truly understand, ‘I see you, I hear you, and I will always be your safe place to land.’ And there is no greater gift you can give your best friend.