Does the sight of the harness send your furry friend diving under the nearest coffee table? You grab the leash, full of excitement for a lovely walk, but your dog’s body language screams, “Anything but that!” This pre-walk wrestling match is a common frustration for so many pet parents. It can be disheartening, turning what should be a joyful bonding experience into a daily source of stress for both of you.
But what if we told you it doesn’t have to be this way? What if you could teach your dog not just to tolerate the harness, but to willingly and even enthusiastically participate in putting it on? It’s entirely possible through a modern training approach called cooperative care. By using positive reinforcement and breaking the process down into simple, fun steps, you can empower your dog to be an active partner in your daily routine. This guide will walk you through everything you need to know to say goodbye to the harness struggle and hello to happy, stress-free walks.
First, Let’s Understand: Why Does Your Dog Dislike the Harness?
Before we can fix the problem, we need to understand it from our dog’s point of view. A dog that runs from the harness isn’t being ‘stubborn’ or ‘naughty’; they are communicating discomfort, fear, or anxiety. Understanding the root cause is the first step toward building a new, positive association.
Common Reasons for Harness Aversion:
- It’s a Poor Fit: A harness that’s too tight can pinch, chafe, or restrict natural movement, making it physically uncomfortable. A harness that’s too loose can shift around, causing friction or feeling insecure. It’s crucial that the harness fits your dog’s specific body shape.
- Negative Past Experiences: Maybe the first few times the harness was used, it was forced on, or it was associated with a scary event on a walk. Dogs have excellent memories, and just one bad experience can create a lasting negative association.
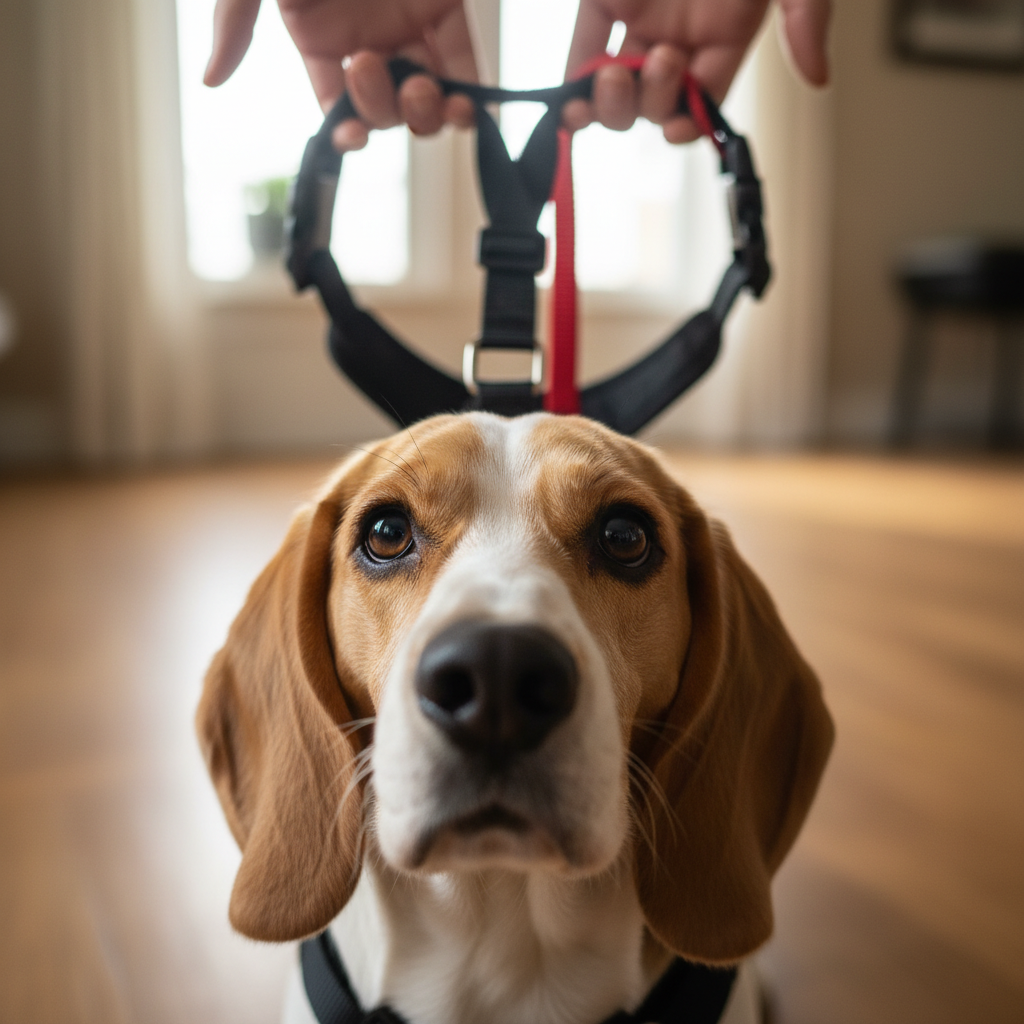
- The Act of Harnessing is Intimidating: For many dogs, a human looming over them and trying to manipulate their legs and head is inherently threatening. This can be especially true for rescue dogs or those who are naturally more timid.
- It Predicts Something Stressful: Sometimes, it’s not the harness itself, but what it predicts. If walks are often stressful for your dog (due to other dogs, loud noises, etc.), they may start to associate the harness with that anxiety-inducing experience.
- Sensory Overload: Some harnesses have noisy clips, dangling tags, or a texture that a sensitive dog might find unpleasant against their fur.
Expert Tip: Take a moment to assess your current harness. Does it restrict your dog’s shoulder movement? Does it rub under their armpits? Sometimes, simply switching to a different style, like a Y-front harness that allows for more freedom of movement, can make a world of difference.
Setting the Stage: Your Harness Training Toolkit
Great training starts with great preparation! You don’t need a lot of fancy equipment, but having the right tools on hand will make the process smoother and more effective. Think of this as creating the perfect learning environment for your dog.
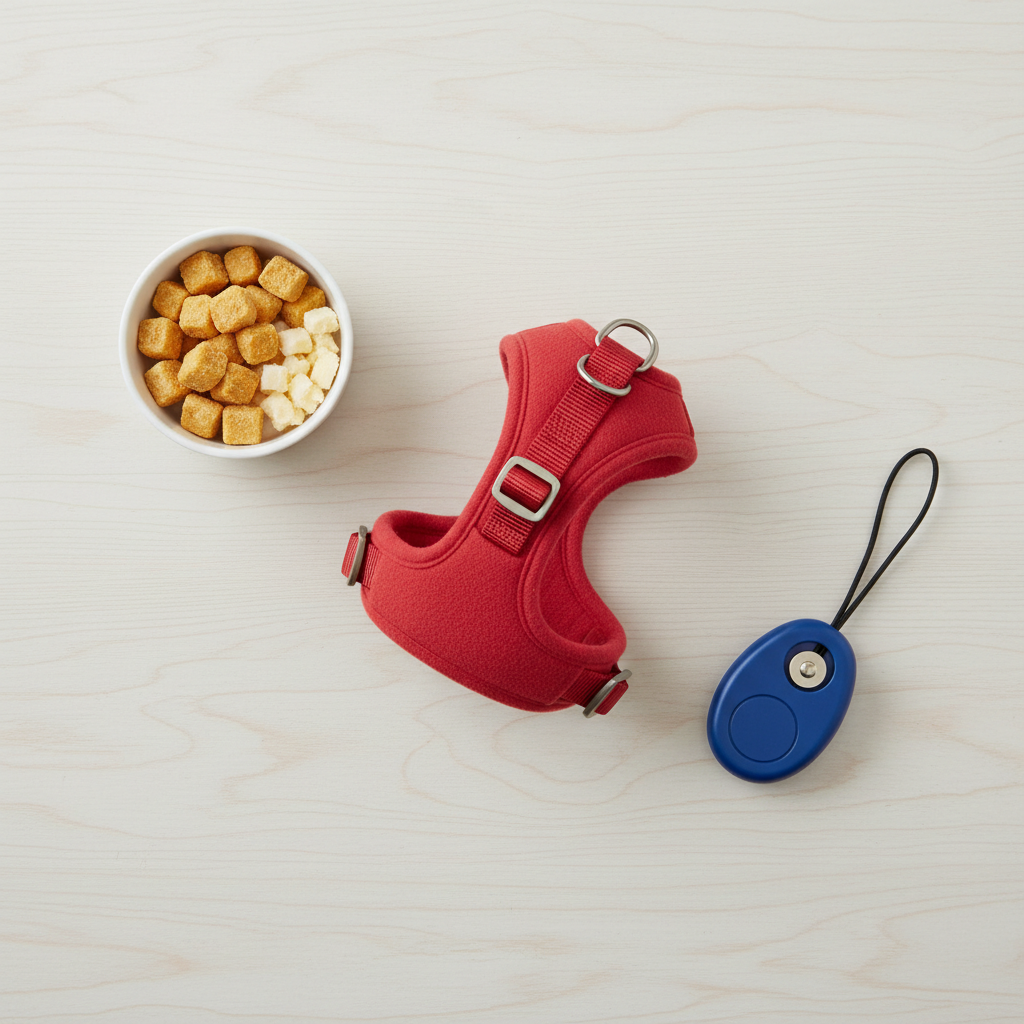
Here’s what you’ll need:
- A Comfortable, Well-Fitting Harness: If you suspect the old harness is part of the problem, invest in a new one. Look for Y-front or H-style harnesses that don’t restrict shoulder movement. Ensure it’s made of soft, breathable material. For this training, a simple step-in or overhead harness will work perfectly.
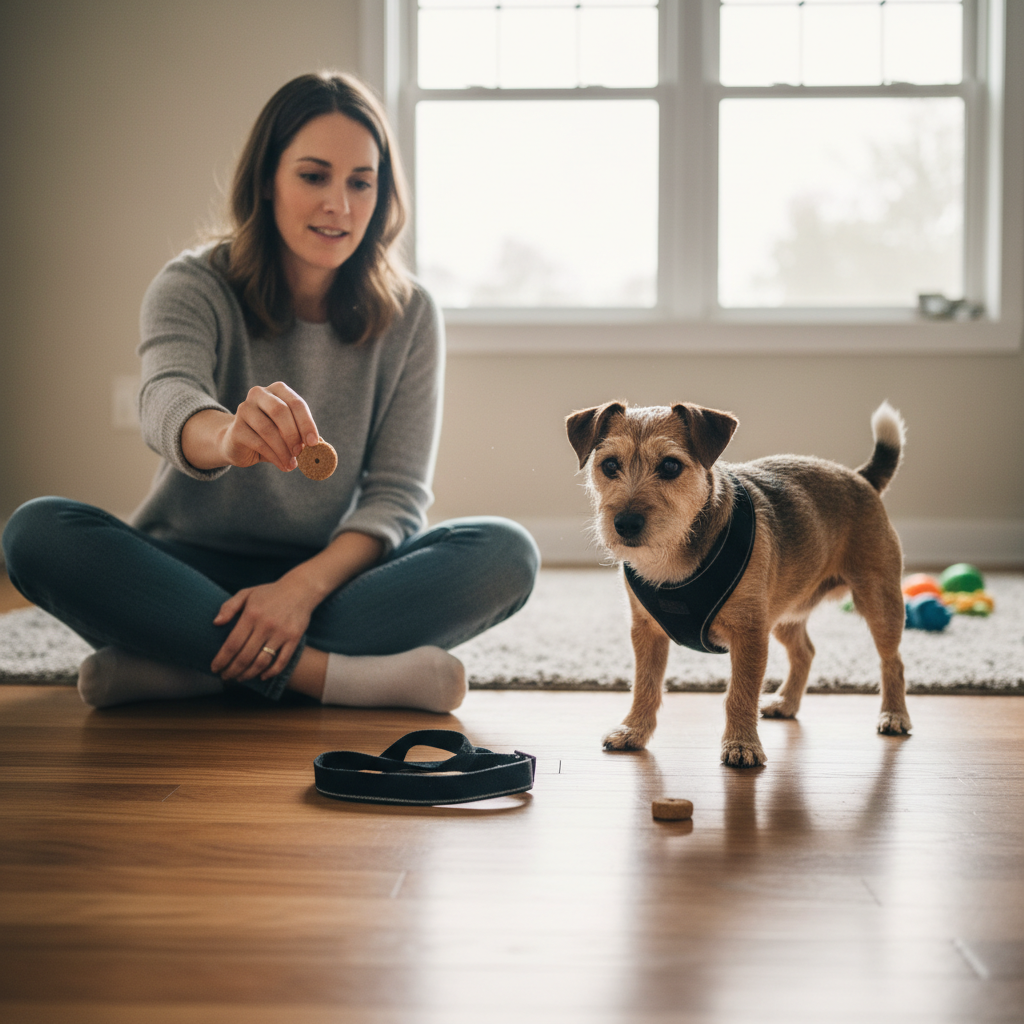
- High-Value Treats: We’re not talking about your dog’s regular kibble. You need something extra special to build a powerful positive association. Think tiny, pea-sized pieces of boiled chicken, cheese, hot dogs, or a commercial soft treat they absolutely love. The smellier, the better!
- A Clicker (Optional but Recommended): A clicker is a fantastic tool for marking the exact moment your dog does the right thing. This precision helps your dog learn much faster. If you’re not using a clicker, you can use a consistent verbal marker like a sharp, happy “Yes!”.
- A Quiet, Low-Distraction Space: Start your training sessions indoors in a familiar room where your dog feels safe. Avoid areas with lots of foot traffic, windows with exciting views, or other pets who might interfere.
- Patience and a Positive Attitude: This is the most important tool of all! This process takes time. Your energy matters. Stay calm, be patient, and remember to celebrate the small wins.
The Fun Part! Your Step-by-Step Guide to Harness Happiness
This is where the magic happens. We’re going to break down the process of putting on the harness into tiny, achievable steps. The goal is for your dog to feel in control and for every interaction with the harness to be a positive one. Keep sessions short (1-5 minutes) and always end on a high note!
- Step 1: Just the Sight of It. Place the new harness on the floor. Don’t touch it or try to put it on your dog. The second your dog looks at it, click (or say “Yes!”) and toss a treat away from the harness. This teaches them that looking at the harness makes good things happen. Repeat this 10-15 times.
- Step 2: Sniffing is Rewarded. Once your dog is comfortably looking at the harness, wait for them to take a step towards it or sniff it. The moment they do, click/treat. You are rewarding their curiosity and bravery.
- Step 3: Interaction with Your Hand. Pick up the harness. Hold it in one hand and have treats in the other. Reward your dog for any interaction while you’re holding it. Let them sniff it from your hand and give them a treat from your other hand.
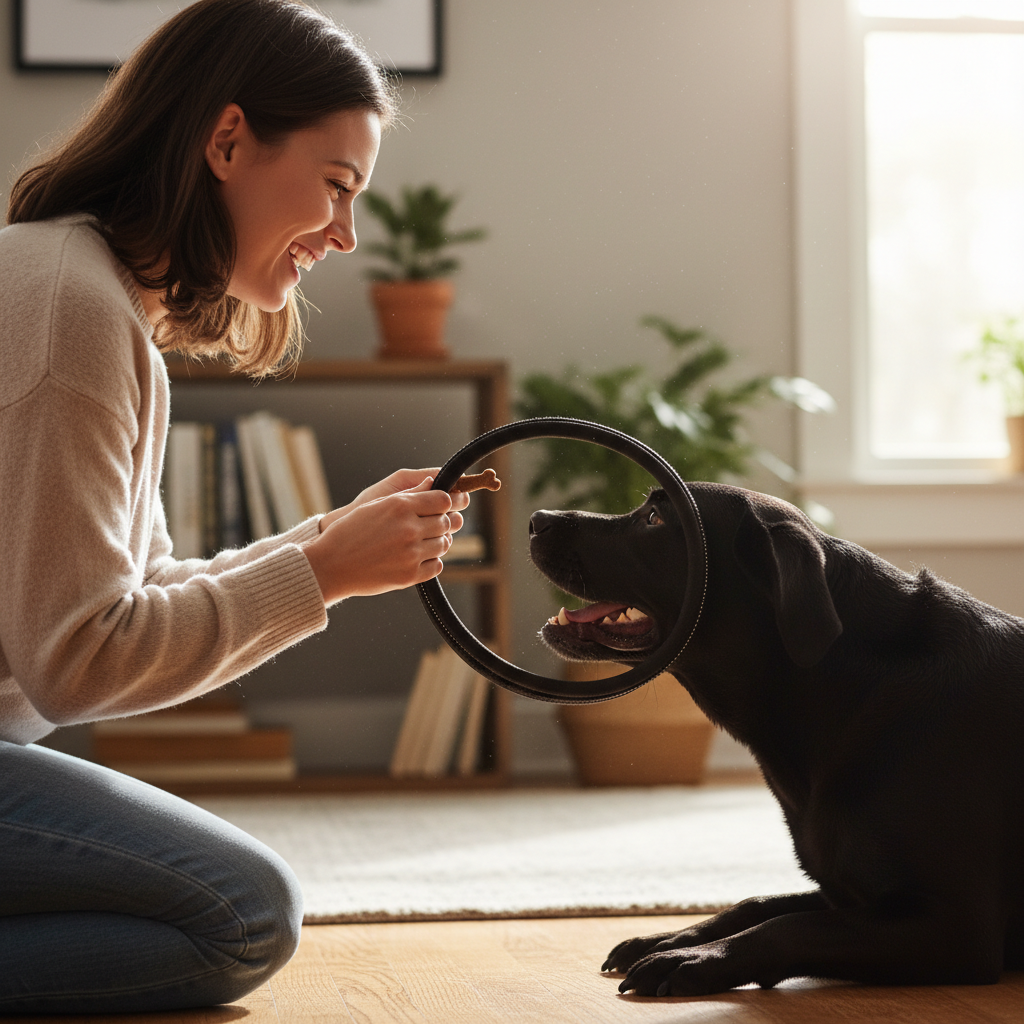
- Step 4: The Treat Tunnel. Now, let’s make the harness a magical treat dispenser. Hold the harness so the neck loop is open, like a hoop. Hold a high-value treat on the other side of the loop, encouraging your dog to put their nose through the opening to get the treat. Don’t try to pull the harness over their head. Let them choose to put their nose in and pull it back out. Repeat many times until they are doing this eagerly.
- Step 5: Head All the Way Through. Gradually hold the treat a little further back, so your dog has to put their entire head and neck through the loop to reach it. As soon as they get the treat, let them pull their head back out. The key is that they are controlling the movement. Shower them with praise!
- Step 6: Introducing the Buckles. Once your dog is happily putting their head through the loop, let the harness rest on their back for just a second. Click/treat and let them move away. Next, just touch the buckles without fastening them. Click/treat. Then, bring the buckle parts together to make the ‘click’ sound without actually fastening it. Click/treat. Finally, click one buckle closed, immediately unbuckle it, and give them a jackpot of treats!
- Step 7: Full Harness, Short Duration. Now, put it all together. Lure their head through, gently fasten one buckle, then the other. Give them a shower of treats and praise, and then immediately take the harness off. The entire duration should be less than 10 seconds.
- Step 8: Build Duration. Slowly increase the amount of time your dog wears the harness indoors. Leave it on for 30 seconds while you feed them a few treats, then a minute while you play a quick game of tug. You want them to learn that wearing the harness means fun things happen, not just that a walk is imminent.
Hitting a Snag? Troubleshooting Common Harness Hurdles
Training is never a straight line; there will be good days and not-so-good days. If you find yourself stuck, don’t get discouraged! It usually just means you need to break the step down even further. Here are some common challenges and how to overcome them.
What if my dog won’t even approach the harness on the floor?
This means the negative association is very strong. Go back to basics. Place the harness on the other side of the room and reward your dog for simply being calm in the same room with it. Use extremely high-value treats, like tiny pieces of steak. Gradually decrease the distance over several days or even weeks.
My dog is fine until I try to fasten the buckle, then they panic.
The ‘click’ of the buckle can be scary for some dogs. Spend an entire training session just desensitizing them to the sound. Hold the buckle pieces in your hand away from your dog and click them together, then immediately toss your dog a treat. The sound should start to predict a snack. Once they are comfortable with the sound, you can reintroduce it to the process of putting the harness on their body.
They wear the harness inside, but as soon as we head for the door, they freeze up.
Your dog has learned that ‘harness + door = walk’. You need to break this prediction. Practice putting the harness on, walking to the door, opening it, closing it, and then taking the harness off and having a play session inside. Also, put the harness on at random times during the day that have nothing to do with walks, like before mealtime.
Remember the Golden Rule: If your dog shows signs of stress (lip licking, yawning, whale eye), you’ve moved too fast. Take a step back to the last point where they were successful and comfortable, and work from there at a slower pace. It’s about building trust, not speed.
Conclusion
Transforming your dog’s relationship with their harness is about so much more than just making walks easier. It’s a powerful exercise in communication, trust, and partnership. By trading force for cooperation, you’re teaching your dog that you are a safe and predictable leader who respects their feelings. Every successful step, no matter how small, is a deposit in your shared bank of trust.
Be patient with your dog and with yourself. This process can take days for some dogs and weeks or months for others with a stronger aversion. But the payoff is immense: a dog that eagerly presents themselves for harnessing, a stronger bond between you, and the promise of countless happy, relaxed, and stress-free adventures together. Now go enjoy that walk—you’ve both earned it!