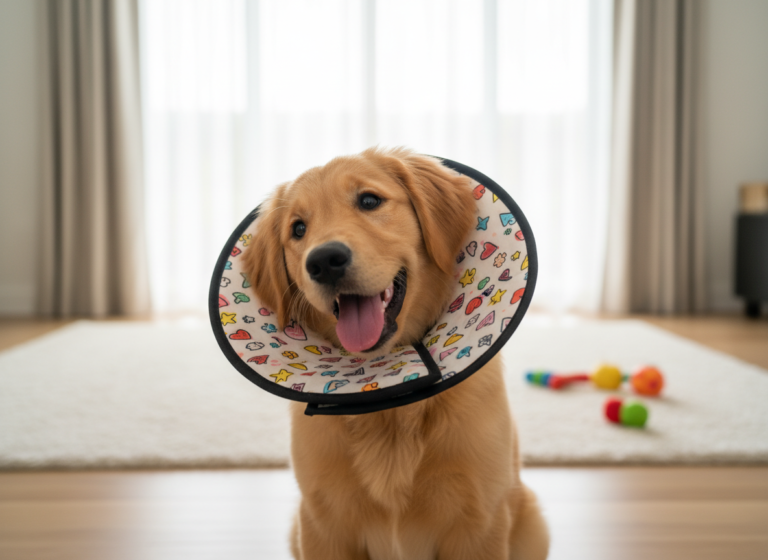
Does the mere sight of nail clippers send your furry friend diving under the nearest piece of furniture? You’re not alone. For many pet owners, nail trimming is a stressful, dreaded chore that feels more like a wrestling match than a routine part of grooming. But what if it didn’t have to be that way? What if you could transform this experience from one of fear and anxiety into a calm, cooperative, and even enjoyable bonding moment? It’s entirely possible!
This guide is your roadmap to stress-free pedicures. We’re going to ditch the force and frustration and embrace a method built on patience, trust, and a whole lot of tasty treats. By breaking down the process into tiny, manageable steps, we can help your dog build positive associations with nail care. Get ready to say goodbye to the drama and hello to happy, healthy paws.
Gathering Your Pawsitive Toolkit: The Right Gear for the Job
Setting Yourself Up for Success
Before you even think about touching your dog’s nails, let’s make sure you have the right equipment. Using high-quality, appropriate tools not only makes the job easier for you but also ensures your dog’s comfort and safety. Think of this as your pedicure prep station!
Choosing Your Trimming Tool
There are two main types of tools for trimming nails, and the best one often comes down to personal preference and your dog’s comfort level.
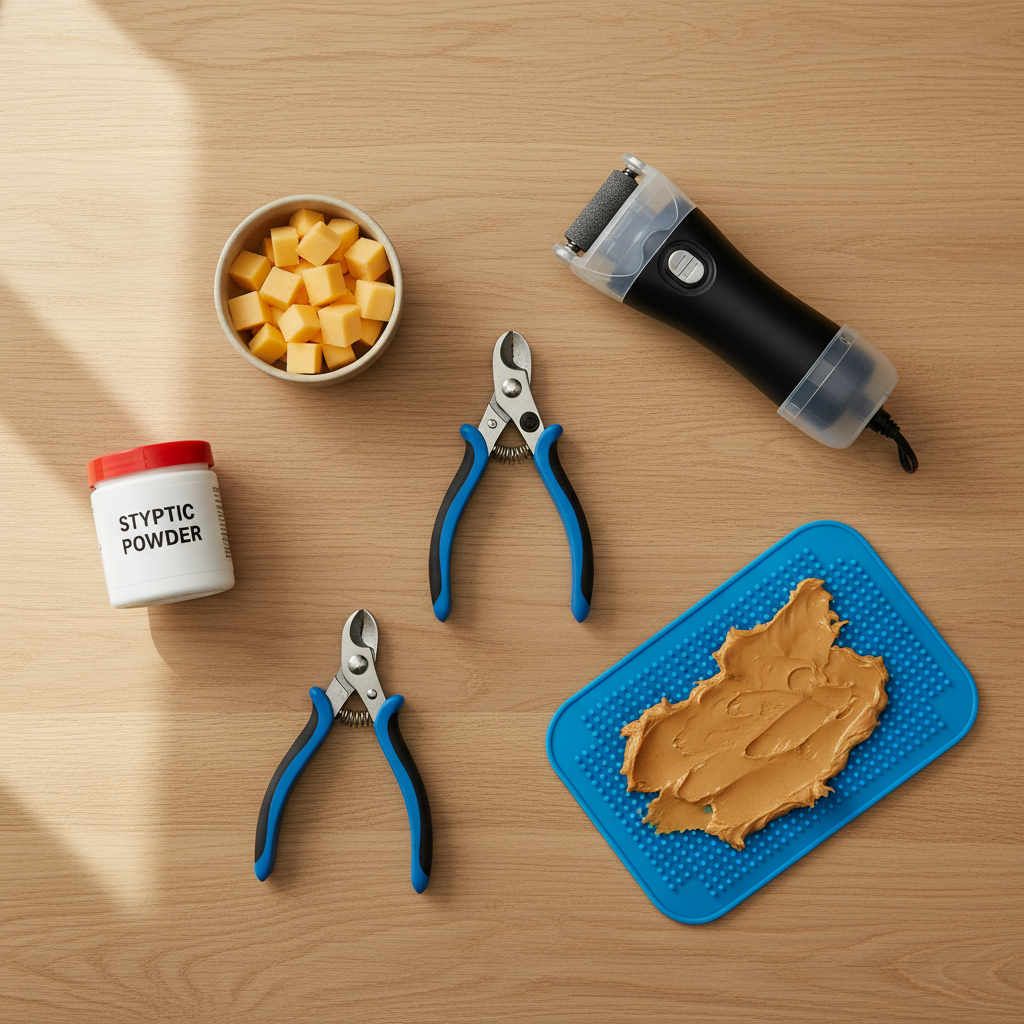
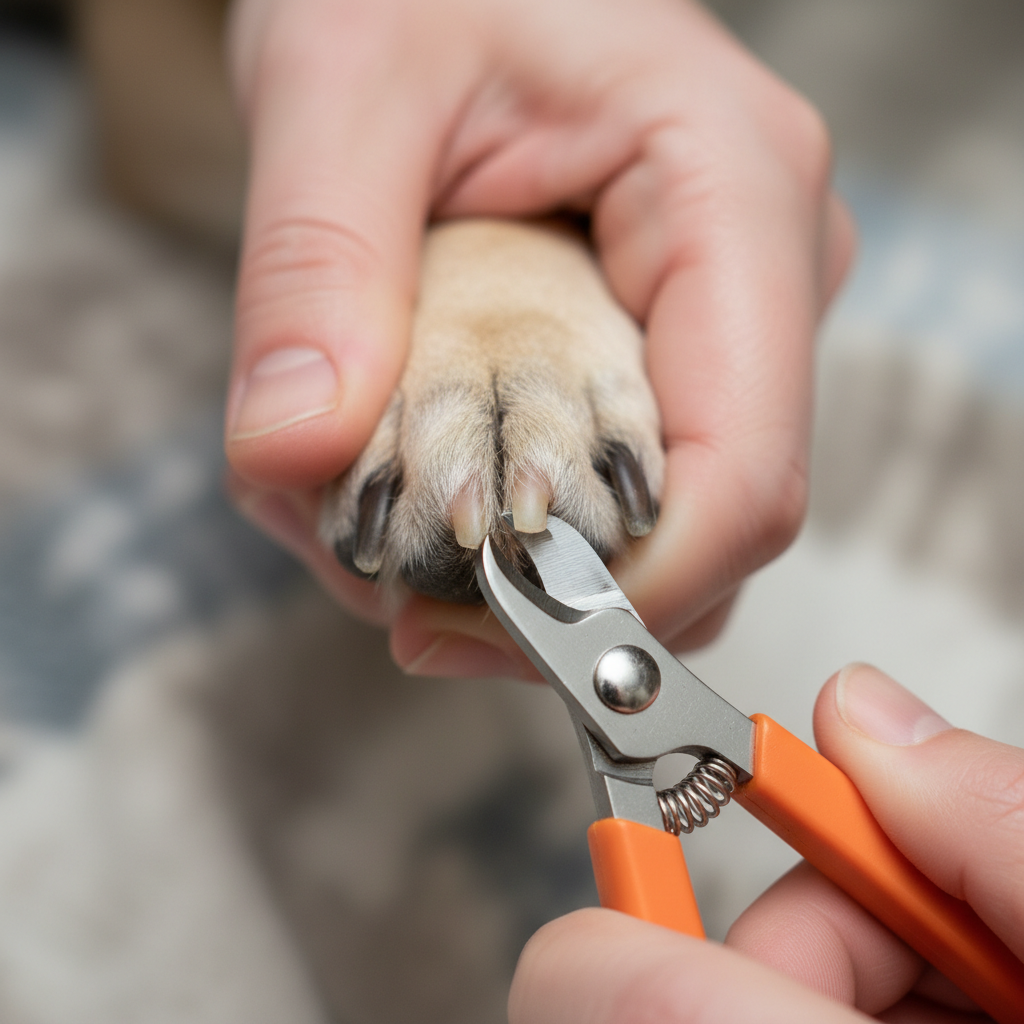
- Scissor-Style Clippers: These work just like a pair of scissors. They’re great for larger dogs with thicker nails, as they provide more force. Look for a pair with a safety guard to help prevent you from cutting the nail too short.
- Guillotine-Style Clippers: With this type, you place the dog’s nail through a hole, and a blade slides across to snip the end. These are often best for small to medium-sized dogs. It’s crucial to keep the blade sharp, as a dull blade can crush the nail, which is painful.
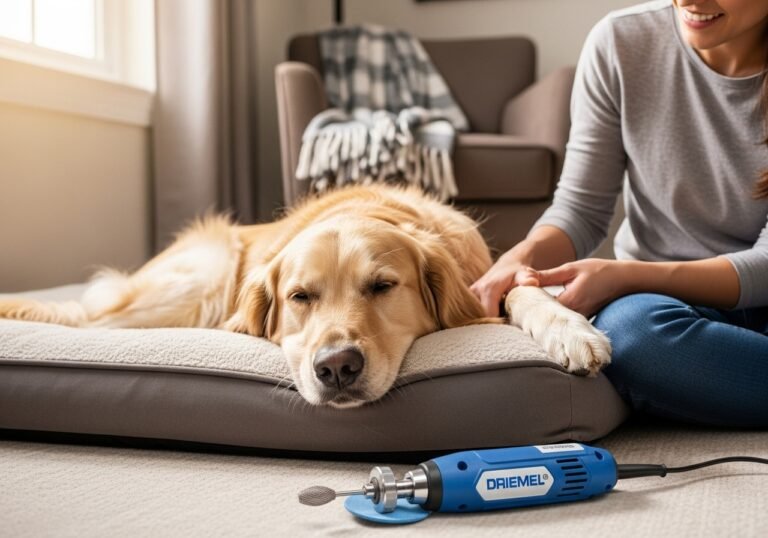
- Nail Grinders: A grinder is an excellent alternative for dogs who hate the ‘snap’ of clippers or for owners who are nervous about cutting the quick. It’s a rotary tool that sands the nail down smoothly. It offers more control, but the noise and vibration can take some getting used to for some dogs.
Essential Accessories
Don’t forget these crucial supporting items:
- High-Value Treats: We’re not talking about your dog’s regular kibble. You need the good stuff! Think tiny pieces of cheese, cooked chicken, freeze-dried liver, or peanut butter on a lick mat. The goal is to make this experience incredibly rewarding.
- Styptic Powder or Cornstarch: Accidents happen, even to the most careful groomers. If you accidentally cut the quick (the blood vessel inside the nail), styptic powder will stop the bleeding quickly. It’s a must-have for your doggy first-aid kit.
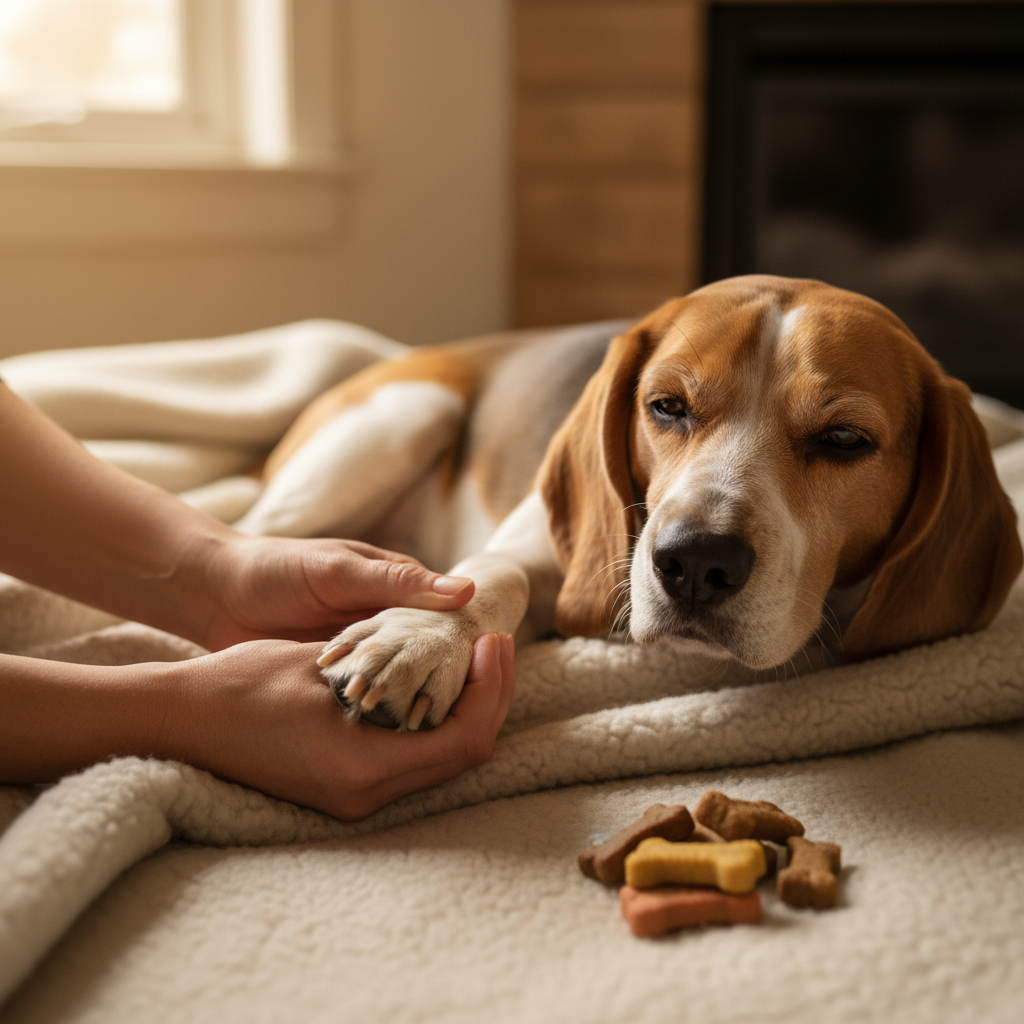
- A Comfortable Spot: Choose a well-lit, quiet area where both you and your dog can be comfortable. This could be on a non-slip mat on the floor or with your dog relaxing on the couch next to you.
Expert Tip: Let your dog investigate the tools before you ever use them. Leave the clippers or grinder (turned off) on the floor near them. Let them sniff it. Place a treat on it. The goal is for the tool to become just another boring object in the room, not a scary monster.
The Foundation: Creating Happy Paws Through Desensitization
It All Starts with a Touch
The biggest hurdle for most dogs isn’t the clip itself—it’s the paw handling that precedes it. Many dogs are naturally sensitive about their feet. Our goal in this phase is to change their emotional response from ‘Hey, what are you doing?!’ to ‘Oh, paw-touching time means good things happen!’ This process is called desensitization and counter-conditioning, and it’s the most important step in our entire journey. Don’t rush it!
Step 1: The Gentle Touch
Start when your dog is relaxed and sleepy. Gently touch their shoulder or upper leg, an area they are comfortable with. Give them a treat. Slowly work your way down their leg over several short sessions. If at any point your dog pulls away, you’ve moved too fast. Go back to a spot where they were comfortable and work from there.
Step 2: Handling the Paw
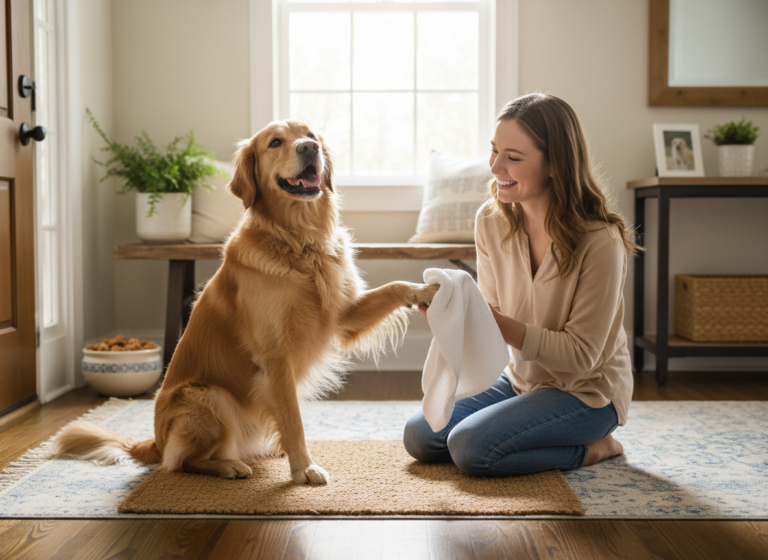
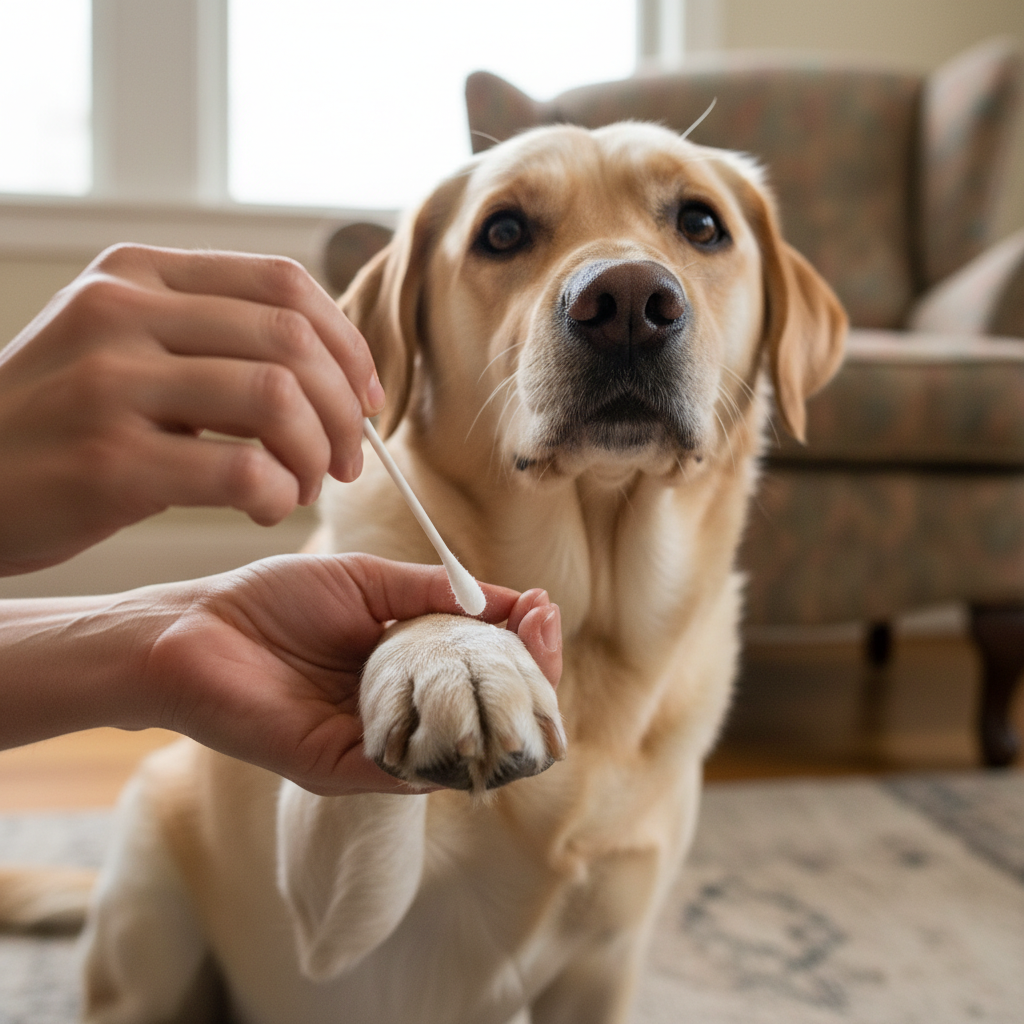
Once your dog is fine with you touching their legs, move on to gently holding their paw for just a second. Hold, treat, release. That’s it. Repeat this multiple times. The duration is key—keep it super short initially. You want to release their paw before they feel the need to pull it away. This builds trust.
Step 3: Massaging and Separating Toes
Gradually increase the time you hold the paw. Start gently massaging the paw pads and in between their toes. Many dogs find this very relaxing once they get used to it. As you gently handle each part of the paw, give them a steady stream of tiny, tasty treats. This creates a powerful positive association.
| Action | Dog’s Reaction | Your Next Move |
|---|---|---|
| Touch leg | Calm | Give treat, proceed to paw. |
| Hold paw | Pulls away | Stop. Go back to touching the leg. Keep session short. |
| Separate toes | Calm | Give treat, praise enthusiastically. |
| Press on a nail | Looks worried (whale eye) | Stop. End the session on a positive note with a simple paw touch and a jackpot of treats. |
Remember, these sessions should be short (1-2 minutes max) and frequent. You’re not trying to accomplish everything in one day. You’re building a foundation of trust that will pay off immensely later on.
The Main Event: A Step-by-Step Guide to the First Clip
Let’s Get Clipping (Slowly!)
Now that your dog is comfortable with paw handling and sees the grooming tools as non-threatening, it’s time to put it all together. The key here is to move at your dog’s pace. If you follow these micro-steps, you’ll build your dog’s confidence and show them there’s nothing to fear.
Step 1: Introduce the Tool to the Paw
Get into your comfortable grooming spot with your treats ready. Ask for your dog’s paw. Gently hold it and bring the clippers or grinder (still turned off) near the paw. Just bring it close, then pull it away and give a treat. Do this several times. Then, touch the tool to one of their nails for a split second. Treat and praise! The goal is to make the presence of the tool near their paw completely normal.
Step 2: The Sound Game
The ‘snap’ of the clippers or the ‘whirr’ of the grinder can be scary. We need to desensitize them to the sound.
- For clippers: Hold the clippers near your dog’s paw and clip a piece of uncooked spaghetti. The sound is similar to a nail clip. Clip the pasta, then immediately give a treat. Repeat until your dog doesn’t flinch at the sound.
- For grinders: Turn the grinder on for just a second, holding it several feet away from your dog. Treat. Gradually decrease the distance and increase the duration it’s on over many sessions, always pairing the sound with high-value rewards. Eventually, you’ll work up to touching the vibrating (but not grinding) part of the tool to their nail.
Step 3: The Tiniest Trim
This is the moment of truth. Hold your dog’s paw securely but gently, isolating one nail. Take just the very tip off a single nail. The very, very tip—think of it as a sliver. The instant you clip, give a ‘jackpot’ of treats and lots of praise. Then, stop for the day! End on this huge success. You want your dog’s lasting memory to be ‘Wow, that one little click led to a party!’
Step 4: Building on Success
The next day, try clipping the tip off of two nails (one on each paw, perhaps). The day after, maybe three. Go slowly. It’s far better to do one nail a day for a week than to push your dog too far in one session and create a setback. Some days you might just practice handling paws without clipping at all. The goal is consistent, positive experiences, not speed.
Important Note on the Quick: In light-colored nails, the quick is the pink part you can see inside. You want to clip the white part of the nail only. In dark nails, it’s invisible. This is why taking off only tiny slivers is the safest approach. As you get closer to the quick, you may see a small dark circle appear in the center of the cut nail—that’s your signal to stop.
Decoding Your Dog: How to Read Canine Body Language
Listening When Your Dog ‘Speaks’
Your dog can’t tell you ‘I’m feeling stressed,’ but they are constantly communicating through their body language. Learning to recognize the subtle signs of anxiety is crucial for keeping nail trims a positive experience. Pushing a dog past their comfort zone is how fear and aggression develop.
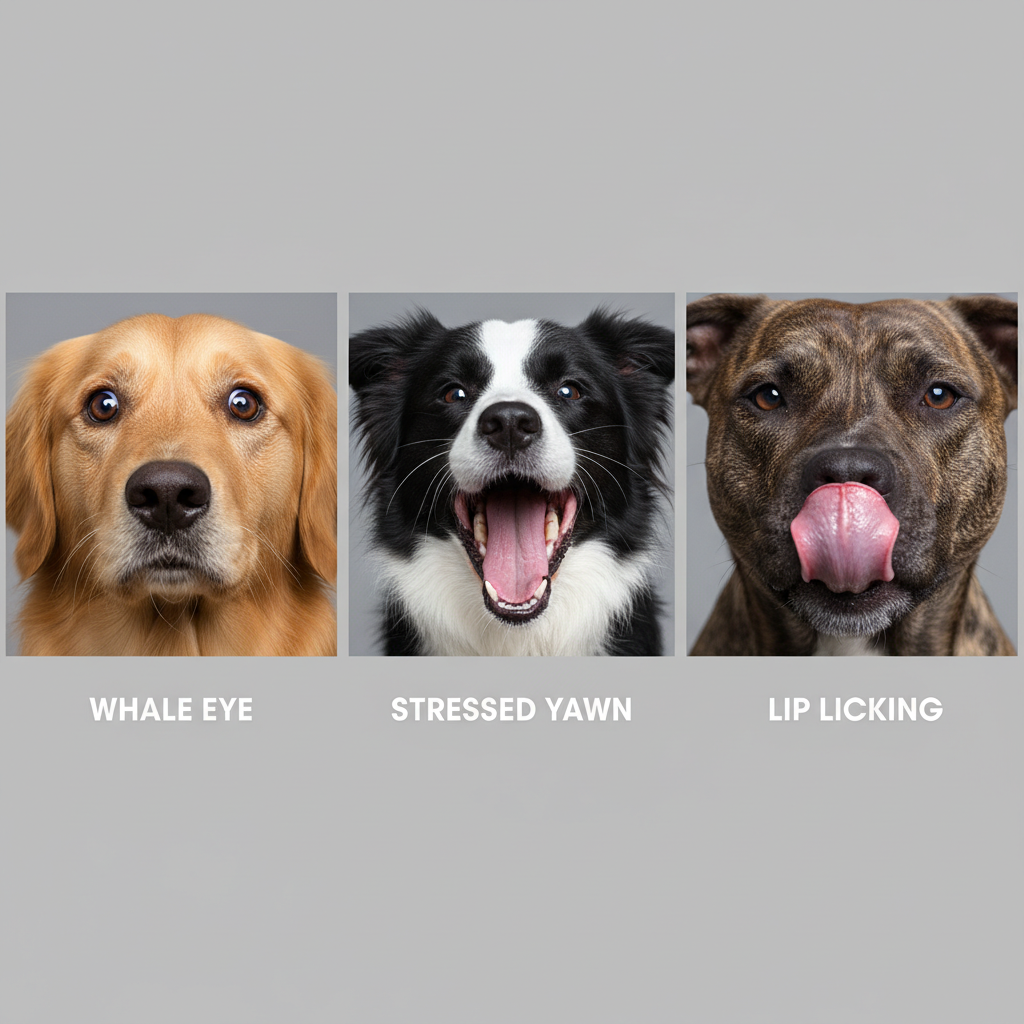
Subtle Signs of Stress (The ‘Whispers’)
These are the earliest indicators that your dog is becoming uncomfortable. If you see these, it’s time to pause and maybe end the session on a positive note.
- Lip Licking or Nose Licking: A quick flick of the tongue when there’s no food around.
- Yawning: A yawn outside of the context of being tired is a classic sign of stress.
- ‘Whale Eye’: When you can see the whites of your dog’s eyes in a half-moon shape. This means they are worried and monitoring the situation.
- Pinned Back Ears: Ears that are flattened against the head indicate fear or anxiety.
- A Tense Body: Is your dog’s body stiff and rigid? A relaxed dog has a soft, loose body posture.
Escalated Signs of Stress (The ‘Shouts’)
If you miss the whispers, your dog may feel the need to ‘shout’ to get their point across. If you see these, you should stop immediately.
- Pulling the Paw Away: This is a clear ‘no thank you.’ Don’t get into a tug-of-war. Respect their signal and try again later with an easier step.
- Low Growl: A growl is not aggression; it’s a warning. Your dog is saying, ‘I am extremely uncomfortable, and if you don’t stop, I may have to escalate.’ Thank your dog for the warning, and stop.
- Mouth Snapping or Baring Teeth: This is a very clear distance-increasing signal. The dog is trying to make the scary thing (you and the clippers) go away.
By paying close attention to these signals, you build trust. Your dog learns that you will listen to them and won’t push them into a situation where they feel they have to defend themselves. This makes them more willing to participate in future sessions.
Troubleshooting: When Things Don’t Go as Planned
Navigating Common Bumps in the Road
Even with the best plan, you might encounter a few challenges. Don’t worry, it’s completely normal! Here’s how to handle some of the most common nail-trimming troubles.
‘My dog yanks their paw back every time!’
This is a classic for a reason! It means you’ve likely moved a bit too fast or are holding on for too long. The solution is to go back a few steps. Revisit the paw-handling exercises from the beginning. Practice just touching the paw, treating, and releasing. Then hold for one second, treat, and release. You need to release before they pull away. You are retraining them that your touch doesn’t mean their paw is trapped.
‘The sound of the grinder/clippers really scares my dog.’
Sound sensitivity is very common. The ‘spaghetti trick’ for clippers and the gradual introduction for grinders are key. You may need to spend several days just on sound desensitization. Turn the grinder on in another room while feeding your dog a delicious meal. Slowly, over many sessions, bring it closer. Pair the scary sound with something amazing (like a lick mat with cream cheese) to change their association from fear to anticipation.
‘Help! I cut the quick!’
First, don’t panic. Your reaction will influence your dog’s. Stay calm. The nail will bleed, sometimes quite a bit, but it’s not a life-threatening emergency.
- Quickly and calmly apply your styptic powder or cornstarch to the nail tip with firm pressure for about 30 seconds. The bleeding should stop.
- Give your dog a ton of amazing treats and gentle praise. You want to overwrite the negative experience as much as possible.
- Don’t try to continue the nail trim. End the session immediately. Give your dog a few days’ break from nail trims before starting again, perhaps just with paw handling to rebuild confidence.
‘My dog just won’t sit still!’
Make sure your dog has had enough exercise before a session so they aren’t full of pent-up energy. Using a lick mat or a stuffed Kong can work wonders to keep a dog occupied and in one place. It gives them a calming, rewarding activity to focus on while you work on their paws. For some dogs, having a second person to help dispense treats and offer comfort can also be a game-changer.
Conclusion
Patience, Practice, and Happy Paws
Congratulations! You now have a complete toolkit to transform nail trimming from a source of stress into a positive, trust-building activity. Remember that the most important ingredients in this recipe are patience and consistency. Every dog learns at a different pace, so celebrate the small victories and never be discouraged by a small setback. By listening to your dog’s body language, keeping sessions short and sweet, and using the power of positive reinforcement, you are not just trimming their nails—you are strengthening your bond with them.
You’ve got this! Before you know it, the sight of the nail clippers will be a reason for happy tail wags instead of a hasty retreat. Here’s to many years of happy, healthy, and stress-free pedicures together.