Let’s be honest, for many pet parents, the phrase ‘dog ear cleaning’ brings up images of a wrestling match, a cornered pup, and a whole lot of stress for everyone involved. Does your dog see the ear cleaner bottle and suddenly develop superpowers of evasion? You’re not alone! But what if we told you that you could turn this dreaded chore into a calm, positive, and even enjoyable bonding moment? It’s not magic; it’s about changing the narrative from a scary procedure to a predictable and rewarding routine.
Keeping your dog’s ears clean is crucial for their health. It helps prevent painful infections, removes dirt and debris, and allows you to spot potential problems like ear mites or allergies early on. By ditching force and embracing a gentle, step-by-step training approach, you can teach your dog to not just tolerate ear cleaning, but to actively participate and even look forward to it. Ready to trade the struggle for snuggles? Let’s dive into the five simple steps to achieve ear-cleaning bliss.
Gather Your Gear: The Right Tools for a Happy Experience
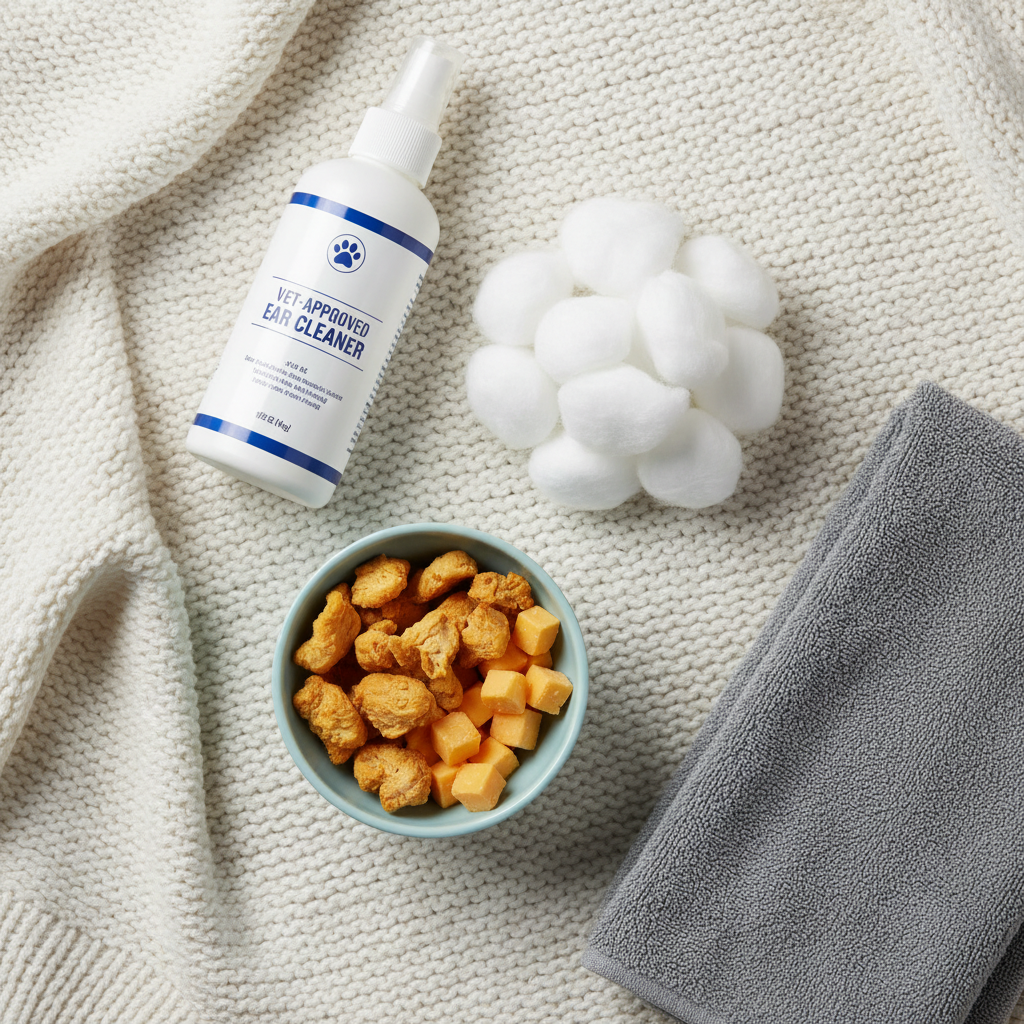
Before you even think about approaching your dog, let’s get our toolkit ready. Having everything you need within arm’s reach is the first step to a smooth and seamless session. Scrambling for cotton balls while trying to keep a nervous dog calm is a recipe for failure. Think of this as your ‘Mise en Place’ for canine care—everything in its place for a perfect outcome.
Essential Ear Cleaning Supplies:
- Veterinarian-Approved Ear Cleaner: This is non-negotiable. Never use water, alcohol, hydrogen peroxide, or witch hazel, as these can irritate or damage the delicate ear canal. Your vet can recommend a gentle, effective cleaner specifically formulated for dogs.
- Soft Cotton Balls or Pads: These are your best friends for wiping away gunk. Crucially, do not use cotton swabs (like Q-tips). You risk pushing debris further into the ear canal or, even worse, perforating the eardrum. Stick to what’s safe and effective.
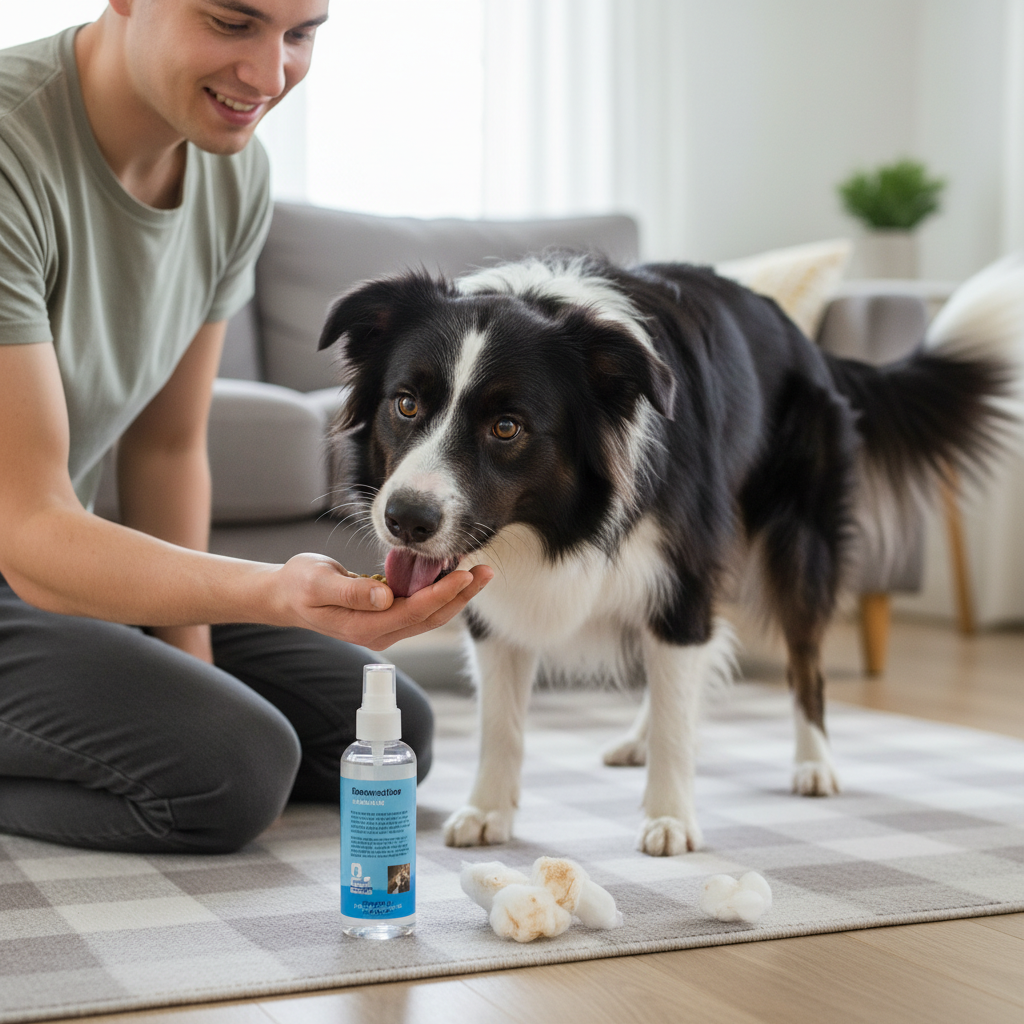
- High-Value, Pea-Sized Treats: We’re not talking about their everyday kibble here. You need the good stuff! Think tiny pieces of boiled chicken, cheese, freeze-dried liver, or a lickable treat in a tube. The goal is to make the reward so amazing that your dog thinks this ear-cleaning thing is the best game ever.
- A Comfy Towel or Mat: Designate a special spot for your hygiene sessions. Using the same towel or mat each time helps build a routine and signals to your dog what’s about to happen in a predictable, non-scary way.
- A Calm, Quiet Space: Choose a location where you won’t be interrupted. A quiet room away from the hustle and bustle of the household helps keep your dog’s focus on you and the delicious treats you’re offering.
Expert Tip: Warm the ear cleaning solution slightly by placing the bottle in a bowl of warm water for a few minutes. A cold liquid being squirted into their ear can be startling. Just be sure to test it on your wrist first to ensure it’s comfortably lukewarm, not hot.
Step 1: Creating a Positive Association (No Cleaning Allowed!)
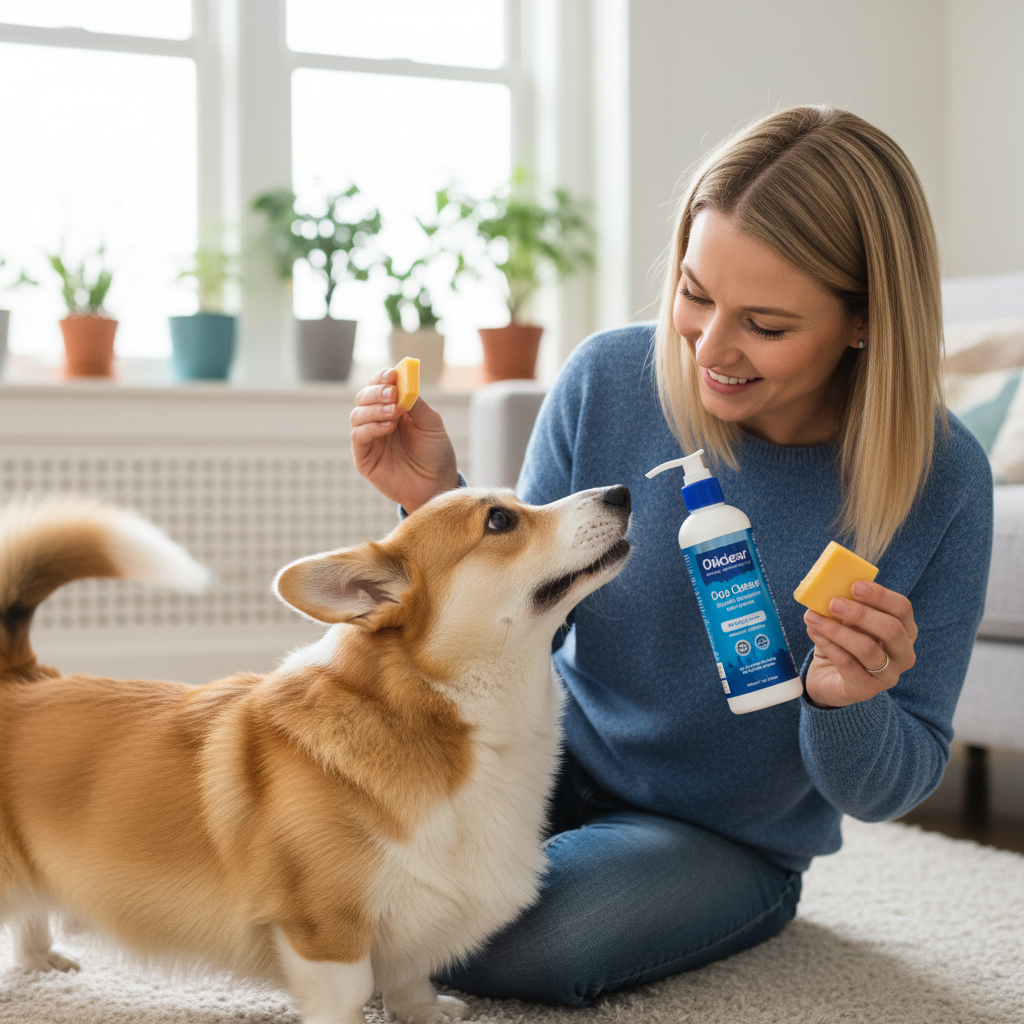
Welcome to the most important step of all! Before we do any actual cleaning, we need to change your dog’s emotional response to the tools of the trade. Right now, the sight of that cleaner bottle might send them running for the hills. Our mission is to make them think, ‘Oh, that bottle! That means chicken is coming!’ This process is called counter-conditioning and desensitization.
Your only job in this step is to create positive vibes. The ear cleaning supplies are simply props in a fun new treat game. Here’s how to play:
- Introduce the Bottle: Sit on the floor with your dog in your calm, designated space. Place the closed ear cleaner bottle on the floor a few feet away. The moment your dog looks at it or sniffs it, say ‘Yes!’ in a happy voice and give them a high-value treat. Do this a few times, then put the bottle away. Session over! Keep it short and sweet (1-2 minutes max).
- Bring it Closer: Over the next few sessions, gradually decrease the distance between your dog and the bottle. Hold it in your hand. Every time they show calm curiosity, reward them. If they seem nervous, you’ve moved too fast. Go back to a distance where they feel comfortable.
- Introduce the Cotton Balls: Now, do the same thing with the cotton balls. Let them sniff a cotton ball, then give them a treat. Touch them gently on the shoulder with a cotton ball, then give them a treat. We are teaching them that these funny white puffs are nothing to worry about.
Remember the Golden Rule: During this phase, you will not be cleaning ears. Not even a little bit. The goal is 100% positive association. Pushing too fast will undo all your hard work. Patience now will pay off immensely later.
Step 2: The Gentle Touch – Getting Comfortable with Ear Handling
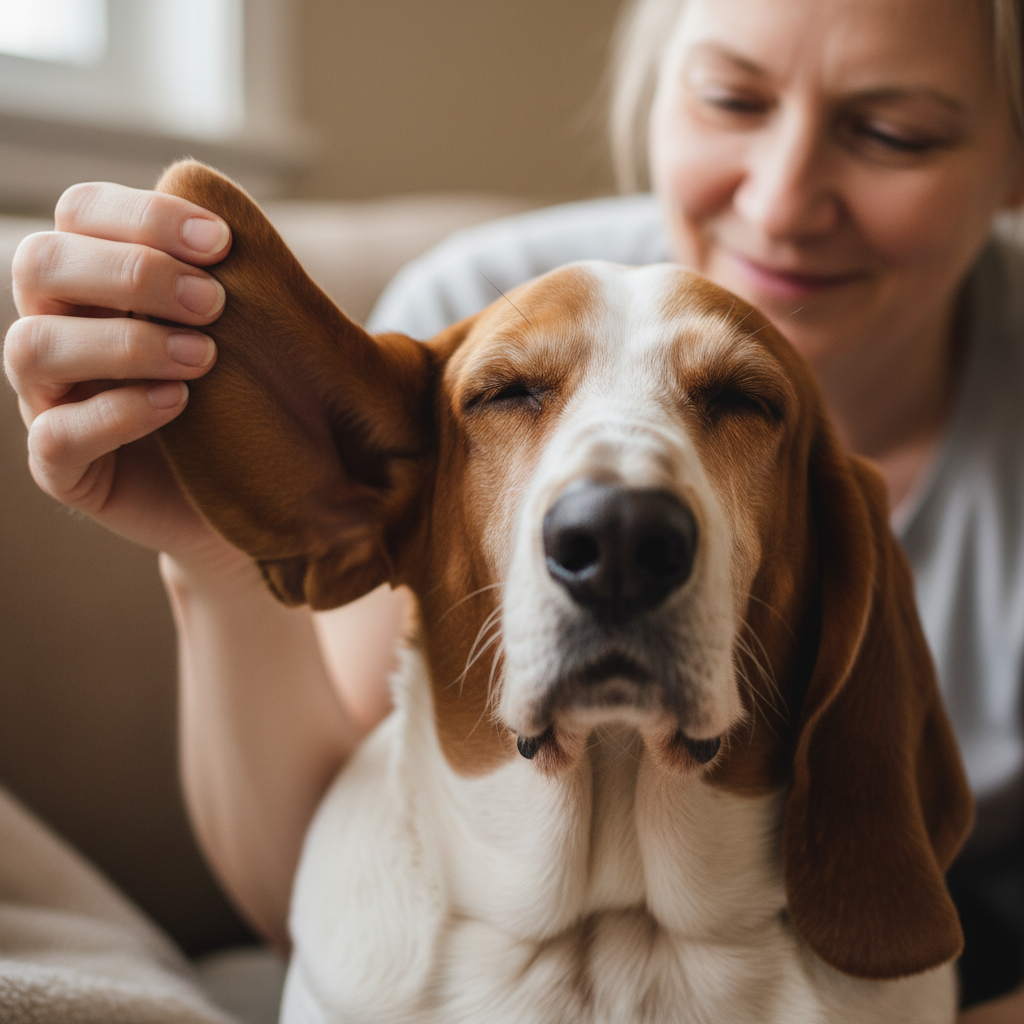
Many dogs are sensitive about their ears being handled, especially if they’ve had negative experiences in the past. This step is dedicated to making ear-touching a normal, pleasant, and even loving part of your daily interaction. We want to build a foundation of trust before we ever introduce a cleaning agent.
Think of this as an extension of your regular petting. You’re just focusing your attention on a specific area. Always watch your dog’s body language—a relaxed posture, soft eyes, and a gently wagging tail are green lights. A stiff body, whale eye (showing the whites of the eyes), or lip licking are yellow lights telling you to slow down or stop.
The Touch Progression:
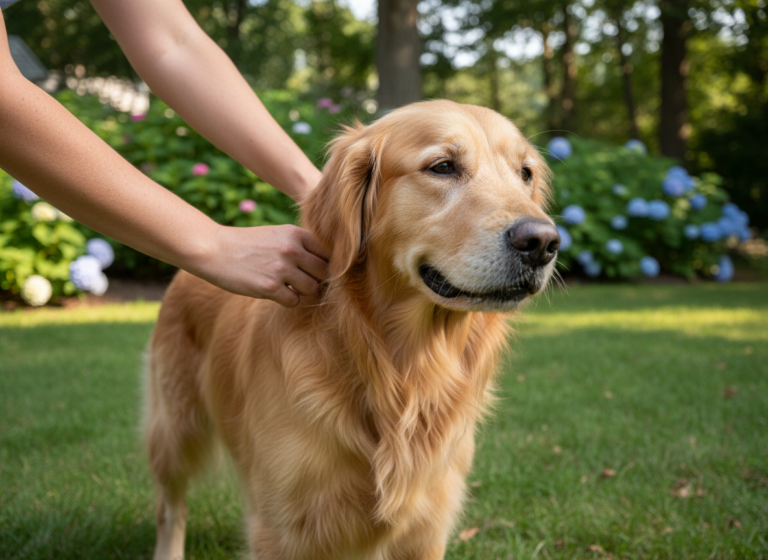
- Start Away from the Ears: Begin by petting your dog in a way they already love—a nice scratch on the chest or a stroke down their back.
- Move Toward the Head: Gradually move your petting up towards their neck and head. Give them a nice chin scratch.
- The Outer Ear: Gently stroke the outside of their ear flap (the pinna). Talk to them in a calm, soothing voice. Give them a treat. Do this for just a second or two.
- Lift the Flap: Once they are comfortable with you touching the outside, gently lift the ear flap for a single second, look inside, let it go, and immediately give a treat and praise. ‘Good job, buddy!’
- Increase Duration: Over several short sessions, slowly increase the amount of time you hold the ear flap open—from one second to three, then to five. Always follow up with a fantastic reward.
The key is to make this so routine and rewarding that your dog barely notices you’re doing it. Integrate these brief ear touches into your daily cuddle sessions on the couch. The more normal it becomes, the less they’ll object when it’s time for the real deal.
Step 3: Combining Touch with the Tools
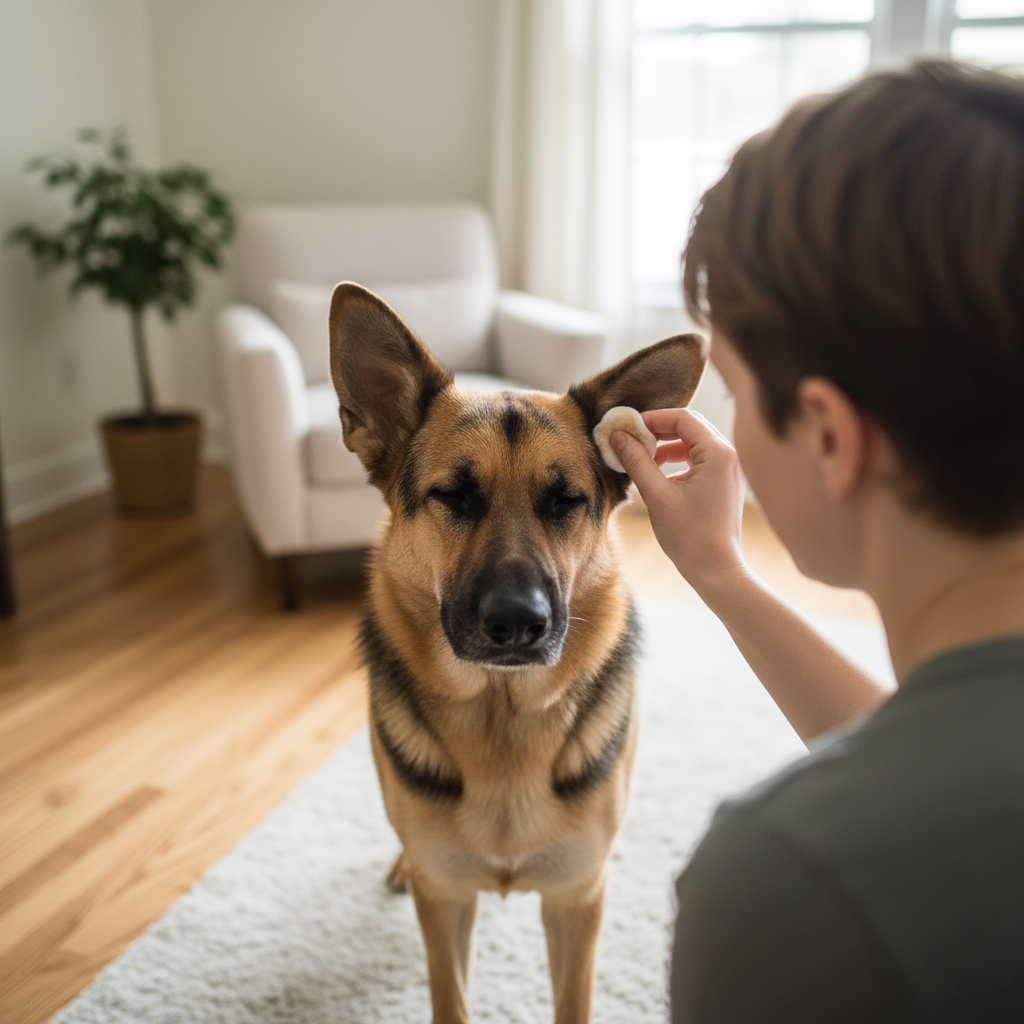
Alright, team, it’s time to bring our skills together! Your dog is now feeling good about the supplies (Step 1) and comfortable with you handling their ears (Step 2). In Step 3, we’re going to combine these elements, but we’re still not doing a deep clean. This is the dress rehearsal before the main event.
Our goal here is to get your dog accustomed to the sensation of a cotton ball in their ear and the smell of the cleaner, all while keeping the positive vibes flowing. Remember to keep your sessions short and end on a high note before your dog has a chance to get worried.
The Dress Rehearsal:
- Scent Introduction: Get your dog comfortable in your designated spot. Put a small amount of the ear cleaner on a cotton ball, but do it a few feet away so the sound of the bottle doesn’t startle them. Let them sniff the scented cotton ball. When they do, reward them with praise and a treat.
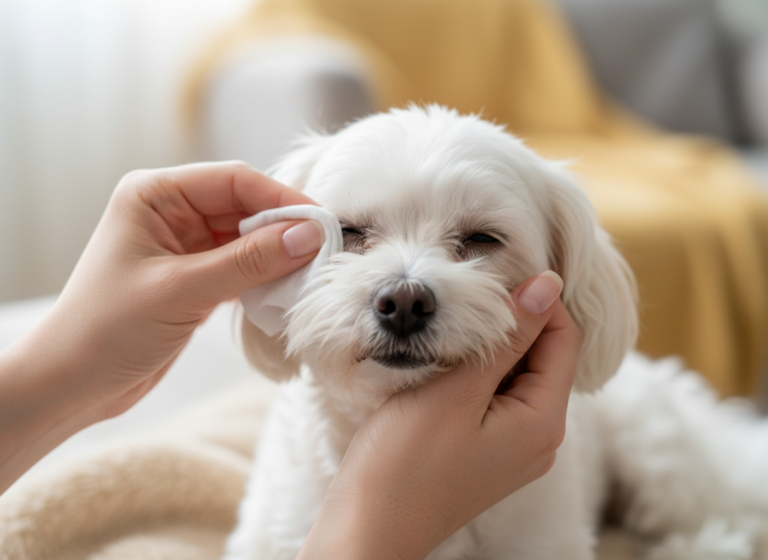
- The First Wipe: Once they are cool with the smell, it’s time for the first touch. Take the damp cotton ball and gently wipe the inside of the ear flap—the part you can easily see. Don’t go into the canal. Just a simple, gentle wipe.
- Reward Immediately: The instant you finish the wipe, give them a jackpot of treats! Three or four small, delicious morsels in a row. We want to communicate that this specific action results in an amazing payout.
- Repeat on the Other Side: If your dog is still relaxed and happy, repeat the process on the other ear. If they seem even slightly stressed, end the session there and try again tomorrow. It’s always better to end with a success, no matter how small.
This step bridges the gap between just touching the ear and actually cleaning it. By faking a ‘clean’ with just a gentle wipe of the visible parts, you’re building their confidence and proving that this whole process is safe, predictable, and incredibly rewarding.
Step 4 & 5: The Main Event and Making It Routine
Step 4: The First Real (and Quick!) Clean
You’ve laid all the groundwork, and now it’s time for the grand finale: the first real ear cleaning. The secret to success here is speed and positivity. Your goal isn’t a perfectly pristine ear on the first try; it’s a positive experience that you can build on.
- Get into Position: Have your dog sit or lie down comfortably. Have your open bottle of cleaner and your cotton balls ready to go.
- Apply the Cleaner: Gently lift your dog’s ear flap, holding it up to straighten the L-shaped ear canal. Quickly and calmly squirt the recommended number of drops from the cleaner bottle directly into the ear canal.
- Massage the Base: This is a key part! Lower the ear flap and gently massage the base of the ear for about 20-30 seconds. You should hear a squishy sound—that’s the sound of the solution breaking up wax and debris deep inside the canal. Most dogs love this part; it’s like a mini ear massage!
- Let ‘Em Shake!: Stand back and let your dog do what they instinctually want to do: shake their head vigorously. This is great! It helps bring all the loosened gunk up from the canal to the outer ear. A towel can be handy here to protect your walls.
- Wipe and Reward: After the shake, take a clean, dry cotton ball or pad and gently wipe away all the visible debris and excess cleaner from the ear flap and the entrance to the canal. And then… JACKPOT! Rain praise and high-value treats on your pup. You did it!
Step 5: Practice, Praise, and Jackpot!
One successful cleaning does not mean the job is done forever. The final step is to turn this into a predictable, positive routine. Consistency is everything.
- End on a High Note: Always finish your ear cleaning session with something your dog absolutely loves. This could be a super high-value chew, a favorite squeaky toy, or a fun game of fetch. This creates a powerful positive association with the entire procedure.
- Establish a Schedule: Talk to your vet about how often your dog’s ears need cleaning. For some dogs, it’s weekly; for others, it’s monthly. Put it on your calendar and stick to it. A predictable routine is less stressful for your dog than a random, surprise ear cleaning.
- Keep it Positive: As you continue, keep up the praise and rewards. Over time, you may be able to transition from super high-value treats to their regular kibble or just enthusiastic praise, but always make it a rewarding experience. You’ve worked hard to build this trust—maintain it!
Troubleshooting and When to See the Vet
Even with the best training plan, you might hit a few bumps in the road. Here’s how to handle some common challenges and, most importantly, when to stop and call in the professionals.
Common Sticking Points
- ‘My dog runs away when he sees the bottle!’ This means you need to go back to Step 1. The positive association isn’t strong enough yet. Spend more time just rewarding your dog for looking at and being near the supplies without any handling.
- ‘He flinches when I touch his ear.’ This is a sign to return to Step 2. Your dog isn’t fully comfortable with ear handling yet. Slow down, shorten your sessions, and use higher-value rewards for any small progress.
- ‘He hates the sound of the liquid going in!’ This is very common. Try soaking a cotton ball with the solution and gently squeezing it into the ear canal instead of squirting directly from the bottle. It’s much quieter and can be less startling.
Red Flags: When to Call Your Veterinarian
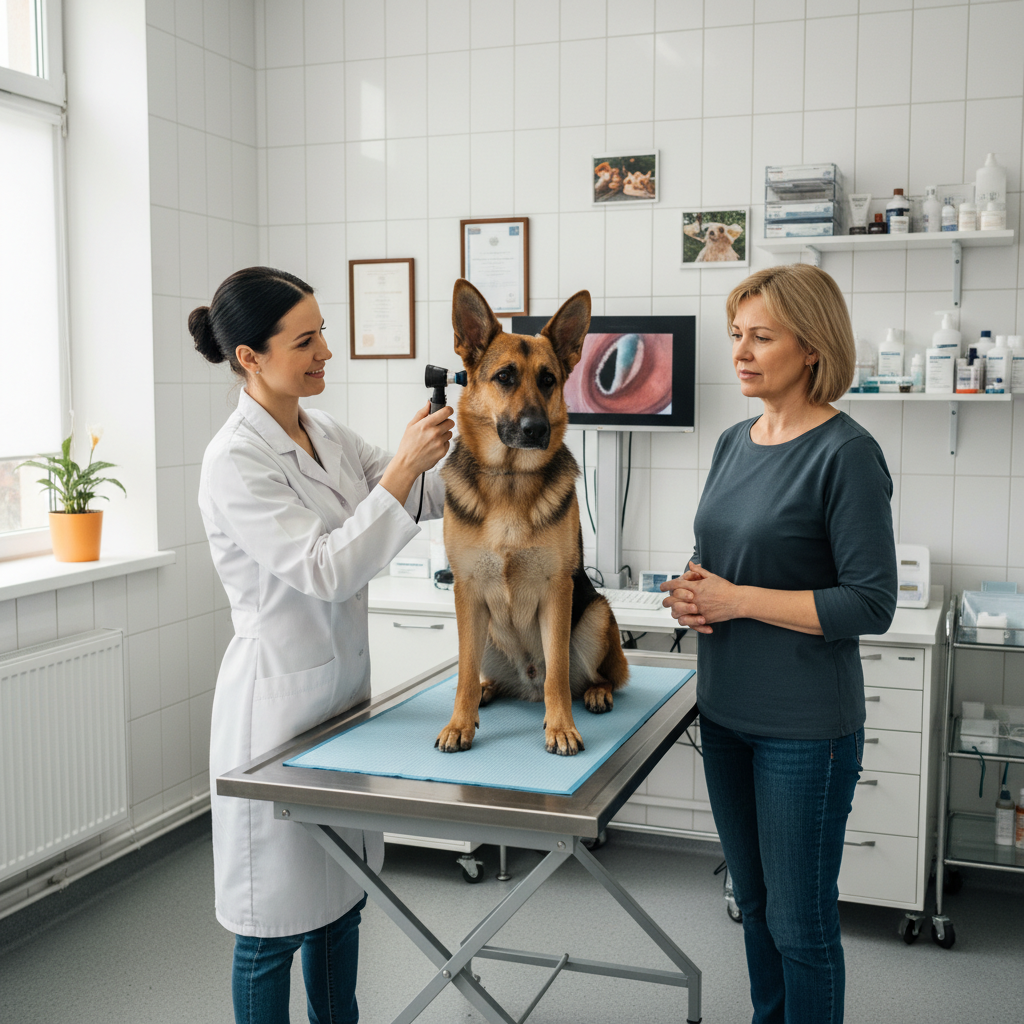
It is absolutely critical to know that training can’t fix a medical problem. If you notice any of the following signs, stop the cleaning process immediately and book an appointment with your vet. Trying to clean a painful, infected ear will only cause your dog distress and set your training back to square one.
Do NOT clean your dog’s ears and see a vet if you observe: A strong, foul odor coming from the ear; excessive head shaking or ear scratching; redness, swelling, or sores inside the ear; discharge that is yellow, brown, or bloody; or any signs of pain like yelping, whining, or pulling away when the ear is touched.
These are often signs of an ear infection, allergies, or ear mites, which require medical treatment. Once the underlying medical issue is resolved, you can resume your gentle training program to maintain their ear health long-term.
Conclusion
Congratulations! You now have the complete roadmap to transform one of the most challenging dog ownership tasks into a peaceful and productive routine. By following these five steps—gathering your gear, building positive associations, practicing gentle handling, performing a quick clean, and making it a rewarding routine—you’re not just cleaning your dog’s ears; you’re building a deeper bond based on trust and communication.
Remember that patience is your most valuable tool. Every dog learns at a different pace, so celebrate the small victories and never be afraid to take a step back if your pup seems overwhelmed. The goal isn’t perfection overnight; it’s progress over time. Before you know it, the sight of the ear cleaner bottle will bring a wagging tail instead of a disappearing dog, and that’s a win for everyone.