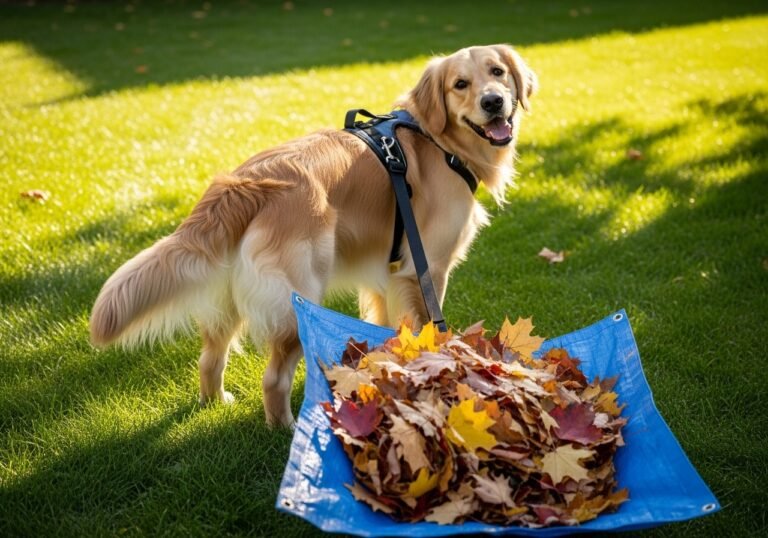
That heart-stopping moment. You call your dog’s name from the kitchen, but hear nothing. You peek into the living room, then the bedroom. Still nothing. A knot of dread tightens in your stomach as you rush to the back door and see it: the garden gate, swinging gently in the breeze, wide open. For any pet owner, a dog escaping the yard is a top-tier fear. While secure latches are non-negotiable, what if you could add an extra layer of security that’s also an incredible bonding experience? What if your dog could learn to be your personal gatekeeper?
Welcome to the ultimate guide to teaching your dog one of the most useful (and impressive) tricks in the book: closing the garden gate. This isn’t just about preventing escapes; it’s about channeling your dog’s intelligence, strengthening your communication, and turning a potential safety issue into a fun, collaborative game. It’s an advanced skill, to be sure, but with patience, consistency, and a pocketful of tasty treats, you can absolutely teach your clever canine this amazing feat. In this guide, we’ll walk you through everything you need, from the foundational ‘touch’ command to troubleshooting common hurdles, turning your escape artist into a reliable gate-closing assistant.
Gearing Up: What You’ll Need for Gate-Closing Success
Before you and your furry trainee head out to the yard, let’s get our supplies in order. Setting yourselves up for success starts with having the right tools on hand. This isn’t a complicated process, but the right gear can make the difference between a frustrating afternoon and a series of triumphant ‘aha!’ moments for your pup.
Essential Training Toolkit:
- A Suitable Gate: This is crucial. The ideal gate for this trick is lightweight and swings smoothly on its hinges. If your gate is heavy, rusty, or requires a hard slam to latch, it will be physically difficult or impossible for your dog to operate. It should be able to click shut with a gentle push.
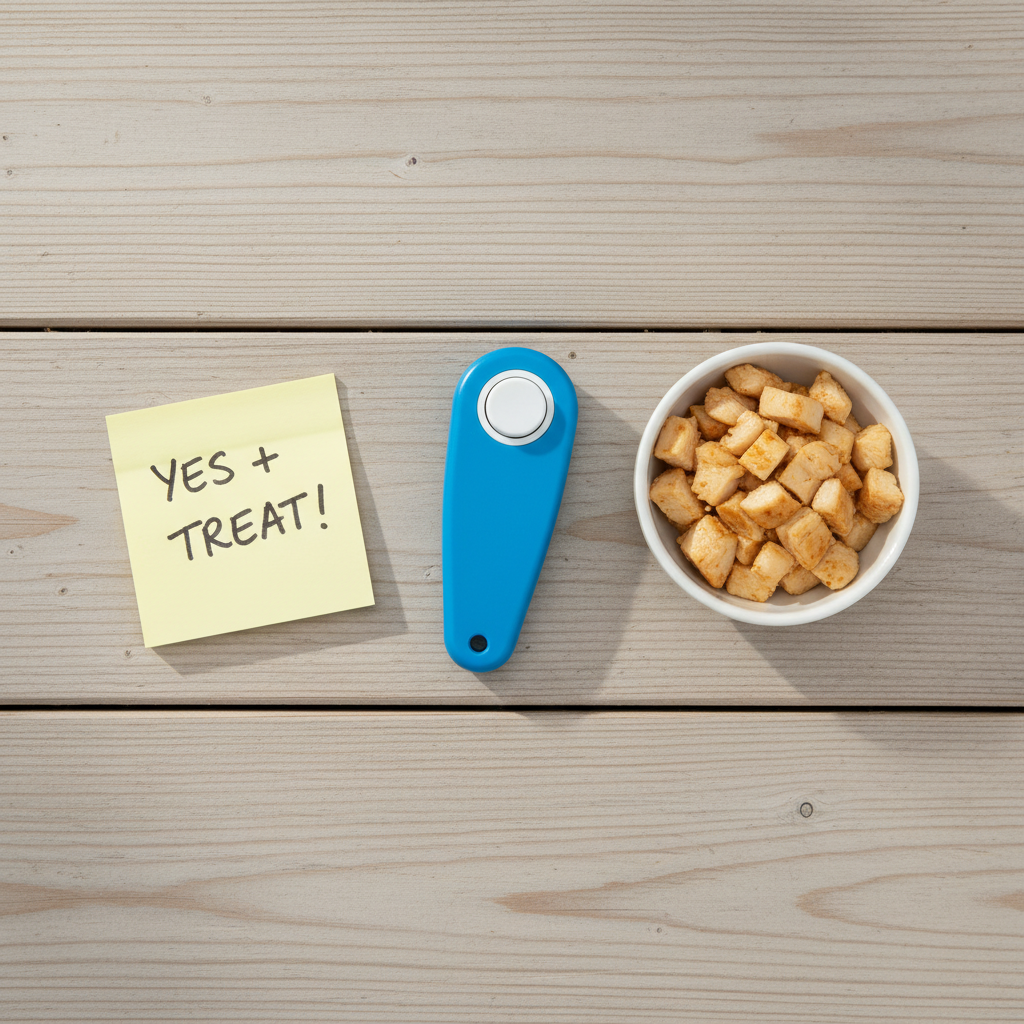
- High-Value Treats: We’re not talking about their everyday kibble here. You need the good stuff! Think small, pea-sized pieces of cooked chicken, cheese, hot dogs, or their absolute favorite commercial training treats. The reward needs to be exciting enough to motivate your dog to solve this new puzzle.
- A Clicker (Optional but Recommended): A clicker is a fantastic tool for marking the exact moment your dog does something right. This precise communication helps your dog learn much faster. If you’re not using a clicker, choose a consistent verbal marker, like a sharp “Yes!”
- A Target: This is what your dog will learn to touch. You can start with your hand, but for transferring the skill to the gate, a visual aid is incredibly helpful. A brightly colored sticky note or a dab of pet-safe, non-toxic paint on a piece of masking tape works perfectly. A telescoping target stick can also be a great investment for various training tasks.
- Patience and a Positive Attitude: This is the most important tool in your kit! This trick takes time. There will be moments of confusion for your dog. Your job is to be their patient, encouraging coach. Keep sessions short, fun, and always end on a positive note.
Expert Tip: Before you even begin with your dog, practice opening and closing the gate yourself. Find the minimum amount of pressure needed to swing it shut and latch it. This gives you a clear goal for what you’re asking your dog to do.
Step-by-Step: Laying the Foundation with ‘Touch’ and ‘Push’
Every great structure is built on a solid foundation. For gate-closing, that foundation is a reliable ‘touch’ or ‘target’ command. We need to teach the dog a simple, core action that we can then shape into the more complex behavior of pushing a gate. Let’s break it down into easy, digestible steps.
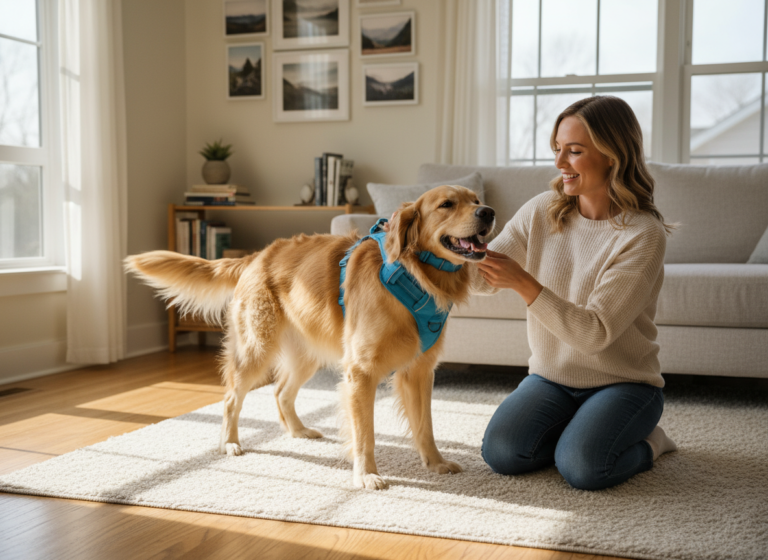
Step 1: Mastering the ‘Nose Touch’
The goal here is to teach your dog to touch an object with their nose on cue. We’ll start with a sticky note.
- Hold the sticky note in the palm of your hand, open and flat.
- Present it to your dog, about nose-level. Most dogs will naturally sniff a new object presented to them.
- The very instant their nose makes contact with the sticky note, click your clicker (or say “Yes!”) and immediately give them a high-value treat.
- Repeat this several times. At first, you’re just capturing the behavior. They touch, you click and treat.
- Once they are reliably booping the note with their nose, add a verbal cue like “Touch” right before you present your hand.
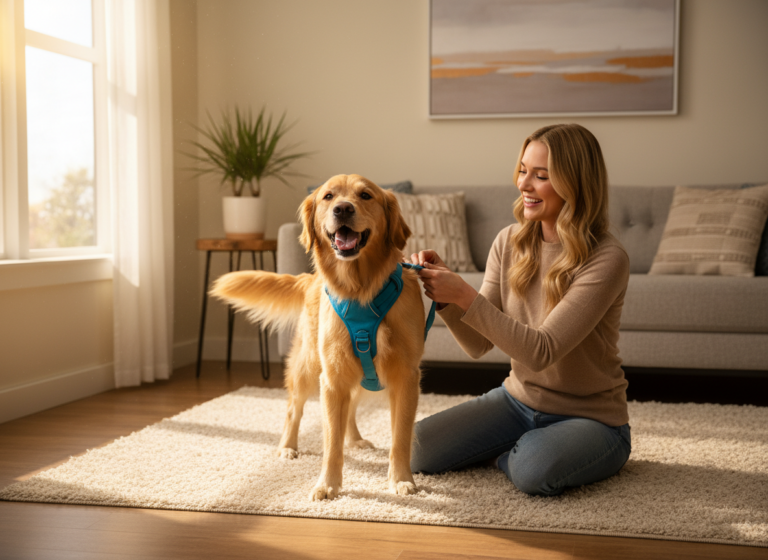
Step 2: Transferring the ‘Touch’ to the Gate
Now that your dog is a ‘touch’ champion, it’s time to change the location. We’re moving the target from your hand to the gate itself.
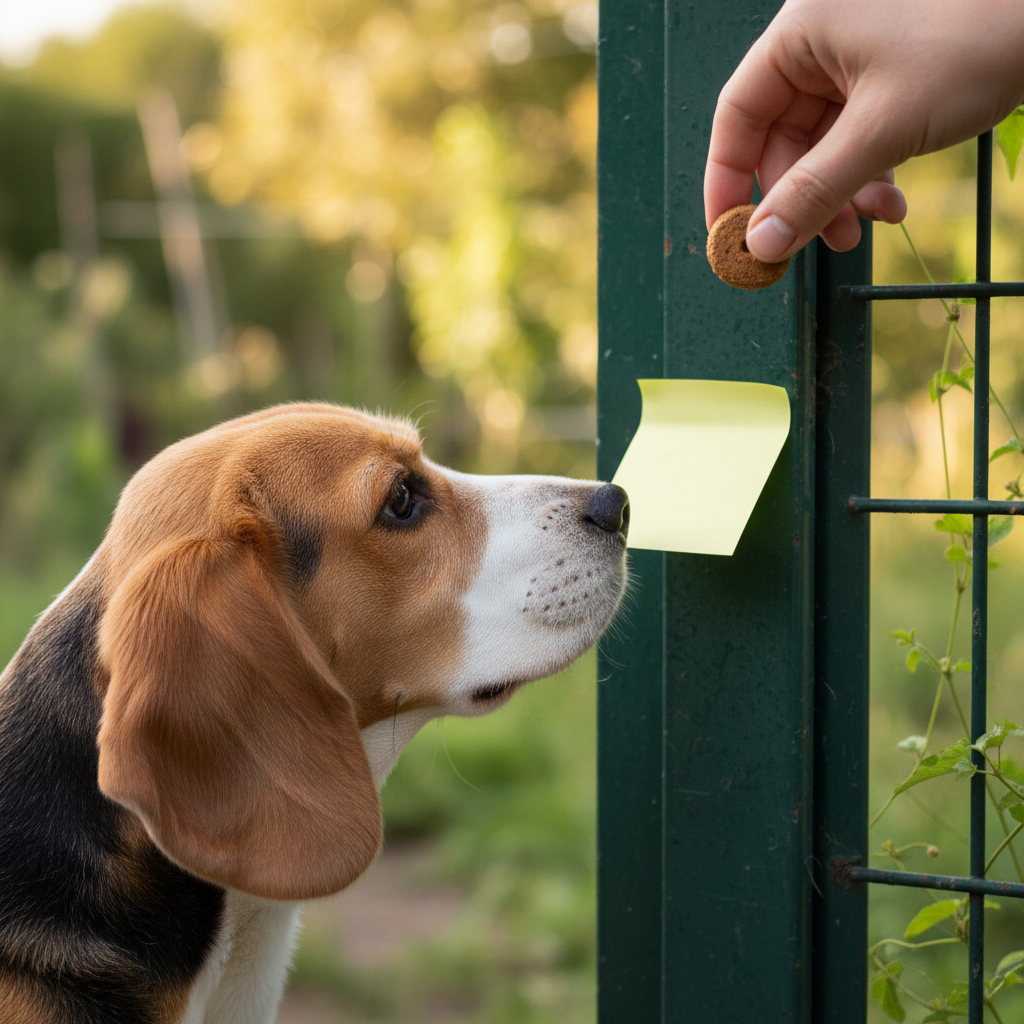
- Take your sticky note and place it on the outside of the gate, at your dog’s nose height, near the edge that swings.
- Lead your dog to the gate. Point to the sticky note and give your “Touch” cue.
- Because they already know the game, they should touch the note. The moment they do, click and treat! Shower them with praise. This is a big step!
- Practice this until they are confidently and happily touching the sticky note on the gate every time you ask.
Step 3: From a ‘Touch’ to a ‘Push’
This is where we begin to shape the behavior. We want to transition from a simple tap to a more forceful push that can actually move the gate.
- With the gate slightly ajar, ask your dog to “Touch” the sticky note.
- Now, wait a split second. Only click and treat for the slightly harder touches. If they just barely graze it, don’t reward. If they give it a solid boop, even if it doesn’t move the gate, click and treat.
- As they start offering harder touches more consistently, you can introduce a new cue like “Push” or “Close it.” Say the new cue, then your old “Touch” cue. Eventually, you’ll phase out “Touch” entirely.
- The goal of this stage is to get them to understand that pressure is what earns the reward. Be patient; this is a new concept for them!
Putting It All Together: From a Nudge to a Secure ‘Click!’
Your dog now understands that pushing the gate gets them a reward. Fantastic! The next phase is all about refining that push, increasing the distance, and shaping it into the full, satisfying motion of the gate swinging shut and latching with a ‘click’. This process is called shaping—rewarding small steps (successive approximations) that lead to the final desired behavior.
Step 1: Rewarding Movement
Start with the gate just barely cracked open, maybe only an inch or two. Ask your dog to “Push.” When they do, the gate will move and likely click shut. When this happens, throw a jackpot party! Give them multiple treats, lots of praise, and get excited. You want to communicate that moving the gate was an amazing accomplishment.
Step 2: Gradually Increasing the Distance
Once your dog is reliably closing the gate from an inch away, open it to three or four inches. Repeat the process. They will have to push a little harder and a little longer to get it to close. Continue to reward this success enthusiastically. Over several training sessions, gradually increase how far the gate is open. Don’t rush this! If your dog gets confused or fails, just make it easier again. Go back to a distance where they were successful and build up more slowly.
Step 3: Fading the Target
Your dog is now a gate-pushing pro, but they are still relying on that sticky note. It’s time to fade the visual cue so they respond to the gate itself. You can do this in a few ways:
- Make it smaller: Cut the sticky note in half, then in half again over several sessions, until it’s just a tiny speck.
- Change the color: Switch to a color that is closer to the color of your gate, making it less obvious.
- Remove it entirely: Once the target is tiny, try a repetition without it. Point to the spot where it used to be and give your cue. If they push the gate, jackpot! They’ve made the connection.
Step 4: Focusing on the ‘Click’
The final piece of the puzzle is the sound of the latch clicking into place. This is the ultimate signal of a job well done. Start to time your click/marker and treat for the exact moment you hear the latch engage. This helps the dog understand the true goal isn’t just to push the gate, but to push it until it’s secure. For many dogs, the sound of the ‘click’ itself becomes a satisfying reward.
Oops & Uh-Ohs: Troubleshooting Common Gate-Training Hurdles
Even with the best plan, you might hit a few bumps in the road. That’s completely normal in dog training! The key is to recognize the problem and know how to adjust your technique. Here are some of the most common challenges you might face and how to navigate them with a cool head and a positive approach.
| The Problem | The Solution |
|---|---|
| My dog just licks the sticky note or the gate. | This usually means you rewarded licking early on. Go back to the very beginning of ‘touch’ training. Only click and treat for a distinct nose boop. Ignore licking completely. Be patient and wait for the correct behavior. |
| My dog is scared of the gate’s noise when it slams. | This requires desensitization and counter-conditioning. Start by rewarding your dog for simply being calm near the gate. Then, you move the gate just a tiny bit yourself, making a very soft noise, and give them a treat. Gradually increase the movement and noise over many sessions, always pairing it with high-value rewards. Go slow to build positive associations. |
| My dog gets frustrated and starts barking or gives up. | This is a clear sign your training sessions are too long or you’ve made the task too difficult too quickly. Keep sessions under five minutes. Always end on a successful repetition, even if you have to make it super easy (like closing it from one inch away again). End the game while your dog is still having fun and wants more. |
| My dog pushes the gate the wrong way (open instead of closed). | Set your dog up for success by only practicing from the outside of the gate where pushing naturally closes it. If your gate can swing both ways, you may need to temporarily block it so it can only swing shut. You are teaching a specific action; don’t introduce the possibility of opening it. |
| My dog loses interest and wanders off. | Your reward probably isn’t high-value enough! Level up your treats to something truly irresistible. Also, ensure you’re training in a low-distraction environment at first. A quiet, fenced yard is much better than trying to train when squirrels are running along the fence. |
Remember the Golden Rule: If your dog is failing, the task is too hard. Take a step back to the last point of success and build up more slowly. It’s not your dog’s fault; it’s a communication challenge for the trainer to solve!
Conclusion
Congratulations! By following these steps, you’re well on your way to transforming your dog from a potential escape artist into a skilled gatekeeper. Teaching your dog to close the garden gate is so much more than just a neat party trick. It’s a practical safety measure, a fantastic source of mental stimulation that combats boredom, and an incredible way to deepen the bond and communication you share with your best friend. You’re not just issuing commands; you’re working together as a team to solve a problem.
Remember that the cornerstones of this process are patience, positivity, and consistency. Celebrate the small victories, keep your training sessions short and joyful, and always end on a high note. While this skill is a wonderful backup, it should never replace a secure, reliable latch and proper supervision. But with this new skill in their toolkit, you and your dog can enjoy your yard with a little more peace of mind and a whole lot more fun. Now go on, give it a try—you might be surprised at what your clever pup can accomplish!