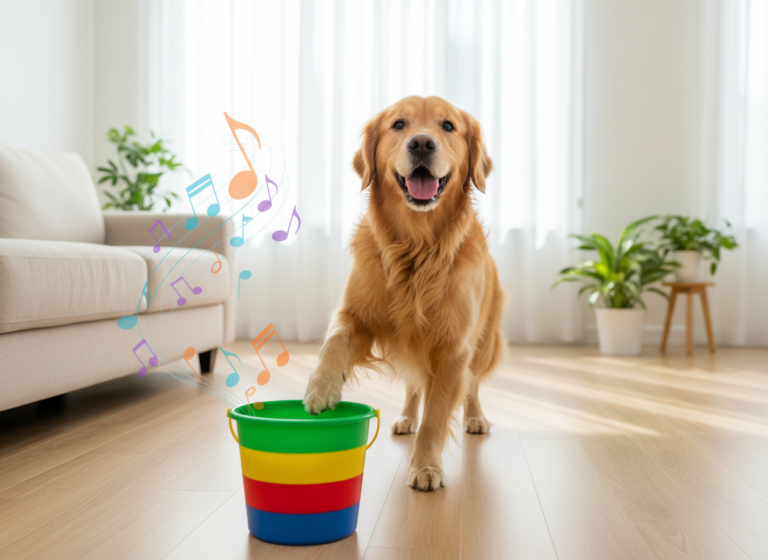
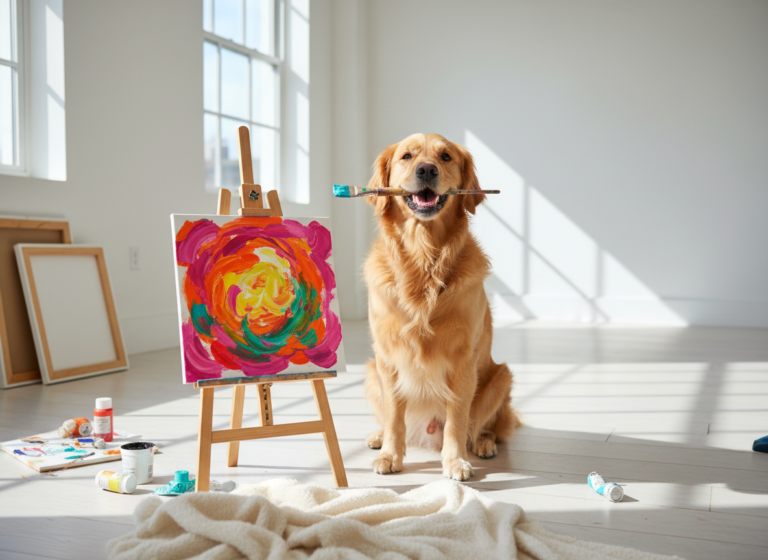
Have you ever watched a video of a dog doing something incredible and thought, ‘I wish my dog could do that!’? Well, get ready to be the pet parent everyone envies at the dog park. We’re about to embark on a musical journey to teach your furry friend one of the most charming and impressive tricks out there: playing the xylophone!
Don’t worry, you don’t need to be a professional dog trainer or a music teacher. All you need is a little patience, a pocketful of tasty treats, and a sense of humor. Teaching your dog new tricks is more than just a cute way to pass the time; it’s a powerful tool for mental stimulation, which is just as important as physical exercise. It helps prevent boredom, reduces problem behaviors, and strengthens the incredible bond you share. This guide will walk you through every single step, from picking the right instrument to taking your first bow. Let’s make some music!
Setting the Stage: Gathering Your Canine Orchestra’s Instruments
Before you can unleash your dog’s inner Mozart, you’ll need to gather a few essential supplies. Think of this as setting up the stage for your star performer. The right tools will make the training process smoother, safer, and much more fun for both of you.
Essential Equipment Checklist:
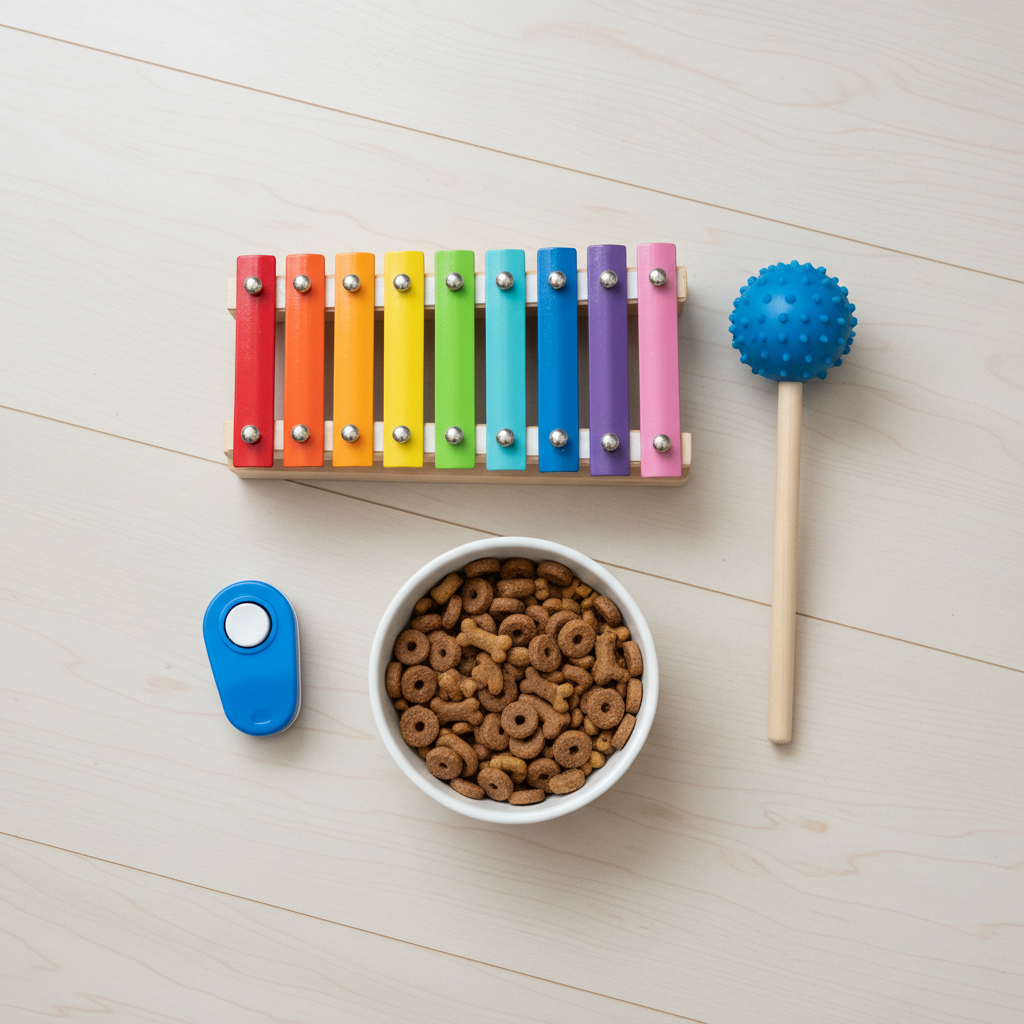
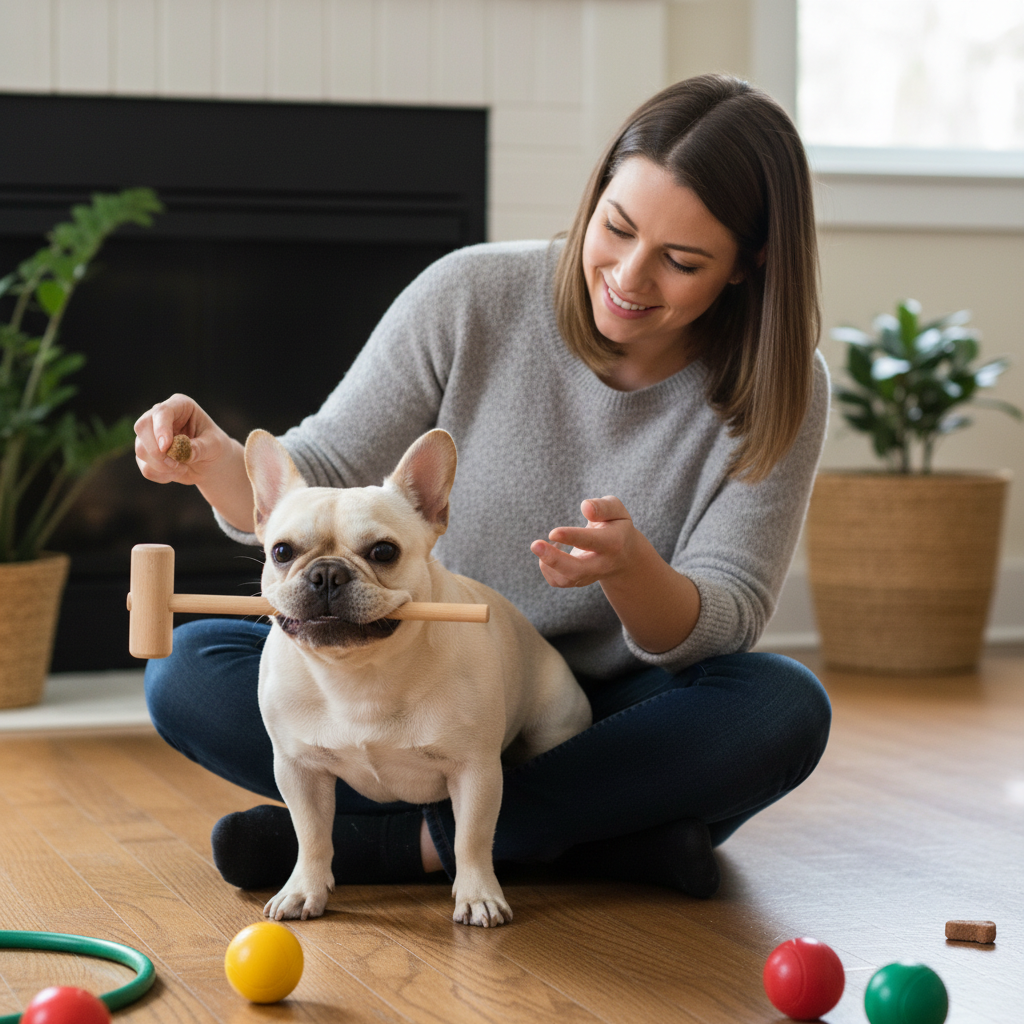
- A Dog-Safe Xylophone: This is the star of the show! You don’t need a professional-grade instrument. A sturdy, colorful children’s xylophone works perfectly. Look for one with large keys that are securely attached. Ensure there are no small, detachable parts your dog could swallow and that the materials are non-toxic. Metal keys will produce a clearer sound than wooden ones, which can be more rewarding for your pup.
- A Modified Mallet: The mallet that comes with a children’s xylophone is often too thin and hard for a dog’s mouth. You’ll want to modify it or create your own. Find a lightweight wooden dowel and attach a soft, durable ball (like a rubber practice golf ball or a firm foam ball) to the end. You can also wrap the handle in vet wrap or another non-toxic, grippy tape to make it more comfortable for your dog to hold. The goal is an instrument, not a chew toy!
- High-Value Treats: We’re talking top-shelf stuff here! Since this is a complex trick, you’ll need treats that are extra motivating. Think small, soft, and smelly morsels like tiny pieces of chicken, cheese, or commercial training treats that your dog absolutely adores. You’ll be using a lot, so keep them pea-sized.
- A Clicker (Optional but Recommended): A clicker is a fantastic tool for marking the exact moment your dog does something right. This precision communication can speed up the learning process significantly. If you’ve never used one before, it’s easy to ‘charge’ it by clicking and immediately giving a treat, repeating this about 10-15 times until your dog associates the click with a reward.
- A Quiet Training Space: Choose a room in your house with minimal distractions. Turn off the TV, put your phone on silent, and make sure other pets or family members won’t interrupt your session. A calm environment helps your dog focus on the task at hand.
Expert Tip: When choosing a xylophone, tap the keys yourself. A pleasant, clear tone is more likely to keep your dog engaged than a dull or jarring sound. Let your dog sniff and investigate all the new items before you begin training, rewarding any calm curiosity to build a positive association from the start.
Composing the Masterpiece: Your Step-by-Step Training Guide
Alright, the stage is set, and your star is ready! This is where the magic happens. We’re going to build this trick piece by piece, like composing a song one note at a time. Remember to keep your training sessions short (5-10 minutes max) and always end on a positive note. Patience is your best friend here!
-
Step 1: Introduce the Instruments
First, let’s make sure the xylophone and mallet are friends, not foes. Place the xylophone on the floor. The moment your dog looks at it or sniffs it, click and treat. Reward any interaction with it. Do the same with the modified mallet. Let them get comfortable with these new objects in their space without any pressure to perform.
-
Step 2: Teach a Gentle ‘Hold’
The trickiest part is often teaching your dog to hold the mallet gently. Hold the mallet out to your dog. If they sniff it, click and treat. Then, reward them for touching it with their nose. Next, reward them for opening their mouth and touching it. Gradually shape the behavior until they are putting their mouth around the mallet. The instant they do, click, treat, and let them release it. Slowly increase the duration of the ‘hold’ by a second at a time. The goal is a gentle, soft-mouthed hold, not a game of tug-of-war.
-
Step 3: Target the Xylophone
Now, let’s get them interacting with the xylophone. With the mallet in your hand, tap one of the keys and act very excited. This piques their interest. Hold the mallet (with the ball end facing them) near a key and encourage your dog to touch the ball with their nose. Click and treat for any nose-boops. This teaches them to target the end of the mallet.
-
Step 4: Combine the ‘Hold’ and ‘Target’
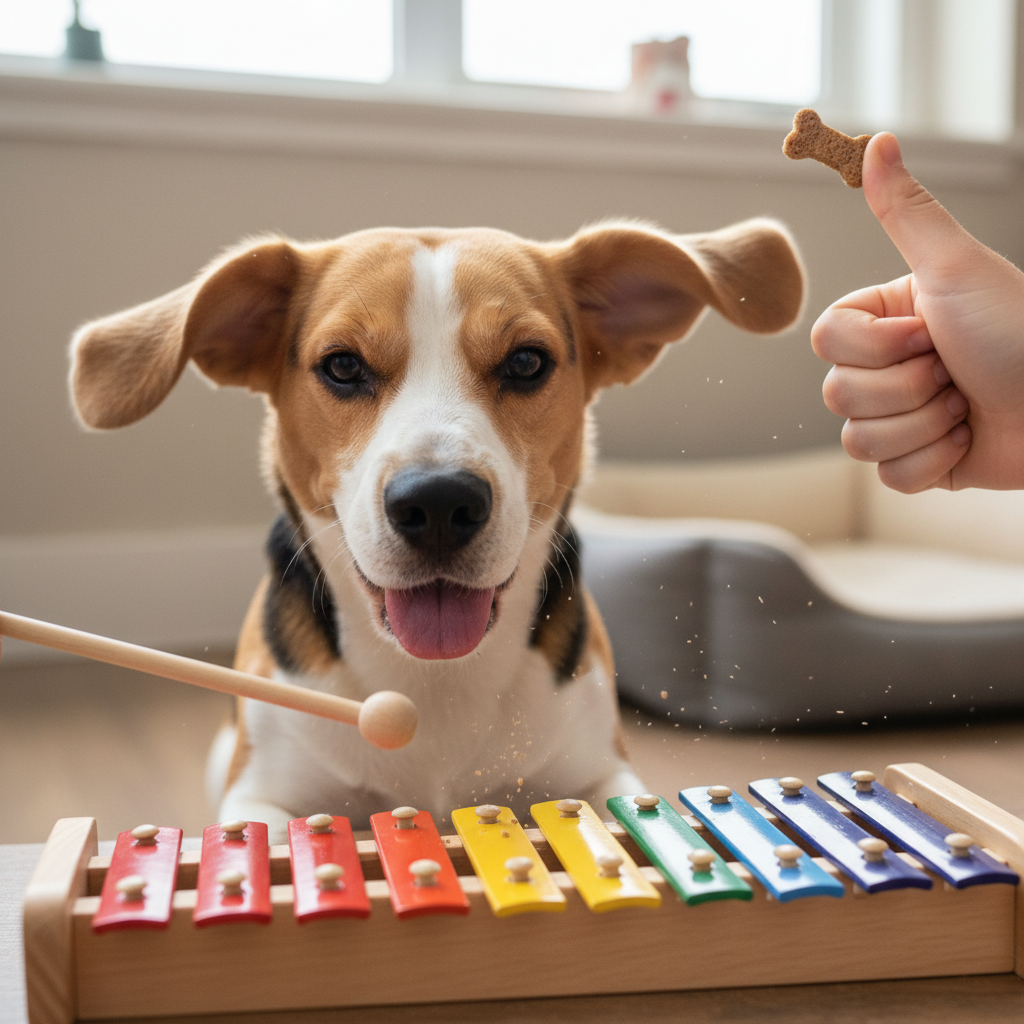
This is the big moment! Ask your dog to ‘hold’ the mallet. Once they have it, lower your hand toward the xylophone, encouraging them to move with you. Use your other hand to point to a key. The moment the mallet makes contact—even the faintest *tink*—throw a jackpot party! This means lots of treats, praise, and excitement. This is the behavior we want, so make a huge deal out of it. Repeat this, encouraging them to make the connection: mallet touches key, and good things happen.
-
Step 5: Add a Verbal Cue and Fade Your Help
Once your dog is reliably tapping the keys when you guide them, you can add a verbal cue. Just before you prompt the action, say your chosen word, like “Play!” or “Music!”. After several repetitions, they’ll start to associate the word with the action. At the same time, start to fade your physical guidance. Instead of holding your hand under their chin, just point to the xylophone. Then, just point to a specific key. The ultimate goal is for them to pick up the mallet and play a note on the verbal cue alone.
From One-Note Wonder to Canine Composer: Advanced Techniques
So, your dog can reliably pick up the mallet and bonk a key. Congratulations, you have a musical mutt! But why stop there? If your dog is enjoying the game and you’re having fun, you can take this trick to a whole new level of showmanship. These advanced techniques require a solid foundation, so make sure your dog has mastered the basics first.
Playing Specific Notes
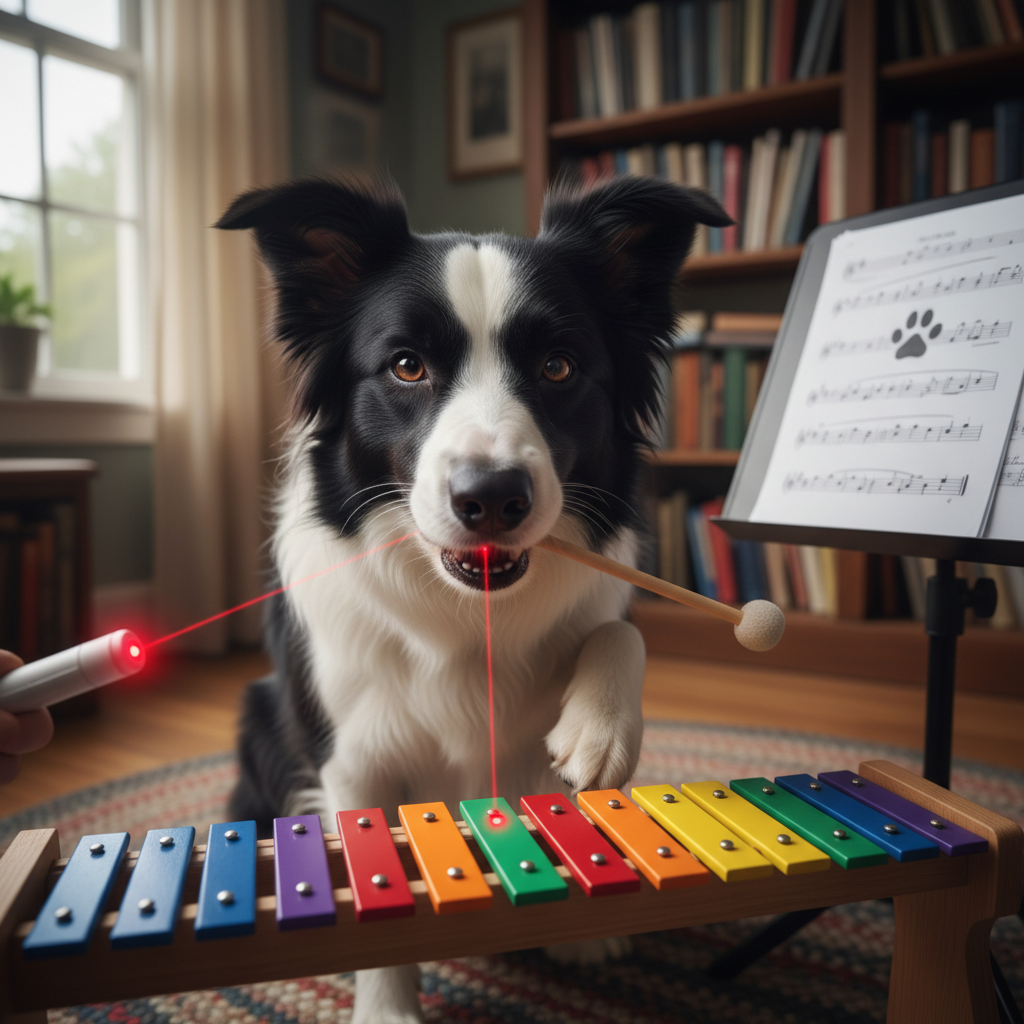
Want your dog to play ‘Twinkle, Twinkle, Little Star’? Well, maybe start with something simpler! You can teach your dog to target specific colored keys. Use a target stick (or even a laser pointer, used cautiously and never pointed at the dog’s eyes) to point to the key you want them to hit. When they successfully hit the correct key, give them an extra-special reward. Over time, you can chain these together. Point to the red key, click/treat. Point to the yellow key, click/treat. Eventually, you can create short sequences for them to follow.
Adding Duration and Rhythm
You can also work on the rhythm of their playing. Instead of just one tap, reward them for a series of taps. You can add a different cue, like “Keep Playing!”, to encourage them to continue tapping until you give a release word. This requires a lot of focus from your dog, so build up the duration very slowly.
Introducing Other ‘Instruments’
Why not form a whole band? Once your dog understands the concept of interacting with an object to make a sound, you can generalize this skill to other ‘instruments.’ You could teach them to:
- Press a large, easy-push button that makes a sound (like a Staples ‘Easy Button’).
- Nudge a set of bells with their nose.
- Paw at a tambourine placed on the floor.
You can assign a different verbal cue to each instrument and create your own one-dog (or multi-dog) band!
Remember the Golden Rule: The goal of advanced training is always fun and enrichment. If your dog seems frustrated or stressed, it’s a sign to take a break or go back to a step where they were successful. This is about joy, not perfection.
Hitting a Sour Note? Troubleshooting Common Issues
Even the most gifted musicians run into trouble during rehearsals. If you and your pup hit a snag, don’t get discouraged! It’s a normal part of the training process. Let’s look at some of the most common challenges and how to work through them with a positive attitude.
Problem: My dog is scared of the xylophone’s sound.
Solution: The sound can be startling at first. Go back to basics with desensitization. Place the xylophone in the room and reward your dog just for being near it. Then, you tap a key very, very softly. The instant you tap, toss your dog a high-value treat. The goal is to change their association from ‘scary noise’ to ‘scary noise predicts yummy chicken!’ Keep the taps soft and the treats flowing until your dog is comfortable, then gradually increase the volume.
Problem: My dog just wants to chew the mallet.
Solution: This is very common! It means you need to work more on the ‘gentle hold’ cue, separate from the xylophone. Reward only for soft mouth pressure. If they start to chew, use a cue like ‘Uh-oh’ and briefly remove the mallet. Present it again and reward the next gentle hold. Also, ensure the mallet is only available during training sessions so it remains a special ‘tool’ and not a chew toy.
Problem: My dog isn’t hitting the keys, just waving the mallet around.
Solution: This is a targeting issue. Go back to the step of combining the hold and the target. You may need to provide more physical guidance initially. Hold your hand under your dog’s chin to stabilize their head and gently guide the mallet toward the key. Make a huge fuss over even the slightest contact. You can also try using a larger target, like placing a sticky note on one of the keys, to give them a clearer visual cue.
Problem: We’re totally stuck and my dog seems frustrated.
Solution: Trainer’s block is real! If you’re both frustrated, it’s time to stop. End the session with a simple trick your dog knows and loves (like ‘sit’ or ‘shake’) to finish on a win. When you try again later, break the problem step down into even tinier, easier-to-achieve pieces. Maybe you asked for a 3-second ‘hold’ when your dog was only ready for 1 second. Shortening the session and increasing the rate of reinforcement for small successes can get you back on track.
Conclusion
And that’s a wrap! You now have all the knowledge you need to teach your dog one of the coolest tricks on the block. Remember that every dog is an individual and will learn at their own pace. One pup might pick it up in a week, while another might take a month of gentle practice. The real prize isn’t the final performance, but the quality time, mental engagement, and joyful moments you share along the way.
Celebrate every tiny success, laugh at the silly mistakes, and cherish the incredible bond you’re building with your four-legged friend. So grab your clicker, your treats, and your xylophone, and get ready to make some beautiful, and probably hilarious, music together. Your talented pup is ready for their encore!