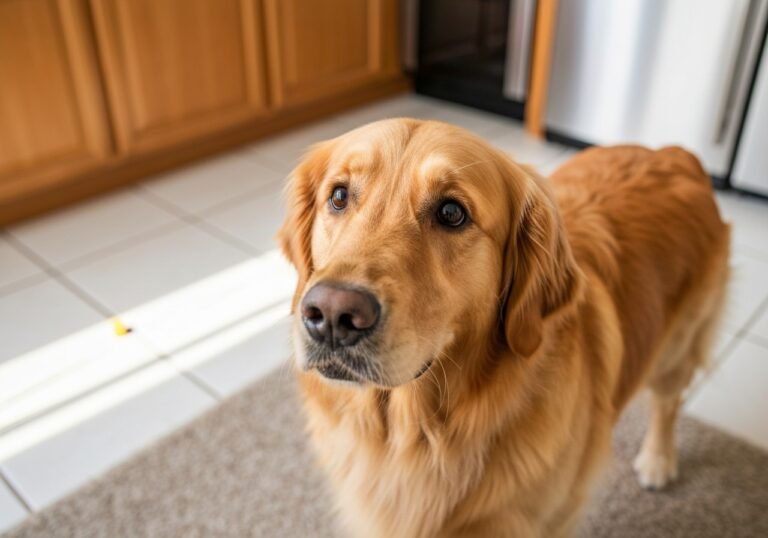
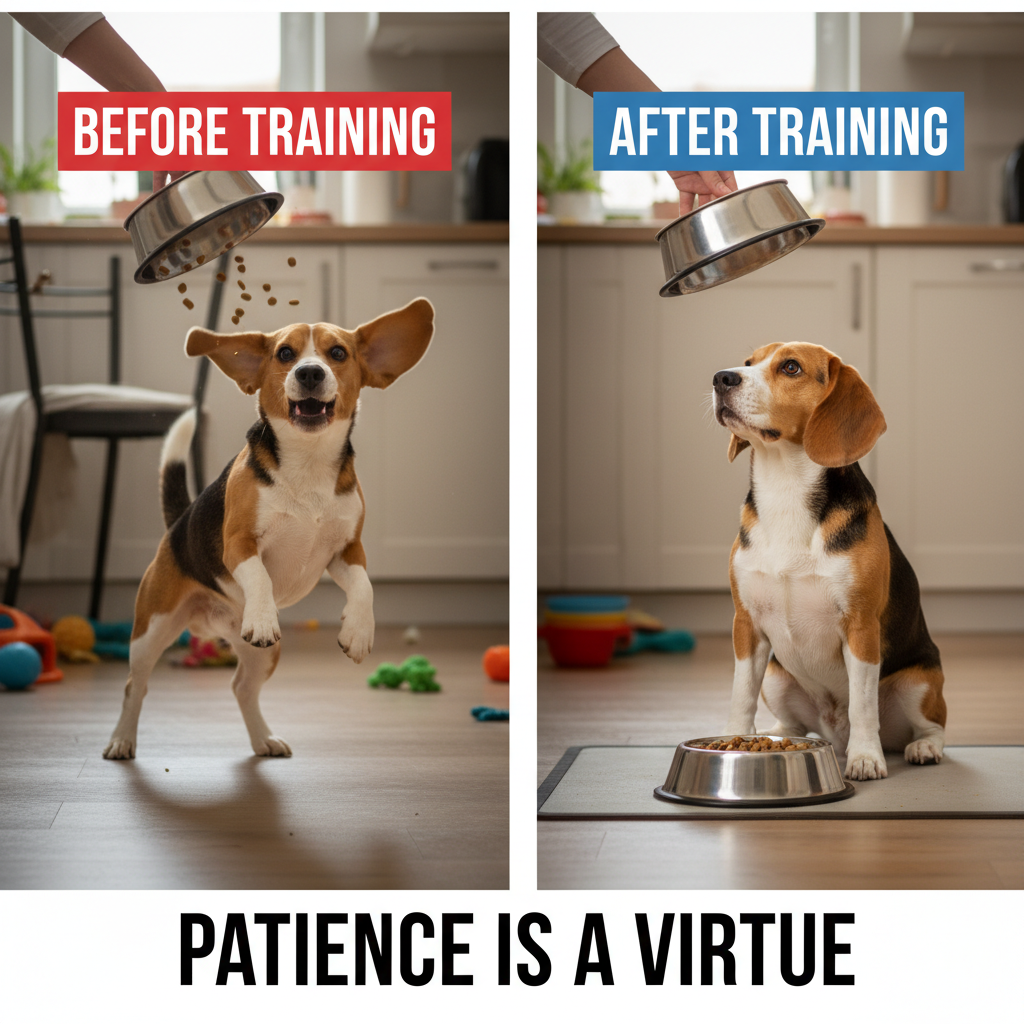
Is feeding time at your house more like a chaotic whirlwind than a calm meal? You’re not alone! Many dog owners know the scene all too well: the excited whining, the frantic spinning, the paws jumping up as you try to lower the food bowl without spilling it everywhere. While this enthusiasm is endearing, it can also be stressful and even unsafe. But what if I told you that you could transform this daily frenzy into a moment of calm connection and respect? The secret is teaching one simple, yet powerful command: ‘Wait.’
Teaching your dog to wait for their food isn’t just about good manners; it’s a foundational exercise in impulse control that has ripple effects on their behavior in all aspects of life. It helps prevent resource guarding, reduces the risk of dangerous conditions like bloat from eating too fast, and reinforces your role as the calm, confident leader of the pack. In this guide, we’ll walk you through everything you need to know, from the ‘why’ behind the wait to a clear, step-by-step training plan. Get ready to reclaim mealtime and build an even stronger bond with your furry best friend!
Why Teaching ‘Wait’ at Mealtime is a Game-Changer
Before we dive into the ‘how,’ let’s talk about the ‘why.’ Understanding the incredible benefits of this simple command can be a huge motivator to stay consistent with training. It’s so much more than a neat party trick!
Enhances Safety and Health
A dog that dives into its food the second it hits the floor is at a higher risk for a few health concerns. The most serious is gastric dilatation-volvulus, or bloat, a life-threatening condition where the stomach twists. While the exact causes are complex, eating too quickly is a known risk factor. Teaching a ‘wait’ encourages a calmer, slower start to their meal. It also prevents them from knocking the bowl out of your hands, potentially injuring themselves or you.
Builds Incredible Impulse Control
Dogs aren’t born with a lot of self-control; it’s a skill we have to teach them. Waiting for food is the ultimate impulse control exercise. They have to resist their primal urge to eat right now. This skill is transferable to so many other situations, such as:
- Waiting patiently at an open door instead of bolting outside.
- Staying calm when guests arrive instead of jumping all over them.
- Waiting for the ‘okay’ to get out of the car safely.
Reduces Resource Guarding
By teaching your dog that you are the provider of the food and that they get it when they are calm, you establish clear, positive boundaries. This can help prevent resource guarding—the aggressive behavior some dogs display to ‘protect’ their food. They learn that your presence around their bowl is a good thing, not a threat.
Expert Tip: Think of the food bowl as a classroom. Every meal is an opportunity to practice focus, patience, and the beautiful partnership between you and your dog. It’s one of the most functional training moments you have each day.
Creates a Calm and Respectful Routine
Ultimately, this training creates a predictable and calm routine. Your dog learns what is expected of them, which reduces anxiety. The mealtime chaos is replaced with a moment of focused connection, strengthening your bond and making your daily life together more peaceful and enjoyable.
Gathering Your Tools: Setting Up for Success
The great news is that you don’t need a lot of fancy equipment to teach this command. Success comes from consistency and positive reinforcement, not expensive gadgets. Here’s what you’ll want to have ready before you start your first session:
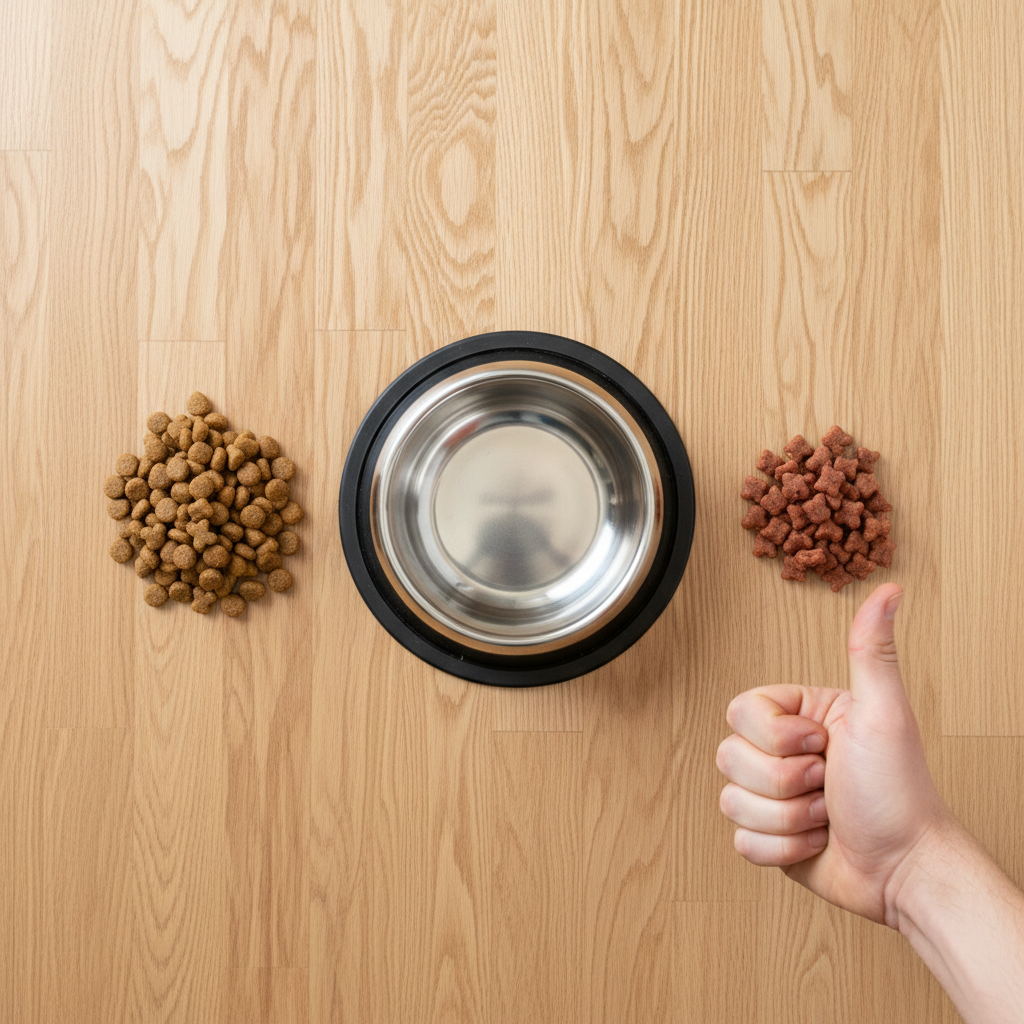
- Your Dog’s Regular Food: We’ll be using their daily meal for the main event, which is the best reward of all!
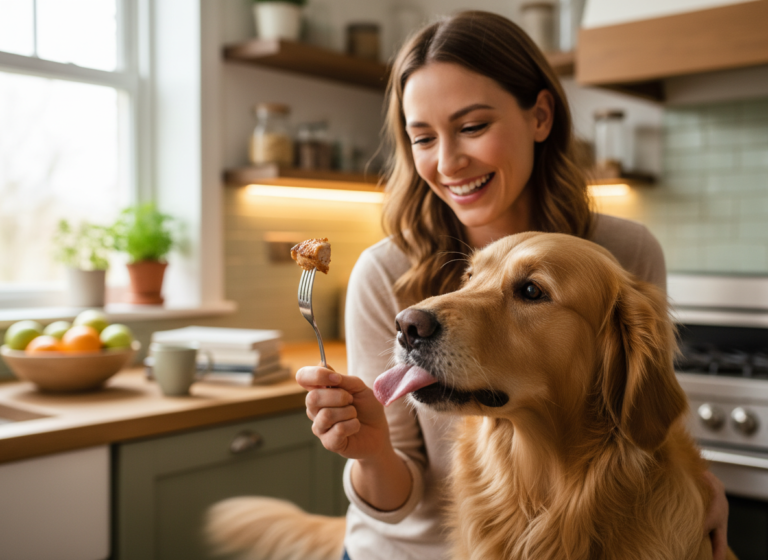
- High-Value Treats: For the initial learning phases, you might want something extra special to really capture their attention. Think small, soft, smelly treats like tiny pieces of chicken, cheese, or commercial training treats. The goal is to make learning exciting!
- A Non-Slip Food Bowl: A bowl that stays put will prevent it from sliding away and frustrating your dog (and you) during the training process. A heavier ceramic or stainless steel bowl with a rubber bottom is perfect.
- A Quiet Training Space: Choose a low-distraction area, like your kitchen or a quiet room, where your dog can focus on you without being tempted by squirrels out the window or family members walking by.
- Patience and a Positive Attitude: This is the most important tool in your kit! Training takes time. There will be great sessions and not-so-great sessions. Stay upbeat, celebrate small victories, and remember to keep it fun for both of you.
Keep your training sessions short and sweet, especially at the beginning. Aim for 5-10 minute sessions once or twice a day. Ending on a positive note is key to keeping your dog engaged and eager to learn more.
The Step-by-Step Guide to a Patient Pup
Alright, it’s time for the fun part! Remember to go at your dog’s pace. If they struggle with a step, just go back to the previous one where they were successful and practice a bit more before moving forward. Let’s begin!
-
Step 1: The Hand Wait (No Bowl)
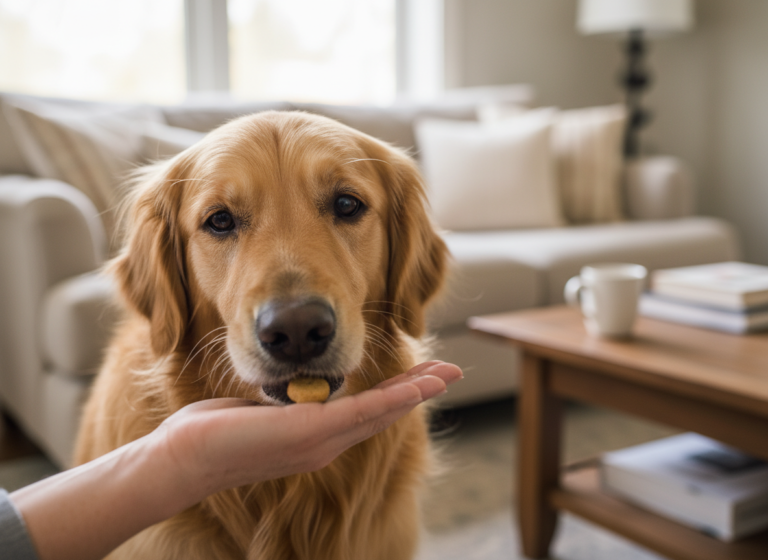
Start without any bowls to keep things simple. Take a few pieces of their kibble or a low-value treat in your hand. Show it to your dog, then close your fist. Your dog will likely sniff, lick, or paw at your hand. The moment they pull back, even for a split second, say “Yes!” in an excited tone and give them a treat from your other hand. The treat in your closed fist is just the lure. Repeat this until they understand that backing away from your hand gets them the reward.
-
Step 2: Introducing the ‘Wait’ Cue
Once your dog is reliably backing off your closed fist, you can add the verbal cue. As you present your closed fist, say “Wait” in a calm, steady voice. When they hesitate or back away, say “Yes!” and reward them from your other hand. You are now associating the word ‘Wait’ with the action of pausing.
-
Step 3: Introducing the Empty Bowl
Now, place the empty food bowl on the floor. Hold a treat in your hand and practice the same ‘wait’ exercise, but this time, drop the treat into the empty bowl as the reward. This starts connecting the ‘wait’ command to the bowl itself. Do this several times.
-
Step 4: Adding a Little Food
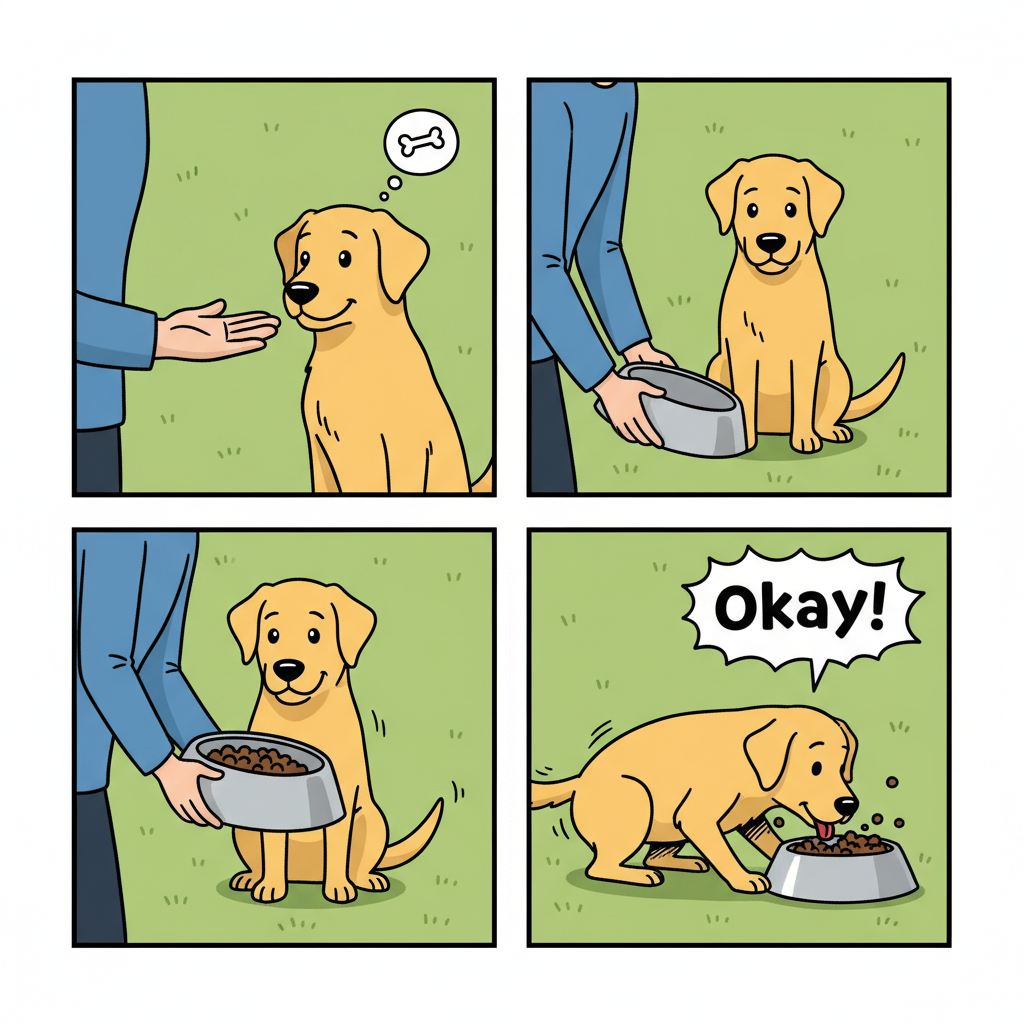
This is where things get more exciting for your pup! Put a very small amount of their meal (just a few pieces of kibble) in the bowl. Hold the bowl and begin to lower it to the floor. The instant your dog moves to go for it, lift the bowl back up. Don’t say anything; just calmly raise the bowl. Try again. The goal is for them to learn that the bowl only goes down and stays down if their bottom is on the floor. It might take many repetitions! Once you can place the bowl all the way on the floor while they remain seated, it’s a huge victory.
-
Step 5: The Release Cue
A ‘wait’ is no good without a release! Once the bowl is on the floor and your dog is waiting patiently, use a clear, happy release word like “Okay!” or “Free!” and encourage them to eat. Use the same word every single time. This teaches them they must wait for your permission to start their meal.
-
Step 6: Building Duration and Distance
Over several days and weeks, gradually increase the amount of time they have to wait after the bowl is on the floor before you give the release cue. Start with just one second, then three, then five. You can also start taking a small step back from the bowl after you place it down, teaching them to hold the ‘wait’ even if you aren’t hovering right over them.
Remember This Golden Rule: The dog’s behavior determines the outcome. If they stay put, the bowl gets closer to the floor. If they move, the bowl moves away. They are in control of making the good thing happen through their own patience!
Troubleshooting Common Mealtime Hurdles
Training is never a perfectly straight line. You’re bound to hit a few bumps in the road. Don’t worry, it’s completely normal! Here are some common challenges and how to navigate them like a pro.
My dog keeps lunging for the bowl as I lower it!
This is the most common issue! The key is your reaction time. The very second your dog’s muscles tense or they start to stand up, lift the bowl straight up. Be patient and calm. Don’t scold them. Simply reset and try again. They will learn that lunging makes the food go away, and staying put makes it come closer. You may need to do dozens of ‘reps’ in a single session.
My dog is whining or barking the whole time.
While you might not require perfect silence, excessive vocalizing is a sign of impatience. If your dog is barking, stand up straight and ignore them. Wait for a moment of silence, even just a half-second, before you try lowering the bowl again. You are rewarding the quiet, not the noise. Never give the release cue while they are actively barking.
My dog waits perfectly, but then breaks the command before I give the release cue.
This means you’ve likely increased the duration too quickly. Go back a step! If they can’t wait for five seconds, go back to successfully waiting for two seconds. Celebrate that success, and then slowly build back up. The goal is to set them up for success, not to test their limits until they fail.
| Problem | Quick Solution | Underlying Principle |
|---|---|---|
| Lunging at the Bowl | Immediately lift the bowl up. Reset and try again. | Dog learns that lunging is counterproductive. |
| Whining/Barking | Wait for a moment of quiet before proceeding. | Reward the calm behavior you want to see. |
| Breaking the ‘Wait’ | Reduce the duration. Go back to a shorter wait time. | Build on success; don’t push to the point of failure. |
| Seems Distracted | Move to a quieter space. Use higher-value treats. | Control the environment to maximize focus. |
Beyond the Bowl: Expanding the ‘Wait’ Command
Congratulations! You’ve put in the work, and now you have a dog who waits patiently for their meals. But the training doesn’t have to stop at the food bowl. The impulse control you’ve built is a superpower you can use in all sorts of daily situations to keep your dog safe and well-behaved.
Waiting at Doors
This is a big one for safety. Whether it’s the front door, the back door, or the car door, you don’t want your dog bolting through it. Practice the ‘wait’ command when you open a door. Put your hand on the knob, say “Wait,” and only open it when they are calm. If they move forward, close the door. They will quickly learn that they only get to go through the exciting doorway after waiting for your release cue.
Waiting for Toys
Instead of just tossing a ball, ask for a ‘wait.’ Hold the toy up, say the command, and only throw it when they are holding their position. This turns playtime into a fun training game that reinforces their impulse control.
Waiting on the Leash
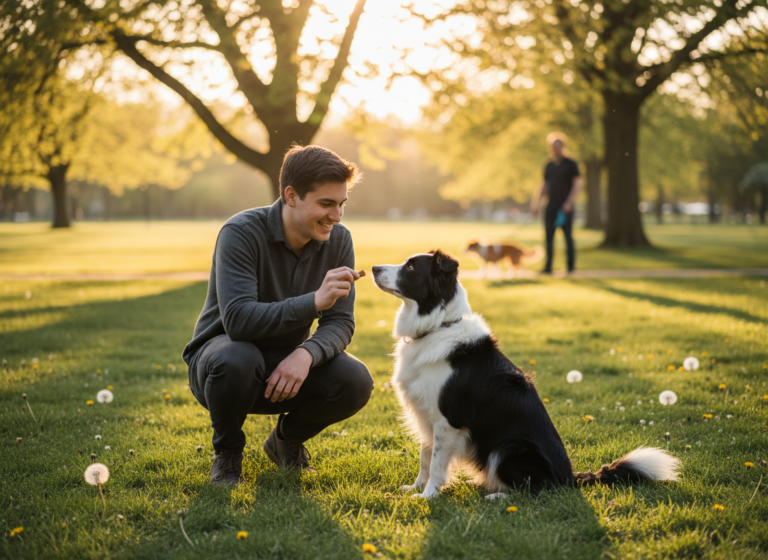
When you’re about to cross a street, use the ‘wait’ command at the curb. This is a critical safety skill that prevents them from pulling you into traffic. Practice this on every walk to make it a reliable habit.
By incorporating the ‘wait’ command into these different parts of your day, you are generalizing the skill. Your dog learns that ‘wait’ means ‘pause and look to me for direction’ no matter the context. This not only makes for a better-behaved companion but also deepens their trust in you as their guide and leader, strengthening the incredible bond you share.
Conclusion
Mastering the ‘wait’ command is one of the most practical and rewarding skills you can teach your dog. It transforms mealtime from a daily dose of chaos into a structured, respectful ritual. But as we’ve seen, its benefits echo far beyond the food bowl, fostering a level of impulse control and patience that enhances your dog’s safety and behavior in countless other situations.
Remember that consistency is your best friend in this journey. Every meal, every doorway, and every walk is an opportunity to gently reinforce this valuable lesson. Celebrate the small victories, have patience during the setbacks, and always keep your training sessions positive and fun. By investing this time, you’re not just teaching a command; you’re building a deeper language of communication and trust with your furry companion. Enjoy the peace and quiet at your next feeding time—you’ve both earned it!