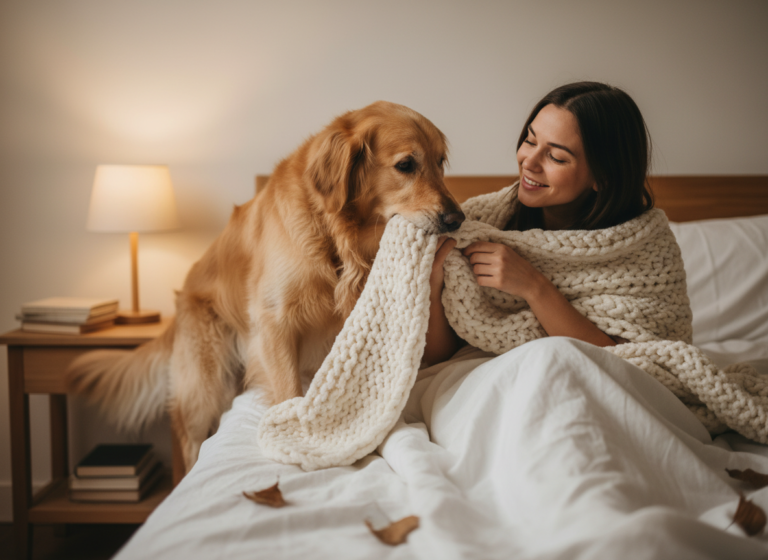
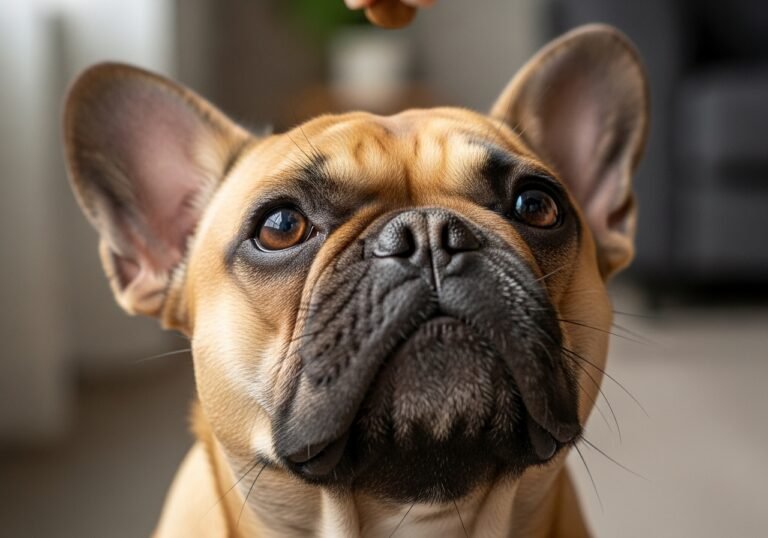
Have you ever scrolled through social media and seen those impossibly cute photos of a dog lovingly resting its head on its owner’s shoulder? It’s the kind of picture that melts your heart and makes you say, ‘I wish my dog would do that!’ Well, guess what? You can teach your furry friend this exact trick, and it’s not as hard as you might think.
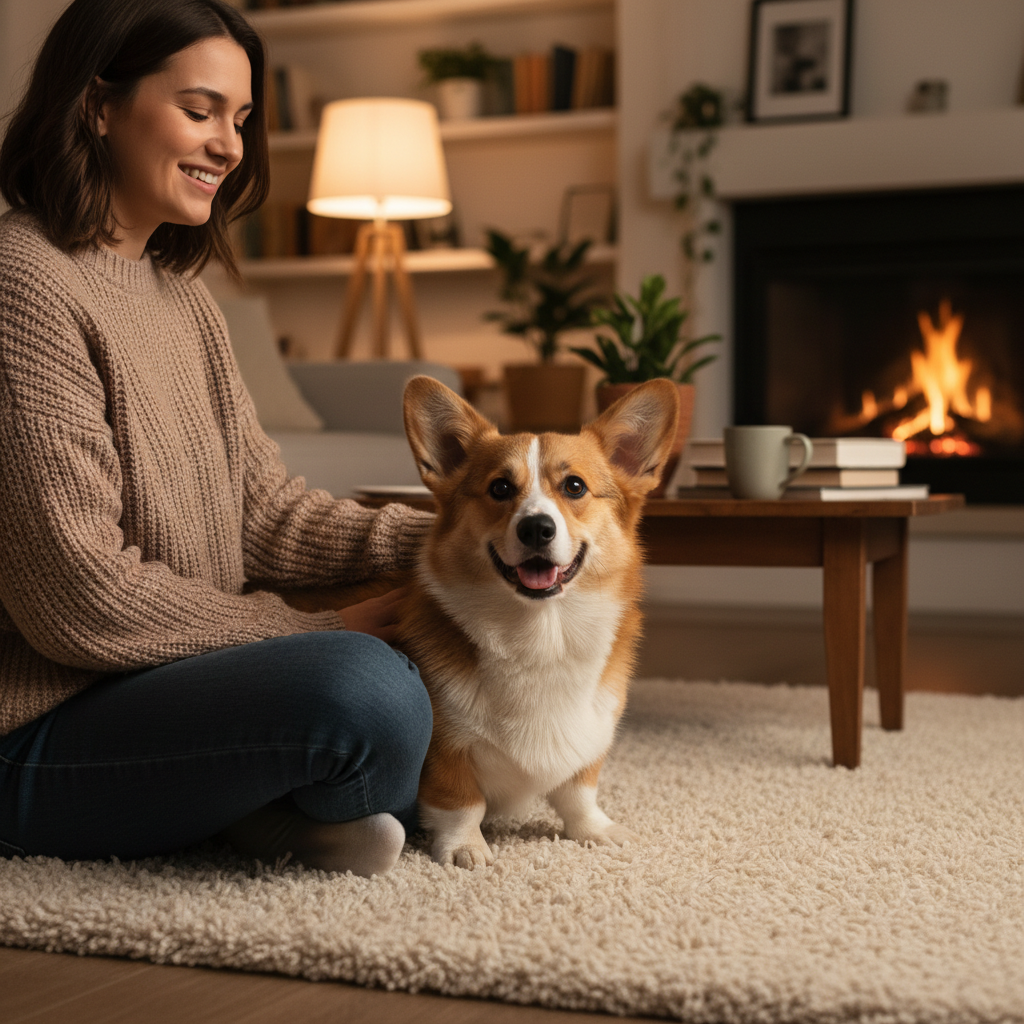
Teaching your dog to rest their head on your shoulder is more than just a setup for a great photo—it’s a fantastic bonding activity that builds trust, communication, and focus. Using simple, positive reinforcement techniques, you can turn this adorable dream pose into a fun reality. This guide will walk you through everything, from the basic building blocks to perfecting the pose for your big photoshoot. So grab some tasty treats, find a comfy spot, and let’s get ready to create some picture-perfect memories together!
Gathering Your Supplies: The ‘Chin Rest’ Toolkit
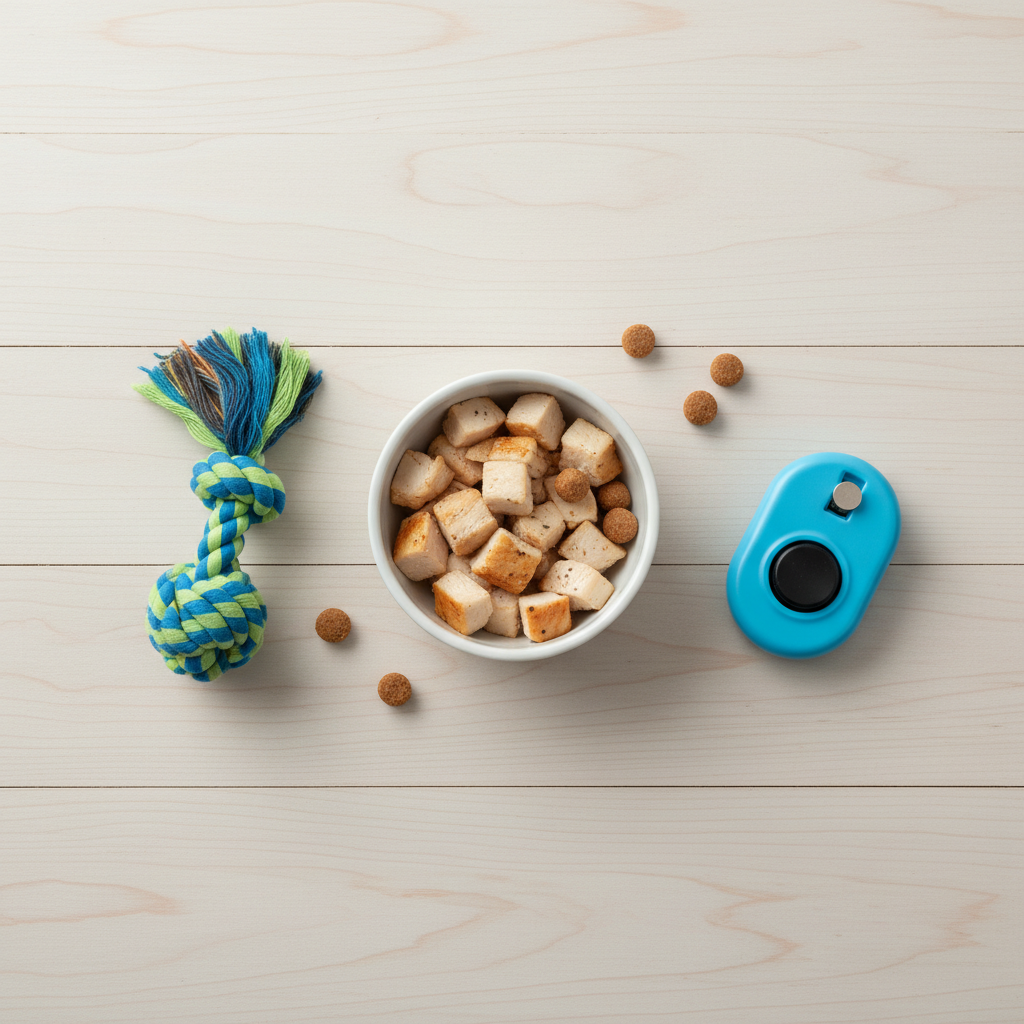
Before we dive into the training, let’s get all our tools in order. The good news is you don’t need any fancy or expensive equipment. The most important tool is your positive attitude! A successful training session is built on a foundation of fun and patience. Here’s a quick checklist of what you’ll want to have on hand:
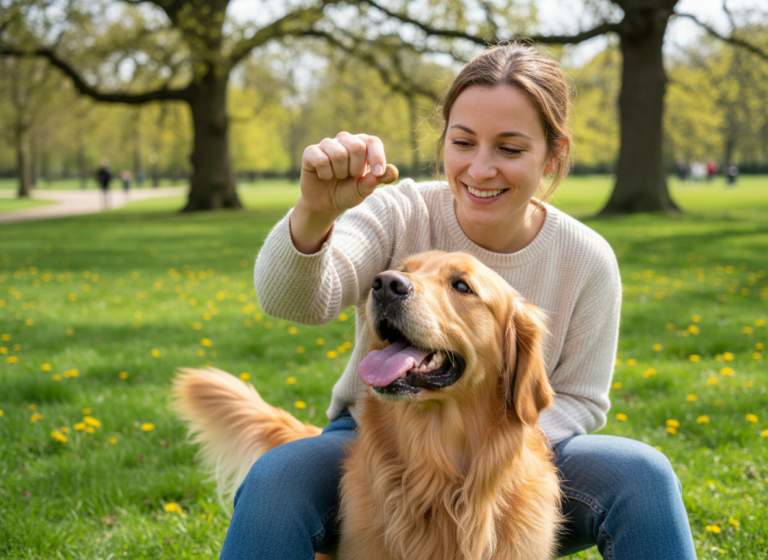
- High-Value Treats: We’re not talking about their everyday kibble. You need something special that your dog absolutely loves and will work hard for. Think small, soft, and smelly! Tiny pieces of cooked chicken, cheese, or commercial training treats work wonders. The key is that they should be quick and easy to swallow so you can keep the training momentum going.
- A Clicker (Optional, but Recommended): A clicker is a fantastic tool for marking the exact moment your dog does the right thing. This precise communication helps your dog understand exactly what behavior earned them the reward. If you don’t have a clicker, you can use a consistent marker word like ‘Yes!’ or ‘Good!’ said in an upbeat tone.
- A Comfortable, Quiet Space: Choose a training area with minimal distractions. Your living room floor or a quiet backyard is perfect. You want your dog to be able to focus on you, not the squirrel outside the window or the kids playing in the next room.
- Patience and Enthusiasm: This is non-negotiable! Your dog feeds off your energy. If you’re relaxed, happy, and encouraging, they’ll be more engaged and eager to learn. Remember, training should feel like a game, not a chore. Keep sessions short—around 5 to 10 minutes at a time—to keep your dog’s enthusiasm high.
Once you have your treats chopped and your positive pants on, you’re ready to start building the foundation for this adorable trick.
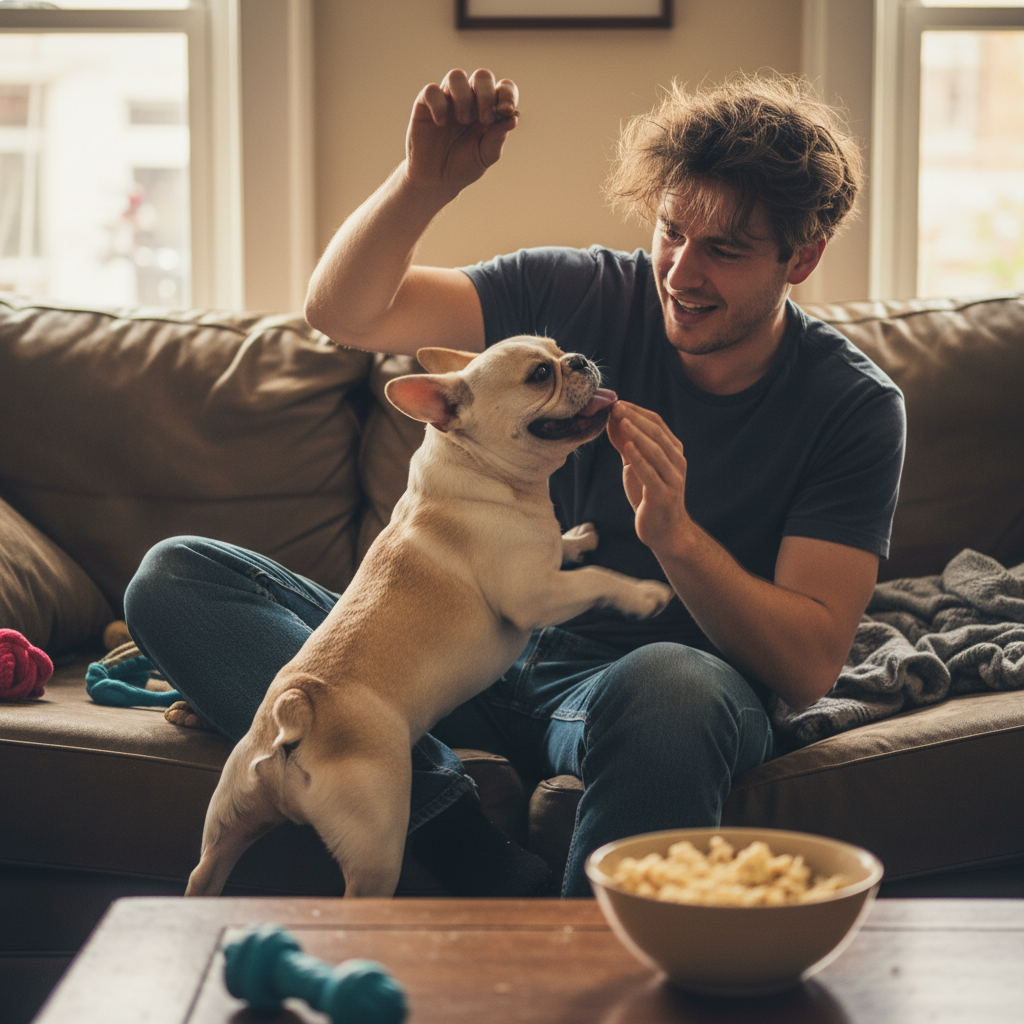
Step 1: Mastering the Basic ‘Chin Rest’

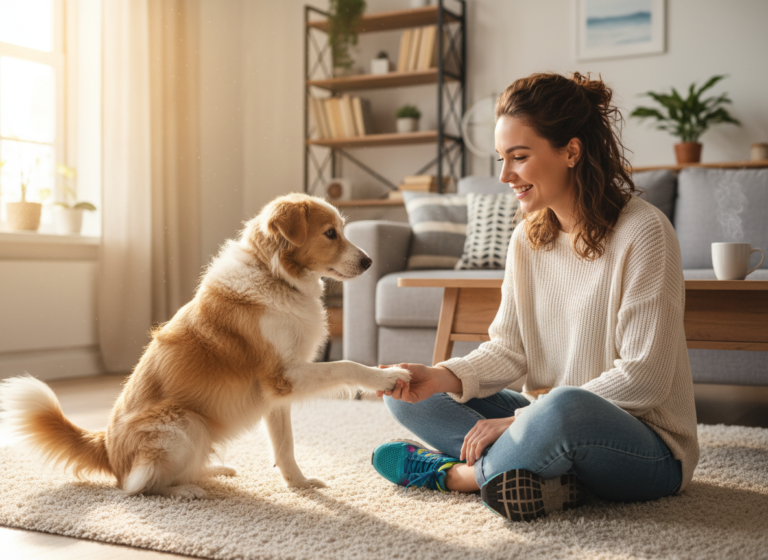
Every great trick starts with a simple foundation. Before we can ask our dog to rest their head on our shoulder, we first need to teach them the concept of resting their chin on a target. Our first target will be our hand. This step is all about making the connection: ‘When my chin touches this thing, I get a treat!’
How to Teach the Hand Target:
- Get on Their Level: Sit on the floor with your dog in front of you. This makes it more comfortable and less intimidating for them.
- Present the Target: Hold your hand out flat, palm up, a few inches away from your dog’s nose. Be still and patient. Your dog’s natural curiosity will likely lead them to investigate your hand by sniffing or nudging it.
- Mark and Reward: The very instant your dog’s chin makes contact with your palm—even for a split second—click your clicker (or say ‘Yes!’) and immediately give them a treat from your other hand. Timing is everything here! You want to mark the exact moment of contact.
- Add the Cue: Once your dog starts to understand the game and is reliably touching your hand with their chin, you can add a verbal cue. As you present your hand, say a simple cue like ‘Chin,’ ‘Rest,’ or ‘Target.’
- Practice, Practice, Practice: Repeat this process in short, fun sessions. Your goal is to have your dog confidently and purposefully place their chin in your palm when you give the cue. Don’t rush it; this foundational step is the most important part of the entire process.
Expert Tip: Avoid moving your hand to meet your dog’s chin. Let them make the choice to move toward your hand. This builds their confidence and teaches them to be an active participant in the training game.
Step 2: From Your Hand to Your Lap
Awesome! Your dog is now a chin-resting pro when it comes to your hand. Now, we need to teach them to generalize this behavior to other objects and surfaces. This is called ‘proofing’ a behavior, and it’s a key step in making any trick reliable. We’ll start by transitioning from your hand to your lap.
The goal here is to get your dog comfortable resting their head on a different part of your body. This builds on the foundation you’ve already created and prepares them for the final shoulder position.
Making the Transition:
- Get Comfortable: Sit on the floor with your legs crossed or out in front of you, creating a clear ‘lap’ space. Encourage your dog to come sit or lie down comfortably beside you.
- Use the Same Cue: Pat your thigh and give your ‘Chin’ or ‘Rest’ cue. At first, your dog might be confused and look for your hand. That’s perfectly normal!
- Lure if Necessary: If they hesitate, you can help them by placing your target hand (the one they’re used to) on your lap. When they place their chin on your hand, give them a big reward. After a few successful repetitions, try removing your hand just before their chin touches it, so their chin lands directly on your lap. Mark and reward this enthusiastically!
- Generalize Further: Once they are comfortably resting their chin on your lap, try other surfaces. While sitting on the couch, ask for a ‘Chin’ on the cushion next to you. You can also try having them rest their chin on your forearm. Each new surface they master reinforces the meaning of the cue.
This step is all about teaching your dog that the ‘Chin’ cue means ‘place your chin on the object I’m indicating.’ By practicing on different surfaces, you’re building a flexible and reliable skill that will make the final step much easier.
Step 3: The Grand Finale – The Shoulder Rest
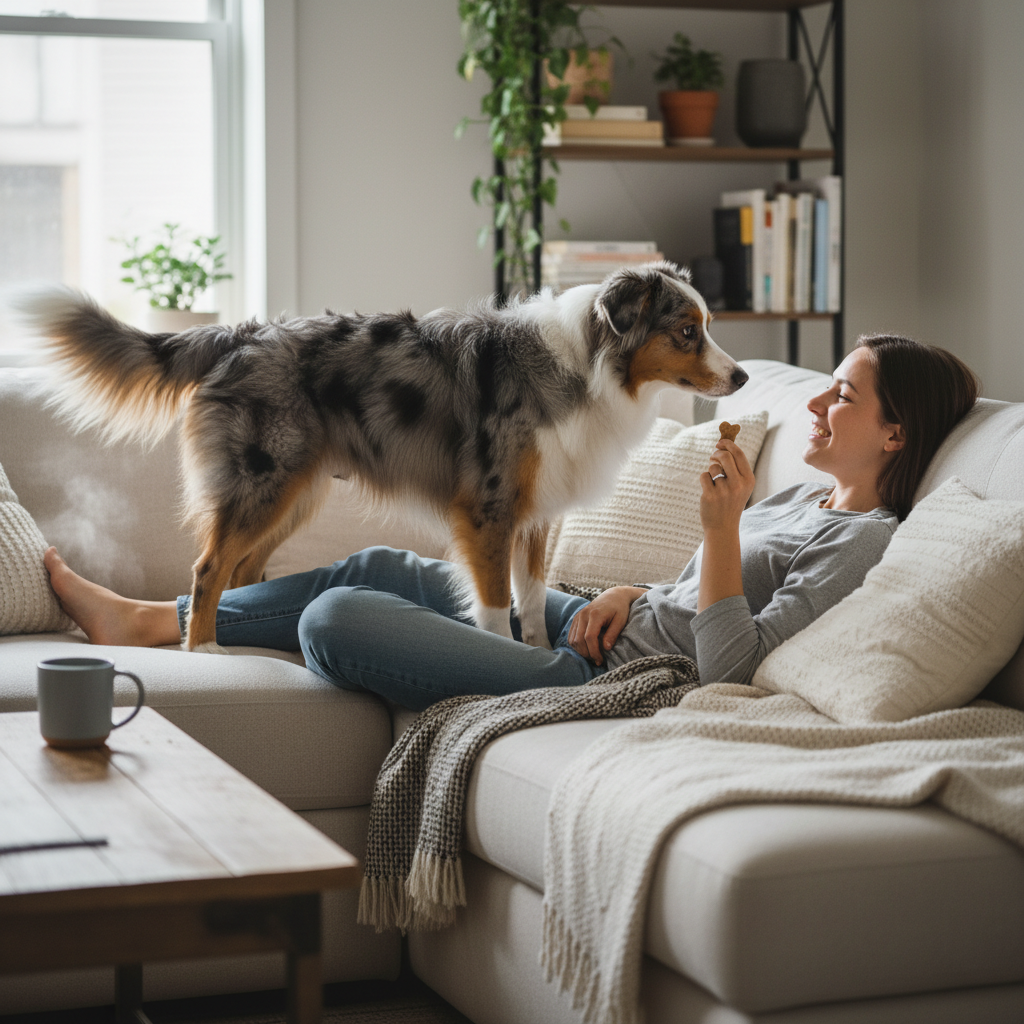
This is the moment we’ve been working towards! It’s time to combine all the foundational skills and aim for that picture-perfect shoulder pose. This step requires a bit more physical maneuvering from your dog, so be extra patient and keep the rewards flowing freely to build their confidence.
Putting It All Together:
- Find the Right Position: The easiest way to start is by sitting on a couch or a chair where your dog can comfortably stand or sit next to you and reach your shoulder. If you have a smaller dog, you might want to sit on the floor and have them approach from behind or beside you. For a larger dog, sitting on a low stool might work best. Experiment to find what’s comfortable for both of you.
- Lure into Position: Encourage your dog to get into position next to you. You can use a treat to guide them.
- Use Your Hand as a Guide: Place your hand on your shoulder (the same one they’re used to targeting) and give your ‘Chin’ cue. They should already know this game! When they reach up to place their chin on your hand, praise them like they’re a superstar.
- Fade the Lure: After a few successful reps with your hand on your shoulder, it’s time for the magic trick. As your dog moves their head toward your hand, quickly slip your hand away just before they make contact. Their chin should land right on your shoulder! The moment it does, have a ‘jackpot’ reward ready—several treats in a row to let them know they did something amazing.
- Introduce a New Cue (Optional): Since this is the final, specific pose, you might want to give it a new name. As your dog successfully rests their head on your shoulder, you can start saying a new cue like ‘Snuggle’ or ‘Pose!’ Eventually, this new cue will signify the entire action.
- Build Duration: At first, just reward the touch. As they get more confident, start waiting a second or two before you click/reward. This teaches them to hold the position. Gradually increase the duration until they can hold the pose for a few seconds—plenty of time to snap a photo!
Remember: Keep it positive! If your dog seems stressed, uncomfortable, or confused, just go back to an easier step (like the lap rest) and end the session on a successful, happy note. You can always try again later.
Troubleshooting Common Hiccups
Even with the best plan, you might run into a few little roadblocks. Don’t worry, it’s a normal part of any training process! Here are some common issues and how to work through them.
My dog is too excited and can’t focus!
This is a common one, especially with younger dogs. An over-excited dog can’t learn effectively. Before a training session, make sure your dog has had a chance to burn off some excess energy. A quick game of fetch, a brisk walk, or a fun puzzle toy can help them settle down and get into a more focused mindset.
My dog seems physically uncomfortable or is too small/big.
This trick should never be forced or uncomfortable for your dog. If they seem hesitant, assess your positioning. For a small dog, you may need to sit on the floor and have them step onto a pillow to reach your shoulder. For a very large dog, you might need to be on a low stool so they don’t have to crane their neck downwards. The goal is a relaxed and natural pose, so adjust yourselves until you find that sweet spot.
My dog won’t hold the pose for more than a second.
This is a classic duration challenge. The key is to build it up in baby steps. Go back to the basic chin rest on your hand. Reward them for a one-second hold. Then two seconds. Then three. Make a game out of it. If you ask for too much too soon, they’ll get frustrated. By slowly increasing the time on an easier task, you’re teaching them the concept of ‘holding still,’ which you can then apply to the shoulder pose.
My dog is nipping at my hand for the treats.
If your pup is getting a little too eager for the reward, it’s a good idea to practice gentle treat-taking separately. Hold a treat in your closed fist and let them sniff and lick. The moment they back off, say ‘Yes!’ and open your hand to give them the treat. This teaches them that being polite and gentle is what gets them the reward, not being pushy.
Ready for Your Close-Up: Nailing the Photo
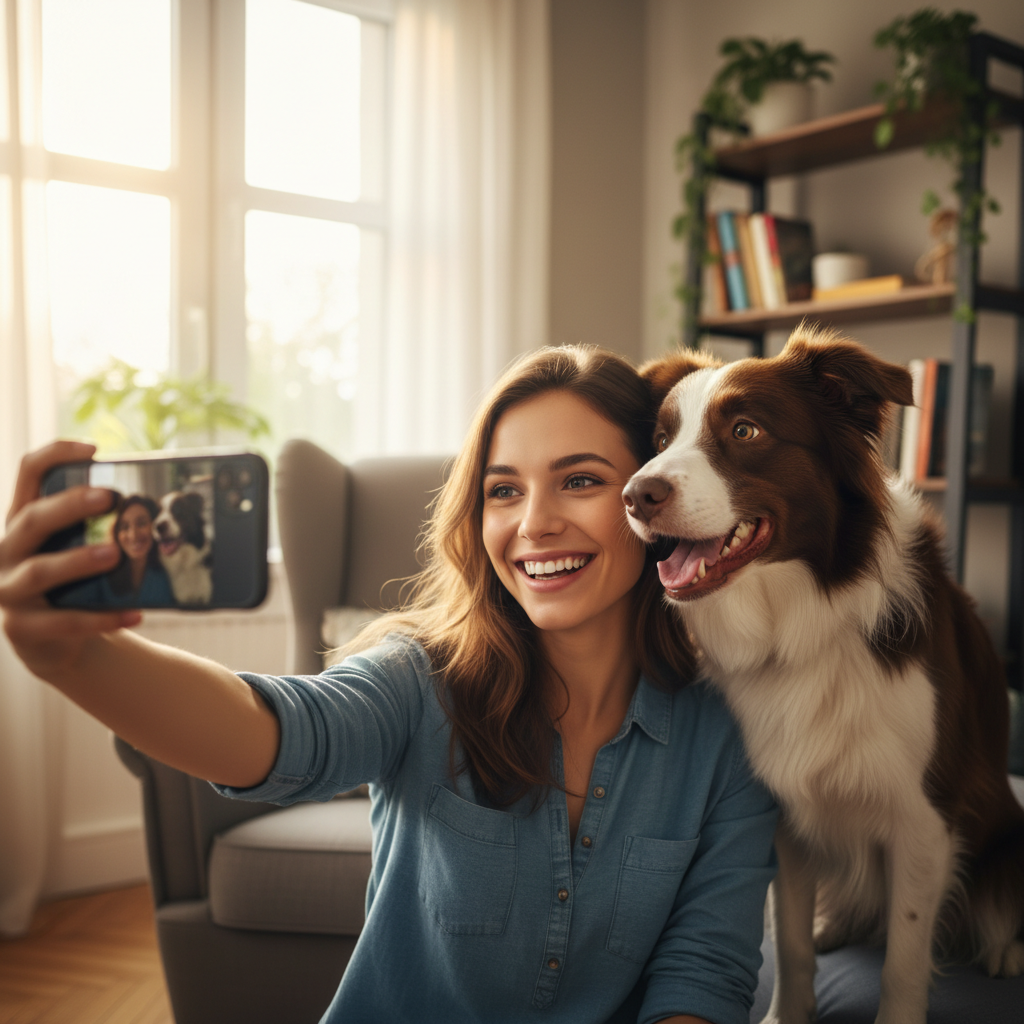
You did it! Your dog has mastered the ‘head on shoulder’ pose, and now it’s time to capture that perfect moment. Getting a great photo is a skill in itself. Here are a few tips to make sure your photoshoot is as successful as your training sessions.
- Get Everything Ready First: Before you even ask your dog for the pose, have your camera or phone ready to go. Check the lighting, clear the background of any clutter, and make sure your settings are correct. The less fumbling you have to do, the more likely you are to capture that fleeting moment.
- Natural Light is Your Best Friend: If possible, take your photos in a well-lit area, preferably with natural light. Facing a window or heading outside on a nice day will give you bright, clear photos without the harsh shadows of a flash, which can also startle your dog.
- Recruit a Helper: If you can, enlist a friend or family member to be the photographer. It’s much easier to focus on cueing your dog and keeping them happy if you don’t also have to worry about framing the shot and clicking the shutter.
- Keep it Short and Sweet: Don’t ask your dog to hold the pose over and over again. Get them into position, have your helper snap a few quick shots, and then release them with lots of praise and a jackpot treat. It’s better to have a few great, happy photos than dozens of shots where your dog looks stressed or bored.
- Focus on the Fun, Not Perfection: Remember why you started this journey—to have fun and strengthen your bond. If your dog is having an off day or just isn’t into it, don’t force it. The best photos are the ones that capture your genuine connection and joy. A slightly blurry photo with a happy dog is always better than a technically perfect photo with a miserable one.
Now, get out there and start making some beautiful memories. You’ve both earned it!
Conclusion
Congratulations on teaching your dog such a special and endearing trick! By breaking it down into small, manageable steps—from a simple chin target to the final shoulder snuggle—you’ve accomplished something wonderful. You’ve not only taught your dog a crowd-pleasing new skill but also invested valuable time in strengthening your communication and trust.
Remember that the core of this process is patience, positivity, and celebrating the small victories along the way. Every training session is a chance to connect with your best friend. Now that you have the tools, you can capture those heartwarming photos that truly reflect the incredible bond you share. So give your dog a big hug (and an extra treat!), and get ready to fill your camera roll with unforgettable moments.