Have you ever seen a dog do a little happy dance, lifting one paw and then the other in a delightful rhythm? It’s one of those tricks that just melts your heart and brings a smile to everyone’s face. That adorable move is often called ‘Happy Feet’ or the ‘Tap Dance,’ and the great news is that it’s a trick you can absolutely teach your own canine companion! It’s more than just a cute party trick; it’s a fantastic way to engage your dog’s brain, improve their body awareness, and spend some quality, fun-filled time together.
Teaching your dog to tap dance is a wonderful exercise in communication and patience. It builds on the foundational skill of a paw shake or high-five and turns it into a dynamic, coordinated movement. In this guide, we’ll break down the entire process into simple, manageable steps. We’ll cover everything from the supplies you’ll need to troubleshooting common hiccups along the way. So, grab your tastiest treats, find a comfy spot, and get ready to turn your pup into the star of their very own dance routine!
Setting the Stage: What You’ll Need for Tap Dance Success
Before you and your pup can hit the dance floor, it’s important to gather a few things to set yourselves up for a successful and fun training session. Think of this as preparing the backstage area before the big performance! Having everything ready means you can focus all your attention on your four-legged student.
Essential Training Tools
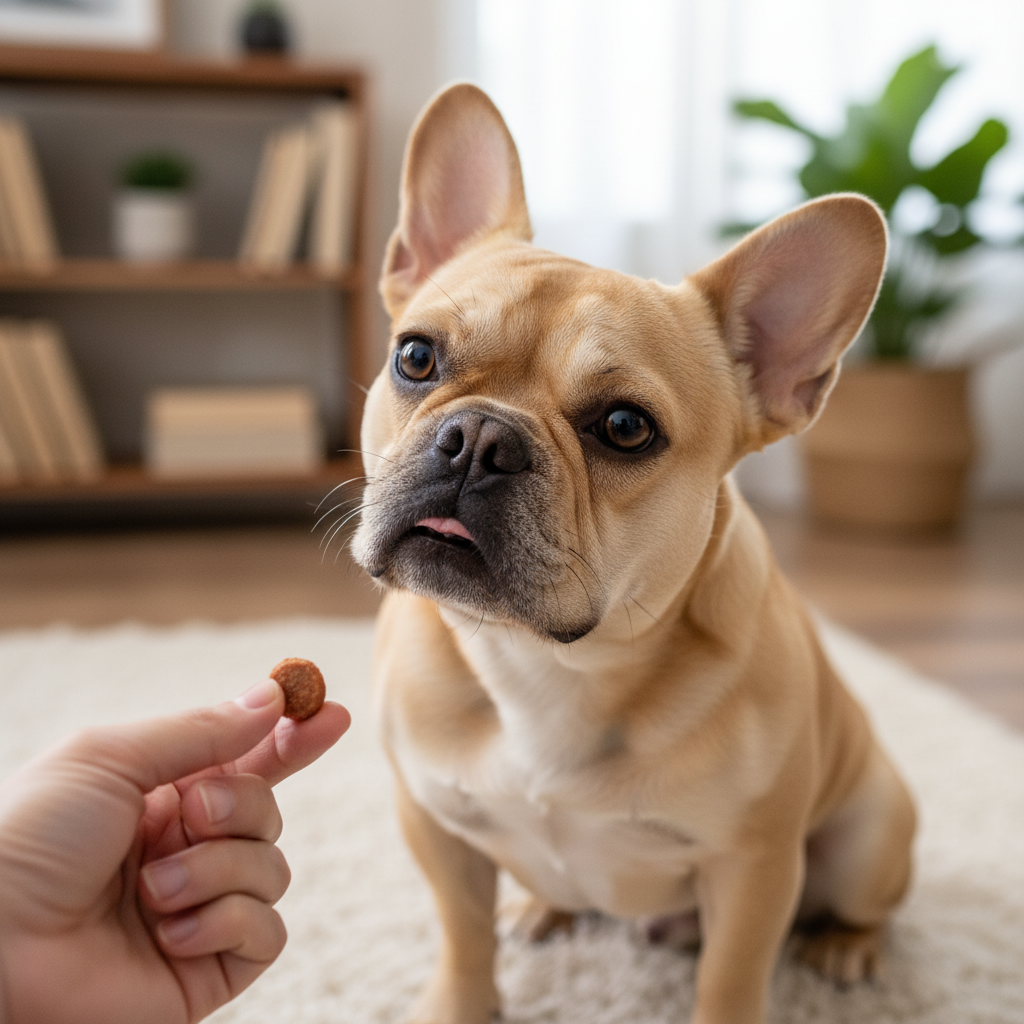
- High-Value Treats: This is the star of the show! We’re not talking about their everyday kibble. You’ll want something extra special and motivating, like tiny pieces of cooked chicken, cheese, or soft, smelly training treats. The key is that they should be small enough to be eaten quickly so you can keep the training pace up.
- A Quiet Training Space: Choose an area with minimal distractions. The living room when no one else is home or a quiet backyard is perfect. You want your dog to be able to focus on you and the task at hand, not the squirrel outside the window or the kids playing in the next room.
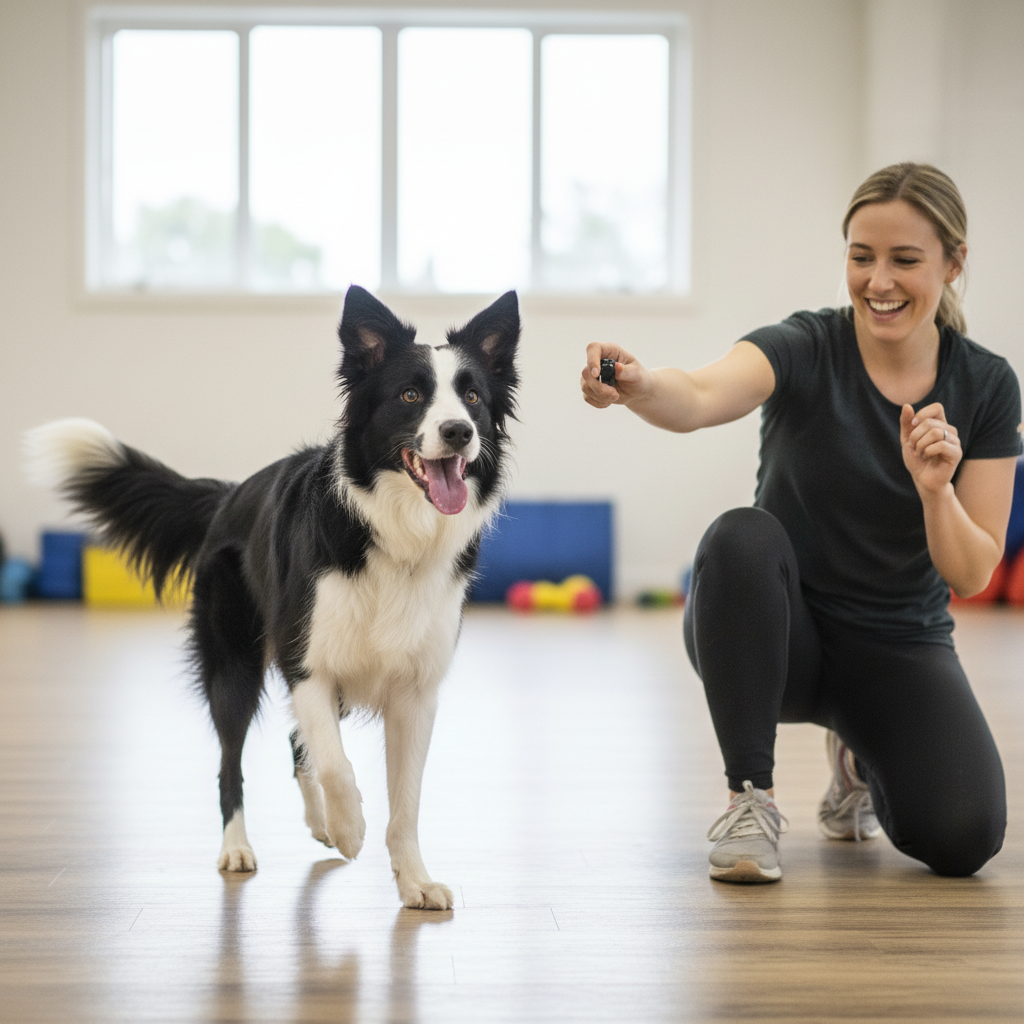
- A Clicker (Optional but Recommended): A clicker is a fantastic tool for marking the exact moment your dog does the right thing. This precise communication can speed up the learning process significantly. If you’re not using a clicker, you can use a consistent verbal marker word like ‘Yes!’ said in an upbeat tone.
- A Positive Attitude: This is non-negotiable! Training should always be fun. Bring your patience, your sense of humor, and plenty of praise. Your dog feeds off your energy, so if you’re excited and happy, they will be too.
Expert Tip: Keep your training sessions short and sweet, especially in the beginning. Aim for 5-10 minute sessions once or twice a day. It’s always better to end on a high note, leaving your dog wanting more, rather than pushing them until they’re tired or frustrated.
Step 1: Mastering the Single Paw Lift
The ‘tap dance’ is essentially a series of single paw lifts chained together. So, before we can get to the dancing, we need to make sure your dog has a solid understanding of lifting each paw on its own. If your dog already knows ‘shake’ or ‘high-five,’ you have a fantastic head start! If not, don’t worry—we’ll build it from scratch.
Teaching the First Paw
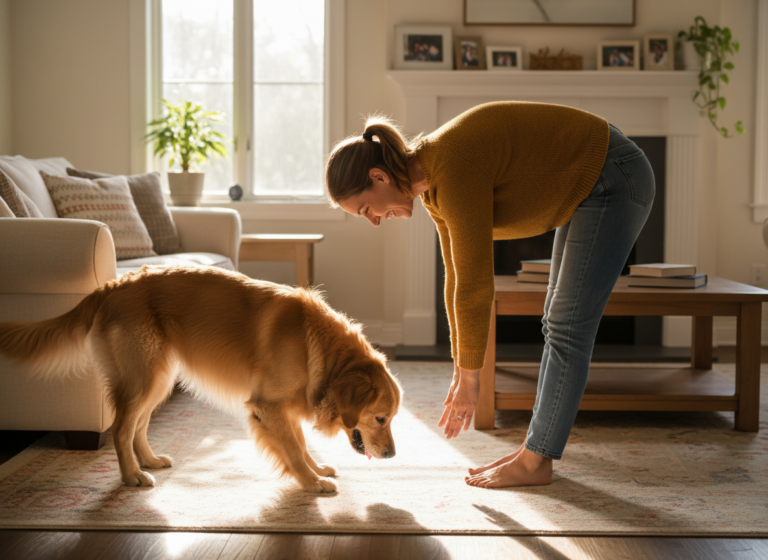
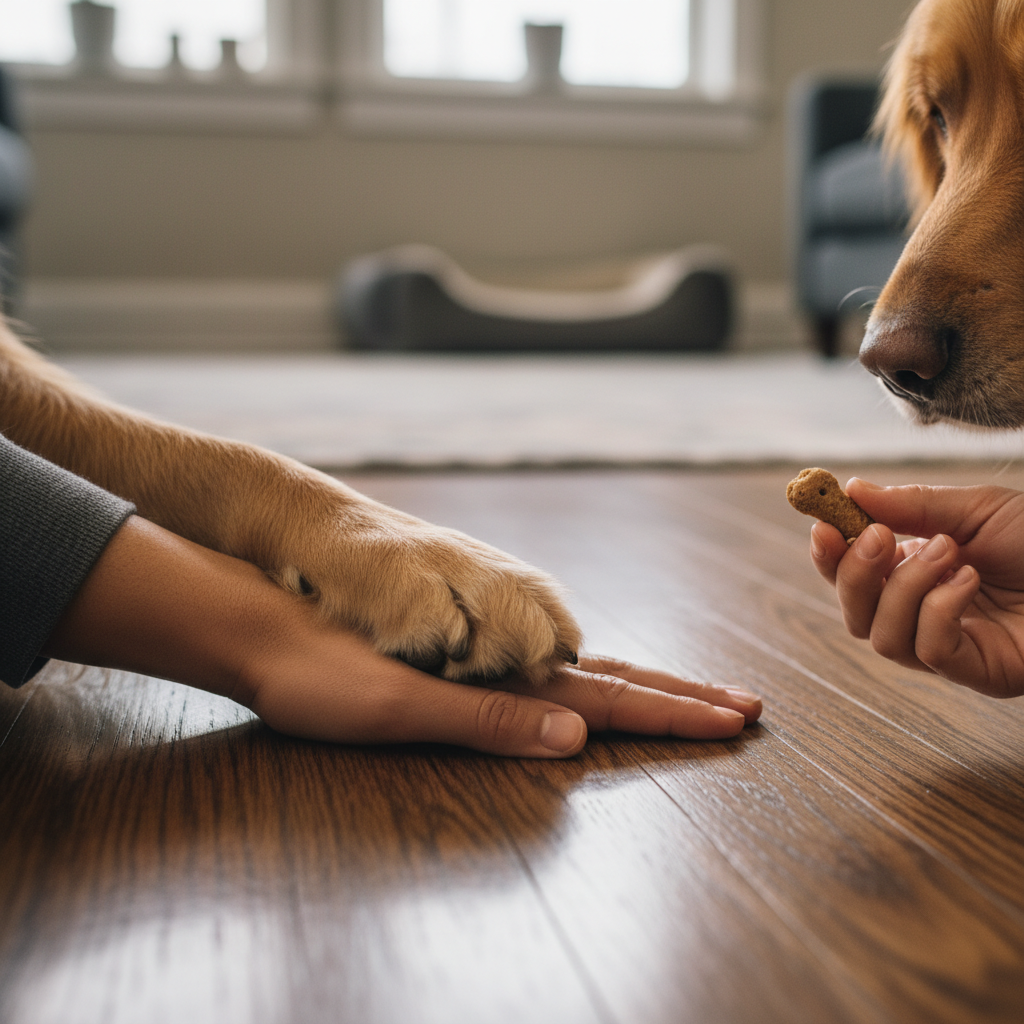
- Encourage the Lift: Sit on the floor in front of your dog. Hold a tasty treat in your closed fist and place your hand on the floor near one of their paws. Most dogs will naturally sniff, nudge, and eventually paw at your hand to get the treat.
- Mark and Reward: The instant you feel their paw touch your hand or even just lift slightly off the ground, click your clicker (or say ‘Yes!’) and immediately open your hand to give them the treat. Timing is everything here! You’re marking the action of lifting the paw.
- Repeat, Repeat, Repeat: Do this several times in a row. You are building a strong association in your dog’s mind: ‘When I lift my paw and touch that hand, I get a delicious reward.’
- Add a Cue: Once your dog is consistently offering their paw, you can add a verbal cue. Just before you present your hand, say your chosen word, like ‘Touch’ or ‘Paw.’ After a few repetitions, they’ll start to connect the word with the action.
Teaching the Second Paw
Now, it’s time to do the exact same thing with the other paw. It’s important to treat this as a completely new skill. Some dogs pick it up instantly, while others might be confused and keep offering the first paw. Be patient!
- Start the process over, but present your hand near their other paw.
- Only mark and reward when they lift the correct, new paw. If they offer the ‘wrong’ one, simply ignore it, pull your hand back for a second, and try again.
- Once they are reliably lifting the second paw, add a different cue if you wish (e.g., ‘Other Paw’), or you can use the same cue and simply guide them by which side you present your hand on. For this trick, using your hand placement as the primary cue is often easiest.
Remember: The goal for this step is to have your dog confidently lift either front paw on cue before you try to put them together. Don’t rush this foundation!
Step 2: Choreographing the ‘Tap Dance’
Alright, your dog has mastered the solo moves. Now it’s time to bring them together and create the dance! This step is all about rhythm and flow, gradually teaching your dog to alternate their paws without a long pause in between.
Creating the Alternating Motion
- Ask for Paws in Succession: Start by asking for one paw lift. Mark and reward. Immediately after, present your other hand and ask for the other paw. Mark and reward. At first, there will be a clear pause between the two movements.
- Shorten the Delay: Your goal is to gradually decrease the time it takes for you to reward the first paw and ask for the second. You want it to become a fluid, one-two motion. Paw-treat, Paw-treat becomes Paw, Paw, Treat!
- Introduce the New Cue: As the movement becomes quicker and more rhythmic, you can introduce your new cue. As your dog is performing the alternating lifts, start saying ‘Happy Feet!’ or ‘Tap Dance!’ in a fun, upbeat voice. They will begin to associate this new phrase with the sequence of movements.
- Fade the Hand Cues: Over time, start to make your hand cues smaller and less obvious. Instead of placing your hand right under their nose, just gesture slightly with one hand, then the other. The ultimate goal is for your dog to perform the alternating paw lifts based on the verbal cue alone, without needing the hand prompts.
- Build Duration: Once they understand the concept, you can start asking for more taps before giving the reward. Ask for two taps (left, right), then reward. Then three (left, right, left), then reward. This builds their stamina and understanding of performing the behavior for a longer duration.
This is the most complex part of the training, so be extra patient. If your dog gets stuck or confused, just take a step back to where they were last successful and build up again slowly. Every dog learns at a different pace, so celebrate the small wins!
Adding Flair and Fixing Mishaps
Even the best dancers miss a step now and then! As you progress with the ‘Happy Feet’ trick, you’re bound to run into a few common issues. Don’t worry, they’re all fixable. This section is about troubleshooting those little problems and, once you’ve mastered the basics, adding some extra pizzazz to your dog’s routine.
Common Troubleshooting Tips
| Problem | Solution |
|---|---|
| My dog only lifts their ‘favorite’ paw. | Go back to Step 1 and focus solely on strengthening the ‘weaker’ paw. Make it super rewarding with extra high-value treats and praise until they offer it just as confidently as the other one. |
| My dog gets frustrated and starts barking. | This is a classic sign that the session has gone on too long or the step is too difficult. End the session with an easy win (like a simple ‘sit’) and a reward. Next time, make the session shorter and break the task down into even smaller, easier steps. |
| The paw lifts are more like aggressive slaps! | Your dog is probably just very enthusiastic! To fix this, only reward the gentlest of touches. If they slap your hand, pull it away for a second (this is called negative punishment – you’re removing the opportunity for a reward). When they offer a softer touch, reward it big! |
| The movement is slow and clunky, not a ‘dance’. | This is usually a matter of practice and building ‘muscle memory.’ Keep sessions upbeat and use a high rate of reinforcement (lots of treats quickly) to encourage speed and enthusiasm. It will get smoother with repetition. |
Level Up Your Dance Moves
Once your dog is a ‘Happy Feet’ pro, you can add some advanced variations to keep things interesting:
- Increase the Speed: Use your excited tone of voice and quick treat delivery to encourage a faster tapping rhythm.
- Add Duration: See how long they can ‘tap dance’ for! Start with 3-4 taps and slowly build up to 10 or more in a row.
- Go Mobile: Can your dog do the tap dance while slowly walking forward or backward? This is an advanced challenge for balance and coordination.
- Combine with Other Tricks: Create a full routine! Ask for a ‘spin,’ then ‘Happy Feet,’ and finish with a ‘bow.’ The possibilities are endless!
More Than Just a Cute Trick: The Perks of Paw Lifts
Teaching your dog the ‘Happy Feet’ trick is undoubtedly a fun and rewarding experience that gives you a great new move to show off to friends and family. But the benefits of this kind of training go far beyond simple entertainment. Engaging in trick training like this provides a wealth of advantages for your dog’s overall well-being.
The Hidden Benefits of Trick Training
- Incredible Mental Stimulation: Learning new behaviors requires your dog to think, problem-solve, and focus. This mental workout is just as important as physical exercise for preventing boredom and associated behavioral issues like chewing or excessive barking. A tired brain leads to a happy, calm dog.
- Improved Physical Health: The alternating paw lift motion might look simple, but it’s a great micro-workout. It helps improve your dog’s balance, coordination, and even engages their core muscles. It also promotes body awareness, teaching them to be more conscious of what their different body parts are doing.
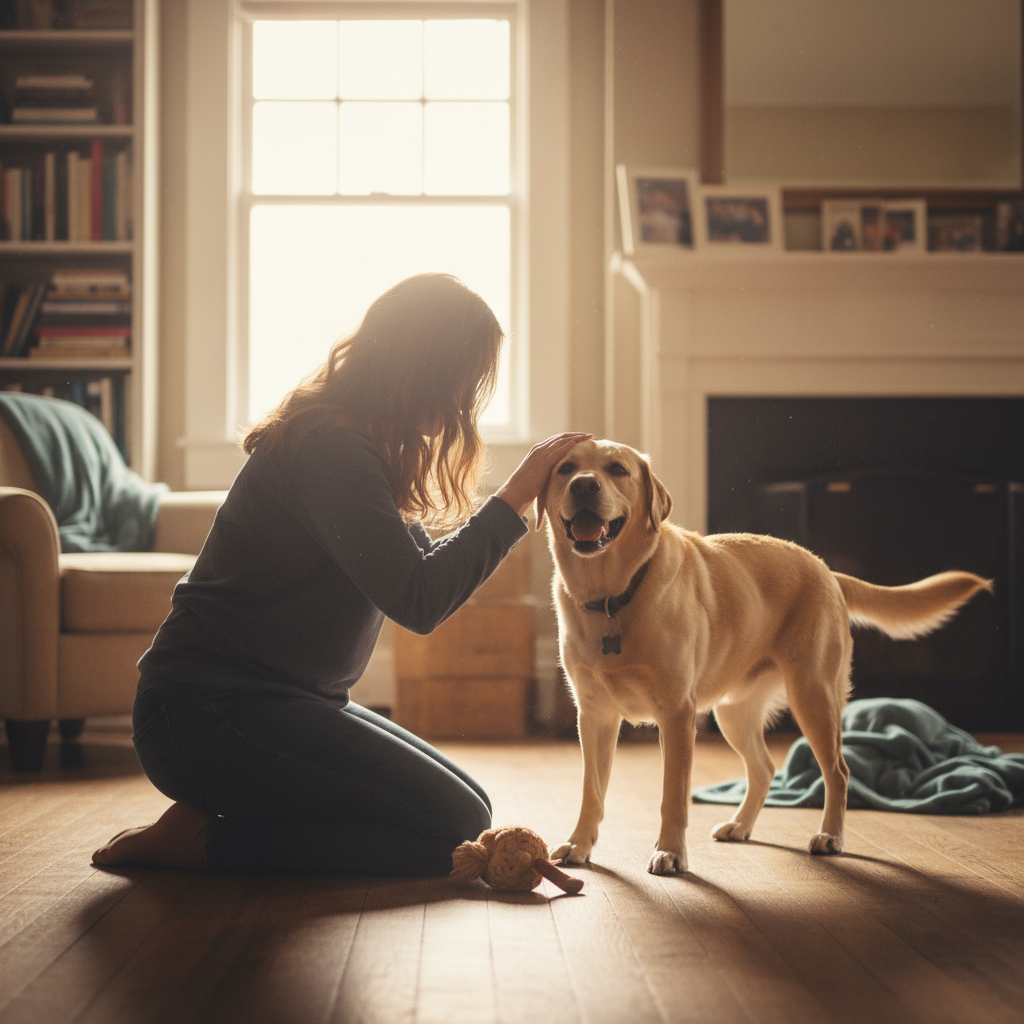
- A Stronger Bond: Every minute you spend training is a minute you’re actively communicating and working together as a team. This shared experience, built on trust and positive reinforcement, deepens the bond you share with your dog in a powerful way.
- A Major Confidence Boost: Successfully learning a new skill and earning praise and rewards is a huge confidence builder for any dog, especially for those that may be timid or anxious. It gives them a ‘job’ to do and shows them that trying new things leads to wonderful outcomes.
- Foundation for Husbandry and Other Skills: A dog who is comfortable with having their paws handled is much easier to care for. The skills learned in ‘Happy Feet’ can make nail trims, paw inspections, and wiping muddy feet a much less stressful experience for everyone involved. It’s a stepping stone to a world of cooperative care.
So, while you’re enjoying the sight of your dog’s adorable tap dance, you can also feel proud knowing you’re contributing to their mental, physical, and emotional health in a profound and positive way.
Conclusion
You did it! You now have all the steps and knowledge you need to teach your dog the incredibly charming ‘Happy Feet’ tap dance. We’ve walked through preparing for your sessions, building the behavior one paw at a time, choreographing the final dance, and even how to troubleshoot any little stumbles along the way. More importantly, you’ve learned that this trick is a gateway to boosting your dog’s confidence, providing crucial mental enrichment, and strengthening the beautiful bond you share.
Remember, the most important ingredients in any training recipe are patience, positivity, and a whole lot of fun. Celebrate every tiny success, keep your sessions short and joyful, and cherish this special time with your furry best friend. Now, go get those paws tapping!