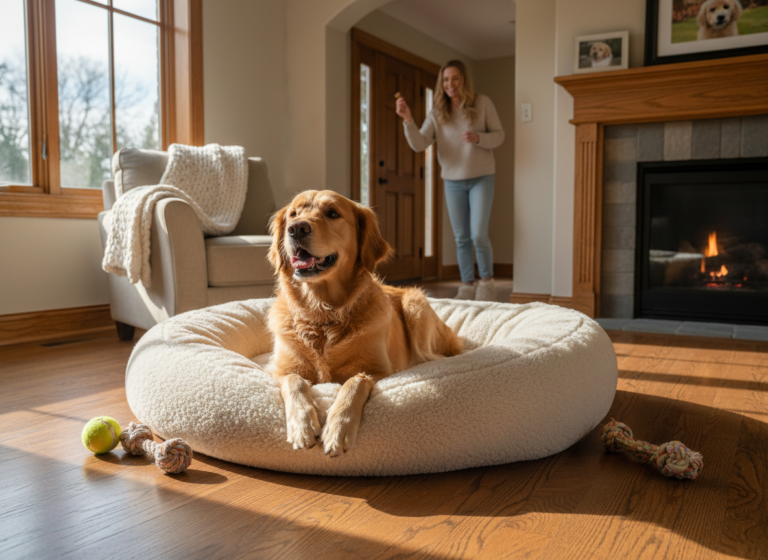
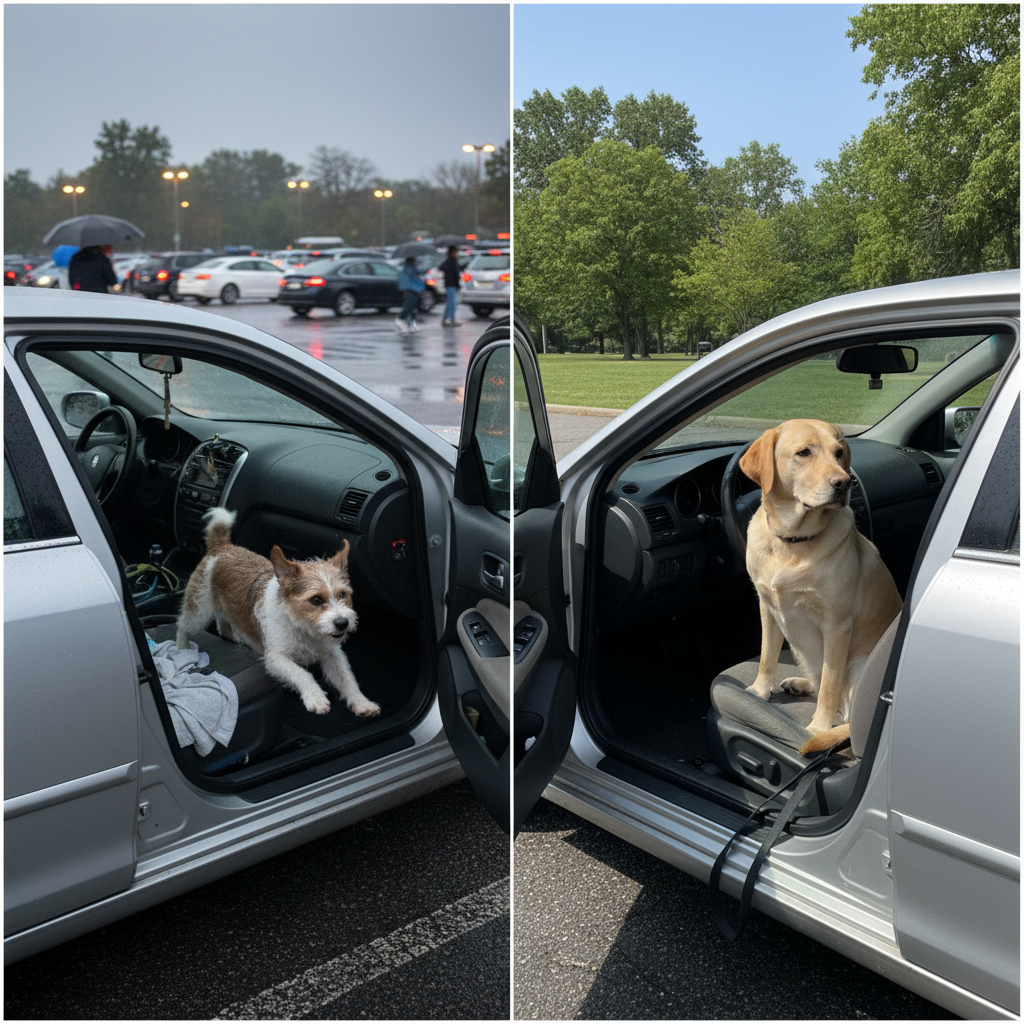
Picture this: you arrive at the dog park, your pup vibrating with excitement in the back seat. You crack open the door, and before you can even grab the leash, Fido launches himself out of the car, a furry missile of pure joy. It’s a cute scene… until it isn’t. What if you were parked on a busy street? What if another car was pulling in right at that moment? That heart-stopping scenario is exactly why the “wait” command isn’t just a neat trick—it’s one of the most important safety skills you can teach your dog.
Teaching your dog to wait patiently before entering or exiting a vehicle is a game-changer. It replaces chaos with calm, anxiety with control, and potential danger with predictable safety. This simple command builds crucial impulse control and establishes you as the gatekeeper to all good things, including fun car rides. In this guide, we’ll walk you through everything you need, from the foundational steps at home to perfecting the command at the car door, ensuring every journey you take together is a safe one. Let’s get started!
Beyond Basic Manners: Why ‘Wait’ is a Lifesaving Car Command
Many pet owners think of training in terms of “sit,” “stay,” and “come.” While those are fantastic, “wait” holds a special place in the safety hall of fame, especially around vehicles. It’s an active, momentary pause that prevents your dog from making a potentially tragic decision in a split second. The world outside the car is filled with unpredictable variables, and the “wait” command is your dog’s safety buffer.
The primary benefits go far beyond just looking like a well-behaved duo. Implementing this one command can profoundly impact your dog’s safety and your peace of mind.
- Prevents Bolting into Danger: This is the big one. A dog that bolts from a car can run directly into the path of oncoming traffic, into a confrontation with another dog, or simply get lost in an unfamiliar area. “Wait” keeps them securely inside the car until you’ve assessed the environment and can safely leash them.
- Allows for Safe Preparation: How often have you fumbled with a leash and harness while your dog tries to squirm past you out the door? Teaching “wait” gives you the calm, stationary moment you need to properly secure their harness, clip the leash, and gather your things without a wrestling match.
- Reduces Excitement-Fueled Accidents: An over-excited dog jumping out can scratch your car’s paint, knock over a child, or injure themselves by landing awkwardly. A controlled exit is a safe exit for everyone and everything involved.
- Builds Critical Impulse Control: Dogs are naturally impulsive. Training them to pause and look to you for permission, especially when they’re excited, is a powerful mental exercise. This skill translates to better behavior in all areas of their life, from not rushing the food bowl to greeting guests politely.
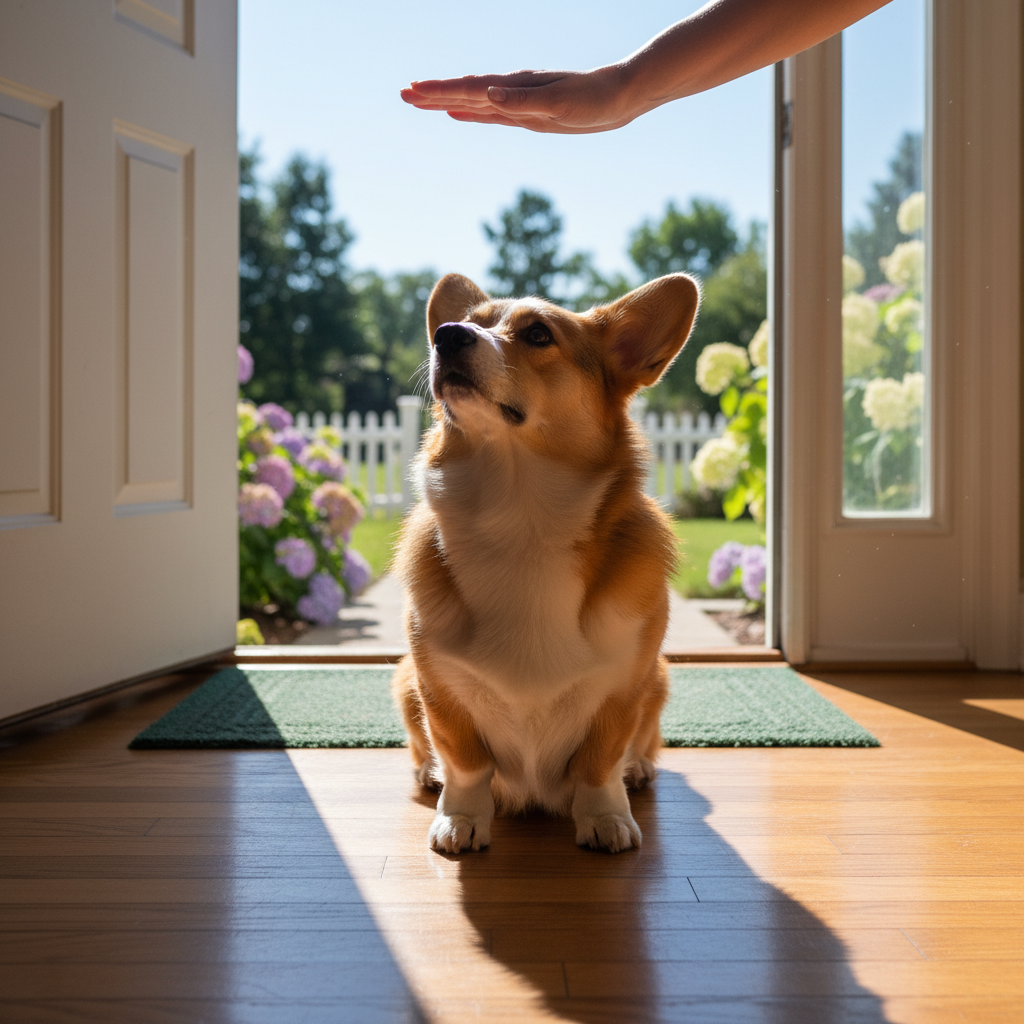
Expert Tip: Think of any doorway—the front door, a crate door, or a car door—as a threshold. You are the leader, and you decide when it’s safe to cross. The ‘wait’ command is how you communicate this boundary clearly and kindly to your dog.
Setting the Stage: What You’ll Need Before You Start
Great training starts with great preparation. Before you even think about approaching the car, you need to lay the groundwork for success in a calm, controlled environment. Your living room is a far better classroom than a busy parking lot! Gathering a few simple tools and understanding a key concept will make the process smoother and more effective.
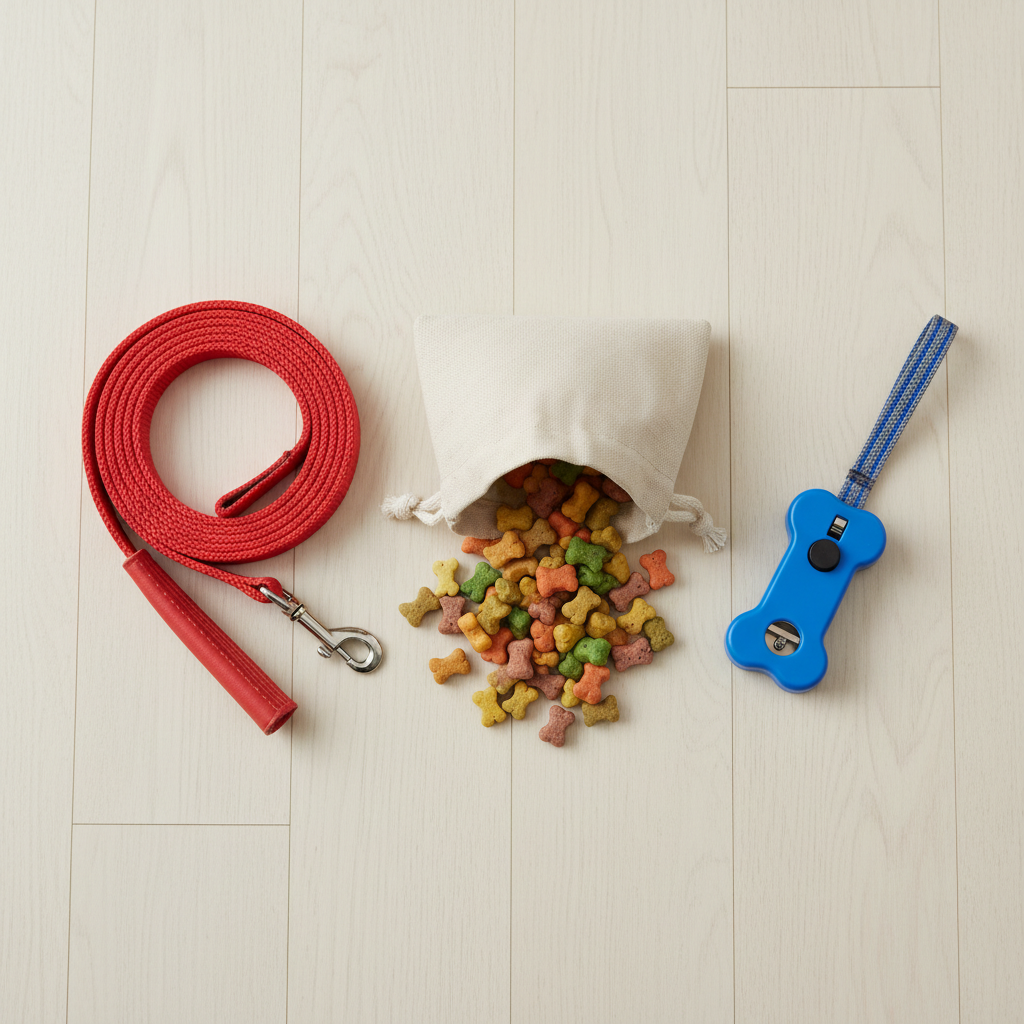
What You’ll Need:
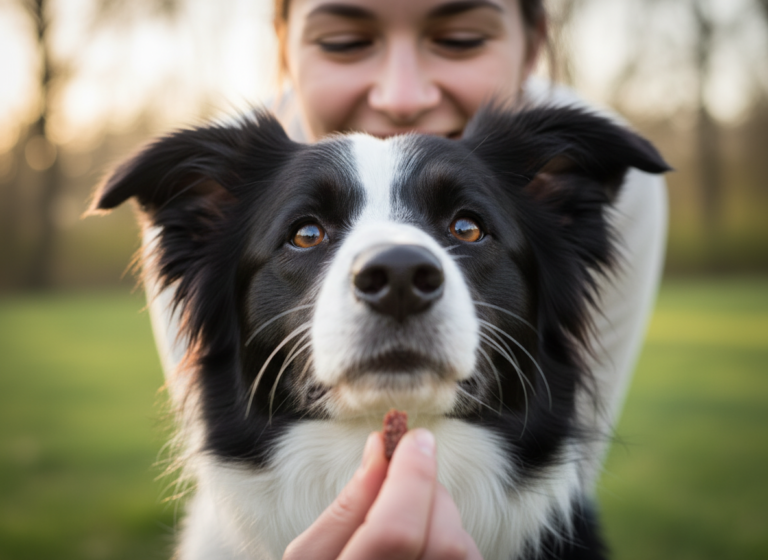
- High-Value Treats: We’re not talking about their everyday kibble. You need something special that your dog absolutely loves. Think small, soft, smelly treats like tiny pieces of chicken, cheese, or commercial training treats. The goal is to make waiting more rewarding than bolting.
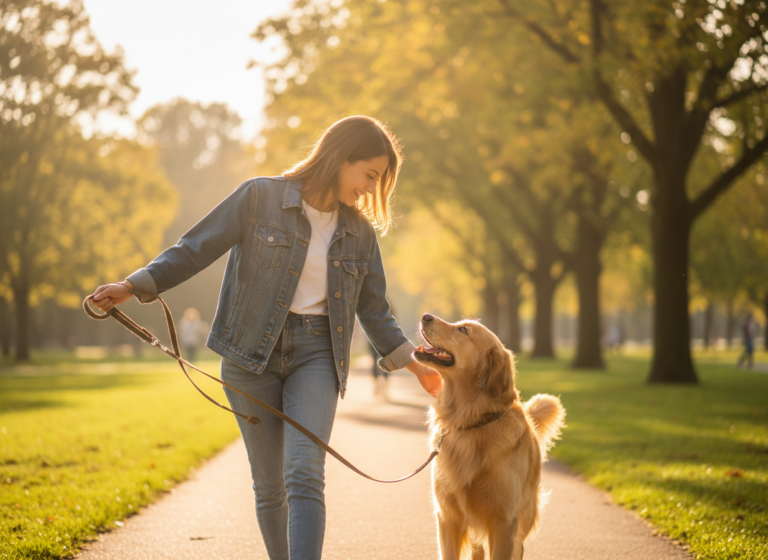
- A Standard 6-Foot Leash: For this training, a standard leash gives you far better control than a retractable one. You need to be able to give quick, clear feedback.
- A Clicker (Optional): A clicker is a fantastic tool for marking the exact moment your dog does the right thing. If you’re new to clicker training, you’ll first need to “charge” it by clicking and immediately giving a treat, repeating this about 10-15 times until your dog associates the sound with a reward.
- A Low-Distraction Starting Area: Begin your training indoors, near a bedroom or bathroom door, where there are minimal sights and sounds to compete for your dog’s attention.
A Quick but Important Note: Wait vs. Stay
Many people use these commands interchangeably, but for clear training, it’s helpful to assign them different jobs. Stay typically means “hold this exact position (sitting, lying down) until I return to you and release you.” It’s about duration and distance. Wait, on the other hand, is a temporary pause. It means “hold on a second, don’t cross this boundary until I give you the ‘okay’ cue.” It’s perfect for doorways and car doors.
| Command | Primary Purpose | Common Use Case |
|---|---|---|
| Wait | A temporary pause at a threshold. Prevents moving forward. | “Wait before you jump out of the car.” |
| Stay | Holding a specific body position for a longer duration, often while you move away. | “Stay in a ‘down’ position while I answer the door.” |
Mastering the Basics: Step-by-Step ‘Wait’ Training at Home
Now for the fun part! We’re going to build this behavior from the ground up, starting where your dog can easily succeed. Remember to keep your training sessions short (5-10 minutes is plenty) and always end on a positive note. Let’s build that foundational ‘wait’ command, one doorway at a time.
-
Step 1: The Interior Doorway Drill
Choose a low-traffic interior door, like a bedroom. With your dog on a leash, walk towards the open doorway. Just as they are about to step through, use your body to block their path and say your verbal cue, “Wait,” in a calm, clear voice. The very instant they hesitate or pause, even for a millisecond, click (if using) and give them a high-value treat. Don’t worry about them sitting; you’re rewarding the pause. Step back, and repeat several times.
-
Step 2: Introducing the Release Cue
Once your dog is reliably pausing, it’s time to introduce a release word. This tells them the ‘wait’ is over and they’re now allowed to cross the threshold. After they wait, say an upbeat “Okay!” or “Free!” and toss a treat through the doorway for them to get. This makes crossing the threshold on your cue the real reward. The sequence is: approach, cue “Wait,” they pause, you reward the pause, then you say “Okay!” and let them through.
-
Step 3: Adding a Little Duration
Your dog is now pausing at the doorway and waiting for the release cue. Great! Now, we’ll ask for a slightly longer pause. After you say “Wait,” count to two in your head before you click/treat and then release. Gradually increase this duration, second by second. If your dog breaks the wait, that’s okay! Simply reset by taking a step back and trying again with a shorter duration. Patience is key.
-
Step 4: Upping the Ante: The Front Door
The front door is a much bigger deal to your dog—it leads to the exciting outside world! This is a major step up in distraction. Repeat the exact same process as before. You will likely need to use higher-value treats and have shorter sessions at first. The goal is for your dog to remain inside with the door wide open, looking at you for permission to go out. This is the exact skill they’ll need for the car.
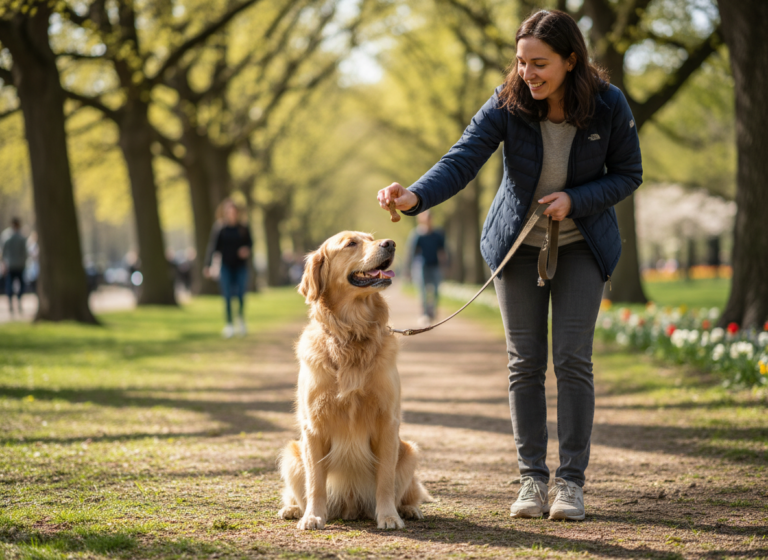
From the House to the Highway: Transitioning ‘Wait’ to the Car
You’ve built a solid foundation indoors, and now it’s time to take the show on the road. Remember that in your dog’s mind, the car is a completely different picture than the front door. It’s a magical box that takes them to amazing places! Expect to take a few steps back and be extra patient. Keep the leash on for all of these steps to ensure safety.
-
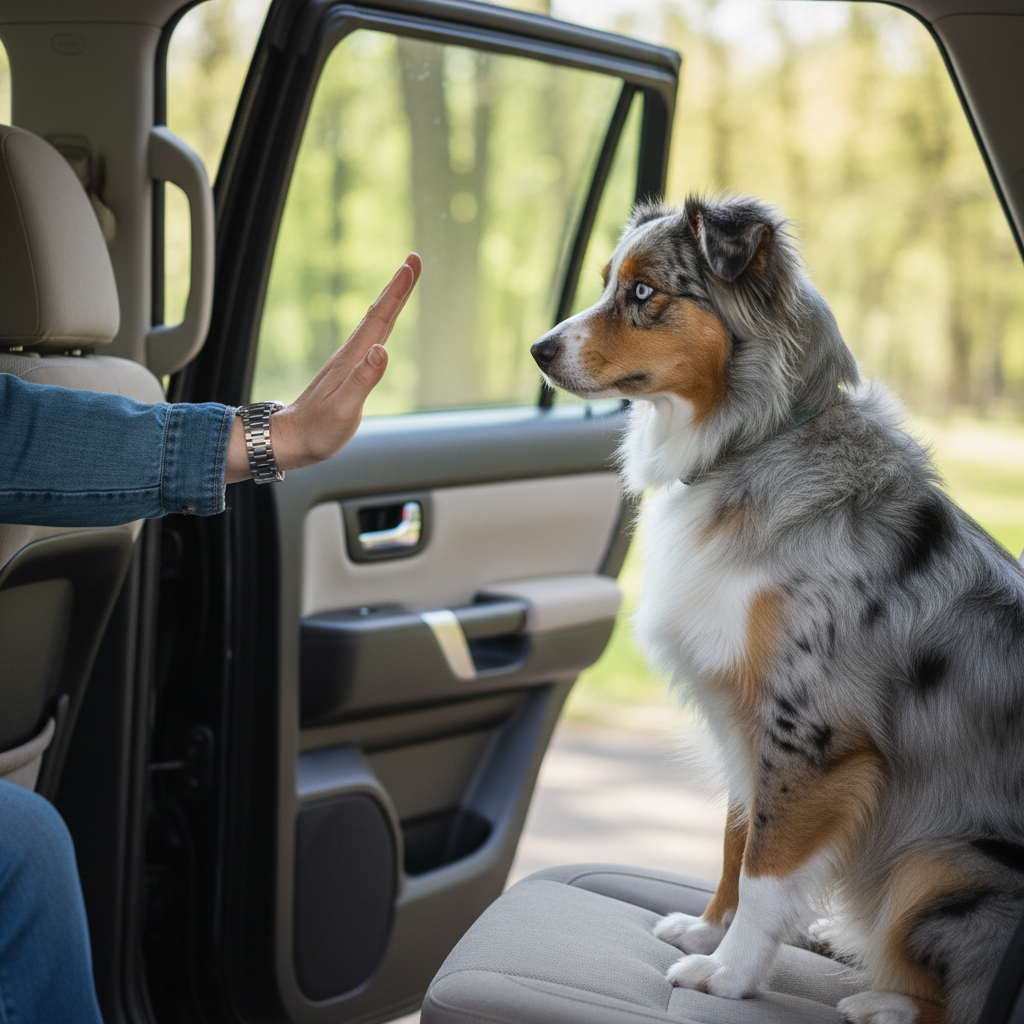
Step 1: The Car Door is the New Threshold
Start with the car parked in a safe, quiet spot like your driveway. Walk your leashed dog up to an open car door. Just as you did with the doors at home, use your body and the verbal cue “Wait” to prevent them from jumping in immediately. The moment they pause or hesitate, mark it with a click or a “Yes!” and give a super high-value treat. Repeat this several times. You are teaching them that the car door operates under the same rules as the front door.
-
Step 2: Practicing a Polite Entry
Once your dog is waiting reliably at the open door, give your release cue (“Okay!”) in a happy voice and pat the seat, encouraging them to jump in. Once they are in, give them lots of praise and another treat. Then, ask them to come out and repeat the process. The goal is a calm, controlled entry on your cue only.
-
Step 3: Mastering the All-Important Exit
The exit is often the hardest part because your dog is excited about your destination. With your dog inside the car and on a leash, reach for the door handle. If they start to get frantic, pull your hand back. Wait for them to settle. Then, try again. Open the door just a crack. If they try to shove their nose through, close it immediately. This is a powerful lesson: calm behavior makes the door open. Once you can open the door all the way without them trying to bolt, say “Wait.” Reward them with a treat for staying put inside the car.
-
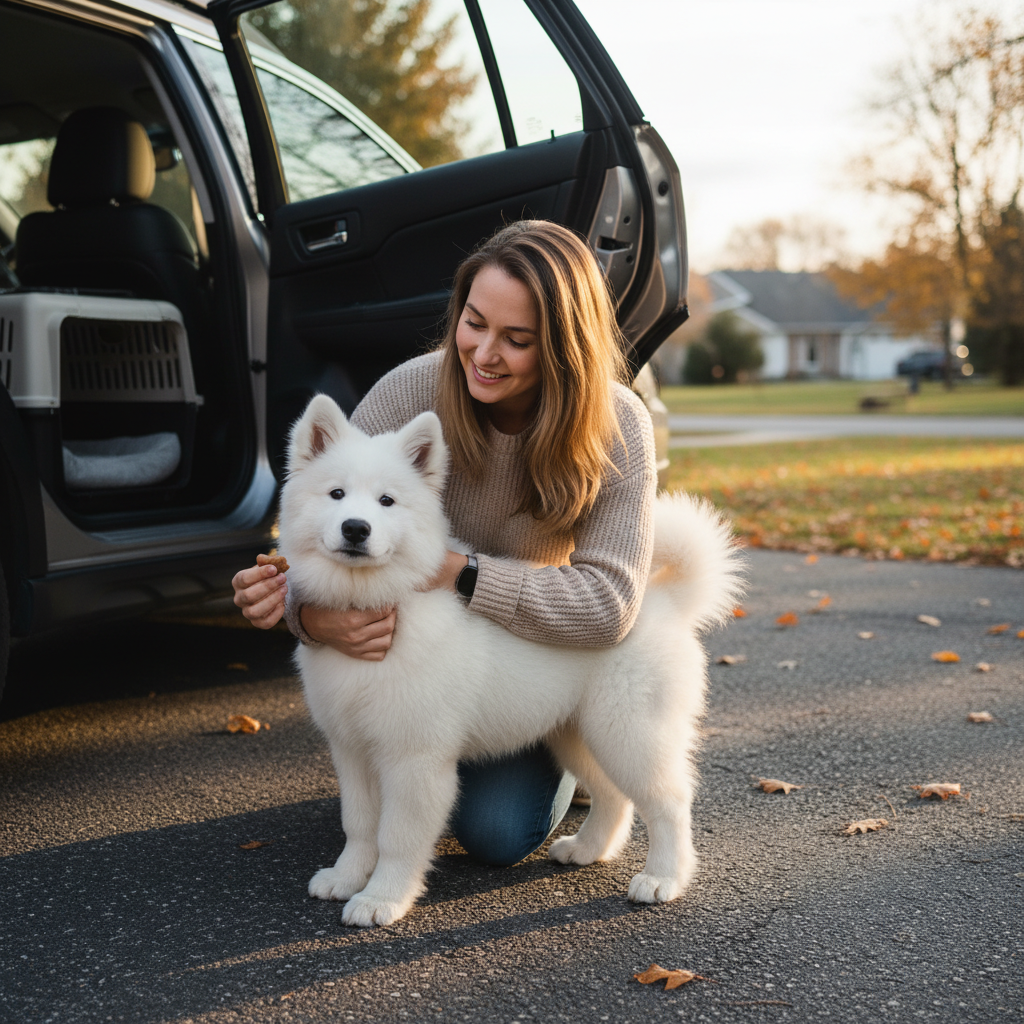
Step 4: The Controlled Departure
After they have waited calmly for a few seconds with the door open, give your release cue (“Okay!”) and allow them to exit. Initially, you might want to toss a treat on the ground just outside the car to give them a target. This prevents them from just leaping into space. Practice this until the exit is as calm and controlled as the entry.
Critical Safety Tip: The ‘wait’ command is what allows you to safely secure your dog for travel. Once they wait to get in, use that time to attach their car harness to the seatbelt tether or secure their travel crate before you even get into the driver’s seat. Safety first, always.
Common Roadblocks: Troubleshooting and Pro Tips
Even with the best plan, training is never a straight line. It’s normal to hit a few bumps in the road. Don’t get discouraged! Understanding the common challenges and how to solve them will keep you and your pup on the path to success. Here are some of the most frequent issues and how to navigate them.
My dog is just too excited and hyper to wait!
This is very common, especially with younger dogs or when the car means a trip to the park. The solution is to manage their energy levels. Try a short training session after a long walk or a vigorous game of fetch when they are more physically and mentally tired. Also, keep the sessions themselves very short and rapid-fire to hold their attention. If the car itself is the trigger, simply practice being calm around the car with it turned off and doors closed before you even try the ‘wait’ command.
My dog breaks the ‘wait’ the second I reach for a treat.
This means your dog is reading your body language and anticipating the reward. To fix this, you need to become less predictable. Practice holding a treat in your closed fist and rewarding with the other hand. Sometimes, reward with verbal praise instead of a treat. Go through the motion of reaching for a treat but don’t give one, then reward a second later. This teaches them that the reward comes for holding the position, not for watching your hands.
Conclusion
Congratulations! You now have the full roadmap to teaching one of the most practical and important safety commands your dog can learn. The journey from a chaotic car-bolter to a patient, waiting companion is built with short, positive training sessions and a big dose of patience. Remember that every time your dog successfully waits at the car door, you are strengthening their impulse control and reinforcing your bond.
This isn’t just about avoiding a nuisance; it’s about actively protecting your beloved pet from very real dangers. The peace of mind that comes from knowing you can open your car door without your heart leaping into your throat is priceless. So grab those high-value treats, find a quiet doorway, and start building this life-saving habit today. Your dog is counting on you to be their guide to a safer world, one ‘wait’ at a time.