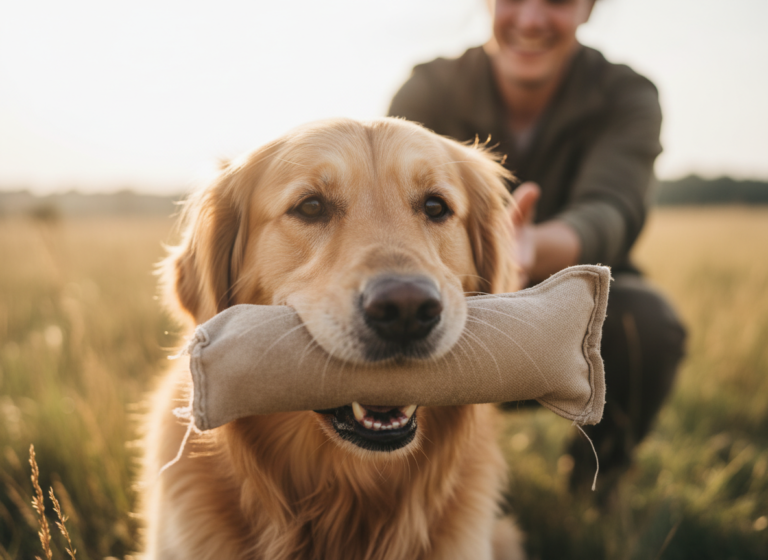
Is there anything more adorable than scrolling through your social media feed and seeing a gallery of festive pet photos? As Easter hops around the corner, you might be dreaming of capturing that perfect shot of your furry best friend, complete with pastel colors, spring flowers, and maybe… an Easter basket? If the thought of your dog posing with a basket brings a smile to your face, you’re in the right place!
But getting that ‘pawsitively’ perfect picture isn’t about luck; it’s about fun, patience, and a little bit of training know-how. Teaching your dog to hold a basket isn’t just about the photo op; it’s a fantastic way to bond, build confidence, and engage their brilliant mind. This guide will walk you through everything you need to know, from picking the right props to teaching the ‘hold’ cue step-by-step. Forget forcing your pup into an awkward pose. We’re going to make this a game they’ll love to play, ensuring your Easter photoshoot is filled with happy wags and genuine smiles. Let’s get started!
Setting the Stage: Gathering Your Paws-itive Reinforcement Toolkit
Before you and your pup embark on this fun training adventure, let’s get all your supplies in order. Having everything ready beforehand makes the process smoother and keeps the training session upbeat and focused. Think of this as gathering the ingredients for a recipe of success!
What You’ll Need:
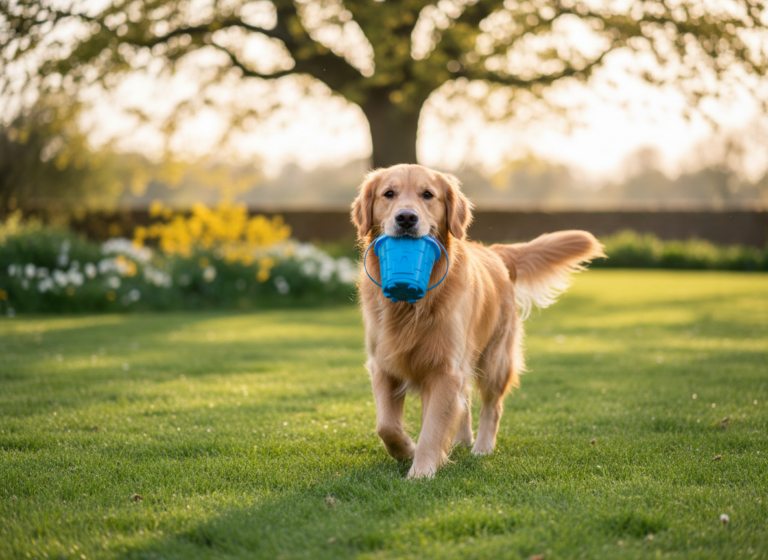
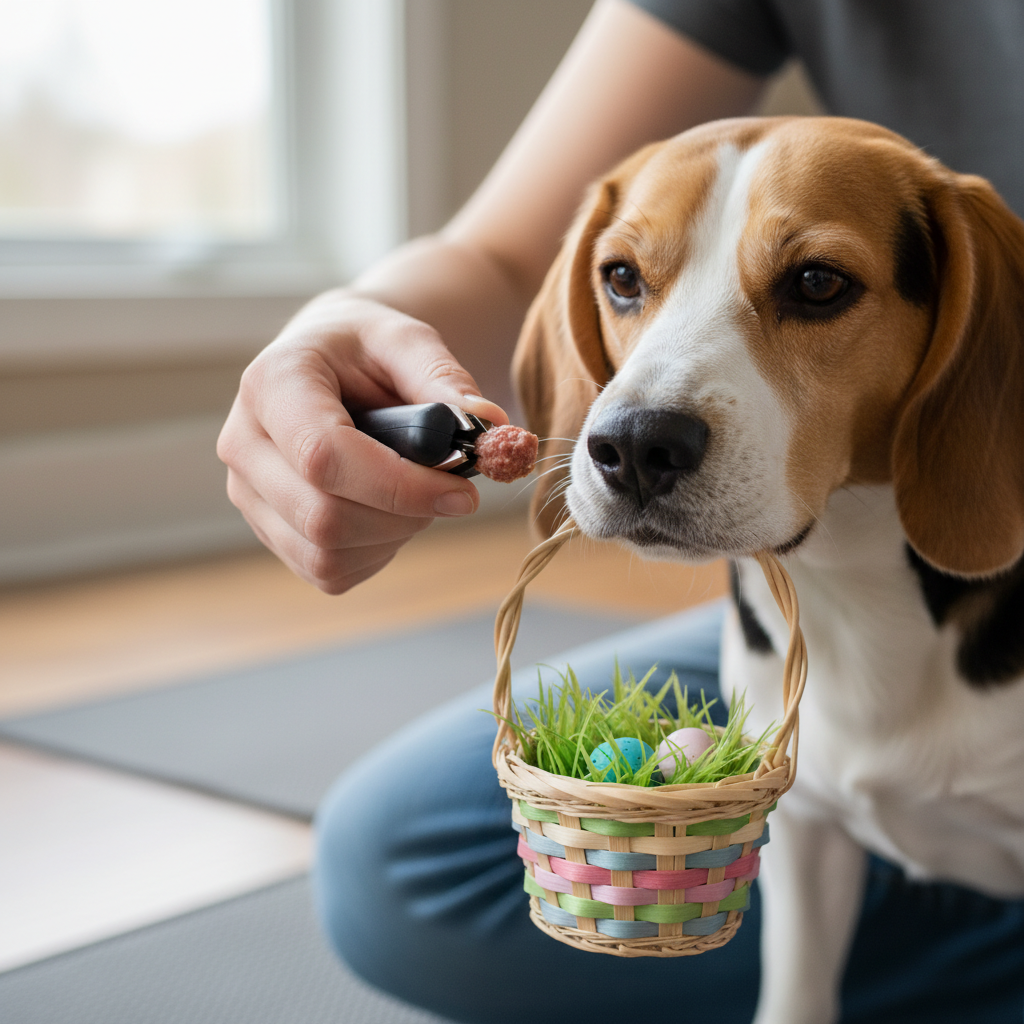
- The Perfect Basket: This is your star prop! Look for a basket that is extremely lightweight. A small, child-sized wicker basket, a felt basket, or even a plastic one will work. The key is that it shouldn’t be heavy or cumbersome for your dog. Ensure there are no sharp, splintery pieces. The handle should be smooth and easy for your dog to hold.
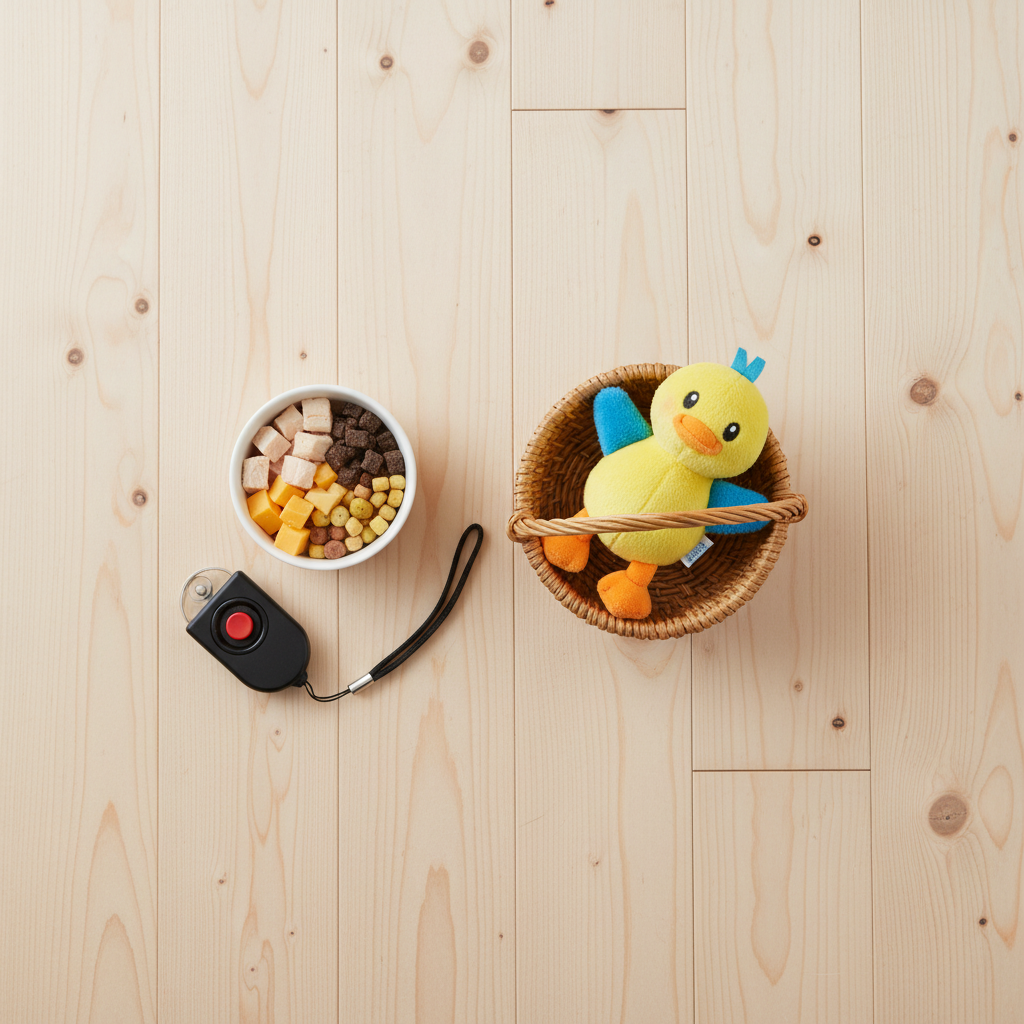
- High-Value Treats: We’re talking top-tier, gourmet goodies here! Standard kibble probably won’t cut it for learning a new, complex skill. Think small, pea-sized pieces of cooked chicken, cheese, hot dogs, or their absolute favorite store-bought soft treats. The yummier the reward, the more motivated your dog will be to participate.
- A Clicker (Optional but Recommended): A clicker is a fantastic tool for marking the exact moment your dog does something right. This precise communication speeds up the learning process immensely. If you’ve never used one, don’t worry! It’s simple: click at the moment of success, then immediately follow with a treat.
- A Comfortable Training Space: Choose a quiet area of your home where there are minimal distractions. A living room or a quiet bedroom is perfect. A distracting environment with other pets, people, or loud noises can make it hard for your dog to focus.
- Lots of Patience and a Positive Attitude: This is the most crucial item on the list! Remember, this is a game. Keep your energy light, happy, and encouraging. Your dog will feed off your positive vibes, making the whole experience enjoyable for both of you. Never force your dog or get frustrated. Short, happy sessions are the key!
Expert Tip: Before you even start training, just leave the basket on the floor for a day or two. Let your dog sniff it and get used to its presence. You can even drop treats near it and then in it (while you hold it steady) to build a positive association from the very beginning.
The Ultimate Guide: Teaching ‘Hold the Basket’ in 5 Simple Steps
Alright, with your toolkit ready, it’s time for the main event! We’re going to break down this trick into tiny, achievable steps. This process is called ‘shaping,’ where we reward small approximations of the final behavior until we build up to the complete action. Remember to keep your training sessions short—just 5-10 minutes once or twice a day is perfect.
-
Step 1: Make Friends with the Basket
Our first goal is to make your dog think the basket is the best thing ever. Sit on the floor with your dog and the basket. Every time your dog looks at the basket, click and treat. When they sniff it, click and treat. If they nudge it with their nose, click and give them a jackpot of treats! We are rewarding any and all interaction. The goal here is simple: Basket = Awesome Things Happen. Do this for a few short sessions until your dog is eagerly interacting with the basket whenever you bring it out.
-
Step 2: Introduce the ‘Take It’ Cue
Now, we want to encourage your dog to put their mouth on the basket handle. Hold the basket out and wait. The moment their mouth touches the handle, even for a split second, click and treat. At first, they might just be bumping it with their teeth. That’s okay! Reward that. As they get more confident, they will start to actually put their mouth around the handle. Once they are consistently offering this behavior, you can add a verbal cue. Right as they are about to put their mouth on it, say “Take it!” in a happy voice, then click and treat when they do.
-
Step 3: Build the ‘Hold’
This is where patience is key. Once your dog is reliably taking the handle in their mouth, we’ll delay the click. Ask them to “Take it,” and the moment their mouth closes on the handle, wait just one second before you click and treat. It’s a tiny change, but it’s a big step! Gradually, over many sessions, increase this duration. From one second, to two seconds, to three. If your dog drops the basket before you click, that’s okay! You just asked for too much, too soon. Simply go back to the previous, shorter duration where they were successful and build up more slowly. Once they can hold it for a few seconds, you can introduce the “Hold” cue while they are holding it.
-
Step 4: Adding the Release or ‘Drop It’ Cue
A reliable ‘hold’ also needs a reliable ‘drop’. You don’t want your dog carrying the basket around forever! To teach this, have a treat ready in your hand. While they are holding the basket, say “Drop it” and present the treat near their nose. They will naturally open their mouth to take the treat, dropping the basket. When they do, give them the treat and praise them. Practice this until they drop the basket on the verbal cue alone.
-
Step 5: Putting It All Together
Now you have all the pieces! Start by placing the basket on the floor in front of your seated dog. Give your “Take it” cue. Once they pick it up, praise them and say “Hold.” After a few seconds, give your “Drop it” cue and reward them heavily. Practice this sequence until it becomes smooth. You can gradually start to add distance, asking them to hold it while you step back to prepare for taking a photo. Congratulations, you’ve trained a basket-holding superstar!
Lights, Camera, Action! Tips for a Picture-Perfect Photoshoot
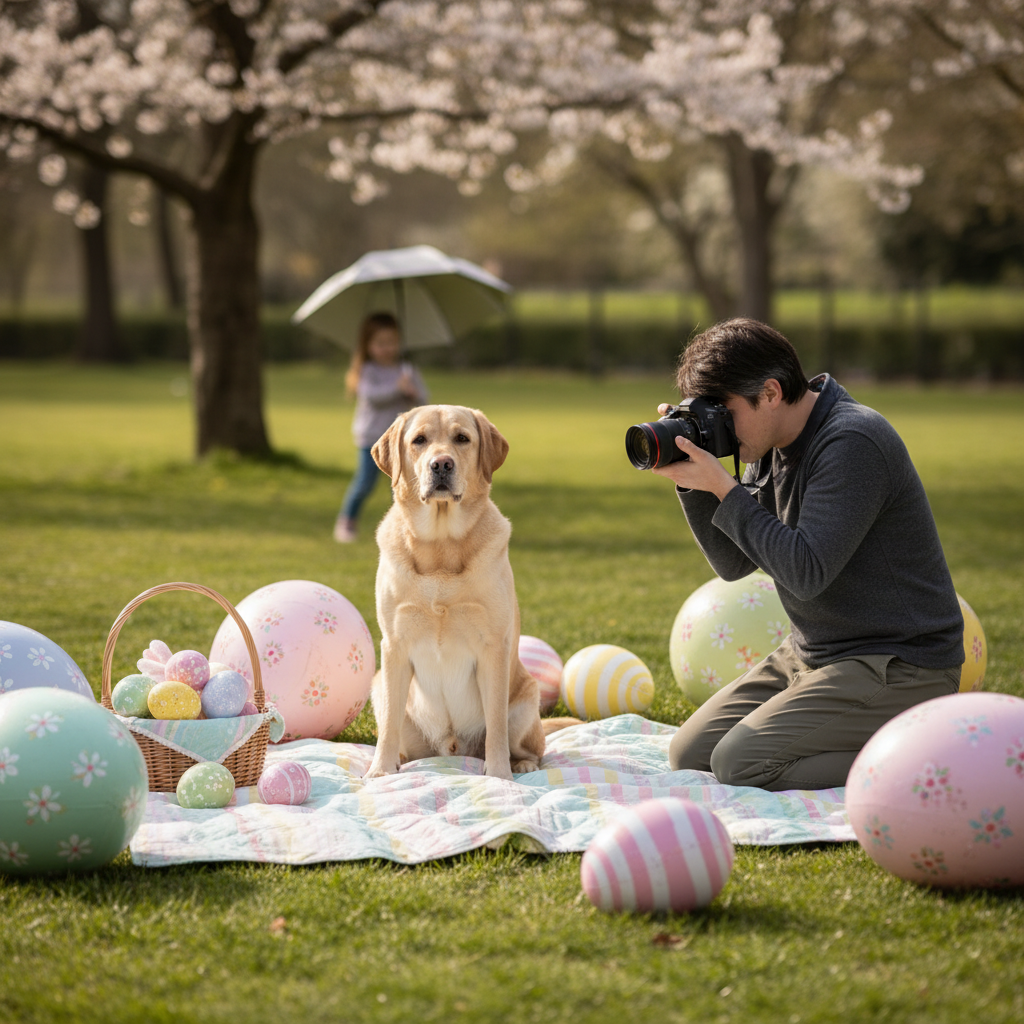
You’ve both put in the hard work, and your pup is holding that basket like a pro. Now it’s time to capture the magic! A successful photoshoot is about more than just the trick; it’s about creating a comfortable and fun environment for your dog.
Setting the Scene
- Location, Location, Location: Natural light is your best friend. If possible, shoot outdoors in a safe, enclosed area like your backyard during the ‘golden hour’ (early morning or late afternoon) for soft, beautiful light. If you’re indoors, set up near a large window.
- Choose Your Background: A simple, uncluttered background will make your dog the star of the show. A green lawn, a plain wall, or a festive, pastel-colored blanket can work wonders. You can add a few Easter-themed props like decorative eggs, but don’t overdo it.
- Get on Their Level: The best pet photos are taken from the animal’s perspective. Be prepared to lie on the ground to get that perfect eye-level shot. It makes the photo more intimate and engaging.
During the Shoot
- Have an Assistant: If possible, rope in a friend or family member to help. One person can be the photographer, while the other acts as the ‘dog wrangler’—getting the dog’s attention, giving cues, and handing out rewards.
- Use a Fast Shutter Speed: Dogs move, even when they’re holding still! If you’re using a DSLR or mirrorless camera, set a fast shutter speed (like 1/500s or faster) to freeze motion and get sharp photos. On a smartphone, the ‘burst’ mode is your best friend.
- Keep it Short and Sweet: A dog’s attention span for this kind of work is short. Plan for a 10-15 minute session. The moment you see your dog getting tired, stressed, or distracted, call it a day. It’s better to have a few great shots from a happy dog than many mediocre shots from a frustrated one.
- Make Some Noise: To get that classic head-tilt or bright-eyed look, use a squeaky toy or make silly noises right before you snap the picture. This will capture their attention and expression.
Remember: The goal is a happy memory, not just a perfect photo. If your dog decides they’re done, respect their wishes. The training and bonding you did along the way is the real prize!
Whoops-a-Daisy! Troubleshooting Common Basket-Holding Blunders
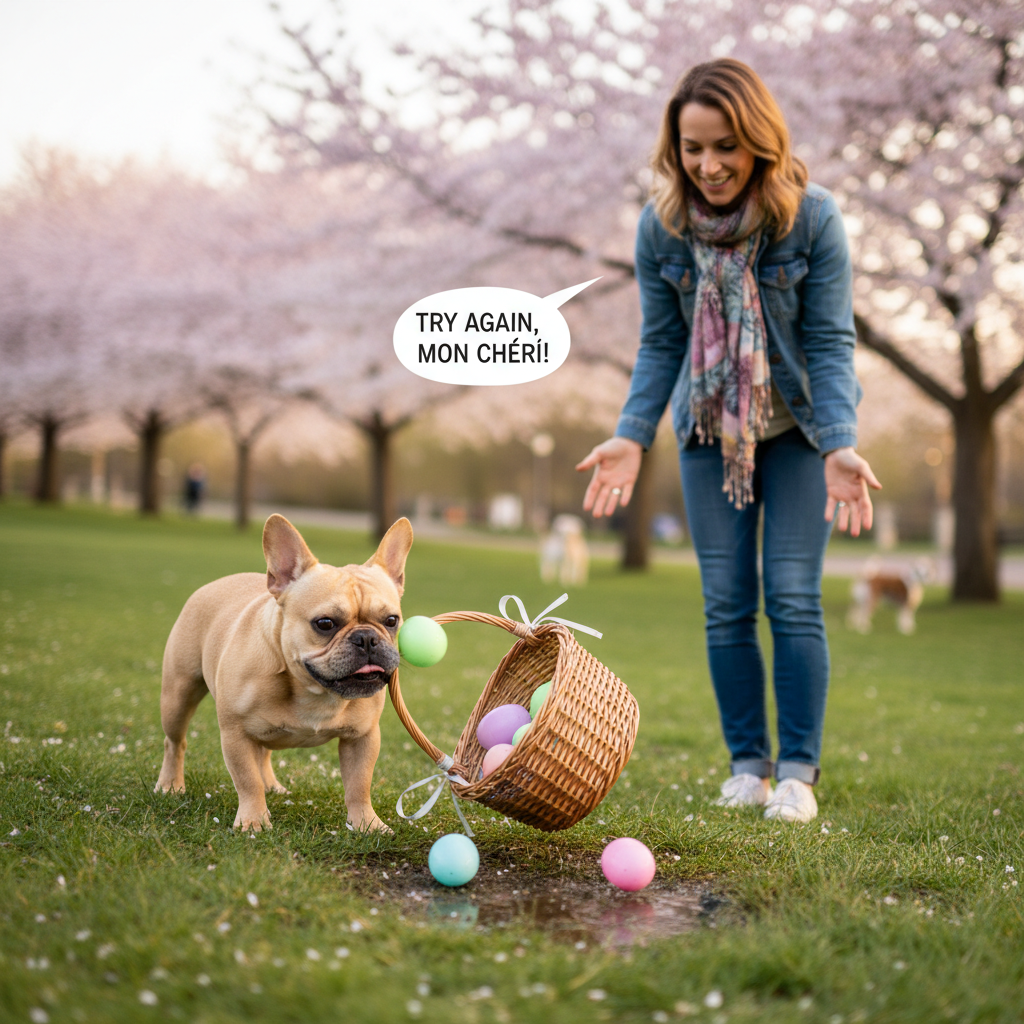
Even with the best training plan, you might hit a few bumps in the road. That’s completely normal! Every dog learns differently. Here are some common challenges and how to navigate them with a positive approach.
- Problem: My dog keeps chewing on the basket handle.
Solution: This is a very common issue! It often means the dog sees the basket as a chew toy rather than a prop. First, ensure you’re using a less-appealing basket material (like smooth plastic instead of tasty wicker). Second, go back to basics. Reward only for gentle mouth pressure. If you feel teeth grinding, immediately use your ‘drop it’ cue and reset. You can also smear a tiny bit of peanut butter on a separate, more appropriate chew toy (like a Nylabone) to teach the difference: ‘This is for holding, this is for chewing.’ The key is to make holding gently far more rewarding than chewing.
- Problem: My dog drops the basket immediately.
Solution: This almost always means you’re trying to increase the ‘hold’ duration too quickly. Patience is your best friend here. Go back to a duration where they are 100% successful, even if it’s just for a split second. Stay at that level for 5-10 successful repetitions before trying to add another half-second. It can feel slow, but building this foundation of success is crucial for their confidence.
- Problem: My dog won’t even go near the basket.
Solution: This indicates a negative association or fear of the new object. Don’t push it. Put the basket away and re-introduce it slowly. Place it on the other side of the room and reward your dog just for looking at it. Over several days, move it closer, rewarding your dog for calm behavior at each stage. This process, called desensitization and counter-conditioning, rebuilds their confidence and shows them the basket is nothing to worry about.
- Problem: My dog is more interested in the treats than the training.
Solution: A food-motivated dog is a great thing! But sometimes they can get overly excited. If your dog is just snatching at treats, try using a lower-value reward for the easier steps and saving the ‘good stuff’ for breakthroughs. Also, make sure your training sessions are short and before meals when they are more focused on earning their food. Finally, practice your treat delivery—make it quick and calm so it doesn’t overshadow the behavior you’re rewarding.
Conclusion
And there you have it! From a curious sniff to a picture-perfect pose, you now have all the tools and steps to teach your dog this incredibly charming trick. More important than the final photo, however, is the journey you and your dog took to get there. Every click, every treat, and every little ‘aha!’ moment has strengthened your bond and communication.
Remember to celebrate the small victories and laugh at the silly mistakes. The goal was never just to get a photo for Instagram; it was to spend quality, engaging time with your best friend. So when you’re setting up your photoshoot, keep that spirit of fun and positivity alive. Your dog’s happiness will shine through in every single picture, creating a cherished memory that will last long after the Easter decorations are packed away. Happy training, and have a wonderful photoshoot!