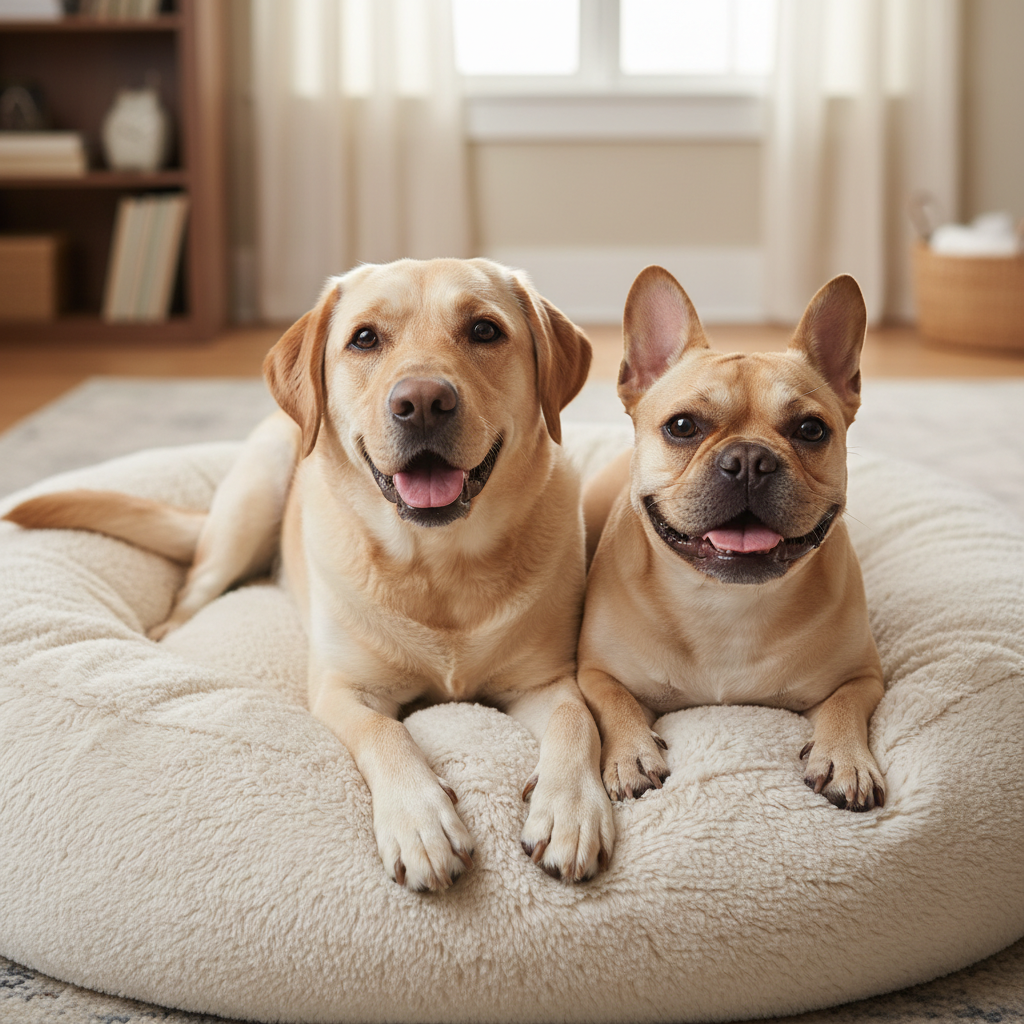
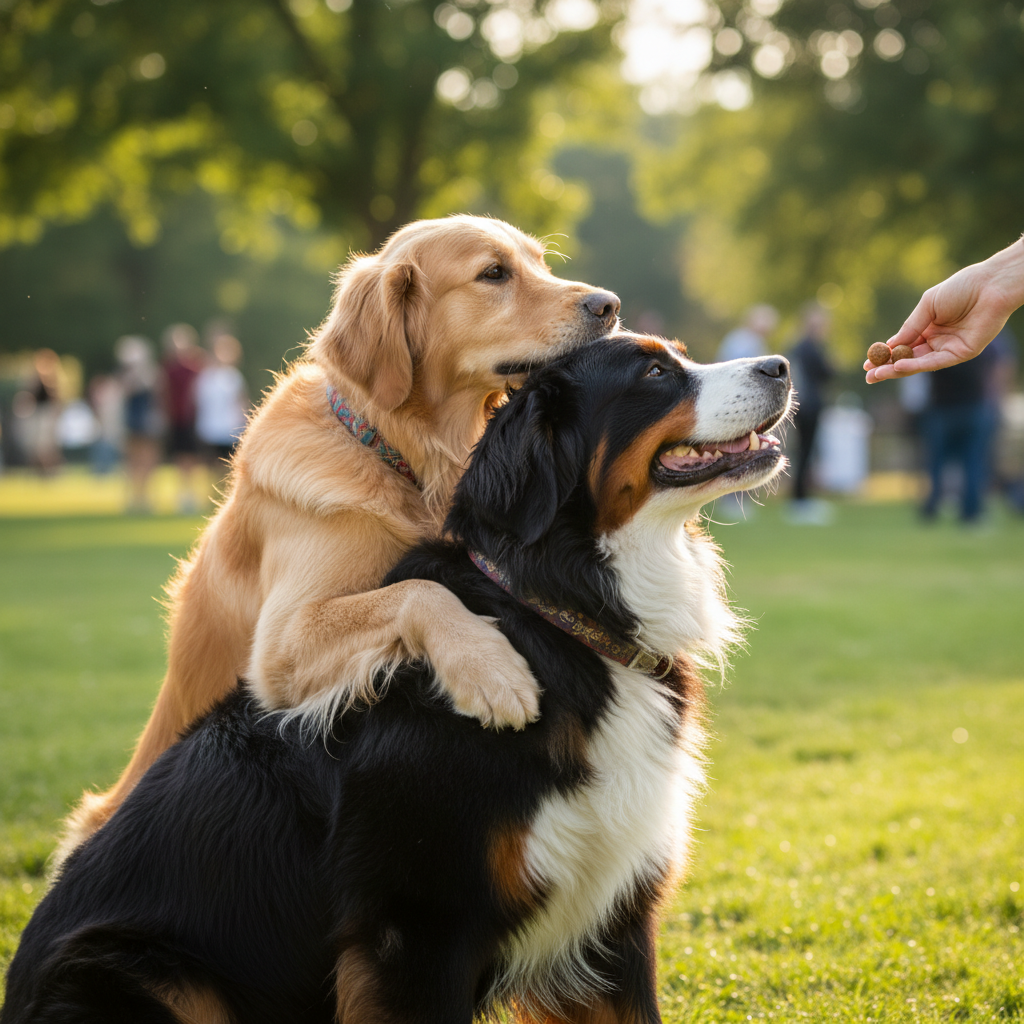
There are few things in this world cuter than a dog. Except, of course, two dogs. And what could possibly top that? Two dogs sharing a gentle, loving hug. It’s the kind of picture-perfect moment that sends social media into a frenzy and melts the hearts of everyone who sees it. If you’ve ever dreamed of capturing that adorable embrace with your own furry family members, you’ve come to the right place!
But before we dive into the steps, let’s have a little heart-to-heart. Teaching a trick like this isn’t just about the cute photo op; it’s an incredible bonding experience built on trust, communication, and positive reinforcement. It’s also a process that requires us, as responsible pet owners, to be experts in our dogs’ comfort levels. This guide is designed to be a fun journey for all of you, but our number one rule is always: the dogs’ comfort and safety come first. We’ll be breaking down this complex trick into tiny, manageable, and fun steps that respect each dog’s pace and personality. So grab your tastiest treats and let’s get ready to create a beautiful new way for your pups to show their affection!
The Pre-Hug Checklist: Are Your Dogs Ready?
Before you even think about treats or training cues, we need to do a very important readiness check. Trying to teach this trick to two dogs who aren’t the best of friends can lead to stress and conflict, which is the exact opposite of what we want. A successful hug is built on a foundation of a positive relationship.
Assessing Their Relationship
First, honestly evaluate how your dogs interact daily. Are they truly buddies? Look for these positive signs:
- Relaxed Body Language: Do they hang out near each other with loose, wiggly bodies, soft eyes, and relaxed tails?
- Consensual Play: Do they engage in play that involves give-and-take? Look for play bows, taking turns chasing, and respecting signals to take a break.
- Shared Space: Can they comfortably share a dog bed, a couch, or the backseat of a car without any tension, growling, or stiffening?
- No History of Conflict: It’s critical that there’s no history of serious fights or resource guarding between them. If there is, please consult a professional dog trainer or behaviorist to work on their relationship before attempting a close-contact trick like this.
If you see any signs of tension, like one dog constantly avoiding the other, stiff body language, or lip licking when the other approaches, now is not the time to teach a hug. Focus on building their friendship first.
Essential Prerequisite Cues
Your dogs should also have a few basic obedience skills down. This makes teaching the more complex parts of the hug much easier. Ensure both dogs can reliably respond to:
- Sit: A calm, stationary starting position is key.
- Stay (or Wait): They’ll need to hold their position for a few seconds as you work with them.
- A release cue (like ‘Okay!’ or ‘Free!’): This tells them when the training exercise is over.
Expert Tip: Always train in short, upbeat sessions. Five to ten minutes a couple of times a day is far more effective than one long, frustrating session. Always end on a positive note, even if it’s just for a simple ‘sit’!
Step 1: The ‘Chin Rest’ – Building the Foundation

The first physical component of our hug is teaching one dog to rest its head and neck over the other’s back. We’ll call this the ‘Chin Rest’. We will teach this to each dog individually before ever bringing them together for the trick.
Teaching the ‘Chin Rest’ on an Object
Start with the dog you feel will be the ‘bottom’ dog in the hug, as this motion will be more natural for the ‘top’ dog later. But both should learn it!
- Choose an Object: Find an object that is about the height of your other dog’s back. A sturdy footstool, a firm cushion, or even your outstretched leg can work.
- Lure the Behavior: Hold a high-value treat in your hand. Lure your dog’s head over the object. The moment their chin or neck makes contact with the object, say ‘Yes!’ (or click your clicker) and give them the treat.
- Repeat, Repeat, Repeat: Do this several times. Your goal is for your dog to understand that putting their head over the object earns them a reward.
- Fade the Lure: Start using just a hand motion over the object instead of a treat in your hand. When they rest their chin, mark (‘Yes!’) and treat.
- Add the Cue: Once they are reliably offering the behavior with your hand signal, start saying your verbal cue, such as ‘Chin’ or ‘Rest’, right before you give the hand signal. After many repetitions, they will associate the word with the action.
Transitioning to Your Other Dog
Once a dog has mastered the ‘Chin Rest’ on an inanimate object, you can cautiously transition. Have your ‘bottom’ dog in a calm ‘stay’. Bring your ‘top’ dog (who knows ‘Chin Rest’) over and cue the behavior over the other dog’s back. This requires immense patience and should be rewarded with a jackpot of treats for both dogs! Keep this interaction incredibly short and positive at first—just a split-second touch is a huge success.
Step 2: The ‘Paws Up’ – Completing the Embrace
The second piece of the puzzle is teaching the ‘top’ dog to place one or both paws gently on the other dog’s shoulders or back. Just like the ‘Chin Rest’, we’ll start this with an object first to build confidence and a clear understanding of the behavior.
Teaching ‘Paws Up’ on an Object
- Select Your Target: Again, choose a low, stable object. A wide step, a low stool, or even a book on the floor can work well.
- Lure the Paw: With a treat in your hand, lure your dog towards the object. Most dogs will naturally put a paw on it to investigate or get closer to the treat. The instant a paw touches the object, mark (‘Yes!’) and reward.
- Encourage Both Paws: Once they are comfortable with one paw, hold the treat a little higher and further back over the object to encourage them to place their second paw up. Reward this enthusiastically!
- Shape the Behavior: Reward any interaction with the object at first, then only reward a single paw touch, and finally, only reward when both paws are on the object. This process is called ‘shaping’.
- Introduce the Cue: When your dog is confidently placing both paws on the object, start adding your verbal cue. Say ‘Paws Up’ or ‘Hugs’ just before they perform the action.
Bringing the Dogs Together
This is a delicate step. Have the ‘bottom’ dog in a calm sit/stay. This dog’s only job is to remain calm and will be rewarded heavily for doing so. Then, cue your ‘Paws Up’ dog. Guide them to place their paws very gently on the other dog’s shoulders. This should be a brief touch, followed by immediate praise and treats for both dogs. If at any point the ‘bottom’ dog looks uncomfortable (moves away, pins ears back), stop immediately and go back to practicing with objects. Their comfort is the priority.
The Grand Finale: Combining Cues for the Perfect Hug
Now for the moment you’ve been waiting for! This final phase is all about timing, patience, and celebrating the small successes. You’re like a director choreographing a beautiful scene. Don’t rush it; let your actors get comfortable with their roles.
The Staging Process
- Set the Scene: Start in a quiet, low-distraction area. Have both dogs present and ready with your high-value treats.
- Position Dog One: Place your ‘bottom’ dog in a ‘sit’ and ‘stay’. Reward them for their calmness. They are the sturdy, reliable foundation of the hug.
- Cue Dog Two: Bring your ‘top’ dog into position, standing sideways and slightly behind the sitting dog.
- Give the Cues Sequentially: First, give the ‘Paws Up’ cue. As they place their paws on the other dog’s back, immediately give the ‘Chin Rest’ cue. The goal is to have both actions happen almost simultaneously.
- Mark and Reward Instantly: The very second they form the ‘hug’ position, even for a millisecond, mark it with an enthusiastic ‘Yes!’ and deliver a jackpot of treats to both dogs. The ‘bottom’ dog gets rewarded for being a good sport, and the ‘top’ dog gets rewarded for performing the trick.
- Keep it Short: In the beginning, the ‘hug’ should last no more than a second. Ask for the position, mark, reward, and then release them with your ‘Okay!’ cue. This prevents either dog from feeling trapped or uncomfortable.
Over time, you can slowly increase the duration of the hug by a second or two. But always watch their body language. A successful hug is relaxed and happy, not stiff and forced.
Remember: You are your dogs’ advocate. If one dog is consistently showing signs of stress, it’s okay to accept that this might not be the right trick for them. Their happy, healthy relationship is more important than any trick.
Troubleshooting and Do’s & Don’ts
Even with the best planning, you might run into a few little bumps in the road. That’s completely normal in dog training! Here’s how to navigate some common challenges and a handy table to keep you on track.
Common Problems & Solutions
- One Dog is Too Wiggly or Excited: If one dog can’t hold a ‘stay’, work on impulse control games separately. Sessions might need to be even shorter, or the treats might be too high-value, causing over-excitement. Try a slightly less exciting (but still yummy) treat.
- The ‘Bottom’ Dog Moves Away: This is a clear signal of discomfort. Go back several steps. The ‘bottom’ dog needs to feel 100% safe and comfortable. Reward them heavily just for allowing the other dog to approach, long before any paws are lifted. Never force them to stay.
- The ‘Top’ Dog is Too Pushy or Heavy: If the ‘top’ dog is putting too much weight on the other, go back to ‘Paws Up’ on an object and reward only the gentlest of touches. You can also physically support some of their weight as they learn.
- They Seem Distracted: Is the environment too busy? Try training in a quieter room. Are the sessions too long? Cut the time in half. Training should always be more fun than anything else going on.
Your Hug Training Cheat Sheet
| Do ✅ | Don’t ❌ |
|---|---|
| Keep training sessions short and fun (5-10 minutes max). | Don’t ever physically force the dogs into position. |
| Use high-value, pea-sized treats. | Don’t punish or scold them for getting it wrong. |
| Watch their body language like a hawk for any signs of stress. | Don’t allow other people or pets to distract them during training. |
| Reward BOTH dogs for their participation. | Don’t rush the process. Let the dogs set the pace. |
| Always end on a successful, positive repetition. | Don’t forget to celebrate every small step of progress! |
Conclusion
Congratulations, you’ve made it! By following these steps with patience, positivity, and a keen eye on your dogs’ well-being, you’re well on your way to teaching one of the most heartwarming tricks imaginable. Remember that the journey of training this ‘hug’ is just as important as the final result. Every ‘Chin Rest’ on a stool and every ‘Paws Up’ on a cushion builds your dogs’ confidence and deepens the bond you share with them.
Whether they master a picture-perfect embrace or simply learn to interact more gently and cooperatively, you’ve given them a wonderful gift of fun, mental stimulation, and positive time with you. So keep the treats handy, the praise flowing, and enjoy every adorable, tail-wagging moment of the process. You’re not just a pet owner; you’re a team builder, a director, and the number one source of fun for your amazing canine companions.