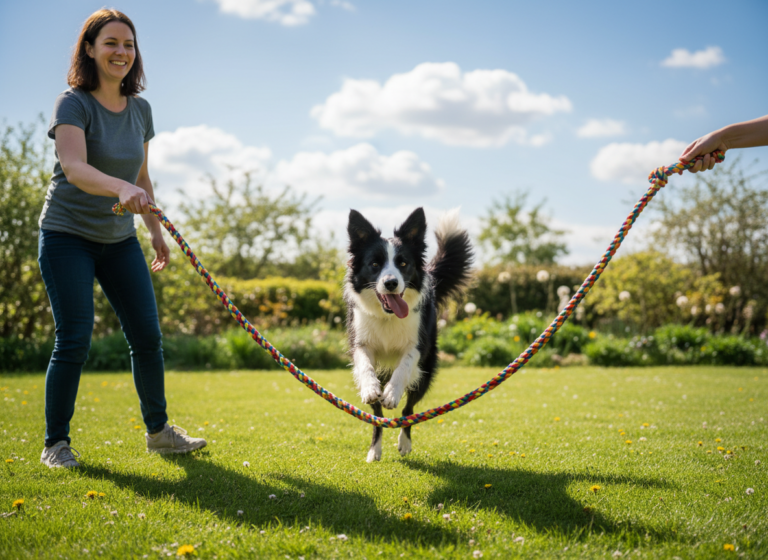
Have you ever watched dog agility competitions and thought, ‘Wow, my dog would love that!’? The speed, the focus, the incredible bond between dog and handler—it’s truly a sight to behold. But you don’t need a professional stadium to experience the thrill of agility. In fact, you can start right in your own backyard! Creating a DIY agility course is a fantastic way to provide mental stimulation, physical exercise, and a whole lot of fun for your four-legged friend.
One of the most iconic obstacles in any agility course is the tire jump. It looks impressive, and dogs seem to love the challenge of leaping through the center. The good news? You don’t need to spend a fortune on professional equipment. With a few simple materials and a bit of creativity, you can build your very own tire jump. This guide is your all-in-one resource for not only constructing a safe and sturdy backyard tire jump but also for teaching your dog how to use it with confidence and joy. We’ll cover everything from selecting the right materials to step-by-step training techniques based on positive reinforcement. So, let’s get ready to build, train, and watch your dog soar!
Gearing Up: What You’ll Need to Build Your DIY Tire Jump
Before we can get to the fun part (the jumping!), we need to gather our supplies. Building a DIY tire jump is a straightforward project, but having the right materials is key to making it safe and durable for your canine athlete. Safety is our number one priority, especially when it comes to the star of our show: the tire.
Choosing the Right Tire
Not just any old tire will do. You want one that’s lightweight and the right size for your dog. A motorcycle or small ATV tire is often perfect. Avoid heavy steel-belted car tires, as they can be too cumbersome and pose a risk if the structure falls. Look for a tire that is at least 4-6 inches wider in diameter than your dog’s height at the shoulder to ensure they can pass through comfortably.
Expert Tip: Check with local motorcycle repair shops! They often have used tires they are happy to give away for free. Just be sure to inspect it for any exposed wires or sharp edges.
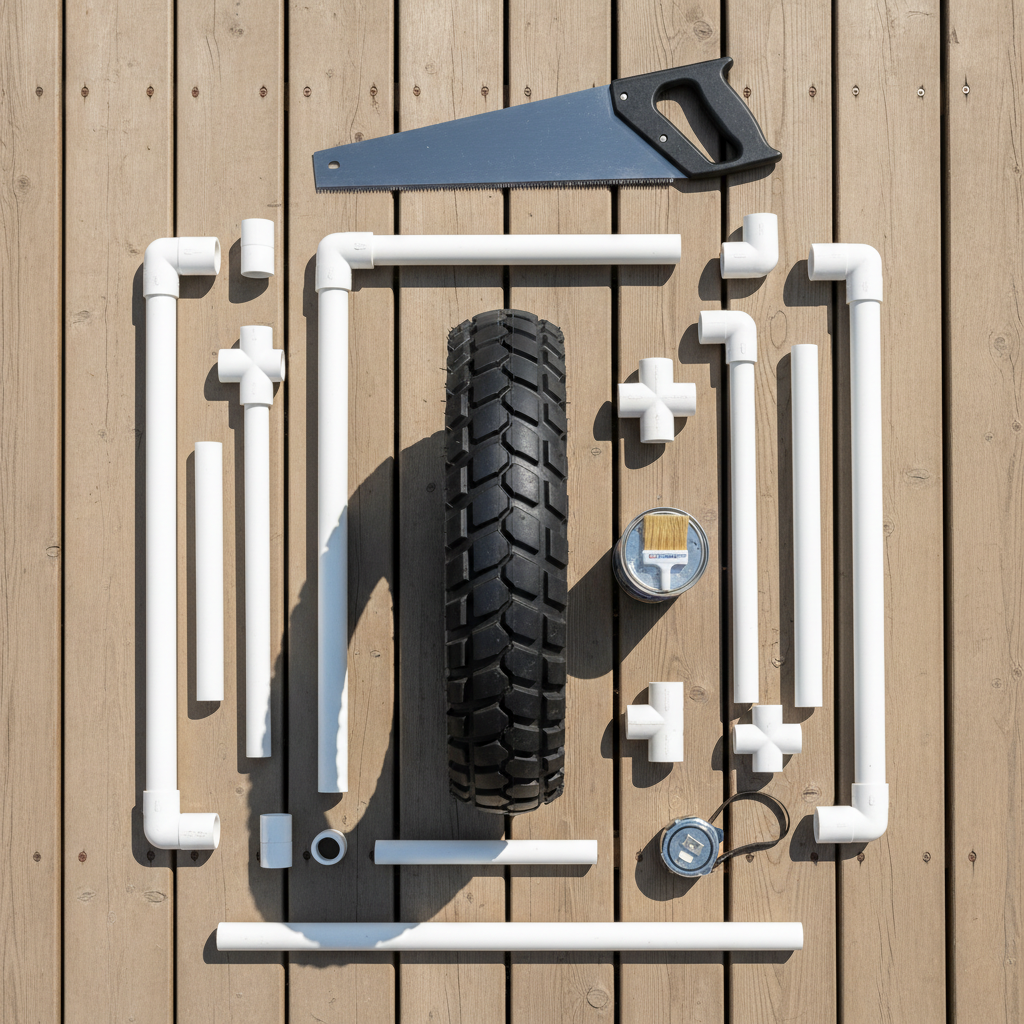
Materials & Tools Checklist
Here’s a list of everything you’ll need to create a basic, free-standing tire jump:
- One Lightweight Tire: A motorcycle, bike, or small tractor tire works best.
- PVC Pipe: You’ll need several sections of 1.5″ or 2″ diameter PVC pipe. It’s affordable, lightweight, and weather-resistant. We recommend about 20-25 feet in total to be safe.
- PVC Fittings: You will need (4) T-connectors and (4) 90-degree elbow connectors to create the base and uprights.
- PVC Cement: To securely bond the pipes and fittings together for a sturdy frame.
- Measuring Tape & Marker: For accurate cuts and assembly.
- Saw: A hacksaw or a PVC pipe cutter will work perfectly.
- Drill with a Large Bit: To create holes for the rope or bolts that will hold the tire.
- Rope or Eyebolts: To suspend the tire within the frame. Bungee cords can also work for added flexibility.
- Sandpaper: To smooth any rough edges after cutting the PVC pipe.
- Optional – Spray Paint: Use pet-safe spray paint to add some color and make the obstacle more visible and fun!
Once you have all your materials gathered, find a clear, flat space to begin your build. Having everything organized before you start will make the process smooth and enjoyable.
Building Your Backyard Tire Jump: A Step-by-Step Guide
Alright, let’s get building! This design focuses on creating a stable, adjustable, and safe frame for your tire jump. Remember to measure twice and cut once! For this example, we’ll build a frame that’s roughly 4 feet tall and 4 feet wide, which is a great starting size for most dogs.
- Create the Base: Start by building the two ‘feet’ for your frame. For each foot, cut two 24-inch pieces of PVC pipe. Connect them in the middle with a T-connector, and cap the ends with the 90-degree elbow connectors, pointing them upwards. You should now have two H-shaped bases. This wide base will prevent the jump from tipping over easily.
- Cut the Uprights: Cut two long pieces of PVC pipe for the vertical supports. A length of 48 inches is a good starting point. You can always adjust this later. These will be the main uprights of your frame.
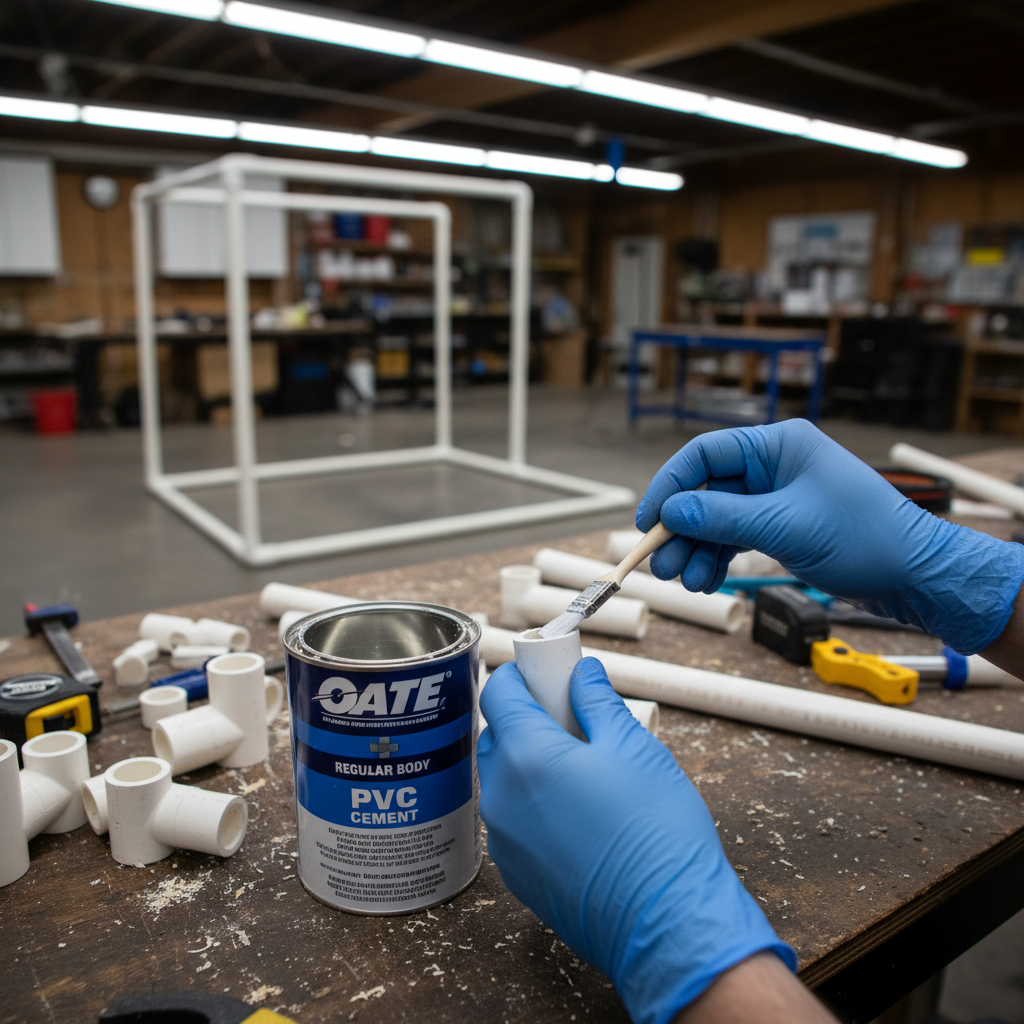
- Assemble the Frame: Insert the 48-inch uprights into the top opening of the T-connectors on your bases. Then, cut one more 48-inch piece for the top crossbar. Use two T-connectors to attach the crossbar to the top of the two uprights. Your frame should now be standing! Use PVC cement at each connection point for maximum stability, applying it and holding the pieces together for about 30 seconds.
- Prepare the Tire: Thoroughly clean and dry the tire. If you’re painting it, now is the time to do so. Once dry, drill two holes opposite each other on the top and bottom of the tire’s inner wall. These are for your suspension system.
- Suspend the Tire: There are two common methods for this. You can either thread a strong rope through the holes and tie it securely to the top crossbar of your frame, or you can use eyebolts. Screw eyebolts into the holes you drilled in the tire and use carabiners or chain links to attach them to another set of eyebolts on the PVC frame. This method makes it easier to adjust the height.
- Final Safety Check: Once assembled, give the whole structure a good shake. Make sure it’s stable and there are no sharp edges or points. The tire should hang securely in the center of the frame. Your DIY tire jump is now ready for action!
Phase One: Introducing the Tire (No Jumping Yet!)
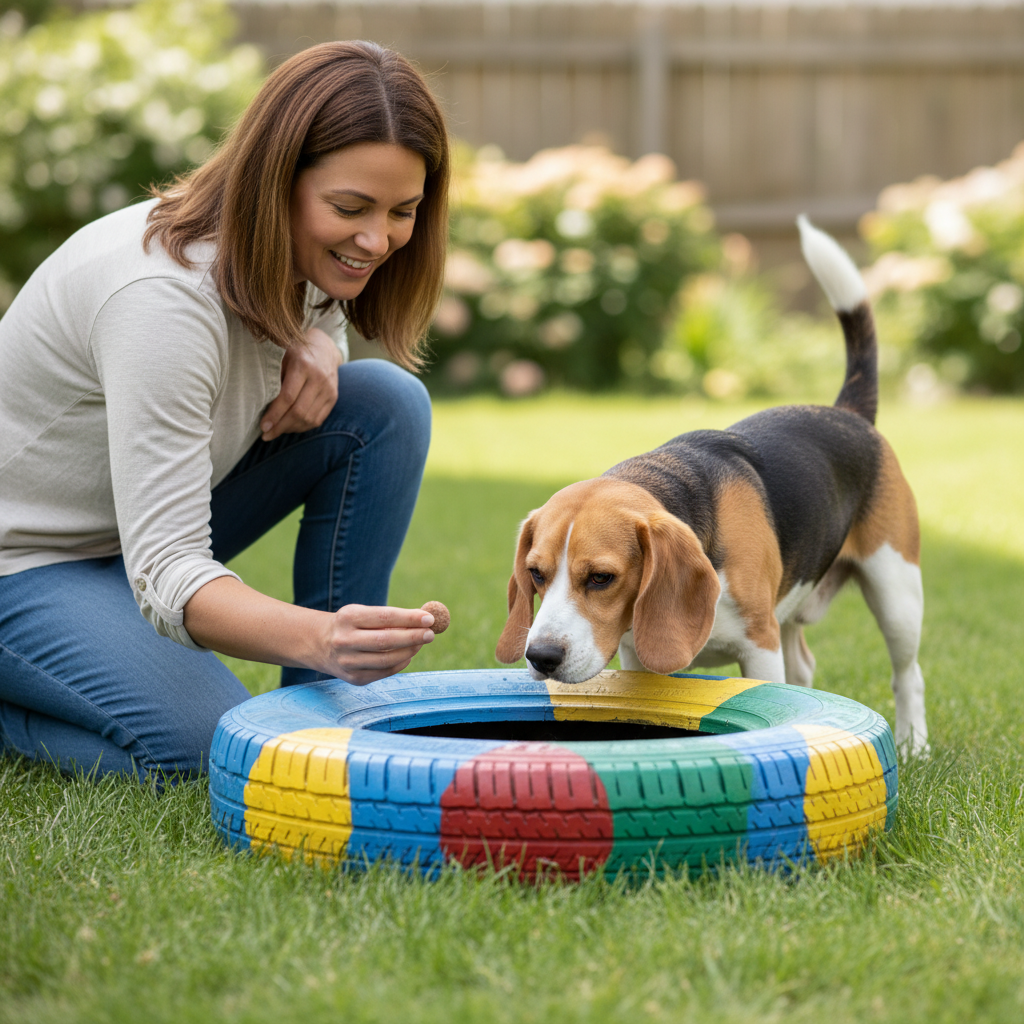
Before your dog can become an agility champion, they need to be comfortable with the new, strange-looking object in their yard. The key to this phase is to create a positive association with the tire jump. We want your dog to see it as a source of fun and treats, not something to be scared of. This process should be slow, fun, and completely pressure-free.
Step 1: The Investigation
First, lay the tire flat on the ground without the frame. Let your dog approach it on their own terms. Don’t force them near it. When they sniff it, look at it, or even step on it, praise them enthusiastically and give them a high-value treat. Do this for a few short sessions until they are completely relaxed around the tire.
Step 2: Building Value in the Center
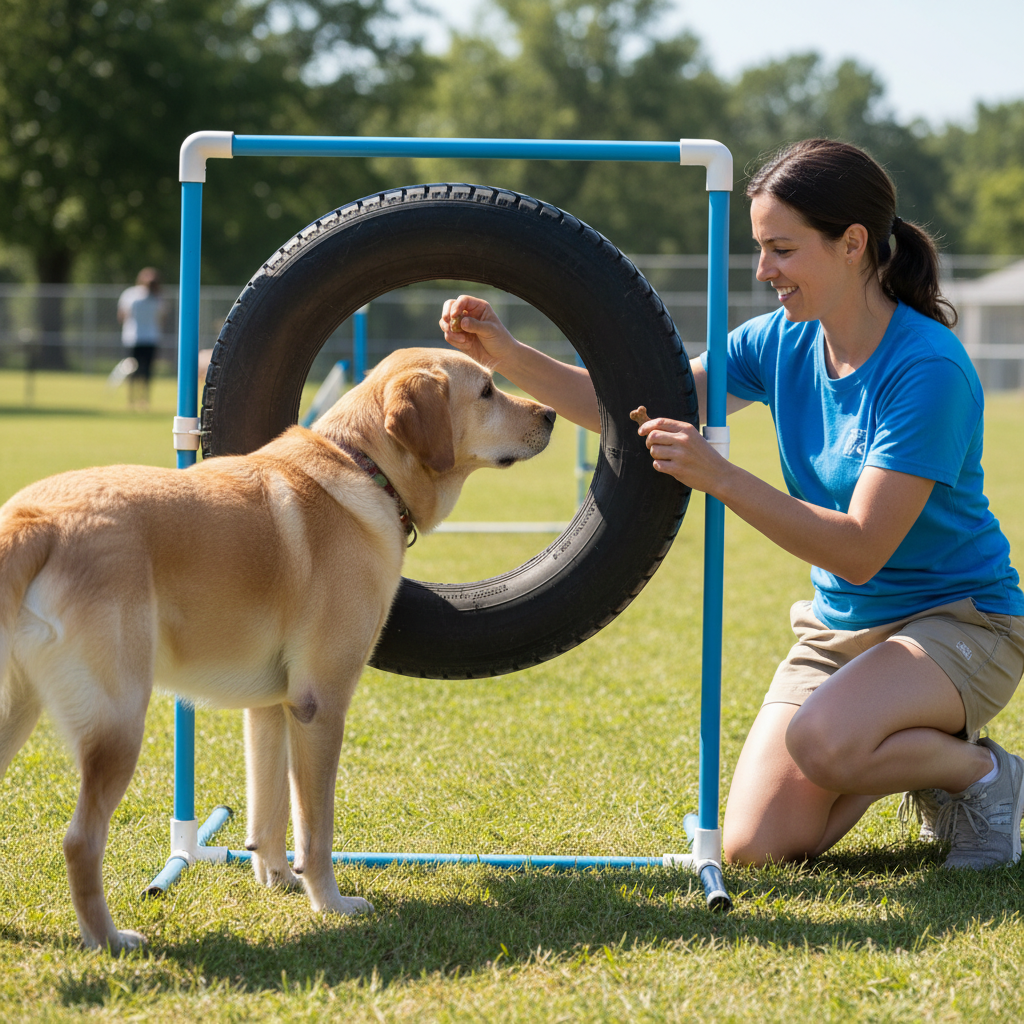
Once your dog is comfortable, we want to teach them that the center of the tire is a magical place where treats appear. With the tire still flat on the ground, toss a treat into the middle. Let your dog step inside the circle to get it. Repeat this many times. You can also place the tire on the ground and use a lure (a treat or toy in your hand) to guide your dog to walk through the opening. Praise and reward every time they pass through the center.
Step 3: Introducing the Frame
Now, set up the full jump, but with the tire secured at the lowest possible height—it should be touching or just an inch off the ground. Repeat the luring process. Guide your dog to simply walk through the low-hanging tire. Don’t ask for a jump yet! The goal is just to get them used to passing through the opening while it’s in the frame. Keep sessions short (5-10 minutes) and always end on a positive note.
Remember: Every dog learns at a different pace. If your dog is hesitant at any stage, go back to the previous step where they were successful and build their confidence up again. Patience is your best friend!
Phase Two: Let’s Get Jumping! (The Fun Part)
Once your dog is confidently walking through the tire on the ground, it’s time to add a little air! This is the most exciting phase, but it’s important to progress gradually to build your dog’s confidence and prevent injury. The goal is a happy, willing jumper, not a reluctant one.
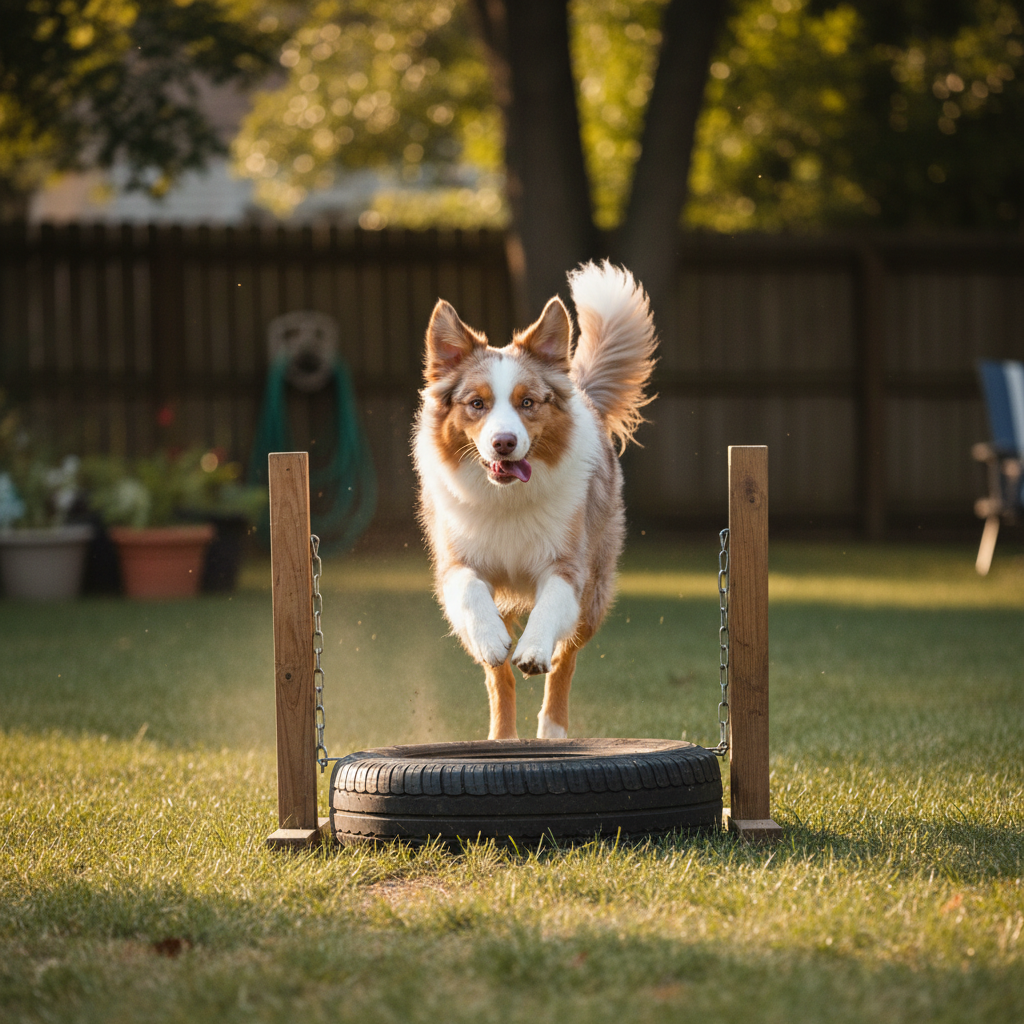
Step 1: The Tiny Hop
Raise the tire just a few inches off the ground. It should be low enough that your dog can easily step over it, but high enough that they have to make a tiny hopping motion. Stand on one side of the jump and use a lure (a treat or their favorite toy) to encourage them to come through to the other side. As they hop through, use a clear, exciting verbal cue like “Tire!” or “Through!”. The moment they land, shower them with praise and give them the reward. A big ‘jackpot’ reward (multiple treats) works wonders here!
Step 2: Gradual Height Increases
This is a marathon, not a sprint. Only raise the height of the tire once your dog is 100% confident and happy at the current level. We’re talking about raising it just one or two inches at a time. Practice a few successful jumps at each new height before moving up. If your dog hesitates, knocks the tire, or tries to go around, you’ve likely raised it too high, too soon. Simply lower it back to their last successful height and practice some more before trying again.
Step 3: Fading the Lure
As your dog starts to understand the verbal cue (“Tire!”), you can begin to fade the hand lure. Start by using an empty hand to guide them, but still reward them after the jump. Then, transition to just a hand signal or a point towards the tire. Eventually, the goal is for your dog to take the jump based on the verbal cue alone when you’re standing a few feet away.
Step 4: Adding a Little Distance
Once your dog is reliably jumping on command, you can start to add a little ‘send.’ Stand a few feet back from the jump and send them forward to take the obstacle. This builds their independence and is a foundational skill for running full agility sequences later on. Always keep it positive and fun!
Troubleshooting Common Tire Jump Troubles
Even with the best training plan, you might hit a few bumps in the road. Don’t worry, it’s completely normal! Most issues with the tire jump stem from fear, confusion, or trying to progress too quickly. Here’s how to handle some common challenges.
My Dog Runs Around the Tire, Not Through It.
This is a classic! It usually means the dog doesn’t fully understand the question you’re asking. The solution is to make the correct choice (going through) much easier and more obvious. You can create a ‘chute’ using garden fencing, chairs, or even just your own body to block off the sides, leaving the opening of the tire as the only clear path forward. This helps guide them to the right answer. Reward them heavily when they go through, and you can remove the guides as they get the hang of it.
My Dog is Scared of the Tire Swinging.
A swinging tire can be intimidating. To fix this, temporarily stabilize the tire so it can’t move. You can use extra rope or bungee cords to tie the bottom and sides of the tire to the frame’s legs. This makes it a static object. Once your dog is confident jumping through the stationary tire, you can gradually loosen the supports to reintroduce a little bit of movement until they are comfortable with the natural swing.
My Dog Keeps Knocking the Tire.
If your dog is frequently hitting the tire, it could be for a few reasons. The height might be too high for their current skill level, so try lowering it. It could also be an issue of perception. Some dogs have trouble judging the circular opening. Practice on a very low setting and give lots of rewards for ‘clean’ jumps where they don’t touch the tire at all. You can also work on general body awareness exercises away from the tire jump to help them understand their size and shape better.
Pro Tip: Always check your dog’s take-off spot. If they are starting too close to the jump, they won’t have the right trajectory to clear it cleanly. Encourage them to start a few feet back to get a better approach.
Safety First! Keeping Your Agility Star Injury-Free
Agility is an amazing sport, but it’s also physically demanding. Keeping your dog safe and sound is the most important part of the game. A few simple precautions can ensure that your backyard training is a source of joy, not a trip to the vet.
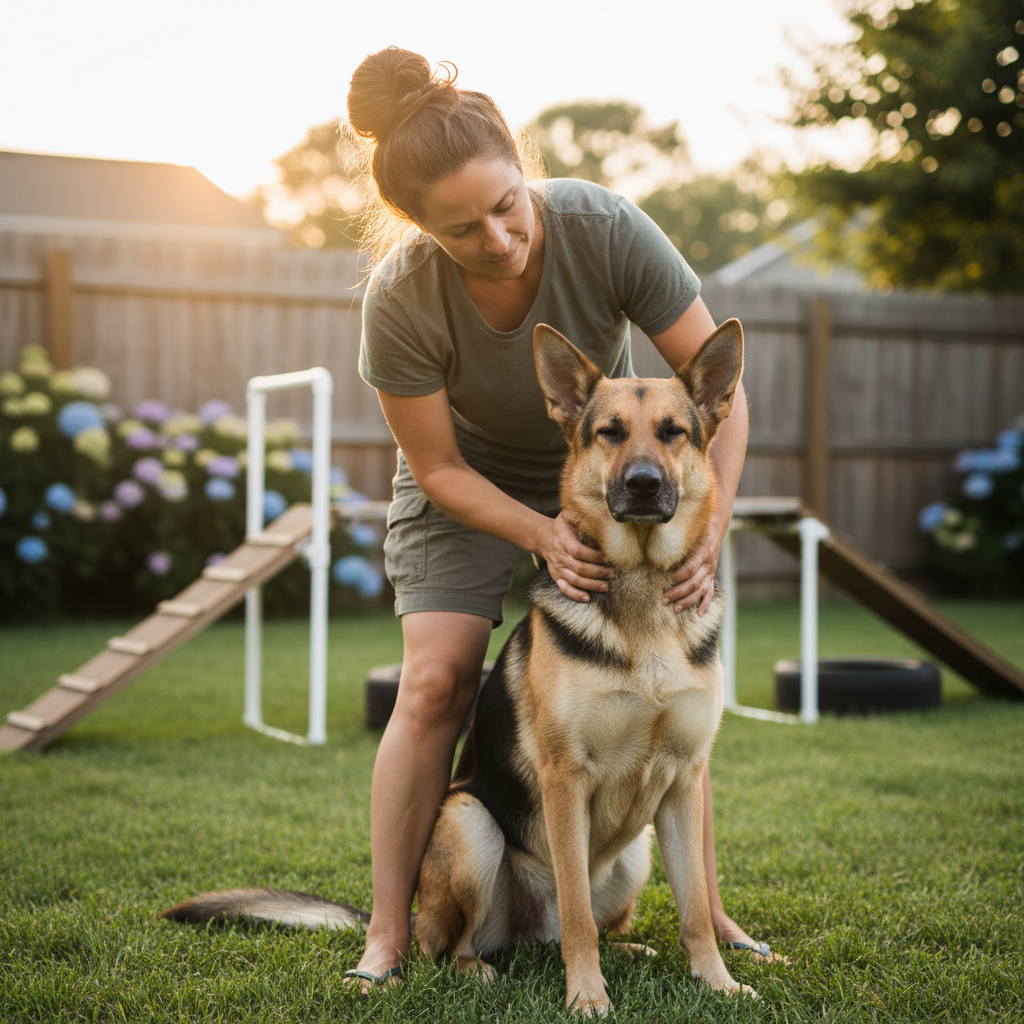
Warm-Ups and Cool-Downs are Non-Negotiable
Just like human athletes, dogs need to warm up their muscles before exercising. A 5-minute brisk walk or a light game of fetch is perfect to get their blood flowing. After your training session, a 5-minute cool-down walk helps their heart rate return to normal and prevents muscle stiffness.
Know Your Dog’s Limits
The ‘safe’ jump height for a dog is generally at or slightly below their elbow height. Avoid the temptation to push them to jump super high. The goal is fun and confidence, not setting records. Also, be mindful of their age. Puppies under a year old whose growth plates haven’t closed should not be doing any significant jumping. Consult your vet before starting any high-impact sport.
| Dog Size | Suggested Maximum Jump Height | Important Considerations |
|---|---|---|
| Small (e.g., Terrier, Dachshund) | 4-8 inches | Ensure the tire opening is wide enough for them to pass through without touching the sides. |
| Medium (e.g., Beagle, Border Collie) | 12-16 inches | This is the sweet spot for many dogs, a good balance of challenge and safety. |
| Large (e.g., Labrador, Golden Retriever) | 16-20 inches | Focus on a soft landing surface. The impact is greater for heavier dogs. |
The Landing Zone Matters
Make sure the ground on both sides of the jump is clear of obstacles, level, and has good traction. Soft grass is ideal. Avoid training on hard surfaces like concrete or slippery surfaces like wet decks, as these can be jarring on your dog’s joints and increase the risk of slips and falls.
Keep it Short and Sweet
Training sessions should be brief, especially in the beginning. Five to ten minutes of focused work is far more effective than a frustrating 30-minute session. Always end on a high note with a successful repetition, so your dog is excited to come back and play again next time!
Conclusion
Congratulations! You now have all the knowledge you need to build a fantastic DIY tire jump and teach your dog to use it with skill and enthusiasm. More than just a fun backyard project, this is an opportunity to deepen the bond with your dog, build their confidence, and open up a whole new world of communication and teamwork. Remember to always be patient, keep your training sessions positive, and celebrate every small success along the way. The joy you’ll see on your dog’s face as they learn this new skill and soar through the air will be the ultimate reward. So grab your tools, find a tire, and get ready to have some unforgettable fun in your own backyard agility arena!