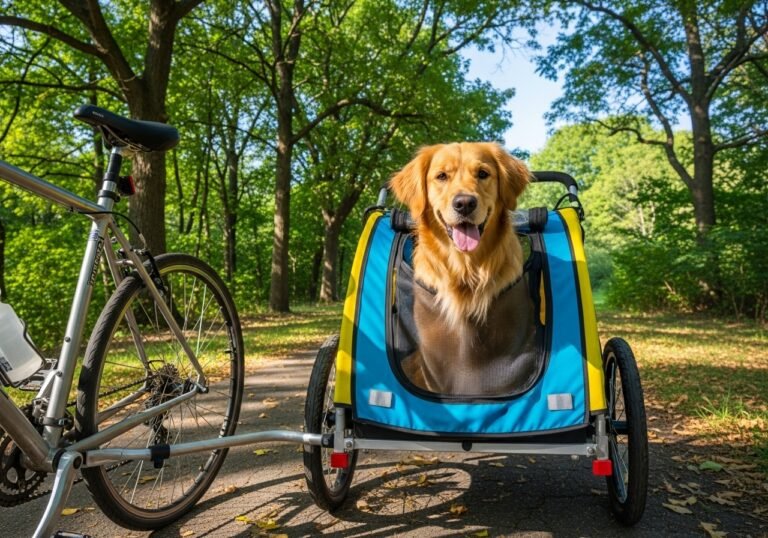
There’s nothing quite like the feeling of freedom you get from a bike ride on a beautiful day. The wind in your hair, the scenery flying by… but what if you could share that joy with your four-legged best friend? For many pet owners, the dream of bringing their dog along on cycling adventures is a powerful one. It’s a fantastic way to bond, explore new places, and give your pup some exciting mental stimulation. That’s where the dog bike trailer comes in!
However, you can’t just pop your pup in a trailer and expect them to love it from the get-go. For a dog, a wheeled, moving box can be a strange and even scary new experience. The key to success is a patient, positive, and step-by-step approach to training. It’s all about building confidence and showing your dog that the trailer is a safe, wonderful place that leads to fun adventures.
In this comprehensive guide, we’ll walk you through everything you need to know, from picking the perfect trailer to mastering the training process and ensuring every ride is a safe one. Get ready to pedal your way to new memories with your favorite co-pilot!
Part 1: Gearing Up for Success – Choosing the Right Bike Trailer
Before you can even think about training, you need the right equipment. A safe, comfortable, and appropriately sized bike trailer is the single most important investment you’ll make for your cycling adventures. Rushing this decision can lead to an uncomfortable or unsafe experience for your dog, which will make training nearly impossible. Let’s break down what to look for.
Key Features in a Dog Bike Trailer
When you start shopping, you’ll see a lot of options. Keep these non-negotiable features at the top of your list:
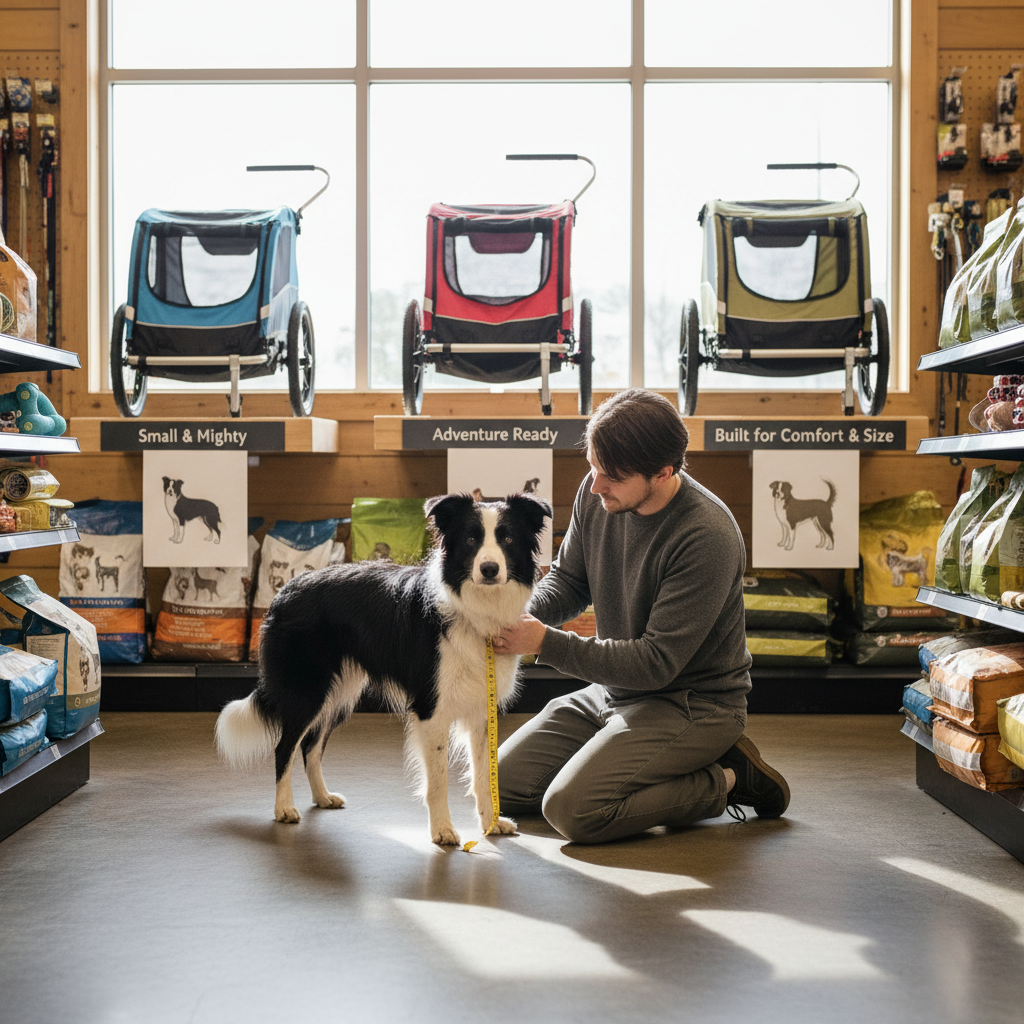
- Appropriate Size and Weight Capacity: This is crucial. Your dog should have enough room to sit, stand, and turn around comfortably, but not so much room that they’ll slide around on turns. Always check the manufacturer’s weight limit and measure your dog’s height and length to compare with the trailer’s interior dimensions.
- Sturdy Frame and Solid Floor: Look for a trailer with a steel or aluminum frame for durability. A solid, non-slip floor will help your dog feel secure and stable. Avoid trailers with flimsy fabric floors.
- Safety Features: Non-negotiables include an internal leash or harness attachment point to prevent your dog from jumping out, a safety flag for visibility, and reflectors. Many models also have a parking brake, which is incredibly helpful for safely loading and unloading your pup.
- Ventilation and Weather Protection: Good airflow is essential to prevent your dog from overheating. Look for large mesh windows on the front, sides, and top. A roll-down plastic cover for the front window is also a great feature to protect your dog from rain, wind, or road debris.
- Suspension and Tire Quality: While not always standard on basic models, suspension can make a huge difference in the comfort of the ride, especially if you plan to go on bumpy trails. Pneumatic (air-filled) tires provide a smoother ride than solid plastic ones.
Choosing the right trailer isn’t just about comfort; it’s the foundation of your dog’s safety and their willingness to enjoy the ride. Take your time and invest in a quality product.
Other Essential Gear
Besides the trailer itself, you’ll need a few other items:
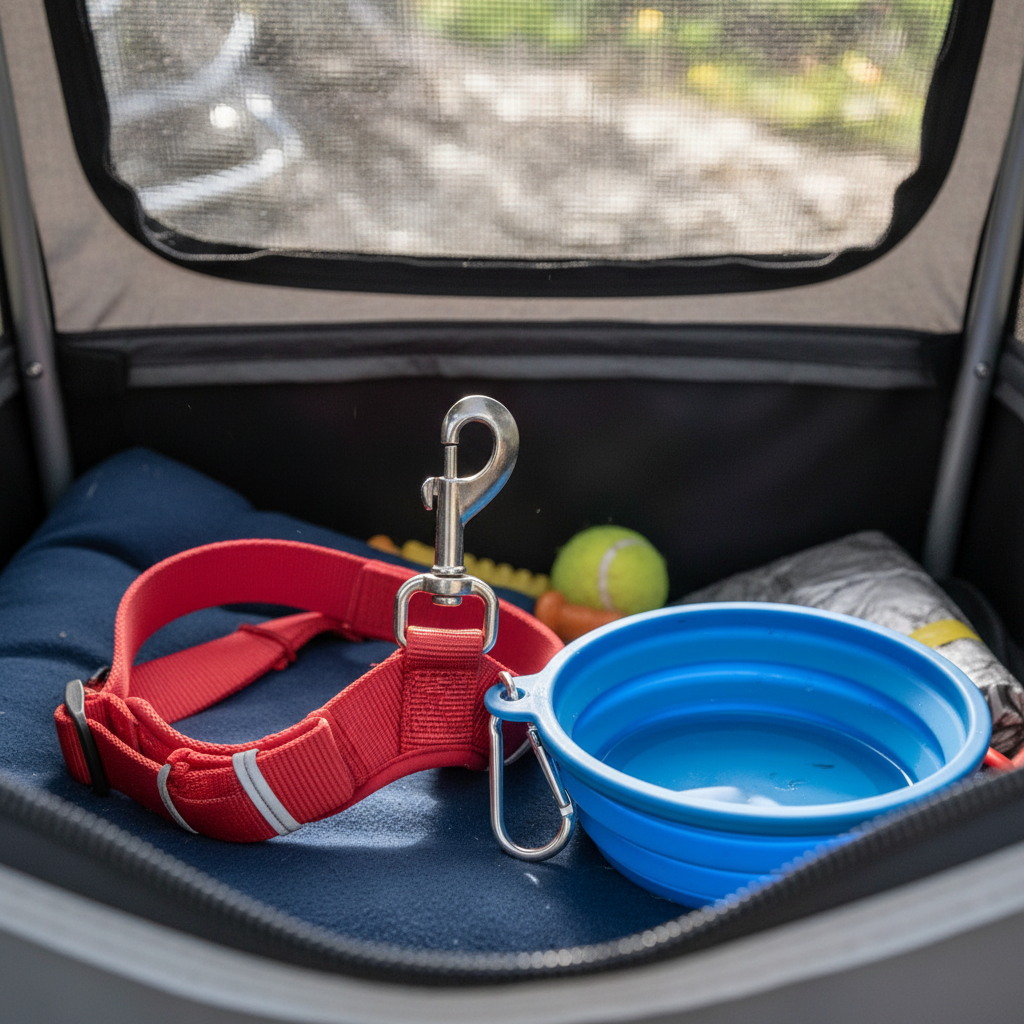
- A Comfortable Harness: Never attach the internal safety leash to your dog’s collar. A sudden stop or bump could cause serious injury to their neck. A well-fitting, comfortable harness is the only safe option.
- High-Value Treats: You’re going to need a stash of your dog’s absolute favorite treats—think small pieces of chicken, cheese, or special training treats. This is for building that all-important positive association!
- Water Bowl and Water: Always carry water for your dog, even on short rides. A collapsible bowl is a great, space-saving option.
Part 2: The Foundation – Making the Trailer a Happy Place
The golden rule of trailer training is this: the trailer itself must be a wonderful, non-scary thing before it ever starts to move. This phase is all about creating a powerful positive association. You want your dog to see the trailer and think, “Oh boy, that’s the magic box where treats and praise happen!” Rushing this step is the most common mistake people make.
Step 1: The Neutral Introduction
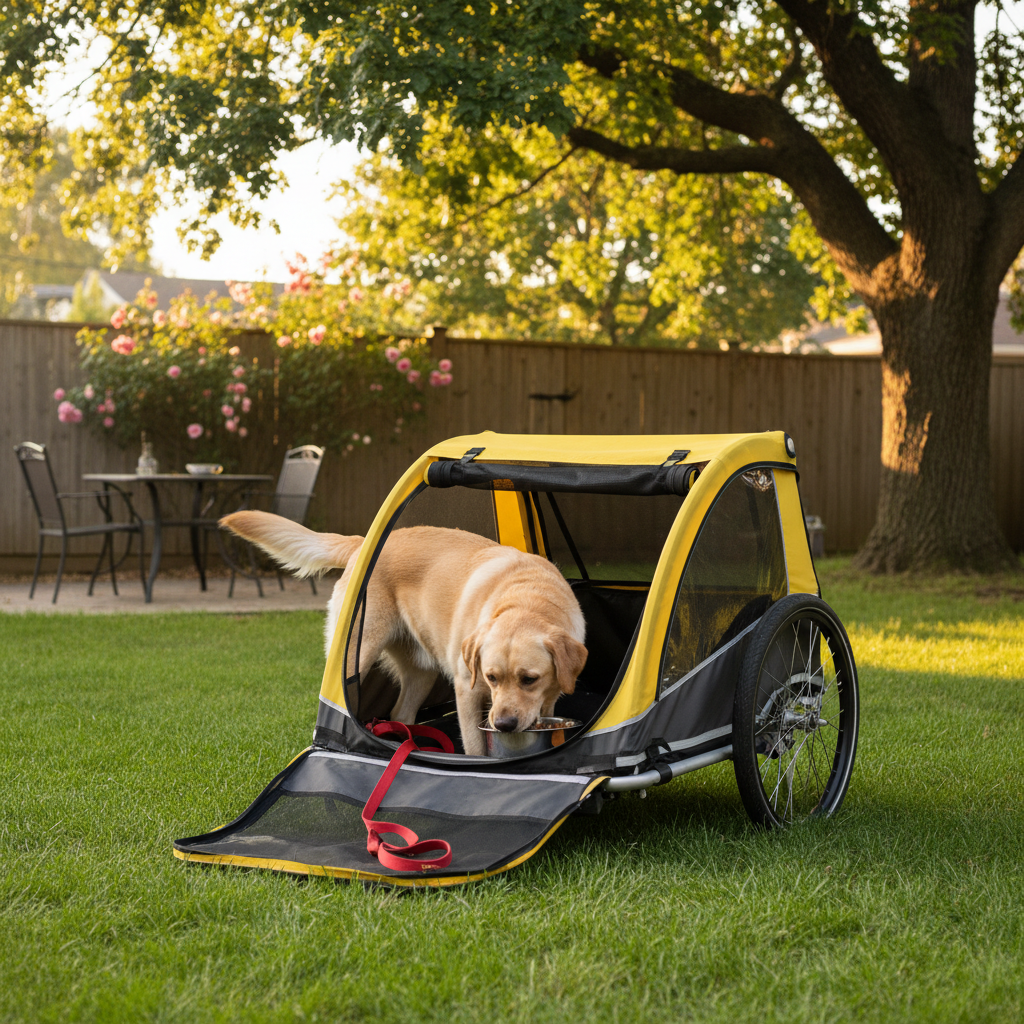
First, assemble the trailer and simply place it in a room where your family spends a lot of time, like the living room or backyard. Don’t draw attention to it. Just let it exist. For the first day or two, let your dog sniff it, walk around it, and get used to its presence on their own terms. Every time they calmly investigate it, toss a high-value treat near it.
Step 2: Making It a Treat Dispenser
Once your dog is comfortable with the trailer’s existence, start making it the source of all things good. With the doors and windows wide open, start tossing treats just inside the entrance. Let your dog poke their head in to get them. Gradually, toss the treats further and further inside, encouraging them to put one paw, then two, then all four paws inside to retrieve the reward. Don’t force them; let them choose to go in. Keep these sessions short (1-2 minutes) and always end on a positive note.
Step 3: Building Duration and Comfort
When your dog is confidently stepping all the way into the trailer for treats, you can start building duration. Ask them to get in, and then give them a steady stream of small treats or a long-lasting chew (like a bully stick or a frozen Kong) to enjoy while they are inside. You can also start feeding their meals inside the trailer with the door open. The goal is to have them happily relaxing in the stationary trailer. Practice zipping the mesh door closed for just a second, then opening it and giving a treat. Slowly increase the time the door is closed, always rewarding for calm behavior.
Part 3: Let’s Roll! A Step-by-Step Guide to Movement
Once your dog views the trailer as their personal V.I.P. lounge, it’s time to introduce the concept of movement. This must be done slowly and gradually. Remember to keep your energy calm and positive—your dog will feed off your confidence!
- Harness Up Inside: Before you add any motion, practice getting your dog into their harness and clipping the internal safety leash while they are inside the trailer. Reward them for their cooperation. The leash should be short enough to prevent them from jumping out, but long enough for them to sit, stand, and turn around.
- The First Wiggle: With your dog securely inside and the mesh door closed, gently and slowly pull the trailer by hand just a few inches forward, then stop. Immediately praise them and give them a treat through the mesh. Pull it a few inches back. Treat. Keep this up for a few minutes, rewarding for calm behavior. If they seem nervous, stop and go back a step.
- Attach to the Bike (Without the Dog): Your dog needs to get used to the sights and sounds of the trailer being attached to the bike. Have them watch from a distance as you hitch and unhitch the trailer. Let them sniff the connection point. This demystifies the process.
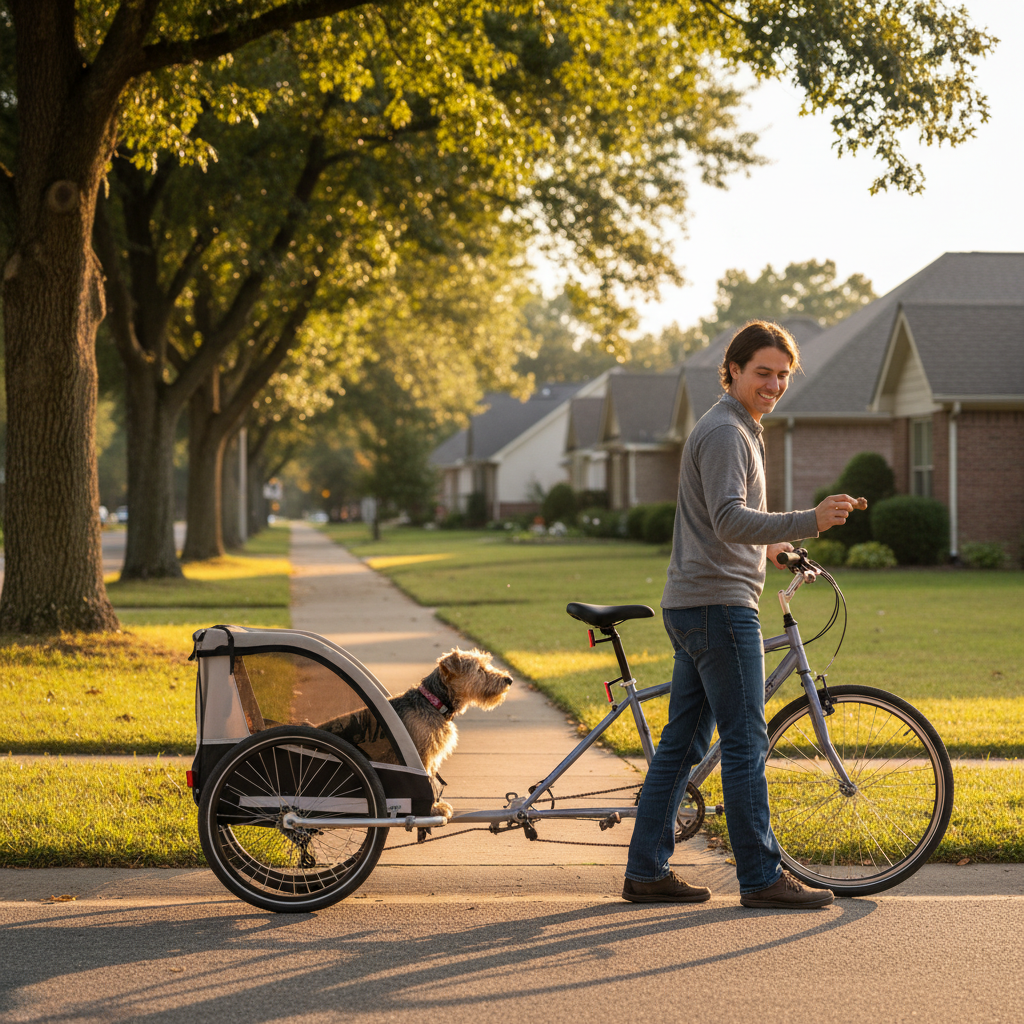
- The First Real Roll: Now for the big moment! With your dog securely inside, have a helper if possible—one person to walk the bike, one to monitor and reward the dog. Walk the bike and trailer just a few feet down your driveway or a quiet sidewalk. Stop, praise, and treat lavishly. Turn around and walk back. That’s it for the first session! Keep it incredibly short and successful.
- Getting on the Bike: Once your dog is calm with you walking the bike, it’s time for you to get in the saddle. Don’t even pedal at first. Just sit on the bike with your feet on the ground and get your dog used to that new picture. Then, pedal very slowly for 10-20 feet on a safe, flat, quiet surface. Stop. Lavish praise and treats.
- Gradually Increase Distance and Speed: Over many sessions, slowly increase the distance and your speed. Start with short trips around the block. Pay close attention to your dog’s body language. Are they relaxed? Are they panting excessively or whining? Always end the ride before they get stressed. Make the destination fun, like a trip to their favorite park, so they associate the trailer with a great payoff.
Part 4: Safety First! Essential Rules for Every Ride
Training is only half the battle; safety is an ongoing priority for every single ride. Keeping these rules in mind will ensure your cycling adventures are fun and incident-free for everyone.
| Safety Category | Key Considerations |
|---|---|
| Weather Awareness | Dogs can overheat very quickly in a trailer, which acts like a small greenhouse. Avoid riding in the heat of the day. If it’s too hot for you to be comfortable, it’s definitely too hot for them. Always ensure maximum ventilation. |
| Hydration is Key | Always bring more water than you think you’ll need. Plan for frequent water breaks, stopping every 20-30 minutes to offer your dog a drink, especially on warmer days. |
| Secure Your Pup | Always use a harness and the internal safety tether. Double-check that the hitch connecting the trailer to your bike is secure before every single ride. Ensure all zippers on the trailer are fully closed. |
| Route Planning | Stick to bike paths, quiet neighborhood streets, and smooth trails, especially when you’re starting out. Avoid busy roads with heavy traffic. Be mindful of bumps, potholes, and sharp turns, taking them slowly and giving your dog a verbal cue like “bumpy spot!” |
| Visibility | Always use the safety flag that comes with the trailer. Ensure your reflectors are clean and consider adding extra flashing LED lights to both your bike and the trailer for maximum visibility, especially during dawn or dusk. |
| Pacing and Duration | Keep initial rides short and sweet. Build up duration gradually as your dog’s comfort and your own fitness level increase. Watch for signs of stress or boredom and know when to call it a day. |
Part 5: Troubleshooting Common Challenges
Even with the best training plan, you might hit a few bumps in the road. Don’t worry, it’s completely normal! Here’s how to handle some common challenges with patience and positivity.
“My dog refuses to get in the trailer.”
This almost always means you’ve moved too fast and need to go back to building a stronger positive association. Take a break from training for a few days. Then, restart the foundation work. Make the trailer a magical place again. Feed every single meal in there. Play fun games around it. Make it the only place they get that super-special, high-value chew. Don’t try to lure or force them in; make it their choice. The key is to rebuild their confidence that the trailer is a safe space.
“My dog whines or barks during the ride.”
Whining or barking is a sign of stress, anxiety, or possibly boredom. First, assess the cause. Is the ride too bumpy? Are they hot? Do they need a potty break? Try to address any physical discomfort first. If it seems to be anxiety, you need to shorten your rides dramatically. Go back to the point where they were successful and calm (even if it was just 10 feet!) and build up again, but much more slowly. For boredom, try bringing a favorite chew toy in the trailer with them (one that is safe for them to have unsupervised).
“My dog tries to chew or claw their way out.”
This is a more serious sign of panic. You must stop immediately and let your dog out. This behavior means they feel trapped and unsafe. You’ll need to take a significant step back in your training. Go all the way back to making the stationary trailer a happy place with the door wide open. You need to work for much longer on building their confidence inside with the door closed before you even think about adding motion again. This process could take several weeks, and that’s okay. Forcing the issue will only make the fear worse.
Expert Tip: If your dog is showing extreme fear or anxiety that you can’t resolve with these steps, consider consulting a certified positive reinforcement dog trainer. They can provide a customized plan and help you and your dog overcome the hurdles safely.
Conclusion
Training your dog to ride in a bike trailer is a journey, not a race. It’s an exercise in patience, observation, and celebrating the small victories along the way. By focusing on creating a foundation of trust and positive reinforcement, you’re not just teaching your dog a new skill—you’re strengthening your bond with them.
Remember the core principles: choose the right gear, make the trailer a happy place before it moves, introduce motion gradually, and always, always prioritize safety. Before you know it, you’ll be sharing miles of smiles, exploring new trails, and creating unforgettable memories together.
So, get your gear ready, stock up on treats, and start your adventure. Happy cycling to you and your furry co-pilot!