Have you ever looked at your dog and thought, ‘There’s a little artist in there’? Well, you might be right! Welcome to the wonderful, wacky world of dog lick painting—a fantastic enrichment activity that’s taking the pet world by storm. It’s a chance for your furry friend to create a one-of-a-kind masterpiece, and all it takes is some dog-safe paint, a canvas, a plastic bag, and their favorite sticky treat (hello, peanut butter!).
This isn’t just about making a mess (though there’s a certain joy in that, too!). Dog lick painting is an incredible way to bust boredom, provide mental stimulation, and build your bond. It taps into your dog’s natural licking behavior, which is a self-soothing action, making this a calming and rewarding experience. So, roll up your sleeves, grab the peanut butter, and let’s get ready to turn your pup into the next Pup-casso!
First, What Exactly is Dog Lick Painting?

Before we dive into the ‘how-to,’ let’s talk about the ‘what-is.’ Dog lick painting is a form of canine enrichment that allows your dog to create abstract art. The concept is simple and, most importantly, safe and fun for your pet.
Here’s the breakdown: You’ll place dabs of non-toxic, water-based paint onto a small canvas. Then, you’ll securely place the canvas inside a heavy-duty, sealed plastic bag. The final touch? Smear a thin layer of a lickable, dog-safe treat like xylitol-free peanut butter or plain yogurt on the outside of the bag, right over where the canvas is. As your dog licks the bag to get the treat, their tongue pushes the paint around underneath, creating a unique piece of abstract art. Your dog gets a tasty, engaging activity, and you get a beautiful memento of your fun time together. It’s a win-win!
Why It’s More Than Just a Fun Mess
This activity is a powerhouse of benefits packed into one simple craft:
- Mental Stimulation: It encourages problem-solving (How do I get all this yummy stuff?) and engages their senses, which can be just as tiring as a long walk.
- Anxiety Reduction: Licking is a natural calming behavior for dogs. The repetitive motion can release endorphins, helping to soothe an anxious or stressed-out pup.
- Confidence Building: Successfully ‘completing’ a task and creating something gives your dog a sense of accomplishment.
- Perfect for All Dogs: This is a low-impact activity, making it ideal for senior dogs, dogs with limited mobility, or those recovering from an injury. It’s also great for high-energy pups on a rainy day when you can’t get outside for exercise.
Gathering Your Pawsitively Perfect Art Supplies
Ready to set up your dog’s first art studio? Getting the right supplies is key to a safe and successful painting session. Here’s your complete checklist. Remember, safety is the number one priority, so we’ll pay special attention to choosing pet-friendly materials.
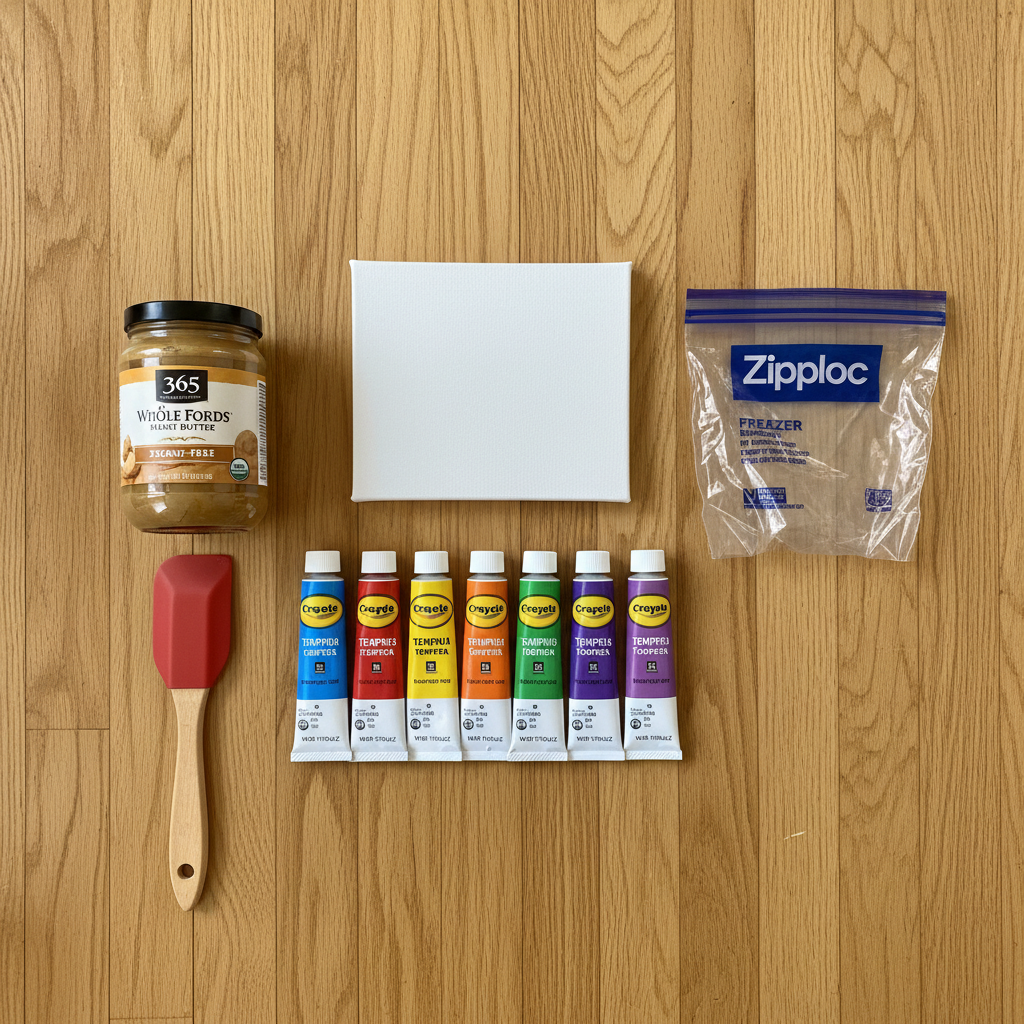
The Essential Checklist:
- Canvas: A small, flat canvas panel works best. Something in the 5×7 or 8×10 inch range is a great starting point. Avoid the stretched canvases on wooden frames, as the uneven surface can be frustrating for your dog to lick over.
- Dog-Safe, Non-Toxic Paint: This is the most critical item on the list. You need to use paints that are completely safe for your pet. Look for kids’ tempera or finger paints that are labeled ‘non-toxic’ and ‘water-based.’ Crayola and RoseArt are popular, reliable brands. You can even make your own using natural food coloring and a cornstarch or flour base.
- Heavy-Duty Ziploc Bag: You’ll need a freezer-grade, gallon-size resealable bag. It needs to be tough enough to withstand enthusiastic licking and potential pawing without ripping. Double-check that the seal is strong!
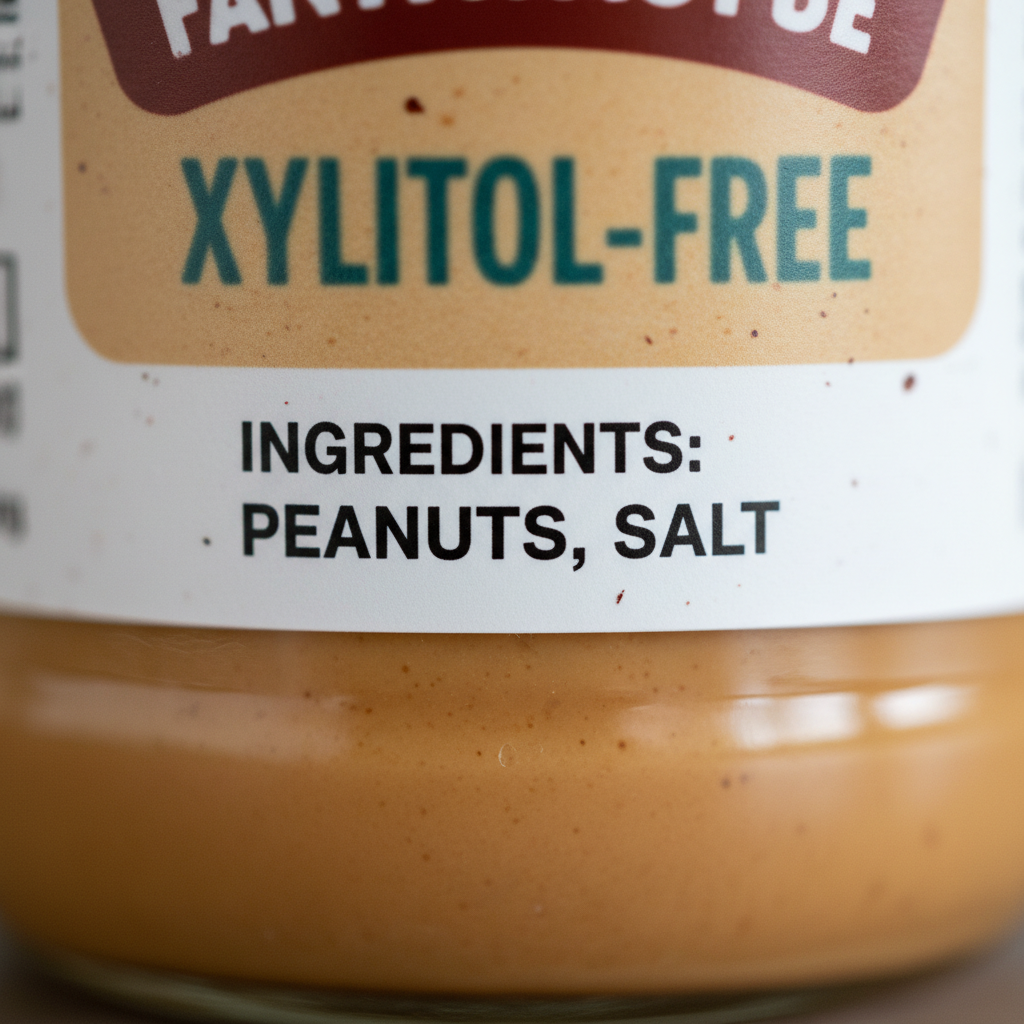
- The Lure (Your Dog’s Favorite Treat): The magic ingredient! Xylitol-free peanut butter is the classic choice. ALWAYS check the label to ensure there is NO XYLITOL, as it is extremely toxic to dogs. Other great options include plain Greek yogurt, cream cheese, or a meat-based baby food puree.
- A Spatula or Spoon: For spreading the peanut butter evenly across the bag.
- Optional Extras: Towels or an old sheet to protect your floor, and some treats to reward your pup for their patience while you set up.
Expert Tip: When choosing peanut butter, look for natural brands with the fewest ingredients—ideally just peanuts and salt. The runnier texture is often easier to spread and lick, too!
The Step-by-Step Masterpiece Method
Alright, the studio is prepped, the artist is waiting (and probably drooling a little). It’s time to create a masterpiece! Follow these simple steps for a flawless and fun painting experience.
- Step 1: Prep Your Canvas. Squeeze small dabs of different colored paints directly onto the canvas. Don’t overthink it! A few random blobs and squiggles are perfect. Try not to use too much paint, as it can get muddy. A pea-sized amount for each color is plenty for a small canvas.
- Step 2: Bag the Art. Carefully slide the paint-dotted canvas into the Ziploc bag. Try not to smudge the paint as you do this. Press out as much air as possible and seal the bag tightly. A good seal is crucial to prevent any paint from leaking out.
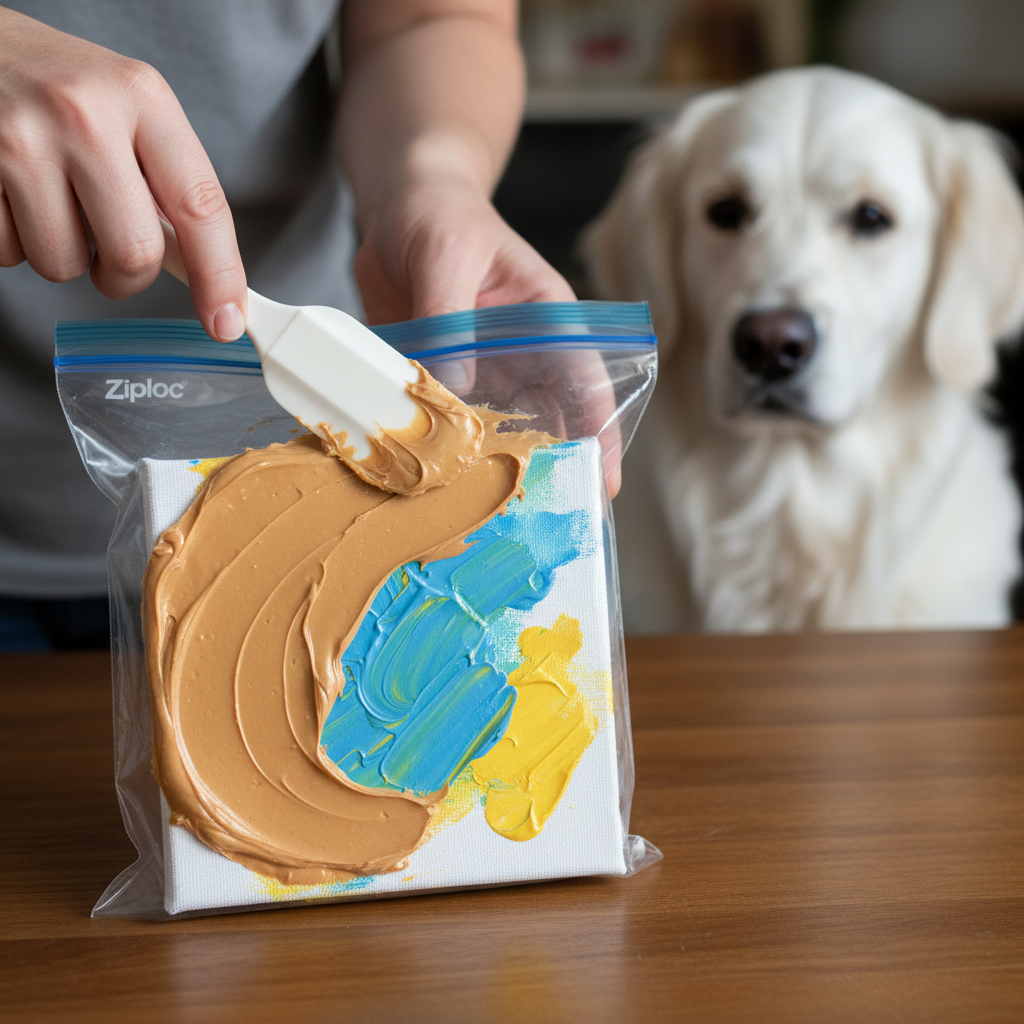
- Step 3: Lay the Bait. Plop a generous spoonful of your chosen lickable treat (like that yummy, xylitol-free peanut butter) onto the outside of the bag, directly over the canvas area.
- Step 4: Spread it Out. Use your spatula to spread the treat into a thin, even layer across the surface of the bag where the canvas is. This encourages your dog to lick all over, ensuring the paint gets nicely distributed.
- Step 5: Let the Artist Work! Place the bag on the floor (on top of a towel if you’re worried about mess) and invite your dog over. Let them go to town! They will lick and lick, and as they do, their tongue will push the paint around into a beautiful, unique design. Supervise them to make sure they don’t try to chew or bite the bag.
- Step 6: The Grand Reveal. Once your pup has licked most of the treat off or seems to be losing interest, the session is over. Take the bag away, carefully open it, and slide the canvas out. Voilà! You have a work of art.
- Step 7: Let it Dry. Place the wet painting somewhere safe and out of reach of your dog to dry completely. This can take anywhere from a few hours to a full day, depending on how much paint was used. Once dry, you can even seal it with a pet-safe sealant spray if you want to preserve it forever.
Pro Tips for a Pawsome Painting Session
Want to make your dog’s art experience as smooth and enjoyable as possible? Keep these handy tips in mind to become the ultimate canine art director.
Choosing the Right Time and Place
Set your dog up for success by picking a time when they are calm but engaged. Avoid trying this when they have a case of the zoomies or when they’re super sleepy. A quiet area of your home with minimal distractions is best. Laying down an old towel or blanket can help define the ‘art space’ and make cleanup a breeze.
Keep it Short and Sweet
For your dog’s first few sessions, keep them brief—maybe just 5-10 minutes. The goal is to end the activity while they’re still having fun, not when they get bored or frustrated. This keeps the association positive and makes them excited for the next time you bring out the art supplies.
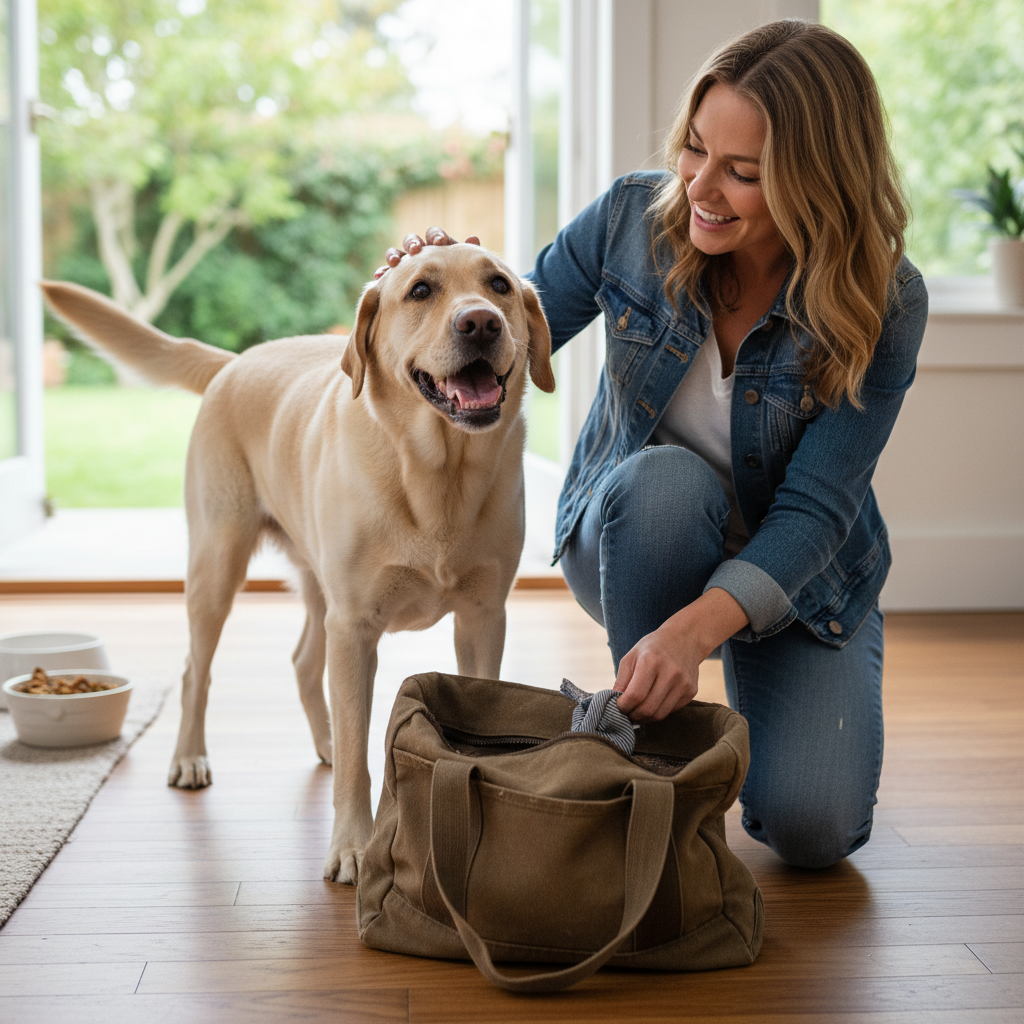
Positive Reinforcement is Key
Praise your dog enthusiastically while they’re painting! Use a happy, encouraging tone of voice. Let them know what a brilliant artist they are. This isn’t a training exercise with commands; it’s pure, positive fun. The treat is the primary reward, but your praise adds another wonderful layer to the experience.
What If My Dog Tries to Chew the Bag?
Supervision is non-negotiable. If your dog starts to bite, paw aggressively, or chew the bag, calmly interrupt them and take the bag away for a moment. You can say ‘ah-ah’ in a neutral tone. Offer it back and praise them for gentle licking. If the chewing persists, end the session for the day and try again another time. The goal is licking, not shredding!
Creative Idea: Experiment with different color palettes! Try warm colors like reds, oranges, and yellows for one painting, and cool colors like blues, greens, and purples for another. You can even create holiday-themed art with festive colors.
Safety First! A Deep Dive into Dog-Safe Materials
While dog lick painting is incredibly fun, the fun stops if it’s not safe. Your dog’s well-being is the top priority. Let’s take a closer, more detailed look at how to ensure every material you use is 100% pet-friendly.
The Paint: What ‘Non-Toxic’ Really Means
The ‘non-toxic’ label is your best friend here. Specifically, you’re looking for paints that conform to ASTM D-4236 standards. This means they’ve been reviewed by a toxicologist and deemed safe for use by children, which is the closest standard we have for pet-safe art supplies.
- Good Choices: Children’s tempera paint or finger paint. Brands like Crayola, Melissa & Doug, and RoseArt are widely available and trusted.
- What to Avoid: Steer clear of any acrylics, oils, or craft paints meant for adults. Even if they are water-based, they can contain chemicals and pigments that could be harmful if ingested, even through the barrier of a bag.
DIY Dog-Safe Paint Recipe
If you’d rather go the homemade route, it’s super easy! You have full control over the ingredients.
- In a bowl, mix 1 cup of cornstarch or flour with 1 cup of cold water until it forms a smooth paste.
- Gradually stir in 3 cups of hot water until the mixture is thick and smooth.
- Divide the mixture into several small containers.
- Add a few drops of different all-natural food coloring to each container and mix well.
- Let it cool completely before using. Store in the fridge for up to two weeks.
The Treat: The Xylitol Danger is REAL
We can’t stress this enough: You must use peanut butter that is 100% free of xylitol. Xylitol is a sugar substitute that is perfectly safe for humans but is extremely poisonous to dogs. It can cause a rapid drop in blood sugar and liver failure, which can be fatal. It’s often found in ‘sugar-free’ or ‘low-sugar’ products, so read every label carefully. When in doubt, choose a different brand or a different treat altogether, like plain canned pumpkin or plain yogurt.
| Safe Lickable Treats | Treats to AVOID |
|---|---|
| Xylitol-Free Peanut Butter | Peanut Butter with Xylitol |
| Plain Greek Yogurt | Yogurt with artificial sweeteners |
| Canned Pumpkin Puree (100% pumpkin) | Chocolate, pudding, or anything with sugar |
| Meat-based Baby Food (no onion/garlic) | Anything containing onion or garlic powder |
| Cream Cheese (in moderation) | High-fat or sugary spreads |
Conclusion
And there you have it—everything you need to know to host a successful and safe painting paw-ty for your furry best friend! Dog lick painting is so much more than a quirky craft; it’s a beautiful way to enrich your dog’s life, stimulate their mind, and create a lasting memory you can hang on your wall. It celebrates your dog’s unique personality and reminds us that the simplest activities can bring the most joy.
So, the next time you’re looking for a new way to bond or a solution for a rainy day, remember this guide. We’d absolutely love to see what your little artists create! Share a photo of your dog with their masterpiece on social media and tag us. Happy painting!