Ah, the Elizabethan collar. We’ve all seen the cartoons and memes of sad-looking dogs bumping into walls, their faces the epitome of misery. It’s been dubbed the ‘cone of shame,’ and let’s be honest, no one looks forward to the day their furry friend has to wear one. But here’s the thing: that cone isn’t about shame; it’s about safety. It’s a crucial medical tool that prevents your puppy from licking, biting, or scratching at a wound, incision, or hot spot, ensuring they heal properly and without complications.
But what if we could rebrand it? What if, instead of being a source of stress and anxiety, the e-collar could be just another accessory for your pup? It might sound impossible, but with a little bit of patience, a whole lot of tasty treats, and the power of positive reinforcement, you can completely change your puppy’s perception of the cone. This guide is here to walk you through, step-by-step, how to turn this necessary medical device into a non-event, or maybe even a fun game, for your little one. Let’s ditch the ‘shame’ and get ready to make that cone a temporary crown for your healing pup!
Step 1: Gathering Your Supplies – More Than Just a Cone!
Before you even think about introducing the cone to your puppy, it’s time to set yourself up for success. Think of this as preparing your toolkit for a fun new training game. Having everything ready and within arm’s reach will make your training sessions smooth, positive, and effective. The goal is to have so many wonderful things associated with the cone that your puppy barely notices the cone itself!
Your Cone-Training Toolkit:
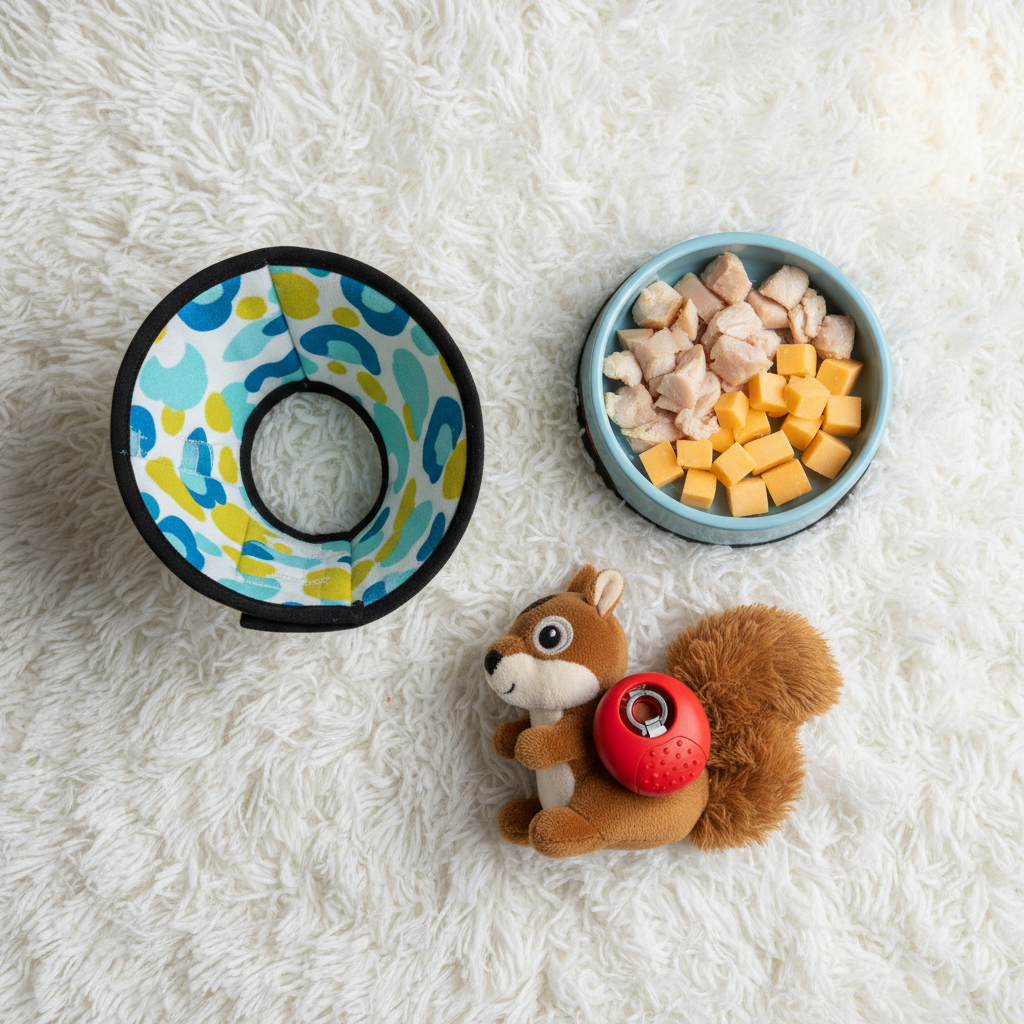
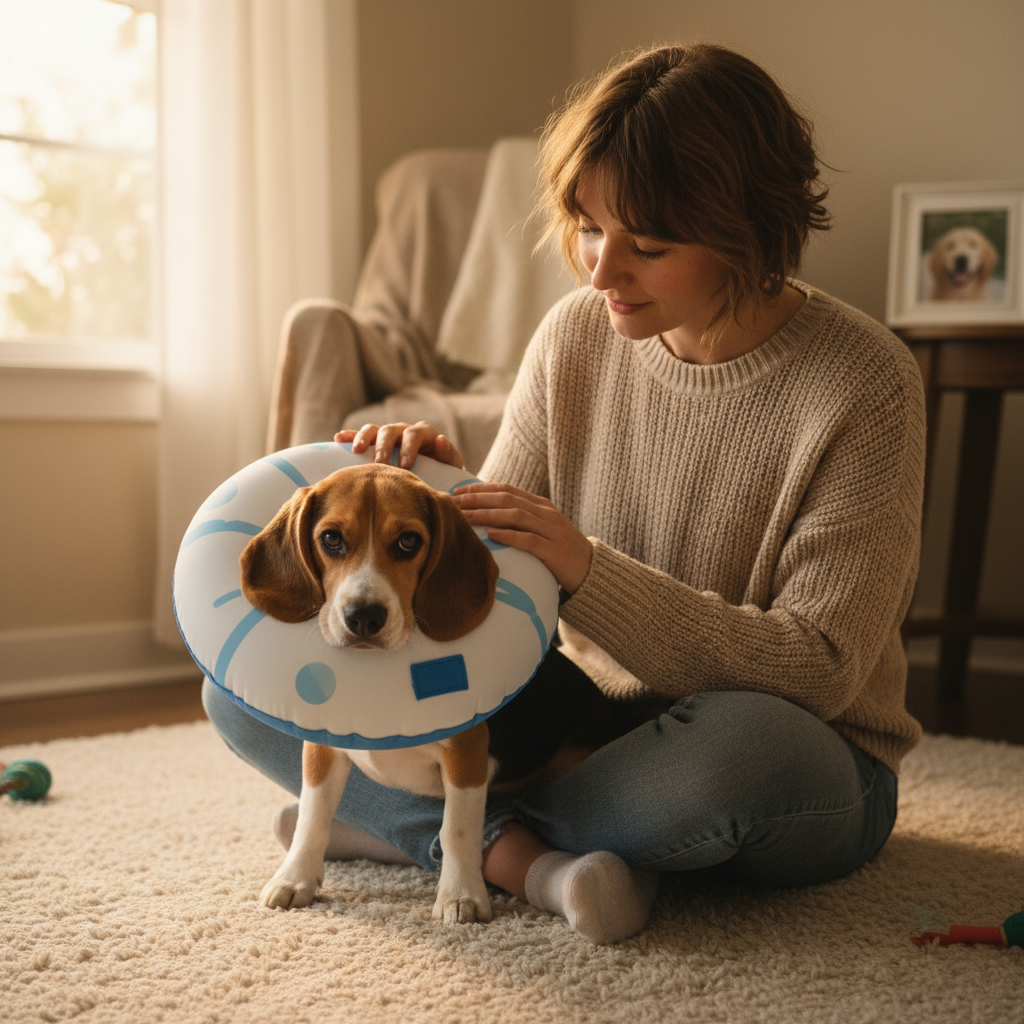
- A Properly Fitted E-Collar: This is non-negotiable. A collar that’s too tight can be uncomfortable and dangerous, while one that’s too loose can be easily slipped off. When in doubt, ask your vet for help with sizing. Consider the different types available—while the clear plastic cone is standard, many puppies find softer fabric cones or inflatable ‘donut’ collars much more comfortable.
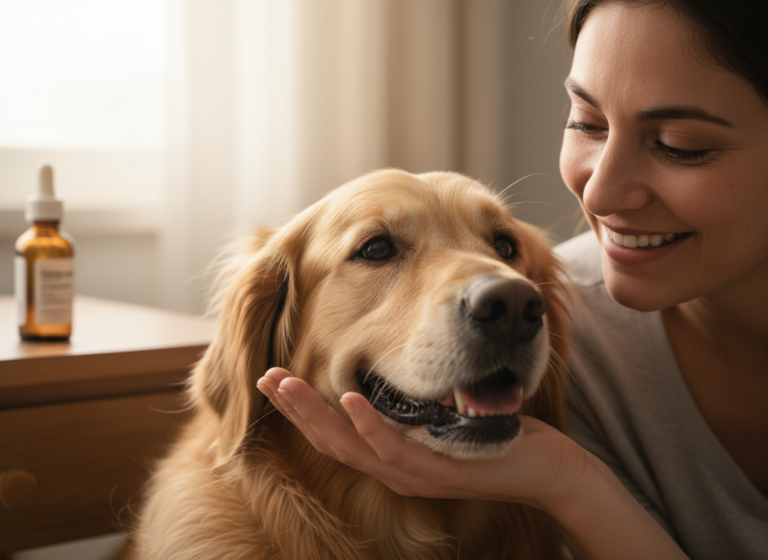
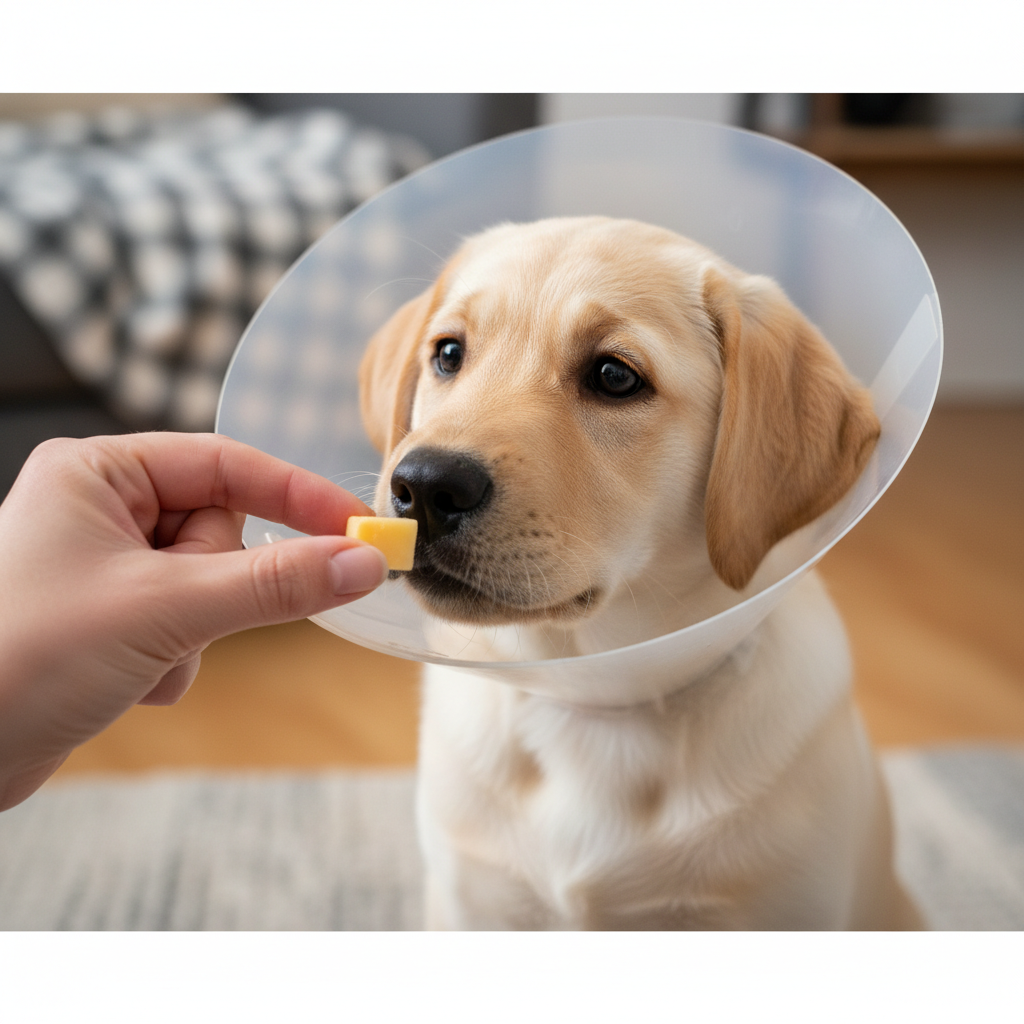
- High-Value Treats: We’re not talking about their everyday kibble here. You need the good stuff! Think tiny pieces of cooked chicken, small cubes of cheese, dog-safe peanut butter on a spoon, or those super smelly, super special training treats they go wild for. The higher the value, the stronger the positive association.
- Favorite Toys: Does your puppy have a squeaky toy they can’t resist or a tug rope that’s their pride and joy? Have it ready! Toys are fantastic for distraction and for turning a training session into playtime.
- A Clicker (Optional): If your puppy is already clicker-trained, this is a fantastic tool to use. The clicker allows you to mark the exact moment your puppy does something right (like sniffing the cone!), making your communication crystal clear.
- A Comfortable, Familiar Space: Choose a quiet area of your home where your puppy feels safe and relaxed, like the living room or their favorite play mat. Avoid areas with a lot of foot traffic or loud noises that could add stress to the situation.
Expert Tip: If you know your puppy has a surgery scheduled, start this training process a week or two before the procedure. This proactive approach removes the pressure and helps your puppy build a positive foundation with the collar long before it becomes a medical necessity.
Step 2: The Grand Introduction – Love at First Sniff
First impressions are everything, especially for a curious and sensitive puppy. Our goal in this step is to introduce the e-collar as a completely neutral—or even better, a wonderful—object. We will not be putting it on them yet. This entire stage is about letting your puppy investigate on their own terms and rewarding every single bit of curiosity they show. Remember, keep these sessions short (just 2-3 minutes at a time) and always end on a positive note!
Making a Fantastic First Impression:
- Place it on the Floor: Simply set the e-collar on the ground in your chosen training space. Don’t push it towards your puppy or make a big deal out of it. Just let it exist in their environment.
- Reward Curiosity: The moment your puppy looks at the cone, say “Yes!” in an excited voice (or click your clicker) and toss them a treat. If they take a step towards it, “Yes!” and treat. If they sniff it, “Yes!” and a jackpot of treats! You are teaching them that interacting with this strange new object makes amazing things happen.
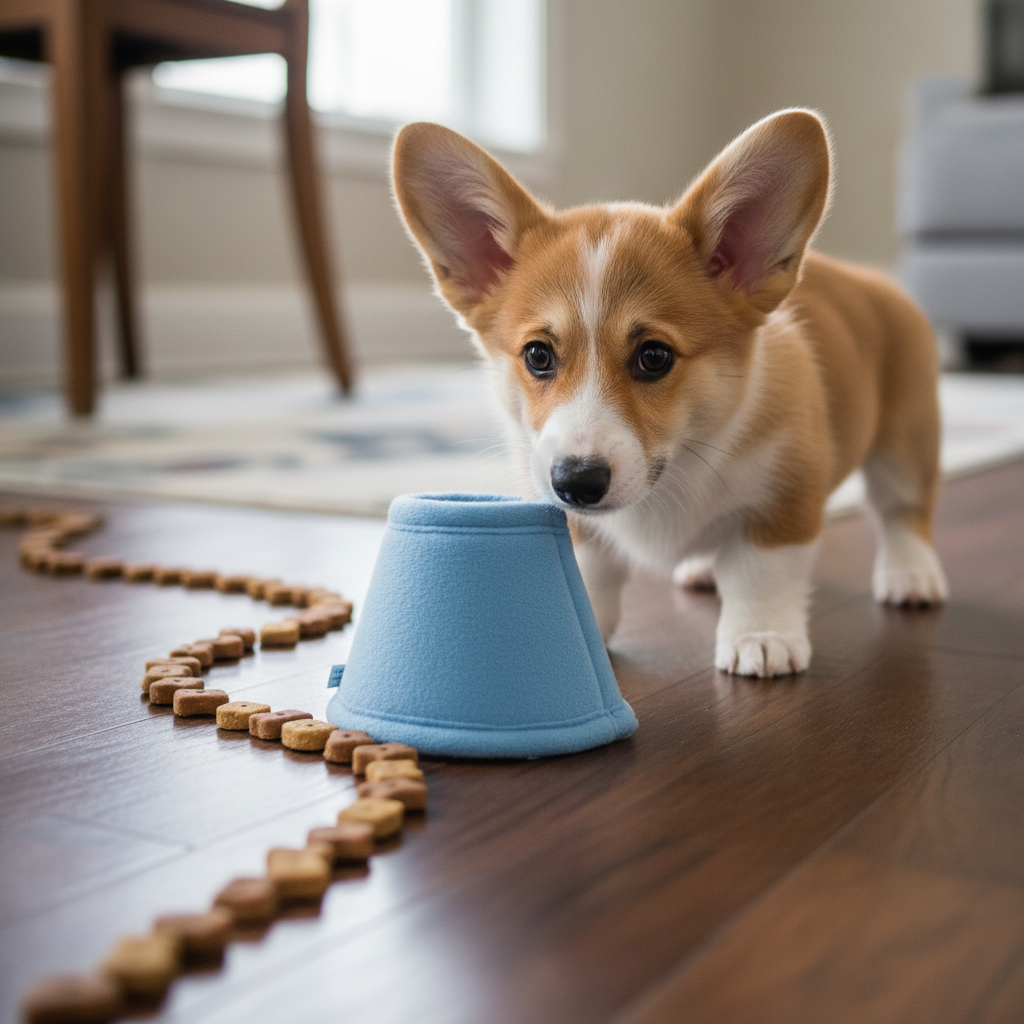
- Create a Treat Trail: Once they seem comfortable being near it, place a few treats in a little trail leading up to the cone. Then, place a few treats around the base of the cone. This encourages them to get closer and continue building that positive association.
- The Cone is a Food Bowl: For the grand finale of this step, place a super high-value treat right inside the cone, near the wide opening. Let your puppy reach their head in slightly to get it. You’re not putting it on them; you’re turning the cone into a magical treat dispenser.
Patience is your best friend here. Some puppies will dive right in, while others might be more hesitant. Go at your puppy’s pace. If they seem nervous, just go back to rewarding them for simply looking at it from a distance. The key is to make it 100% their choice and 100% positive.
Step 3: Let’s Play! Turning the Cone into a Toy
Now that your puppy understands that the cone is a source of delicious treats, it’s time to level up and make it an active part of your games. The goal here is to get your puppy so excited about the ‘cone game’ that they voluntarily put their head through the opening without a second thought. This step is all about building enthusiasm and voluntary cooperation. It should feel like you’re teaching them a fun new party trick!
From Cone-Feeder to Fashion Accessory:
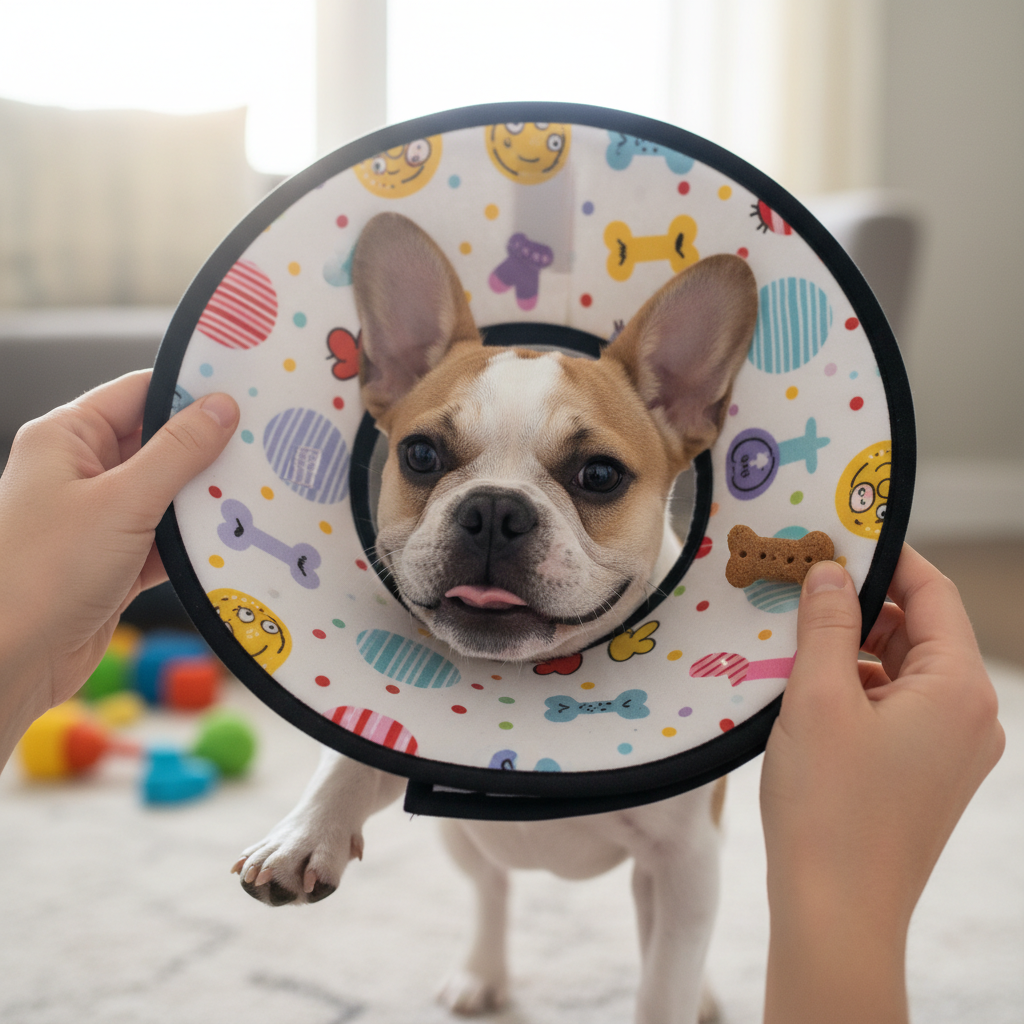
- Hold the ‘Hoop’: Sit on the floor with your puppy. Hold the e-collar up like a hoop, with the wide opening facing them. Use a high-value treat to lure their nose, then their head, through the opening. The second their head is through, “Yes!” and give them the treat. Don’t fasten it; just let them pull their head right back out. Repeat this several times, making it a fast-paced and exciting game.
- Add a Cue: Once they’re eagerly poking their head through, you can add a verbal cue like “Cone on!” or “Through!” right before you lure them. This helps them understand what you’re asking them to do.
- Playtime Integration: Start incorporating the cone into playtime. Toss a soft toy through the cone ‘hoop’ for them to fetch. Play a gentle game of tug-of-war with the rope toy held on the other side of the cone. The more the cone is just ‘part of the fun,’ the less they will ever see it as something to be worried about.
Get Creative: This is a great time to decorate the cone! Use non-toxic, pet-safe markers or stickers to turn it into a flower, a lion’s mane, or a superhero shield. Involving the whole family in making the cone look fun and special can help change everyone’s mindset about it.
Step 4: The First Fitting – Short, Sweet, and Full of Rewards
This is the moment we’ve been building up to: actually fastening the cone. Thanks to all your hard work in the previous steps, this should be much less stressful than you ever imagined. The golden rule for this step is to keep the duration incredibly short at first and the reward level incredibly high. We want to remove the cone before your puppy has a chance to feel anxious or trapped.
The Treat Party Protocol:
- Cue and Fasten: Use your verbal cue (“Cone on!”) and lure your puppy’s head through the collar as you’ve been practicing. This time, calmly and quickly fasten it. Make sure it’s secure but not too tight.
- IMMEDIATE Treat Party: The very second the cone is fastened, let the treats rain from the heavens! Start feeding your puppy a steady stream of their absolute favorite high-value treats, one right after the other. Use lots of happy praise like “Good boy! You’re amazing!” Keep this up for just 5-10 seconds.
- Remove and Release: Before the treats stop and before your puppy shows any signs of stress (like pawing at the cone or freezing), unfasten the collar and remove it. The moment it’s off, give them one final treat and lots of praise, then end the session with a minute of playtime.
- Gradually Increase Duration: Repeat this process in short sessions throughout the day. With each successful repetition, slowly increase the duration by a few seconds. Go from 10 seconds to 15, then to 20, then to 30. If your puppy ever seems stressed, you’ve moved too fast. Simply go back to a shorter duration where they were successful and practice there a few more times before moving forward.
This methodical process teaches your puppy that wearing the cone means a non-stop party of amazing treats, and that it always comes off before things get scary. You are building a crucial foundation of trust.
Step 5: Troubleshooting Common Cone Calamities
Even with the best training, you might run into a few bumps in the road. Life with a cone-wearing puppy comes with a learning curve for both of you! The key is to stay calm, be patient, and remember that this is a temporary situation. Here’s how to handle some common challenges and a look at your collar options.
Common Problems and Solutions:
- My puppy freezes and won’t move! This is a very common reaction called ‘learned helplessness.’ They feel stuck and just shut down. Don’t panic. Coax them with a favorite toy or a tasty treat to encourage a few steps. Guide them around gently. Keep their time in the cone short and full of positive things to rebuild their confidence.
- My puppy keeps bumping into everything! Your puppy’s spatial awareness is temporarily off. Help them learn their new dimensions. Guide them through doorways and around furniture legs. You may need to temporarily move some furniture or block off tricky areas to make navigation easier.
- How can they eat or drink? This is a big one. The cone can make it difficult to reach their bowls. The easiest solution is to elevate their food and water bowls on a stool or in a raised feeder so they can reach them without the cone hitting the floor.
- My puppy seems so depressed. It’s true, wearing a cone is no fun. Counteract this by increasing enrichment. Use puzzle toys, play gentle indoor games, and spend extra time on cuddles and grooming (on the parts you can reach!). A happy, engaged mind can make a world of difference.
Choosing the Right Cone for Your Pup
Not all e-collars are created equal. The best choice depends on your puppy’s temperament, the location of their injury, and your lifestyle. Here’s a quick comparison:
| Collar Type | Pros | Cons |
|---|---|---|
| Traditional Plastic Cone | Most effective for preventing access to all body parts; durable; often cheapest option from vet. | Can be cumbersome; limits vision and hearing; loud when it bumps into things; can be stressful for some dogs. |
| Soft Fabric Cone | More comfortable for sleeping; flexible and quieter; less intimidating for the dog. | May not be rigid enough to prevent a determined dog from reaching certain areas (like paws or tail). Vision is still blocked. |
| Inflatable ‘Donut’ Collar | Allows full peripheral vision; comfortable for resting; doesn’t bump into things as much. | Does not protect eyes, ears, or face; a flexible dog may still be able to reach back legs, tail, or paws. |
Conclusion
The e-collar doesn’t have to be a miserable experience for your puppy or a stressful one for you. By shifting your perspective from ‘cone of shame’ to ‘cone of safety’ and investing a little time in positive, proactive training, you can make a world of difference. You’re not just teaching your puppy to tolerate a medical device; you’re building trust, strengthening your bond, and equipping them with the resilience to handle future health needs with confidence.
Remember to be patient with your puppy and with yourself. Every small step forward is a victory. Soon enough, the cone will come off, the wound will be healed, and this will all be a distant memory—a memory not of shame or sadness, but of a time you and your amazing pup worked together as a team to get through a challenge. And that’s something to be proud of.