Have you ever watched a dog on TV perform a series of amazing tricks and thought, ‘My dog could never do that!’? Well, I’m here to tell you that your dog absolutely can, and the secret weapon you’ve been looking for might just be a tiny plastic box that makes a simple ‘click’ sound. Welcome to the world of clicker training! It’s not magic, it’s science, and it’s one of the most effective, fun, and bond-building ways to communicate with your canine companion.
Clicker training is a form of positive reinforcement training. The ‘click’ acts as a precise marker, telling your dog the exact moment they did something right. It’s like a snapshot of a correct behavior, instantly followed by a reward (usually a tasty treat). This clear communication cuts through confusion, speeds up learning, and turns training sessions from a chore into a game you both love to play. In this guide, we’re going to walk you through everything you need to know, from picking the right gear to teaching your first trick and troubleshooting common hiccups. Get ready to be amazed by what your dog can learn!
Gearing Up for Success: What You’ll Need
Before we can start clicking our way to new tricks, we need to gather a few simple tools. The great news is that getting started with clicker training is incredibly affordable and straightforward. You don’t need a lot of fancy equipment, just a few key items and a boatload of enthusiasm!
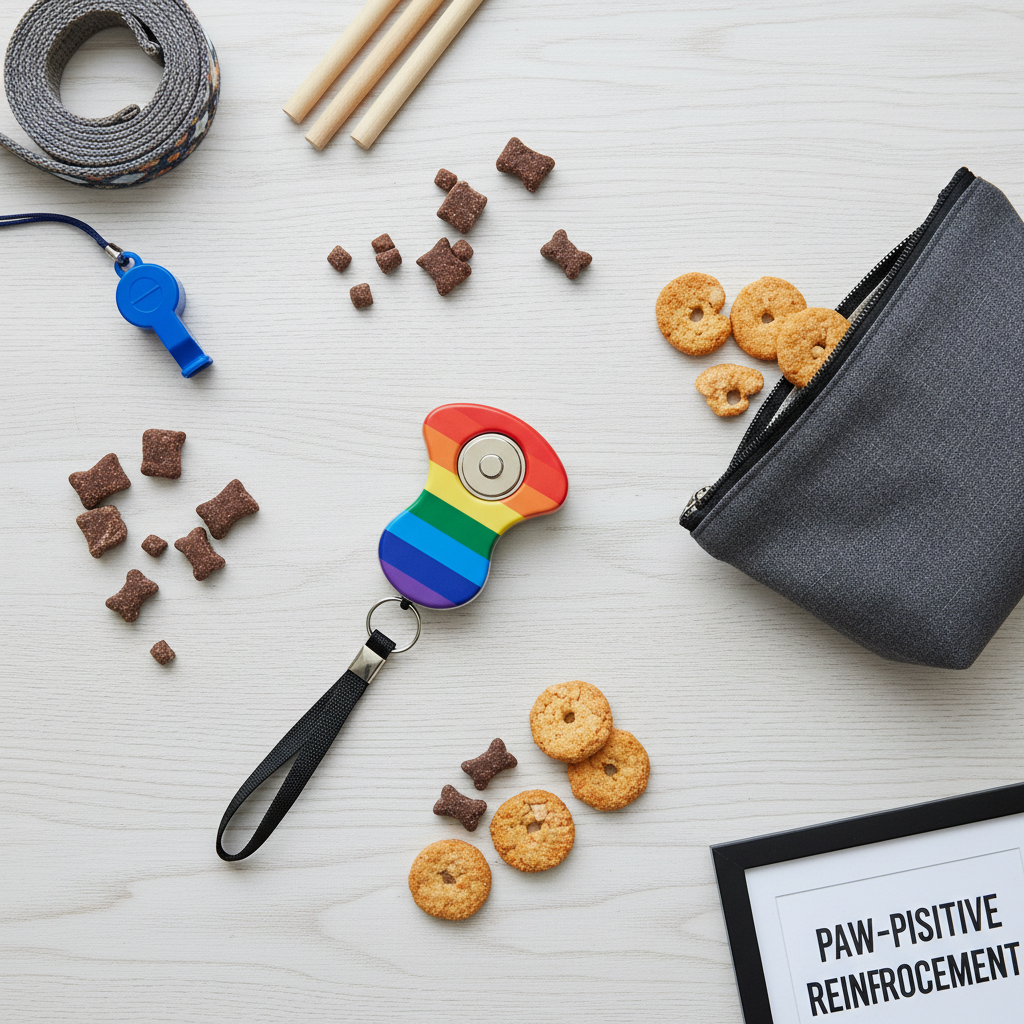
The Essential Toolkit
- A Clicker: This is the star of the show! A clicker is a small, handheld device that makes a distinct, sharp ‘click’ sound when you press it. While you could use a verbal marker like the word ‘Yes!’, a clicker is often more effective because the sound is unique, consistent, and faster than your voice. This precision is key to marking the exact behavior you want to reward. There are many types, from simple box clickers to ones with wrist straps or softer buttons. Find one that feels comfortable in your hand.
- High-Value Treats: We’re not talking about your dog’s regular kibble here. We need something special, something your dog will go bonkers for! High-value treats are small, soft, smelly, and incredibly delicious. Think tiny pieces of cooked chicken, cheese, hot dogs, or commercial training treats. The key is ‘small’—about the size of a pea—so you can deliver many rewards without filling your dog up too quickly. Variety is also great to keep your dog engaged!
- A Treat Pouch: Fumbling for treats in your pocket is slow and messy. A treat pouch that clips onto your belt or waistband is a game-changer. It gives you instant access to rewards, which is crucial for delivering them immediately after the click. Timing is everything in this game, and a treat pouch makes you a much faster player.
- A Positive Attitude & Patience: This is the most important tool in your kit. Training should be fun for both of you. Keep your sessions short (5-10 minutes is perfect to start), stay upbeat, and celebrate the small wins. Your dog will feed off your positive energy. Remember, you’re building a language together, and that takes time and patience.
Expert Tip: When choosing treats, consider your dog’s dietary needs. If your pup has a sensitive stomach or allergies, opt for single-ingredient treats like freeze-dried liver or sweet potato. The goal is motivation, not an upset tummy!
The First Click: Priming Your Pup for Success (Charging the Clicker)
Okay, you’ve got your gear, and you’re ready to go. But hold on! Before you can use the clicker to teach ‘sit’ or ‘stay’, you need to teach your dog what the click means. Right now, it’s just a random noise. Our first job is to give that sound a powerful meaning: ‘A fantastic reward is coming your way!’ This process is called ‘charging’ or ‘loading’ the clicker, and it’s the foundation of everything that follows.
Think of it like this: you’re creating an association in your dog’s brain using classical conditioning (hats off to you, Pavlov!). The neutral sound of the click will become a predictor of something wonderful—a treat. Once your dog understands this connection, the click itself becomes a reward.
How to Charge the Clicker: A Simple Step-by-Step Guide
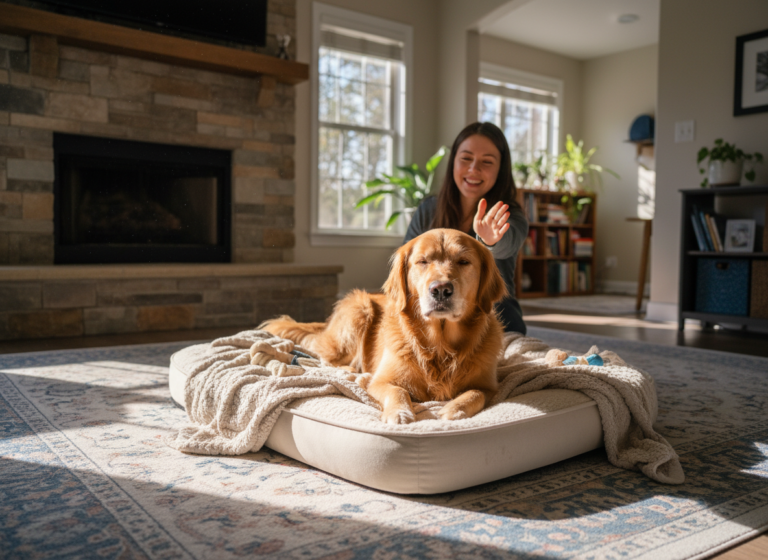
- Find a Quiet Space: Start in a low-distraction environment, like your living room, where your dog can focus on you.
- Get Your Treats Ready: Have a handful of those yummy, high-value treats ready in your hand or treat pouch.
- The Simple Pattern: The process is incredibly simple. Press the clicker. Immediately—and I mean immediately—give your dog a treat. That’s it.
- Repeat, Repeat, Repeat: Do this 10-15 times in a row. Click, treat. Click, treat. Click, treat. There’s no command and no expectation. Your dog doesn’t have to do anything to earn the treat at this stage; they just have to be present. You are simply building the association.
- End the Session: Keep the first session short and sweet, just a minute or two. End on a positive note by scattering a few treats on the floor (a ‘jackpot’) and saying something like ‘All done!’.
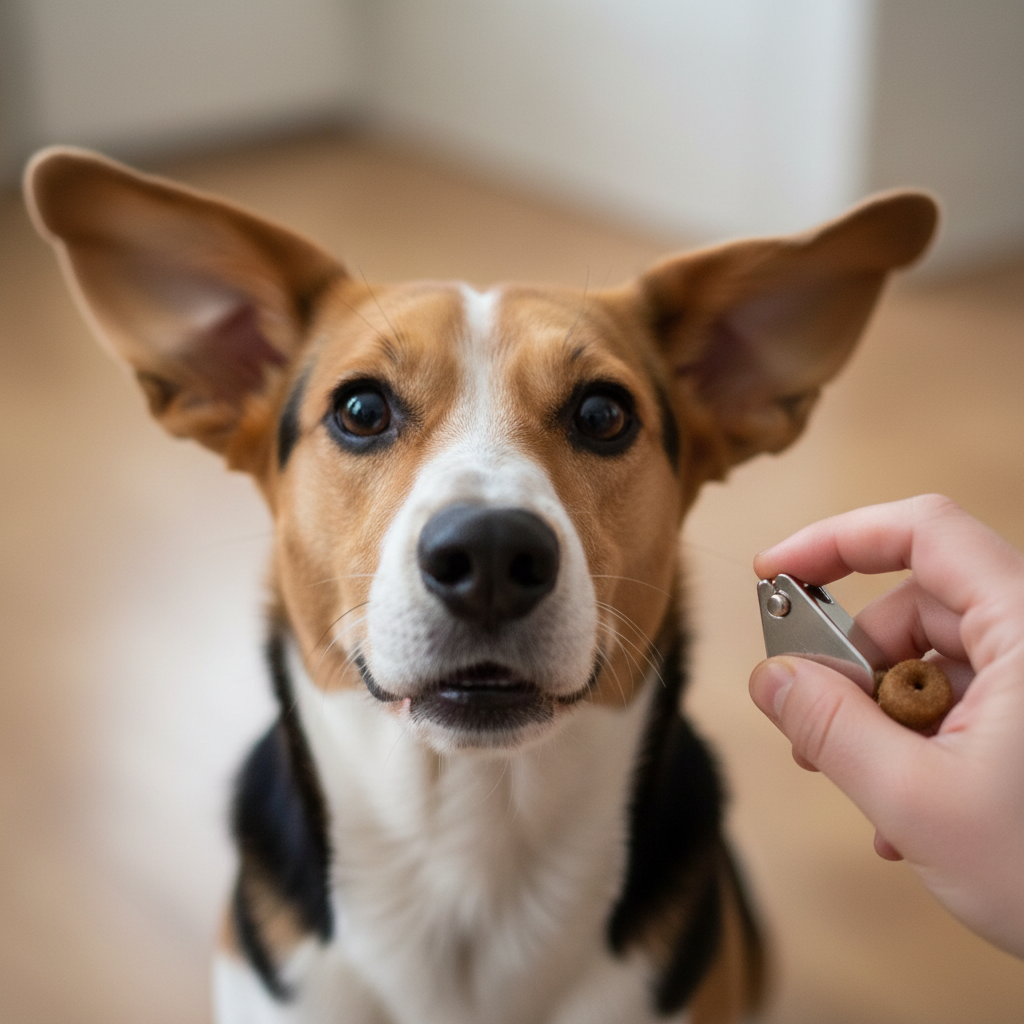
How Do You Know It’s Working?
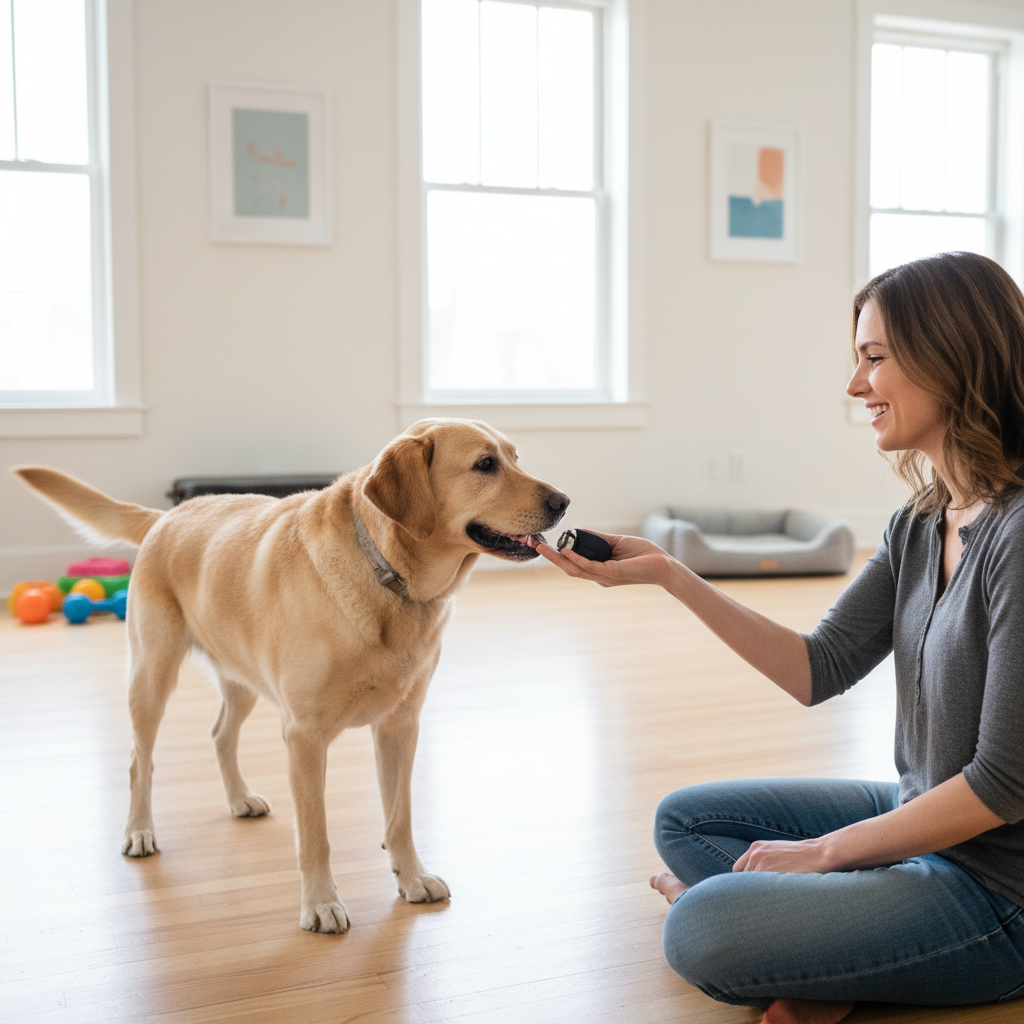
You’ll know the clicker is charged when you click, and your dog’s head whips around, their eyes light up, and they look at you expectantly for their treat. Their ears might perk up, and their tail might start wagging. This reaction shows they’ve made the connection: Click = Treat! It usually only takes a few short sessions for most dogs to get it. Once you see that happy, expectant look, you’re ready to move on to the really fun stuff!
From Clicks to Tricks: The Core Training Mechanics
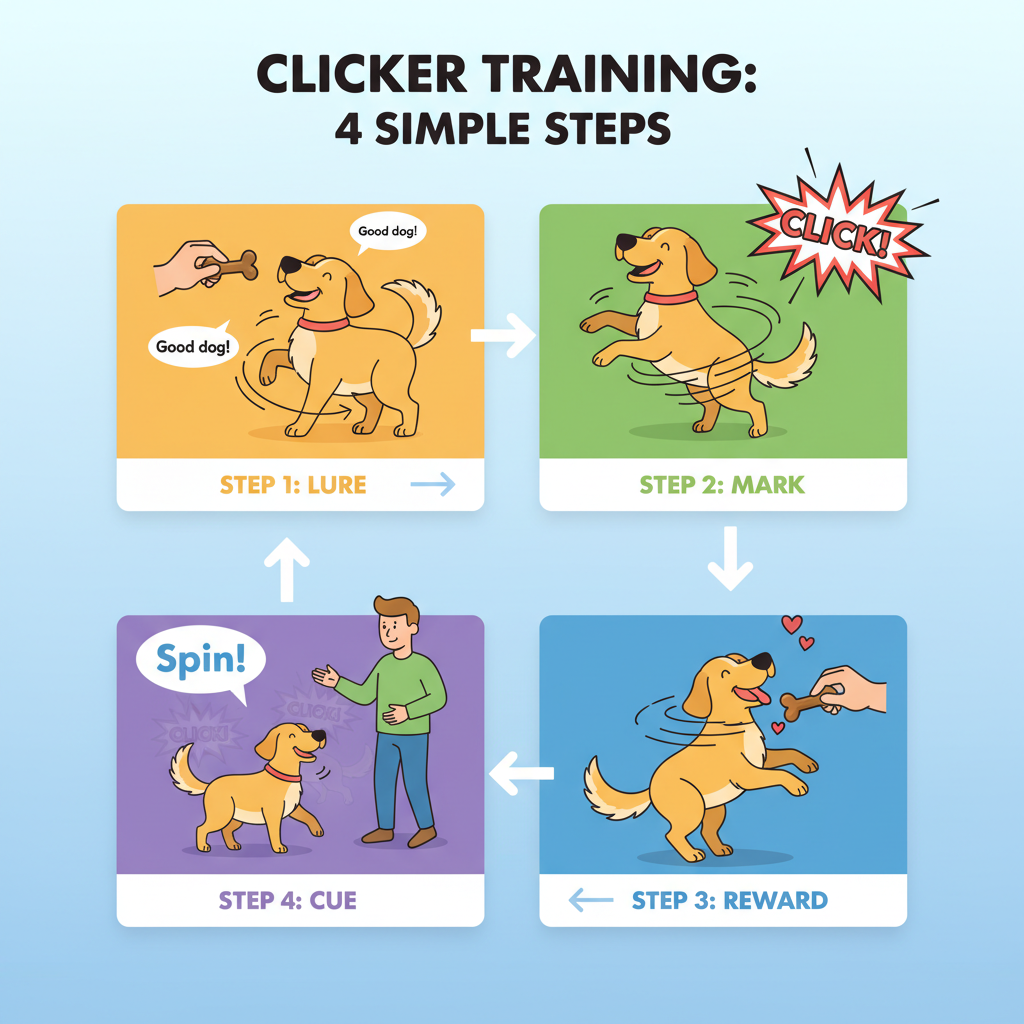
With a fully charged clicker, you now have a powerful tool to communicate with your dog. You can pinpoint the exact moment they do something you like. Now, let’s put it into practice to actually teach a behavior. The basic formula is simple, but getting the timing right is what makes it so effective. We’ll break it down into four core parts: getting the behavior, marking it, rewarding it, and putting it on cue.
Step 1: Get the Behavior
First, you need to get your dog to do the thing you want to teach. For beginners, the easiest way to do this is with luring. This means using a treat like a magnet to guide your dog into the desired position. For example, to lure a ‘sit’, you would hold a treat near your dog’s nose and slowly move it up and over their head. As their nose goes up, their rear end will naturally go down into a sit.
Step 2: Mark the Moment
This is where the clicker shines. The instant your dog’s rear hits the floor, CLICK! The click marks that precise moment of success. Not a second before, not a second after. Your timing is critical. Clicking too early or too late can confuse your dog about what, exactly, they’re being rewarded for. It takes a little practice, but you’ll get the hang of it quickly.
Practice Tip: To improve your timing, try this without your dog. Drop a tennis ball and try to click the exact moment it hits the floor. It’s a fun way to sharpen your reflexes!
Step 3: Reward the Action
Immediately after the click, give your dog their treat. The click ends the ‘work’ and signals the reward is coming. Don’t hold the treat out while you’re luring; keep it hidden until after the click. The sequence is always: Behavior -> Click -> Treat. Maintaining this order is essential for clear communication.
Step 4: Fade the Lure and Add a Cue
After a few successful repetitions with the lure, your dog will start to understand the game. They might even start offering the behavior without the lure to see if it earns them a click. This is fantastic! Start to ‘fade’ the lure by making the hand motion smaller and smaller, until you’re just using a simple hand signal. Once your dog is reliably offering the behavior on the hand signal alone, you can add a verbal cue. Say the word (‘Sit’) just before you give the hand signal. Soon, your dog will associate the word with the action, and you’ll have a trick on verbal command!
| Phase | Your Action | Dog’s Action | Goal |
|---|---|---|---|
| 1. Luring | Use a treat to guide the dog. | Follows the treat into position. | Introduce the physical movement. |
| 2. Marking & Rewarding | Click the instant the behavior happens, then treat. | Performs the behavior. | Connect the action with a positive marker. |
| 3. Fading the Lure | Make the lure hand motion smaller and smaller. | Starts to offer the behavior without the full lure. | Transition from physical guidance to a signal. |
| 4. Adding the Cue | Say the verbal command (‘Sit’) right before the signal. | Performs the behavior on the verbal cue. | Finalize the trick with a command. |
Let’s Get Practical: Teaching Your First Two Tricks
Theory is great, but the real fun is in the practice! Let’s apply the principles we’ve learned to teach two foundational behaviors: the classic ‘Sit’ and the incredibly useful ‘Touch’ (also known as targeting). These are perfect starter tricks that build your dog’s confidence and your training skills.
Teaching ‘Sit’ with a Clicker
‘Sit’ is often the first command people teach, and the clicker makes it a breeze.
- Get Ready: Grab your clicker and some high-value treats. Stand in front of your dog in your quiet training space.
- Lure the Sit: Hold a treat near your dog’s nose. Slowly move your hand upward and slightly back over their head. As their nose follows the treat up, their bottom should naturally lower to the ground.
- Mark and Reward: The very instant their rear touches the floor, CLICK! Immediately give them the treat from your other hand and some happy praise.
- Reset and Repeat: Let your dog get up (you can toss another treat a short distance away to ‘reset’ them). Repeat the process several times in a short session.
- Fade the Lure: After a few successful lures, try the same hand motion without a treat in your hand. Click and treat (from your other hand or pouch) when they sit. Your hand motion is becoming a visual cue!
- Add the Verbal Cue: Once your dog is sitting reliably with just the hand motion, start adding the word. Say ‘Sit’ clearly, just before you make the hand motion. Click and treat the successful sit. With a few sessions, your dog will be sitting on the verbal command alone!
Teaching ‘Touch’ (Targeting)
Targeting is a fantastic foundation skill where you teach your dog to touch a target (like your hand) with their nose. It can be used to teach sends, spins, and so much more.
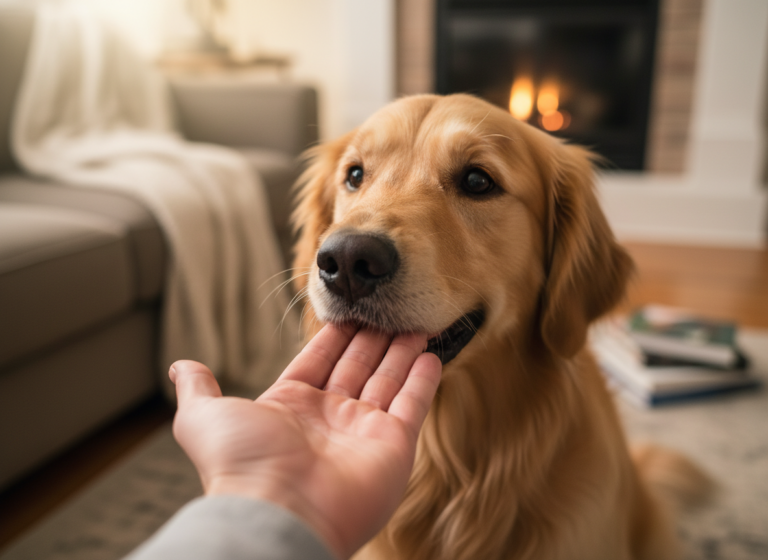
- Get Ready: Hold one hand out flat, palm open, a few inches from your dog’s nose. Have your clicker and treats in your other hand.
- Encourage Investigation: Your dog will likely be curious about your hand. They might sniff it or nudge it. The moment their nose makes contact with your palm, CLICK and give them a treat.
- Reset and Repeat: Pull your hand back for a second, then present it again. Your dog will likely touch it more quickly this time. Click the instant their nose touches your palm and reward.
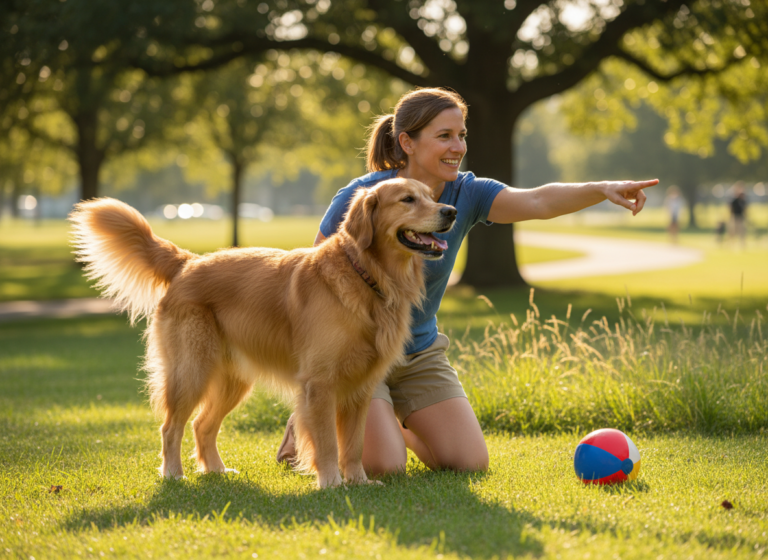
- Build Duration and Distance: Once they get the game, you can start presenting your hand at slightly different positions—lower, higher, to the side—to encourage them to move toward the target.
- Add the Verbal Cue: When your dog is eagerly booping your hand every time you present it, start adding the cue. Say ‘Touch’ just as you present your hand. Click and treat the nose-to-hand contact.
Why ‘Touch’ is Awesome: You can use this skill to easily position your dog without pushing or pulling them. Want them to get on the scale at the vet? Target the scale! Need them to hop in the car? Target the car seat! It’s a versatile and confidence-building game.
Troubleshooting: Common Clicker Conundrums
Even with the best tools and intentions, you might run into a few little bumps on your clicker training journey. Don’t worry, it’s completely normal! Every trainer, from novice to pro, has to do a little troubleshooting now and then. Here are some of the most common challenges and how to solve them with a bit of patience and know-how.
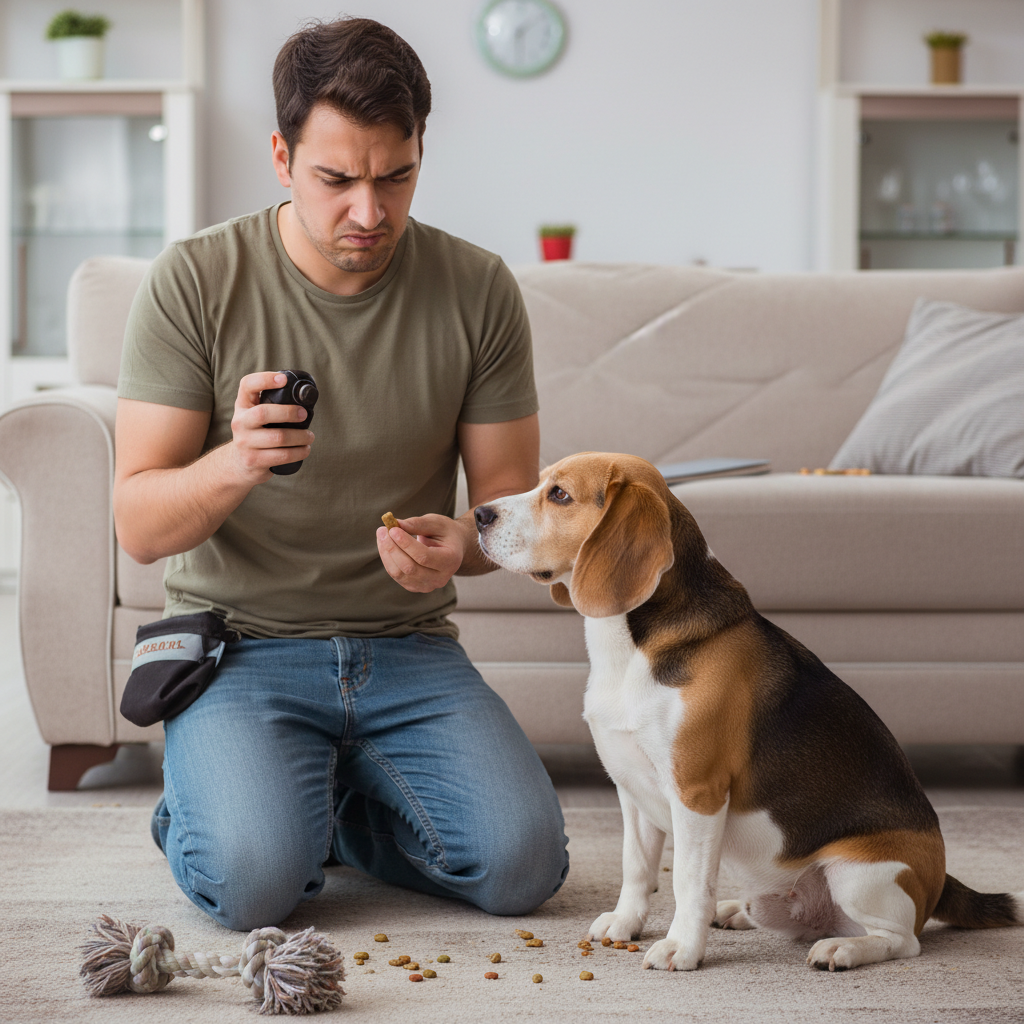
‘Help! My dog is scared of the clicker’s sound.’
Some dogs, especially those who are naturally timid or sound-sensitive, can be startled by the sharp ‘click’. The goal is to make the sound a predictor of good things, not something to be feared.
- Muffle the Sound: Try putting the clicker in your pocket, behind your back, or wrapping it in a sock to soften the noise.
- Use a Quieter Clicker: Not all clickers are created equal. Some brands make ‘softer’ clickers specifically for sensitive dogs. You can also use the top of a ballpoint pen that makes a quieter click.
- Increase Distance: Start your ‘charging’ sessions from across the room. As your dog gets more comfortable, you can gradually decrease the distance.
‘My timing is all wrong!’
Marking the behavior at the right moment is the secret sauce of clicker training. If your timing is off, your dog might get confused about what you’re rewarding.
- Practice Without Your Dog: Seriously! Watch TV and click every time a person’s face appears on screen. Drop a ball and click the moment it bounces. This builds muscle memory without confusing your pup.
- Focus on One Thing: When you’re training, focus only on the specific body part or action you’re looking for. If you’re teaching ‘sit’, watch your dog’s rear end like a hawk and nothing else.
‘My dog just stares at the treat pouch and won’t do anything.’
This is super common! It usually means the dog has figured out where the good stuff comes from but hasn’t fully grasped how to earn it. It can also be a sign that your training sessions are a bit too long.
- Keep Sessions Short: A tired or bored dog is an unmotivated dog. Keep training sessions to just 5 minutes at a time, a few times a day. Always end while your dog is still eager and successful.
- Hide the Goods: Keep your treat pouch behind your back. Don’t lure with treats from the pouch; have a few in your hand ready to go. The reward should be a happy surprise that follows the click, not a constant bribe.
‘When do I stop using the clicker and the treats?’
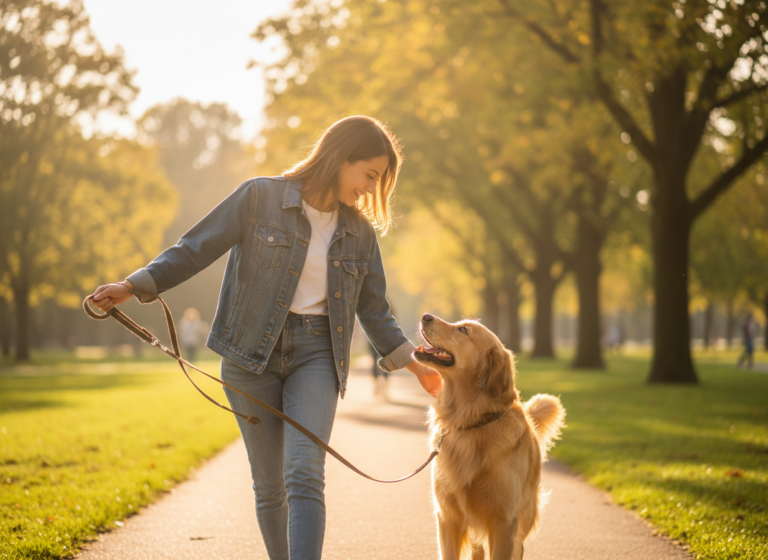
This is the million-dollar question! The clicker is primarily a tool for teaching new behaviors and making existing ones more precise. Once a behavior is learned and is reliably on a verbal cue, you don’t need to click it every single time. The same goes for treats. You can move to an intermittent reinforcement schedule, meaning you reward the behavior sometimes but not every time. This actually makes the behavior stronger! You can also start using ‘life rewards’ like a game of tug, a belly rub, or getting to go outside as a reward for a well-executed ‘sit’. But always keep your clicker handy—it’s the best tool for shaping new, more complex tricks down the road!
Conclusion
And there you have it—your crash course in the wonderful world of clicker training! We’ve covered everything from the basic science to the essential gear, the foundational steps, and how to navigate those little training bumps. By now, you should see that the clicker isn’t a magic wand, but something even better: a tool for crystal-clear communication between you and your dog.
Remember, the heart of clicker training is positivity, patience, and partnership. It’s about celebrating the small victories, learning to speak your dog’s language, and building a relationship based on trust and mutual understanding. Every click is a ‘yes!’, every treat is a ‘thank you’, and every training session is a chance to strengthen your bond.
So, grab that clicker, fill your pockets with some tasty treats, and start your adventure. Begin with short, fun sessions and be amazed at how quickly your clever pup catches on. You’re not just teaching tricks; you’re building confidence, solving problems, and most importantly, having a fantastic time with your best friend. Happy clicking!