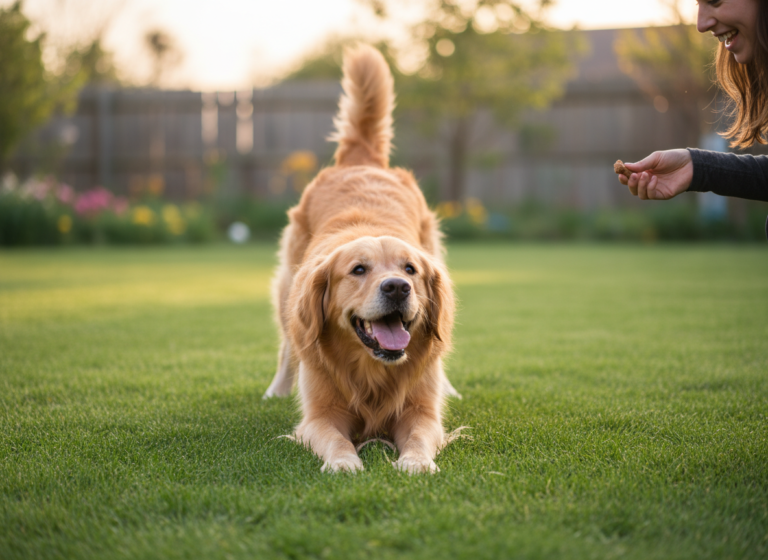
We all know and love the classic ‘play dead’ trick. With a dramatic ‘Bang!’ from you, your canine companion flops over onto their side for a well-deserved treat. It’s a crowd-pleaser! But what if you could take that performance to the next level? What if you could add a touch of theatrical flair that will have everyone chuckling? Welcome to the world of ‘Play Possum’!
So, what’s the difference? While ‘play dead’ is a simple collapse, ‘play possum’ is a masterclass in canine comedy. It involves your dog lying on their back with all four paws pointing rigidly to the sky, mimicking the stiff, dramatic faint of an opossum. It’s an advanced trick that’s not only impressive but also an incredible way to strengthen your bond and challenge your dog’s brain.
Teaching advanced tricks like this is more than just about showing off. It’s a fantastic form of mental stimulation that can help reduce boredom and anxiety. It deepens your communication and trust with your dog, all while using positive, fun-filled training methods. In this guide, we’ll walk you through every step, from the basic prerequisites to troubleshooting common hiccups, so you can turn your pup into a ‘possum-playing’ pro. Let’s get started!
Getting Started: What You’ll Need and What Your Dog Should Know
Getting Started: What You’ll Need and What Your Dog Should Know
Before you can get to the grand finale, you need to set the stage. A successful ‘play possum’ performance starts with a solid foundation and the right props. Don’t worry, you won’t need much, but having these things ready will make the process smoother and more enjoyable for both you and your star performer.
Prerequisite Behaviors
This isn’t a trick for a brand-new puppy just learning ‘sit.’ To set your dog up for success, they should be comfortable and reliable with a few other commands first. Think of these as the building blocks for our final trick:
- ‘Down’: Your dog must have a solid ‘down’ or ‘lie down’ command. They should be able to do it quickly and stay there calmly.
- ‘Roll Over’ or ‘On Your Side’: The ‘possum’ pose requires your dog to be on their back. A full ‘roll over’ is fantastic, but at the very least, your dog needs to be comfortable being lured onto their side and then gently onto their back. If they are nervous about being in this vulnerable position, you’ll need to work on that first with lots of praise and tasty rewards.
Your Training Toolkit
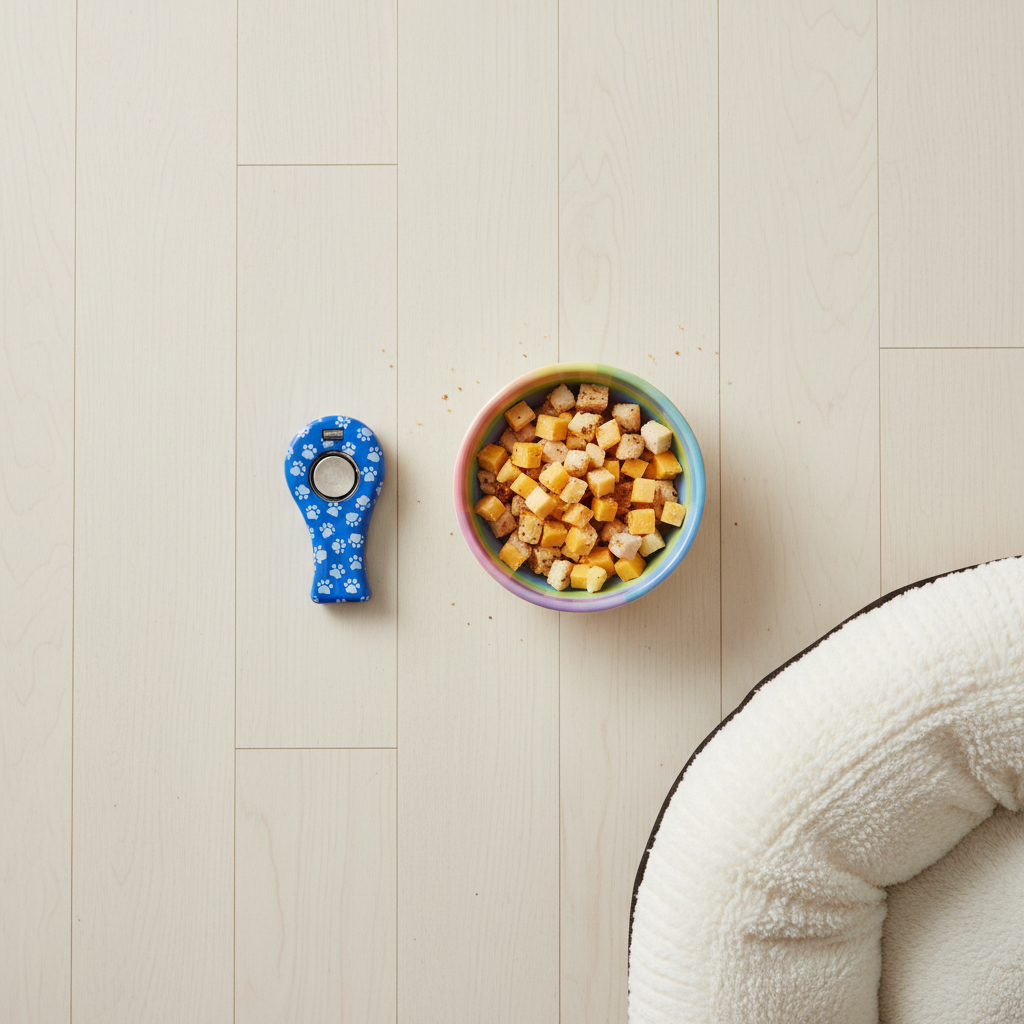
Gather your supplies before you start a session. Fumbling for treats mid-training can break your dog’s focus. Here’s what you’ll want on hand:
- High-Value Treats: Forget the dry kibble for this one. We’re asking for a complex behavior, so you need to pay a high salary! Think small, pea-sized pieces of boiled chicken, cheese, hot dogs, or their absolute favorite soft treats. They should be something your dog goes wild for and can swallow quickly.
- A Clicker (Optional): A clicker is a fantastic tool for marking the exact moment your dog does something right. This precision is incredibly helpful for capturing the subtle leg-stiffening we’re looking for. If you’re not using a clicker, choose a consistent verbal marker, like a sharp ‘Yes!’.
- A Comfortable Space: Train on a soft, non-slip surface like a carpet or a large rug. You don’t want your dog feeling unstable or uncomfortable when they’re on their back.
- Patience and a Positive Attitude: This is the most important tool! This trick takes time. Keep your sessions short (5-10 minutes is perfect) and always end on a positive note, even if it’s just for a simple ‘sit.’ Your dog feeds off your energy, so stay upbeat and make it a fun game.
Expert Tip: The key to a trick like ‘play possum’ is shaping. Shaping means you reward small approximations of the final behavior. You’re not waiting for the perfect, stiff-legged pose on day one. You’ll reward a head tilt, then a slight weight shift, then one leg lifting, and so on, gradually building up to the full trick.
The ‘Possum’ Playbook: A Step-by-Step Guide to the Trick
The ‘Possum’ Playbook: A Step-by-Step Guide to the Trick
Alright, you’ve got your treats, your dog is warmed up, and you’re ready to begin the show! Remember, these steps are a guide. Every dog learns at a different pace, so feel free to spend a few sessions on one step before moving to the next. The goal is a happy, confident dog, not a rushed performance.
-
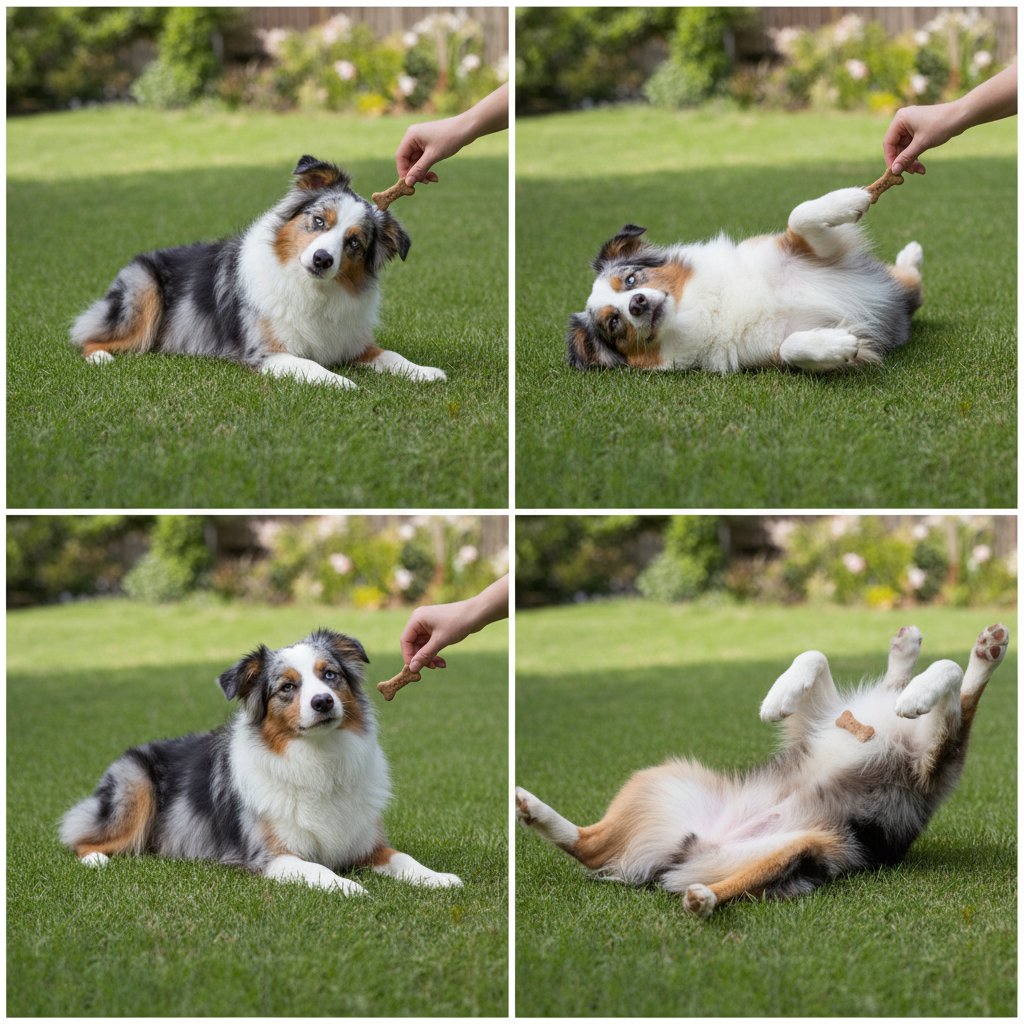
Step 1: Get Your Dog Comfortable on Their Back
This is the foundation of the entire trick. Start with your dog in a ‘down’ position. Use a smelly, high-value treat to lure their head around towards their shoulder, which will cause their body to tip onto one hip. Praise and reward this. Continue the lure over their back until they roll onto their side. Reward again! From the side position, use the treat to gently lure their head further back, encouraging them to roll flat on their back. The first few times, they might just get a glimpse of this position before rolling over. That’s okay! Click/mark and reward any effort to lie on their back, even for a split second. The goal here is to make being on their back a super positive, treat-filled experience.
-
Step 2: Lure the Legs Up
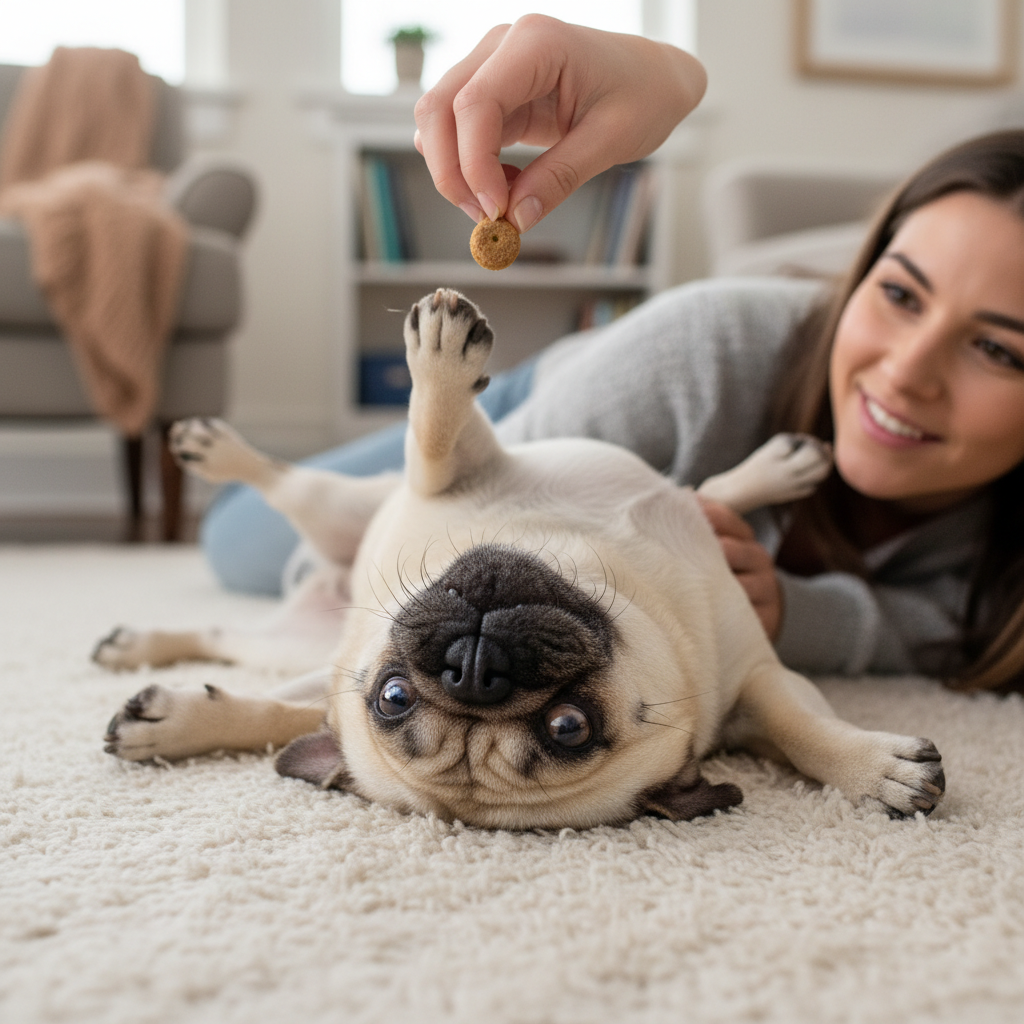
Once your dog is comfortably lying on their back for a few seconds, it’s time to get those paws airborne. While they are on their back, hold a treat right above their nose, then slowly move it backward over their head, towards their spine. To follow the treat, your dog will naturally have to lift their head and, in doing so, their front paws will likely come off the ground as their weight shifts. The instant those paws lift, click/mark and give them the treat! Repeat this many times. You are capturing and rewarding the tiny muscle movement of lifting the legs.
-
Step 3: Shape the ‘Stiff’ Legs
This is where precision timing comes in and what separates ‘possum’ from just lying on their back. As your dog gets better at lifting their legs, start to be more selective with your rewards. Only click/mark the moments when their legs look stiffer or are held higher. You can gently touch a leg, and if they tense it up, click/mark and reward immediately. You are teaching them that tension in the legs is what earns the reward. Ignore the floppy, relaxed leg lifts. This shaping process takes patience, so celebrate the small successes!
-
Step 4: Introduce the Verbal Cue and Hand Signal
When your dog is reliably offering the stiff-legged pose through luring (say, 8 out of 10 times), it’s time to name the behavior. Just before you lure them into the pose, say your chosen cue clearly and cheerfully—something like ‘Play Possum!’ or ‘Freeze!’—and then lure as usual. After several repetitions, your dog will begin to associate the words with the action. You can also add a hand signal at the same time, like holding your hands up like paws. Eventually, you can try giving just the cue and see if they offer the behavior without the food lure.
-
Step 5: Build Duration and Fade the Lure
Now that your dog knows the cue, you want them to hold the pose for more than a millisecond. Start asking for just one extra second. Cue them to ‘Play Possum,’ and if they hold it, count ‘one’ in your head, then click/mark and reward. Gradually increase the duration to two seconds, then three, and so on. If they break the pose too early, that’s okay! Just go back to a shorter duration they can succeed at. At the same time, start fading the food lure. Pretend to have a treat in your hand and use the same luring motion, but deliver the treat with your other hand after they complete the trick. Over time, you can make the lure hand motion smaller and smaller until it becomes your final, subtle hand signal.
Oops, Not Quite a Possum! Troubleshooting Common Hurdles
Oops, Not Quite a Possum! Troubleshooting Common Hurdles
Even with the best plan, you might run into a few training snags. It’s completely normal! Dog training is rarely a straight line. The key is to identify the problem and adjust your approach without getting frustrated. Here are some common issues and how to solve them.
| The Problem | The Solution |
|---|---|
| My dog just keeps rolling all the way over. | This is very common! They’re anticipating the next step of a ‘roll over.’ Try training next to a wall or a piece of furniture. This creates a physical barrier that prevents them from completing the roll, encouraging them to stay on their back. You can also use your free hand as a gentle ‘backstop’ on their side. |
| My dog won’t stay on their back at all. | This often comes down to comfort and trust. Go back to Step 1 and spend more time making it a wonderful place to be. Give them lots of treats and praise just for being on their side, then for a split-second on their back. Don’t ask for any leg lifts yet. You can also try giving them a gentle belly rub while they’re on their back to build a positive association. |
| Their legs are up, but they’re floppy like cooked spaghetti. | This is a timing challenge. You need to be quicker with your click/mark. Watch their legs closely and mark the *instant* you see any tension or stiffness, even if it’s tiny. You’re rewarding the effort to be stiff. If you reward floppy legs, you’re teaching them that floppy is correct. Be more selective and reward only the ‘stiff’ moments. |
| My dog gets frustrated and walks away. | This is a clear sign that the session is too long, the trick is too hard at this stage, or the reward isn’t good enough. Immediately end the session on a positive note by asking for a simple trick they know, like ‘sit,’ rewarding it enthusiastically, and then finishing. For the next session, shorten the time, break the step down into even smaller pieces, or bring out the ‘big guns’—an even higher-value treat. |
| They only do it when they see the treat. | This means the lure hasn’t been faded properly. Go back to the luring step. Use an empty hand to make the luring motion (the hand signal) but reward from your other hand. This breaks the connection of ‘treat in hand equals trick.’ Also, practice rewarding them randomly—sometimes a big reward, sometimes a smaller one—to keep them guessing and engaged. |
Remember: Every dog is an individual. A Beagle might learn differently than a Border Collie. If a technique isn’t working, don’t be afraid to take a break and try a slightly different approach. The goal is fun and learning, not perfection on a deadline.
Beyond the Basics: Advancing Your ‘Play Possum’ Trick
Beyond the Basics: Advancing Your ‘Play Possum’ Trick
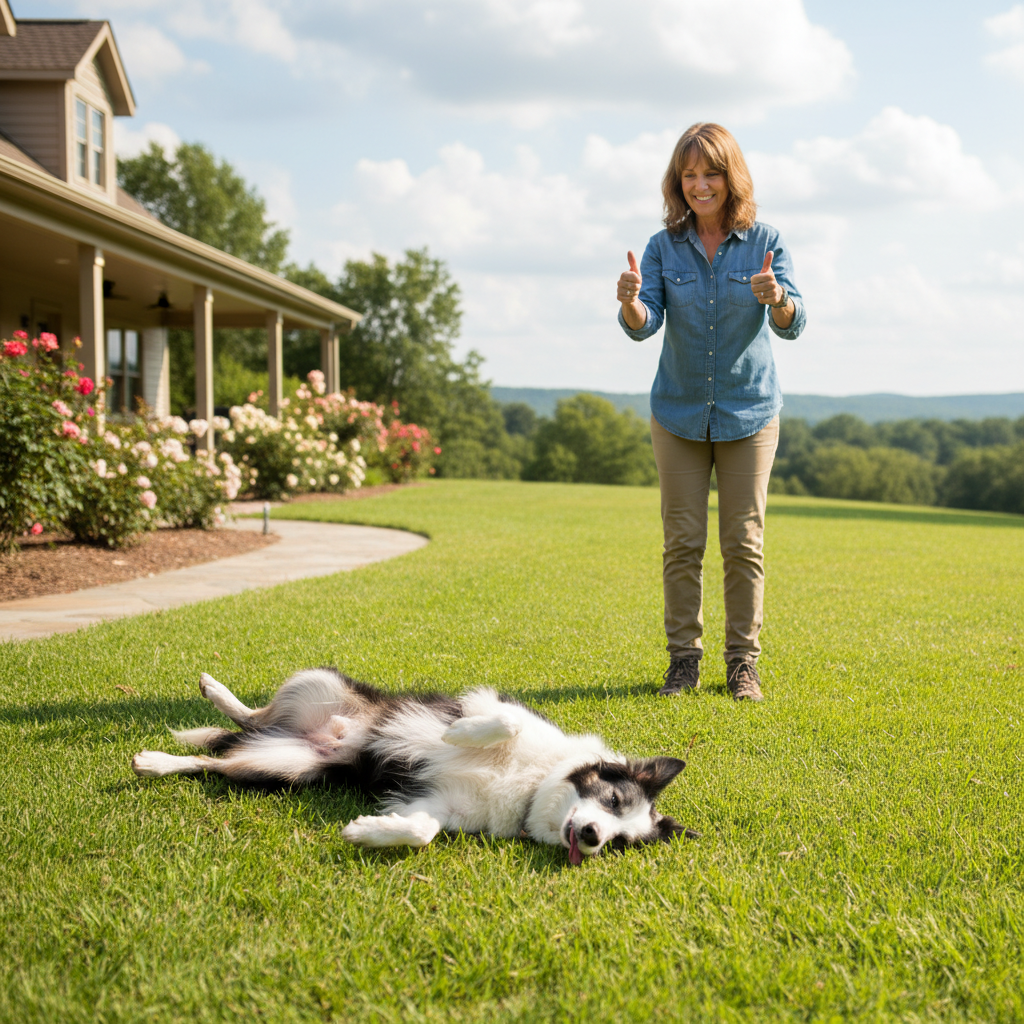
Congratulations, your dog is now a ‘possum’ pro! They hear the cue and dramatically freeze with their paws in the air. But the fun doesn’t have to stop there. Once your dog has mastered the basic trick in your quiet living room, you can ‘proof’ the behavior to make it reliable in different situations and even chain it with other commands for a full routine.
Proofing: The Three D’s
Proofing is the process of teaching your dog to perform a cue under various conditions. The key is to increase the difficulty gradually, focusing on one ‘D’ at a time.
- Duration: We touched on this earlier, but now you can really push it. Can your dog hold the ‘possum’ pose for five seconds? Ten? While you walk around them? Make it a game to see how long they can hold their hilarious pose. Remember to reward them generously for setting a new ‘personal best’ time!
- Distance: So far, you’ve likely been right next to your dog. Now, try giving the cue from a few feet away. If they succeed, praise and walk over to give them a treat. Gradually increase the distance until you can cue ‘Play Possum’ from across the room. This makes the trick even more impressive to your audience.
- Distraction: This is the ultimate test. Can your dog ‘play possum’ with mild distractions? Start small. Practice in a different room of the house. Then try it in your fenced backyard. Maybe have another family member walk calmly through the room. The goal is to teach your dog to focus on you and the cue, even when the world is happening around them. If they fail, it just means the distraction was too high-level. Lower the distraction and try again.
Creating a Trick Routine
Now for the really fun part! You can combine ‘Play Possum’ with other tricks to create a story. The most classic combination is with the ‘Bang!’ or ‘Stick ‘Em Up!’ cue.
- First, teach your dog to ‘put their paws up’ for the ‘Stick ‘Em Up!’ cue.
- Then, give your ‘Bang!’ cue.
- Finally, give your ‘Play Possum!’ cue for the grand finale.
Chaining these behaviors together creates a narrative that’s entertaining and a wonderful showcase of your training partnership. You can also incorporate it with other tricks like ‘crawl’ or ‘go to your bed’ to create unique sequences.
By proofing the behavior and adding it to a routine, ‘Play Possum’ transforms from a simple trick into a reliable, impressive, and endlessly entertaining skill that highlights the amazing bond you share with your dog.
Conclusion
And there you have it! You’re now equipped with all the knowledge you need to teach your dog the fantastic ‘play possum’ trick. We’ve covered everything from the foundational commands and necessary supplies to the nitty-gritty steps of shaping the behavior and troubleshooting those inevitable tricky moments. Remember, the most important ingredients in this recipe are patience, positivity, and a great sense of humor.
This journey is about so much more than just the final, impressive trick. It’s about spending quality, focused time with your best friend. It’s about learning to communicate more clearly and celebrating the small victories along the way. Every time your dog lifts a paw or stiffens a leg, you’re building trust and strengthening a bond that lasts a lifetime.
So grab those high-value treats, find a comfy spot on the floor, and get ready to have some fun. Don’t be discouraged by setbacks, and be sure to celebrate every bit of progress. Before you know it, you’ll have a certified ‘possum’ player in your home, ready to steal the show at a moment’s notice.