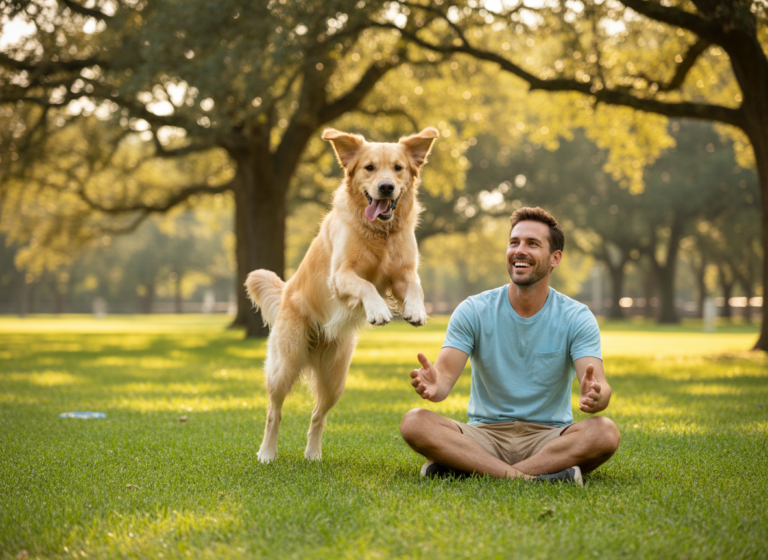
Have you ever watched a disc dog competition and been absolutely mesmerized by the high-flying acrobatics? The flips, the twists, the incredible catches—it’s a beautiful display of teamwork and athleticism. One of the most iconic and jaw-dropping moves is the back vault, where the dog uses the handler’s back as a platform to launch into the air and snag a disc. It looks like something straight out of an action movie!
If you’re thinking, “I’d love to teach my dog that!” you’re in the right place. The good news is that with patience, positive reinforcement, and a major focus on safety, the back vault is an achievable trick for many dog-and-handler teams. The bad news? You can’t just jump right into it. This is an advanced athletic maneuver that requires a solid foundation to prevent injuries to both you and your canine partner.
This comprehensive guide is designed for beginners. We’ll walk you through everything you need to know, from determining if your dog is physically ready to breaking down the vault into tiny, manageable steps. Forget the pressure and the rush; our goal is to build confidence, strengthen your bond, and have a ton of fun along the way. Let’s get started on your journey to mastering this incredible trick safely!
Prerequisites: Is Your Dog Ready for the Back Vault?

Before you even pick up a disc, we need to have an honest chat about your dog’s readiness. The back vault involves high impact and requires significant body awareness. Pushing a dog that isn’t ready is a recipe for injury and frustration. Think of this as your pre-flight checklist for a safe and successful launch.
Physical Health and Age
This is non-negotiable. The back vault is for physically mature dogs with healthy joints.
- Age: Your dog should be at least 18-24 months old. Their growth plates must be closed before attempting high-impact activities. Starting too early can lead to long-term joint damage. If you’re unsure, a quick x-ray and consultation with your vet can confirm.
- Health Check: Your dog must be in excellent physical condition. They should be at a lean, athletic weight to minimize stress on their joints. A vet check-up is crucial to rule out underlying issues like hip or elbow dysplasia, back problems, or arthritis.
- Fitness Level: Is your dog already active? A dog that is accustomed to running, jumping, and playing will have a much better fitness base than a couch potato. Good core strength and overall stamina are essential.
Temperament and Drive
Not every dog is destined to be a disc dog, and that’s okay! The ideal candidate is enthusiastic and driven.
- Toy Drive: Does your dog love discs? A dog with a high drive for the toy will be more motivated to work through the training challenges. The disc itself becomes a powerful reward.
- Confidence: A confident dog is less likely to be fearful of using your body as a platform. A nervous or hesitant dog may find the trick stressful, which increases the risk of them bailing out mid-jump.
- Focus: Can your dog stay engaged with you during play, even with distractions? The back vault requires a focused partner who is listening and watching for your cues.
Foundation Skills
You can’t build a skyscraper on a shaky foundation. Make sure your dog has mastered these basics before you begin:
- Solid Recall: Your dog must come back to you reliably every time.
- Basic Obedience: A good “sit” and “stay” are important for setting up the trick.
- Disc Skills: Your dog should already be proficient at catching rollers (discs rolled on the ground) and short, straight throws. They need to understand the basic game of fetch with a disc.
Expert Tip: If you’re unsure about any of these prerequisites, it’s always best to consult with a veterinarian or a professional dog trainer who specializes in canine sports. Their guidance can be invaluable in keeping your dog safe and setting you up for success.
Gathering Your Gear: The Right Tools for Safe Training

Having the right equipment is about more than just looking the part; it’s a critical component of safety. Using improper gear can lead to mouth injuries for your dog or slips and falls for you. Let’s get you outfitted for success.
The Discs
Step away from the hard, brittle plastic frisbees you find at the local department store! These can shatter and cut your dog’s mouth and gums. You need discs specifically designed for canine athletes.
- Soft, Puncture-Resistant Plastic: Look for brands that specialize in dog-safe discs. These are made from a flexible material that is gentle on your dog’s mouth but durable enough to withstand play.
- Weight and Size: Start with a standard-sized, lighter disc. As your dog becomes more proficient, you can experiment with different models, but a beginner-friendly disc is key.
- Have Multiples: Training sessions go much smoother when you have at least 3-5 discs. This allows you to keep the game flowing without having to retrieve the single disc after every throw.
The Training Environment
Where you train is just as important as what you train with. The surface your dog lands on is paramount.
- Safe Surfaces: Always train on a soft, level surface with good traction. Lush grass is ideal. Avoid hard surfaces like concrete, asphalt, or slippery indoor floors. Also, be sure to check the area for holes, rocks, or other hazards.
- Ample Space: You’ll need plenty of room to move around without bumping into obstacles. A clear, open field or a large, safely fenced backyard is perfect.
Handler and Dog Essentials
Don’t forget about your own comfort and your dog’s needs!
- Appropriate Footwear: Wear athletic shoes with good grip. You’ll be pivoting and moving, and you need stable footing.
- Comfortable Clothing: Wear clothes you can move freely in. Some handlers prefer to wear a hoodie or a thicker shirt to provide a bit of padding and a better grip for the dog’s paws.
- High-Value Treats: While the disc is the main reward, having some extra-tasty treats on hand can be great for rewarding effort during the early learning stages.
- Water: Always have fresh water available for your dog. Disc dog is a high-intensity sport, and it’s easy for them to get dehydrated.
The Step-by-Step Guide to Teaching the Back Vault
Alright, you’ve confirmed your dog is ready and you’ve got your gear. It’s time for the fun part! Remember, the key to this process is patience. Break everything down into tiny, successful steps and celebrate every small win. We are shaping a complex behavior, not forcing it. Keep your sessions short (5-10 minutes) and always end on a positive note.
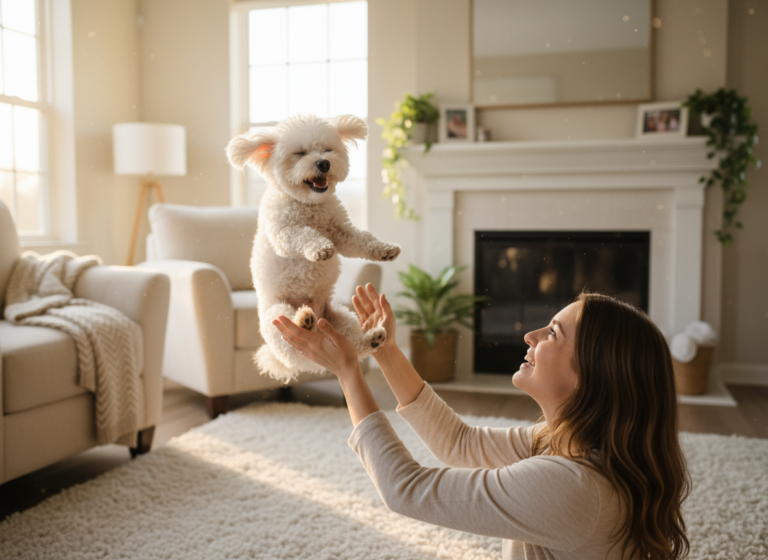
Step 1: Building Value for Your Back
The first goal is to make your back the best place in the world to be. We’ll do this without any discs involved. Start by kneeling on the ground. Pat your back and use an enthusiastic, inviting tone. Reward any interaction your dog has with your back—sniffing it, putting one paw on it, then two paws. Use treats and praise. You want your dog to think, “Good things happen when I put my paws up there!” Work on this until your dog is confidently placing both front paws on your back on cue.
Step 2: Paws Up and Over (Still Kneeling)
Once your dog is comfortable putting its paws on your back, we’ll encourage them to come all the way over. While kneeling, lure them with a treat in your hand. Guide them from one side, up and over your back, to get the treat on the other side. Don’t worry about jumping yet; we’re just teaching the path of motion. Reward them enthusiastically as soon as they cross over. Repeat this until they are moving smoothly over your back.
Step 3: Introducing the Disc as a Lure
Now, we’ll replace the treat with the disc. Get into your kneeling position. Hold the disc in your hand and use it to lure the dog over your back, just like you did with the treat. When they successfully cross over, mark the behavior with a “Yes!” and reward them with a very short, fun throw or a game of tug with the disc. This connects the action of going over your back with their favorite toy.
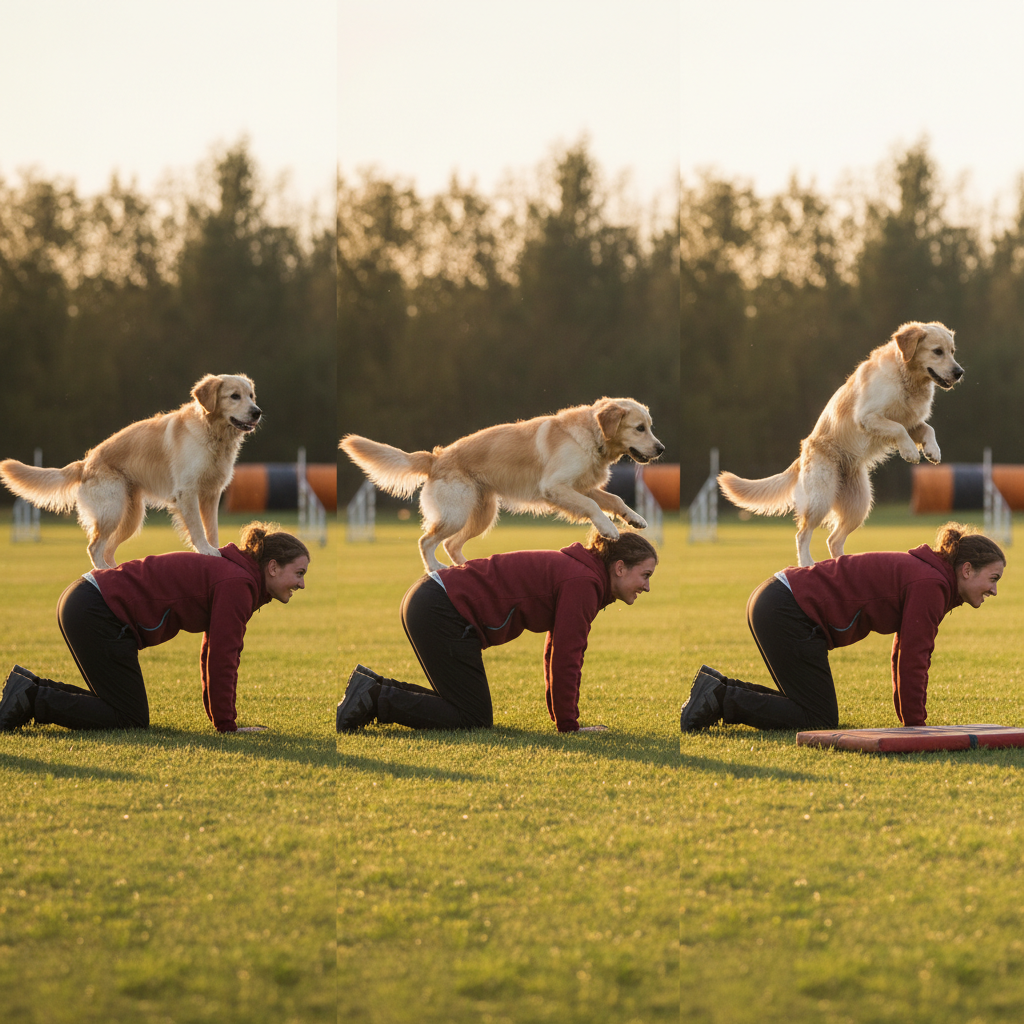
Step 4: Gradually Increasing Your Height
This step requires the most patience. Your dog is comfortably going over your back while you’re kneeling. Now, you’ll slowly start to raise your height. Move from kneeling to a low crouch or a “tabletop” position on your hands and knees. Repeat the luring process until they are confident at this new height. Then, move to a deeper bend at the waist. The key is to progress so slowly that your dog barely notices the change. If they ever show hesitation, simply go back to the previous height where they were successful and work there a bit longer before trying to move up again.
Step 5: Adding the Throw
Once your dog is confidently vaulting over your bent back, it’s time to add the throw. The timing here is crucial. As your dog is at the peak of their vault (right above your back), toss the disc a short distance in front of you. You want to place it perfectly for them to see it, track it, and land safely before making the catch. Start with very short, easy throws. The goal is a successful catch, not distance. The vault is the trick; the catch is the reward.
Pro Tip: At first, your dog might just run over your back and then look for the disc. That’s fine! The goal is to build the association: vaulting over your back makes the disc appear. Consistent timing is key to helping them understand they can catch it in the air.
Step 6: Refining the Full Back Vault
With all the pieces in place, you can now work on refining the movement. Encourage a more powerful jump and work on placing the disc so your dog can make a spectacular mid-air grab. You can add a verbal cue like “Vault!” or “Up!” just as they are about to jump. Keep practicing, keep it fun, and always prioritize your dog’s safety and enthusiasm over achieving the “perfect” vault.
Safety First: Critical Dos and Don’ts
Training the back vault is a marathon, not a sprint. Your dog’s long-term health and well-being are far more important than any single trick. Keeping safety at the forefront of every training session will ensure you can both enjoy this sport for years to come.
Here are the absolute must-knows for safe vaulting practice:
| The Dos (What You SHOULD Do) | The Don’ts (What to AVOID) |
|---|---|
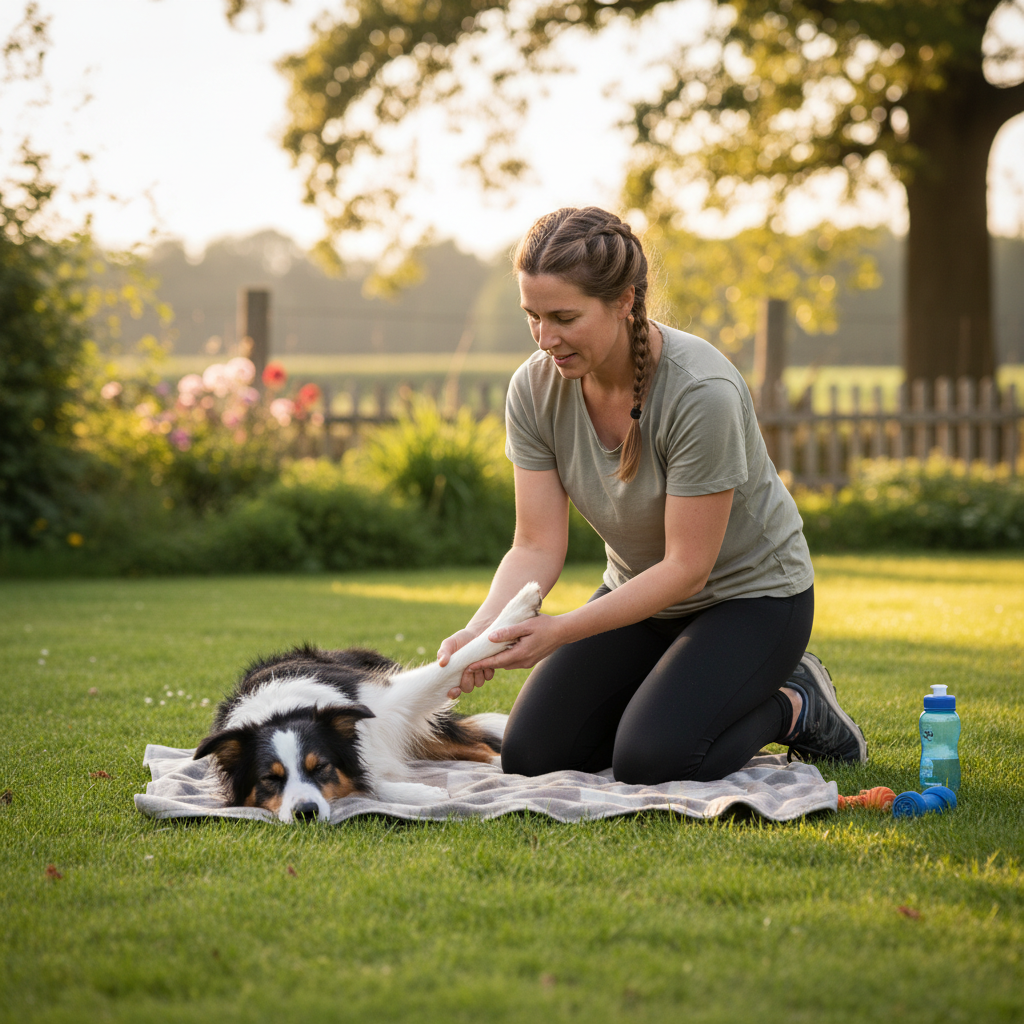
| Do warm up your dog before every session with 5-10 minutes of light jogging and stretching. | Don’t ever train on hard, slippery, or uneven surfaces like concrete, pavement, or wet grass. |
| Do keep training sessions short and positive, ideally 5-10 minutes per session to avoid fatigue. | Don’t force your dog to do the trick if they are showing signs of fear, stress, or fatigue. |
| Do teach your dog to vault off both your left and right sides to promote balanced muscle development. | Don’t allow a dog under 18 months old (with open growth plates) to perform high-impact vaults. |
| Do give your dog rest days between training sessions to allow their body to recover and muscles to build. | Don’t use hard plastic frisbees that can shatter and injure your dog’s mouth. |
| Do watch your dog’s landing. They should land on all four feet. If they are stumbling, end the session. | Don’t throw the disc in a way that forces your dog into an awkward twist or flip to make the catch. |
| Do perform a cool-down after each session, such as a short walk, to help prevent muscle soreness. | Don’t let your dog overdo it. Repetitive impact can lead to long-term joint issues. Quality over quantity. |
A Note on Your Body: Remember, this is a team sport! Protect your own body. Use your legs to lift, maintain a strong core when your dog vaults, and never let them jump when you’re off-balance. Your safety is just as important!
Troubleshooting Common Problems

Even with the best plan, you’re likely to hit a few snags along the way. That’s completely normal! Dog training is rarely a straight line. Here are some common issues and how to work through them.
My dog won’t put their paws on my back.
This usually stems from a lack of confidence. Go all the way back to Step 1. Make your back the most rewarding place on earth. Use higher-value treats. Keep it low-pressure. Reward even the smallest attempt—a nose touch, a single paw. Build up their confidence in tiny increments. Don’t try to lure them; let them choose to engage.
My dog runs around me instead of going over.
This is very common! It means the path *around* you seems easier or more rewarding. Try setting up a physical guide. You can practice in a hallway with you blocking the path, or set up two chairs on either side of you to create a ‘channel’ that encourages them to go up and over rather than around.
My dog hesitates or bails out mid-jump.
Hesitation is a clear signal from your dog that they aren’t confident with the current height or setup. Immediately lower the criteria. Go back to a height where they were 100% successful and confident. Spend more time there, building a strong history of positive reinforcement before you even think about increasing the height again. This is your dog telling you that you’ve progressed too quickly.
My throw timing is always off.
This takes practice! Try doing ‘dry runs’ without your dog. Mimic the motion of your dog vaulting and practice your throw. The goal is to release the disc just as the imaginary dog is at the peak of its jump over your back. You can also have a friend help by calling out “Now!” when your dog is in the right position, helping you sync your timing.
Conclusion
Teaching your dog the back vault is an incredibly rewarding journey that builds trust, communication, and a deeper bond between you and your canine partner. Seeing your dog confidently soar through the air to catch a disc is a moment of pure joy that makes all the patient training worth it.
Remember the core principles we’ve discussed: safety first, patience always, and keep it fun. Listen to your dog, celebrate the small victories, and never be afraid to take a step back if they seem unsure. This isn’t just about teaching a cool trick; it’s about building a confident, athletic, and happy canine teammate.
So grab your discs, head out to a soft, grassy field, and start building those foundational skills. The sky is the limit for you and your amazing disc dog!