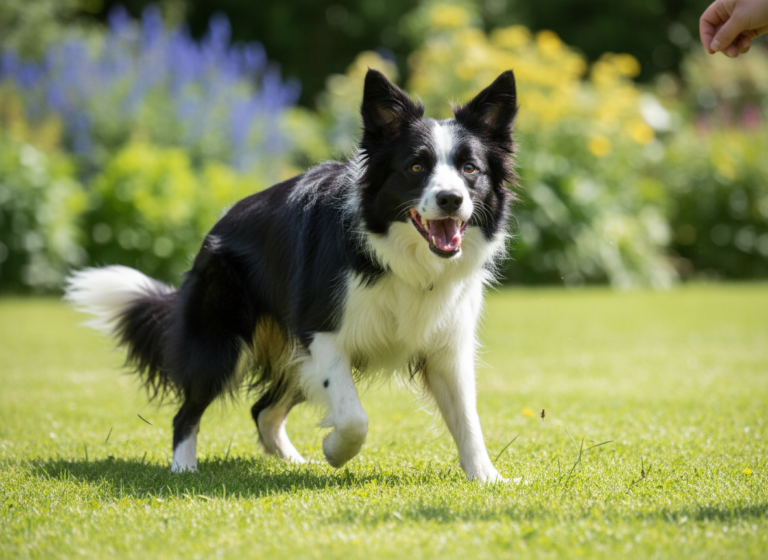
Is there any trick more charming, more dramatic, or more guaranteed to get a laugh than ‘play dead’? We don’t think so! When your dog dramatically flops to the ground on the cue of ‘Bang!’, it’s pure Hollywood magic right in your living room. But beyond being an adorable party trick, teaching your dog to play dead is a fantastic way to strengthen your bond, challenge their brain, and build on their basic obedience skills.
You might think a trick this impressive is incredibly difficult to teach, but we’re here to let you in on a little secret: it’s not! With a little patience, a pocketful of tasty treats, and the right technique, almost any dog can learn to be a drama king or queen. This guide is designed for pet owners just like you. We’ll break down the entire process into simple, manageable steps, using only positive, fun, and effective methods. Forget complicated training jargon; we’re all about making training a game you and your dog can enjoy together. So, let’s get ready to roll over and play dead!
Setting the Stage for Success: What You’ll Need
Before you start directing your canine’s dramatic debut, it’s essential to gather your props and set the scene. A great training session begins with great preparation. Think of this as your pre-production checklist to ensure everything goes smoothly and your furry star is ready for their close-up.
The Essentials for a Successful Session:
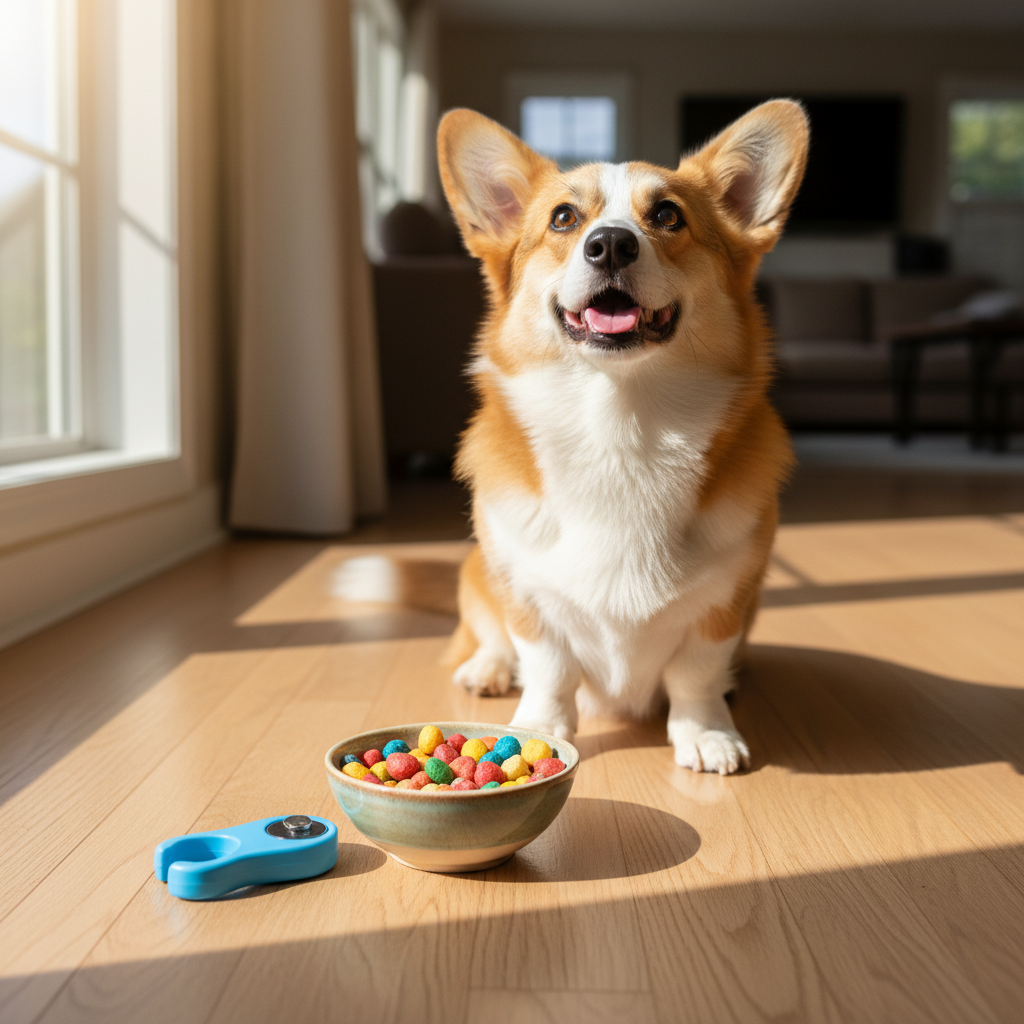
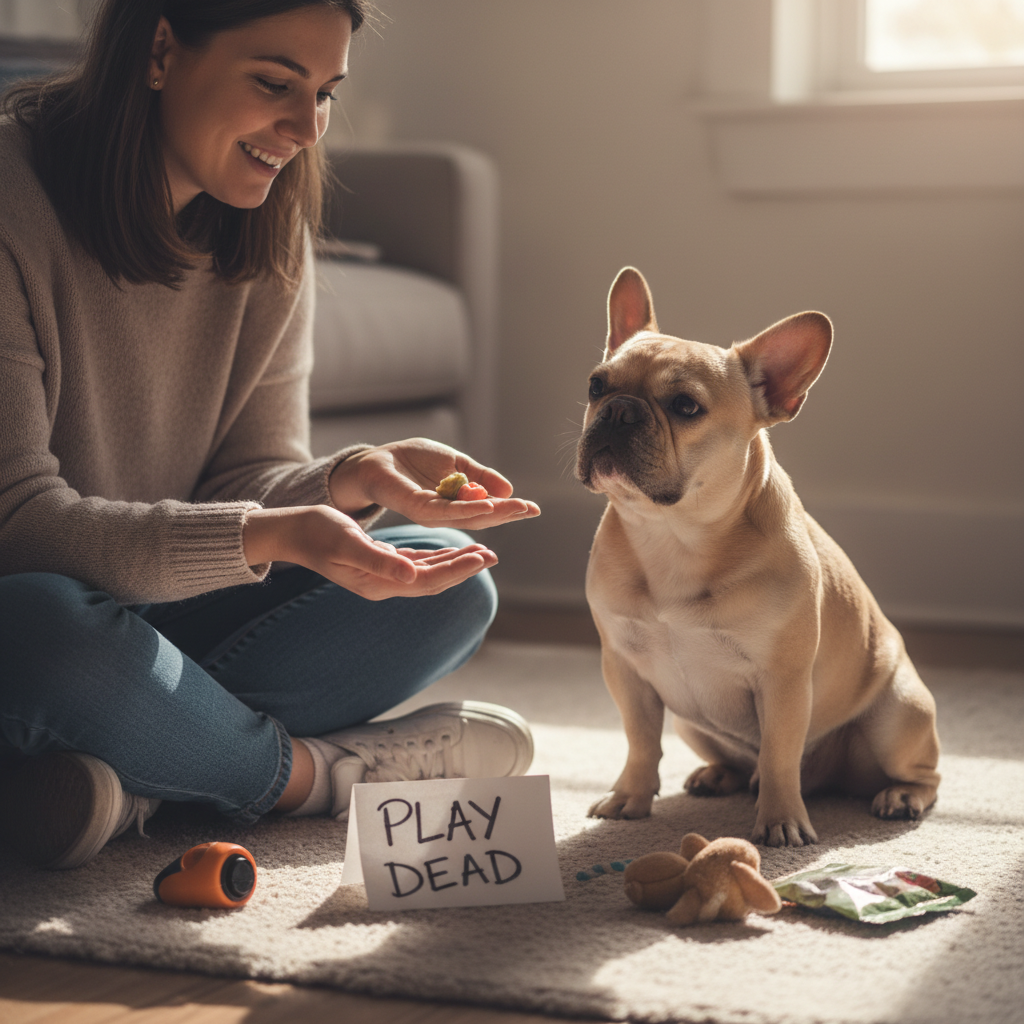
- High-Value Treats: We’re not talking about their everyday kibble. To keep your dog motivated for this multi-step trick, you need the good stuff! Think small, soft, smelly treats that your dog absolutely loves, like tiny pieces of chicken, cheese, or store-bought training treats. The key is ‘small’ so you can reward them frequently without filling them up too quickly.
- A Quiet Training Space: Choose a comfortable, familiar area with minimal distractions. Your living room or a quiet backyard is perfect. You want your dog’s full attention on you, not on the squirrel outside the window or the kids running through the house. A soft surface like a rug or grass is also more comfortable for a dog learning to roll onto their side.
- A Clicker (Optional but Recommended): A clicker is a fantastic tool for marking the exact moment your dog does something right. This precise communication can speed up the learning process significantly. If you’re not using a clicker, you can use a verbal marker like a sharp, happy “Yes!”. The key is consistency.
- A Solid ‘Down’ Cue: This is the most critical prerequisite. Your dog must already know and reliably perform the ‘down’ or ‘lie down’ command. ‘Play dead’ is built directly upon this foundation, so if their ‘down’ is a bit shaky, spend some time reinforcing it before you begin.
- A Positive Attitude and Patience: This is the most important tool of all! Training should be fun for both of you. Keep your sessions short (5-10 minutes is plenty), stay upbeat, and be prepared to go at your dog’s pace. Every dog learns differently, so celebrate small victories and never get discouraged.
Once you’ve got your treats, your space, and your positive mindset, you’re ready to start. Remember, the goal is progress, not perfection. Let’s get to the first step!
Step 1: The Foundation – From ‘Down’ to ‘Side’
The journey to a dramatic ‘play dead’ starts with a simple sideways flop. This first step is all about teaching your dog the physical motion of rolling from a ‘down’ position onto their hip. This is often the trickiest part of the process, so be patient and reward every little bit of progress. We’ll use a technique called ‘luring,’ which means using a treat to guide your dog’s nose, and their body will follow.
Mastering the Sideways Lure:
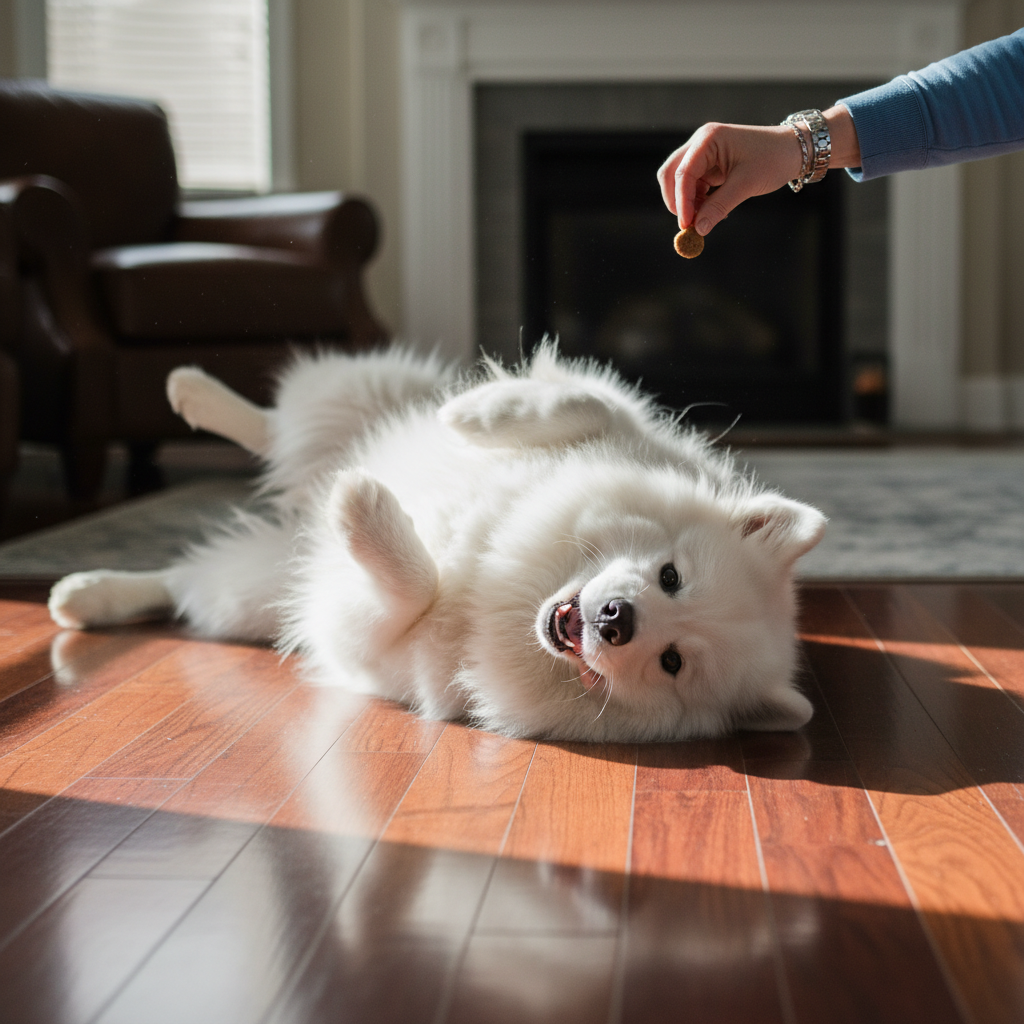
- Start in the ‘Down’ Position: Ask your dog to lie down. Once they are settled, kneel down beside their head so you are on the same level.
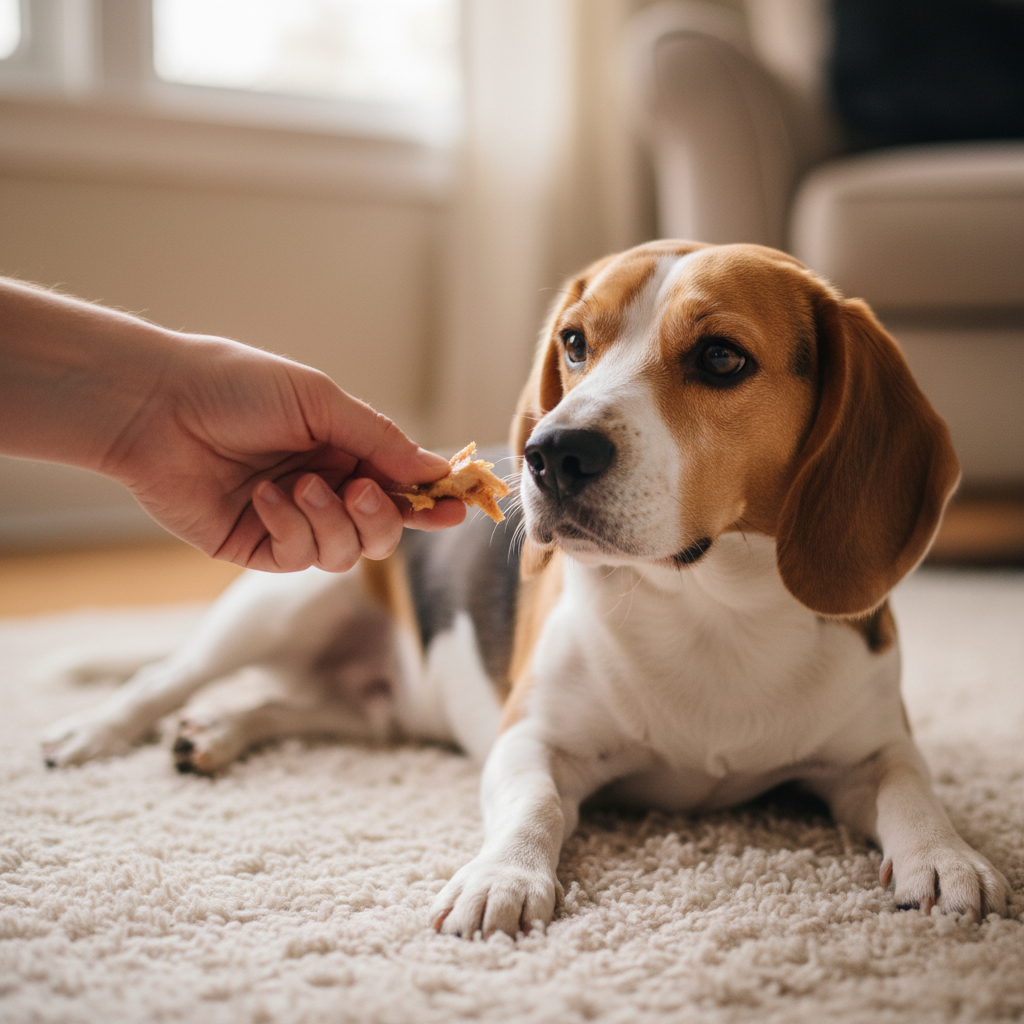
- Present the Lure: Take a tasty treat and hold it in your fingers. Let your dog sniff it so they know you have something wonderful.
- Guide Their Head: Hold the treat right at the tip of their nose. Now, slowly move the treat from their nose towards their shoulder. The goal is to make them turn their head to follow the treat without getting up.
- Encourage the Weight Shift: As their head turns towards their shoulder, they will naturally have to shift their weight to that side to stay comfortable. This is the exact moment you’re looking for! The instant they shift their weight and lean onto their hip, even slightly, mark the behavior (click or say “Yes!”) and give them the treat.
- Repeat, Repeat, Repeat: Do this several times in a row. At first, you are just rewarding that little weight shift. As they start to understand the game, you can begin to ask for a little more. Wait for them to lean further onto their hip before you mark and reward.
- The Full Flop: Eventually, by continuing to lure their nose towards their back, they will flop completely onto their side. This is a jackpot moment! Give them lots of praise and several treats.
Expert Tip: If your dog keeps trying to stand up to get the treat, you’re likely moving the lure too high or too fast. Keep the treat low to the ground and move it slowly and smoothly in an arc from their nose to just behind their ear.
Don’t rush this step! Spend a few short sessions just mastering this ‘down-to-side’ motion. You want your dog to be completely comfortable and confident with this movement before moving on. You can even add an interim verbal cue like “Side” or “Settle” once they are doing it reliably with the lure.
Step 2: Going All In – Mastering the Full Flop
Alright, your dog is now a pro at flopping onto their side. It’s time to take it to the next level and get that full, dramatic ‘play dead’ position! This step involves extending the lure you used in Step 1 to encourage your dog to roll from their side all the way onto their back. For some dogs, this is an easy transition, while for others, it might feel a bit vulnerable, so remember to keep it positive and rewarding.
From Side to ‘Dead’:
- Start from the Side: Begin with the motion your dog already knows. From a ‘down’ position, lure them onto their side. The moment they are on their side, mark and give them a treat.
- Extend the Lure: Now for the new part. With your dog on their side, take another treat and continue the luring motion. Move the treat from their shoulder up and over their spine. This should encourage them to roll further over onto their back to follow the treat.
- Reward Small Movements: Just like before, reward any progress! If they only roll a little bit further, that’s great! Mark and reward. If they expose their belly, fantastic! Mark and reward. You’re building their confidence with each successful attempt.
- Achieving the Full Position: The ultimate goal is to have them roll onto their back, perhaps with their head to the side and paws slightly up. When they finally achieve this, even for a second, throw a treat party! Give them lots of praise, pets, and a few treats to let them know they did something amazing.
The key here is to shape the behavior gradually. Don’t expect a perfect, still ‘play dead’ on the first try. You’re rewarding the journey towards the final position. If your dog seems hesitant, it’s okay. Some dogs are naturally less inclined to show their bellies. Never physically force your dog into the position. Instead, use a higher-value treat and make it an irresistible game. Keep your sessions short and end on a high note to ensure they’re always excited for the next ‘play dead’ practice.
Step 3: Adding the Theatrics – The ‘Bang!’ Cue
Your dog now understands the physical movement of playing dead. Congratulations, the hardest part is over! Now it’s time to attach the iconic verbal cue and hand signal that make this trick so much fun. This phase is all about transferring the behavior from the treat lure to your new cues and then perfecting the performance.
Introducing the Cues:
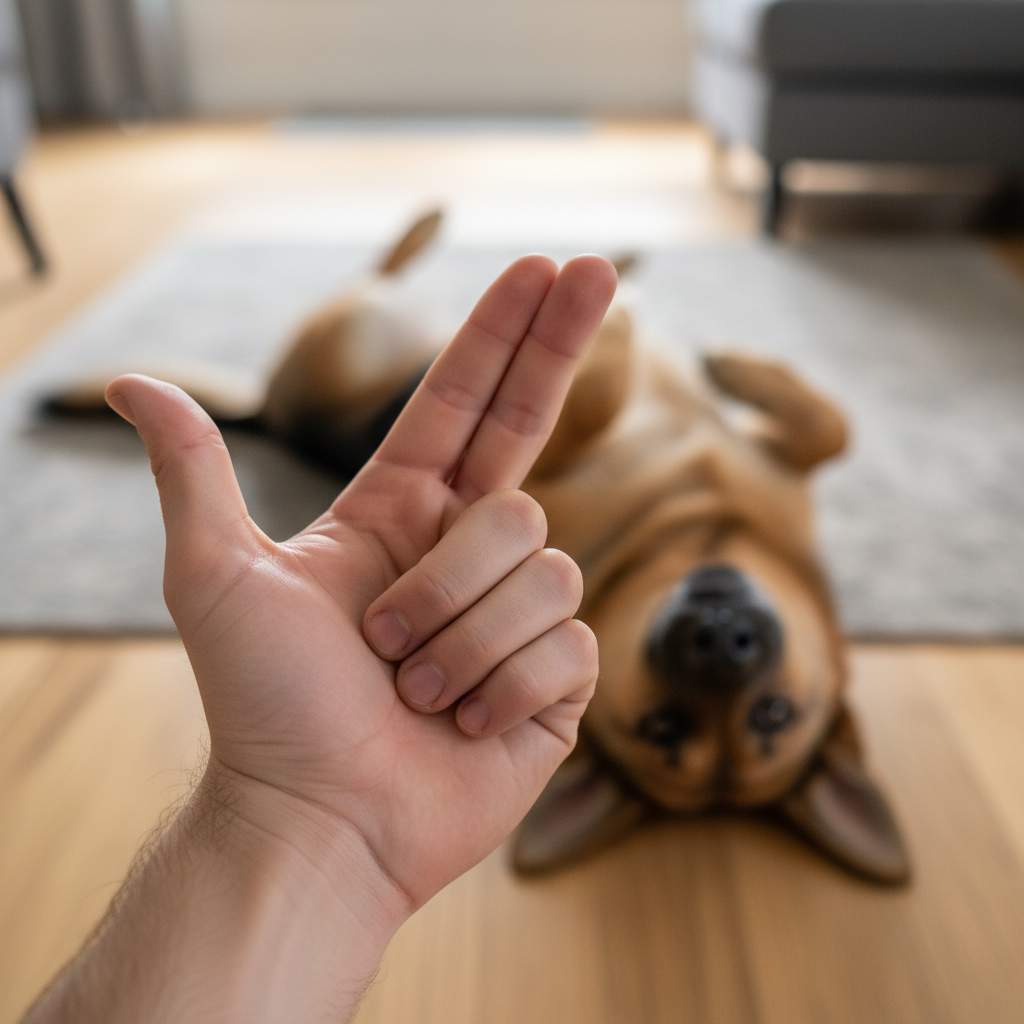
- Add the Hand Signal First: The ‘finger gun’ is the classic hand signal. It’s distinct and easy for dogs to recognize. Start by forming the hand signal before you begin to lure your dog into the position. So, the sequence is: show the ‘finger gun’, then use the treat lure to get them to play dead. After a few repetitions, your dog will start to associate the hand signal with the action that follows.
- Add the Verbal Cue: Once your dog starts responding to the hand signal, you can add the verbal cue. Say your chosen word—’Bang!’ is the classic, but ‘Freeze!’ or ‘Stick ’em up!’ work too—right before you give the hand signal. The new sequence is: say “Bang!”, give the hand signal, then lure if needed.
- Fade the Lure: This is the magic step. As your dog gets better at anticipating the movement after the cues, you can start to fade the treat lure. Make your luring motion less exaggerated. Eventually, you’ll just be giving the verbal cue and hand signal, and your dog will perform the trick without needing the treat to guide them. Reward them enthusiastically after they’ve completed the trick.
- Build Duration: Once your dog is reliably playing dead on cue, you can start asking them to hold the position for a little longer. Start with just one or two seconds before you mark and reward. Slowly increase the time. This adds to the dramatic effect!
- Introduce a Release Cue: A release cue like “Okay!” or “Free!” is a clear signal to your dog that the trick is over and they can get up. This is helpful for building duration and adds a polished, professional feel to the finished trick.
Consistency is everything in this step. Always use the same verbal cue and hand signal. Practice in short, fun bursts throughout the day, and soon your dog will be dropping on command like a seasoned actor.
Troubleshooting Common Hiccups
Even with the best instructions, sometimes you and your pup can hit a snag. Don’t worry, it’s a normal part of the training process! Every dog is an individual, and what works for one might need a little tweaking for another. Here are some of the most common challenges you might face and how to work through them with a positive attitude.
My dog won’t lie on their side; they just crane their neck.
This is very common! It usually means the lure is too high. Remember to keep the treat low and guide it from their nose toward their shoulder blade in a smooth arc. You can also try starting with your dog lying on a soft bed, which can make them more comfortable shifting their weight. Reward even the tiniest lean in the beginning to build their confidence.
My dog gets up the second they get the treat.
This is a duration issue. To fix this, change when you deliver the treat. Instead of giving the treat the moment they hit the floor, ask them to stay for just one second. Then mark and treat. Gradually, you can increase this to two seconds, then three. Also, make sure you are using a release cue like “Okay!”. This teaches them to wait for your signal to get up, rather than popping up on their own.
My dog seems scared or uncomfortable on their back.
This is an important one to respect. Lying on the back is a very vulnerable position for a dog. If your pup shows signs of stress—like lip licking, yawning, or whale eye—or just seems genuinely unhappy, it’s best not to push it. This trick isn’t for every dog’s personality or physical comfort level. You can try to make it more positive with super high-value treats, but never force them. Training is about fun and bonding, so if they don’t like this trick, simply move on to another one they will enjoy, like ‘spin’ or ‘high five’.
A Trainer’s Reminder: The goal of trick training is to enhance your relationship with your dog, not to create a performance robot. Always listen to your dog’s body language. If they’re not having fun, it’s time to take a break or try a different approach.
My dog gets too excited and just wants to jump and play.
This is a great ‘problem’ to have—it means your dog is having fun! If they’re too amped up to focus, try having a short play session before you train to burn off some of that excess energy. Keep the training session itself very short, maybe just 2-3 minutes, and end on a successful repetition before they get overly excited.
Level Up: Advanced ‘Play Dead’ Variations
Once your dog has mastered the basic ‘Bang!’, you can add some extra flair to make the trick even more impressive and mentally stimulating for your clever pup. These advanced variations build on the foundation you’ve already created and can turn a simple trick into a show-stopping performance.
The Slow-Motion Demise
Instead of a quick flop, you can teach your dog to ‘die’ slowly and dramatically. This requires a lot of impulse control. Start by rewarding them for moving into the position more slowly. You can use a verbal cue like “Sloooowly” as you lure them down. This is an advanced shaping exercise, so reward any small attempt at a slower movement until they understand the concept.
Playing Dead from a Stand
The ultimate challenge is having your dog ‘play dead’ from a standing position. This is much more physically demanding. You’ll need to re-teach the trick from the beginning, but starting from a ‘stand’. Use a lure to guide their head down and to the side, encouraging them to fold into a ‘down’ and then into the ‘play dead’ position all in one fluid motion. This takes time and coordination, so be extra patient.
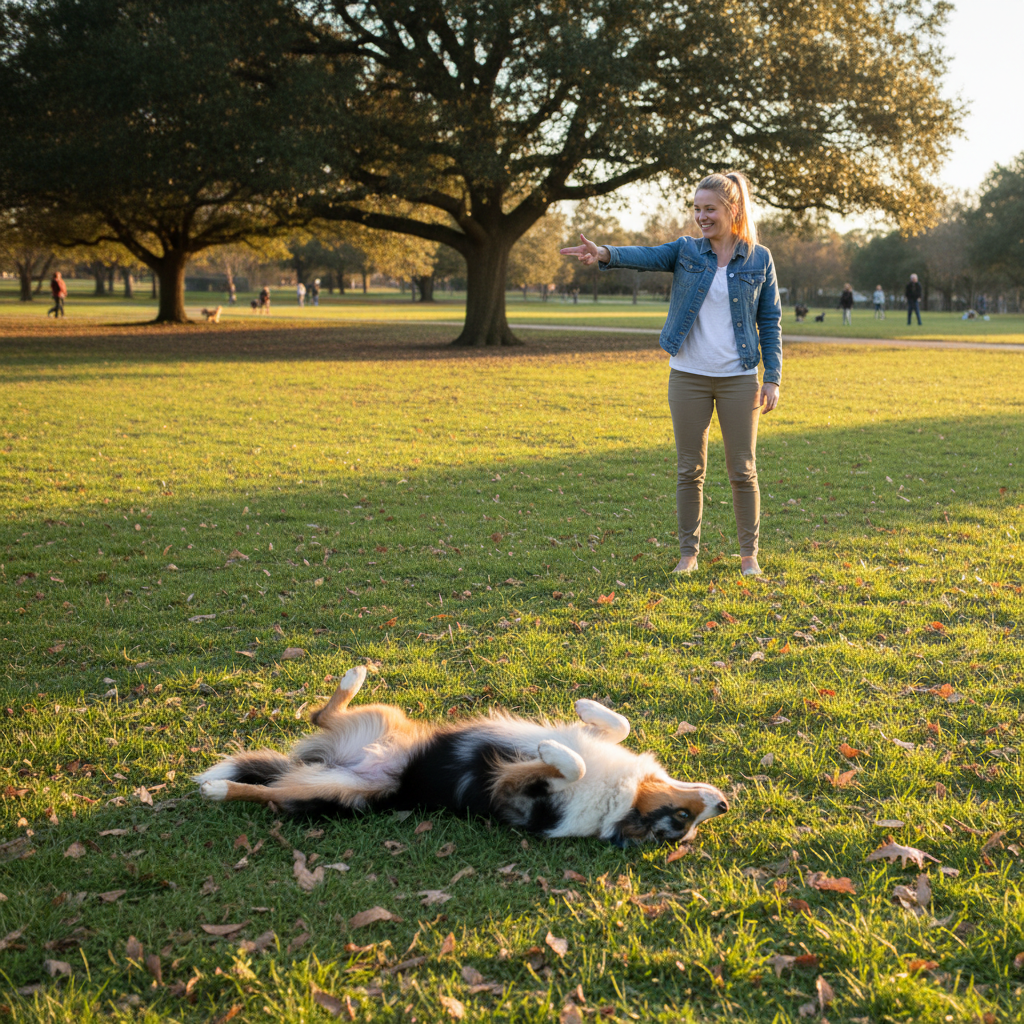
Adding Distance
Can your dog play dead when you’re standing across the room? Start by taking one small step back before giving the cue. If they succeed, praise them enthusiastically. Gradually increase the distance over many training sessions. This strengthens their understanding of the verbal and hand cues without you being right next to them.
Chaining Tricks Together
Incorporate ‘play dead’ into a sequence of other tricks. For example, you could ask your dog to ‘sit,’ then ‘shake,’ then ‘spin,’ and finally, ‘Bang!’. This is a fantastic mental workout for your dog and looks incredibly impressive to an audience. Building a routine keeps training fresh and exciting for a dog who loves to work.
Remember, these are just for fun. The goal is always to keep training enjoyable and to celebrate the amazing bond you share with your dog. Whether they master the slow-motion demise or stick with the classic flop, the time you spend training together is the real prize.
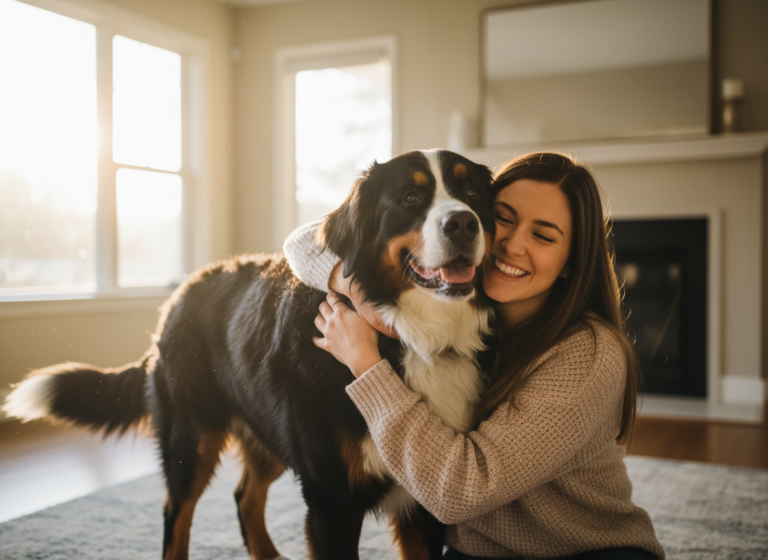
Conclusion
And there you have it! You are now fully equipped to teach your canine companion the dramatic and delightful ‘play dead’ trick. By breaking it down into small, achievable steps—from the initial side flop to the full theatrical performance—you can guide your dog to success while having a great time together. Remember the golden rules of training: keep it positive, be patient, and always end on a high note. The most important outcome of any training session isn’t a perfect trick, but the strengthened bond and mutual understanding you build with your best friend. So grab those treats, find a comfy spot, and get ready to create some movie magic. Happy training!