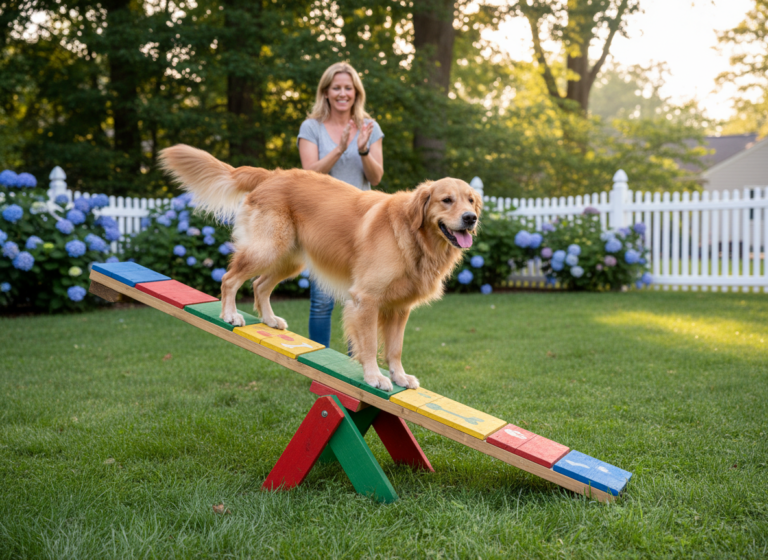
Have you ever watched those amazing dogs on TV agility courses, zipping through obstacles with incredible speed and precision, and thought, ‘Wow, I wish I could do that with my dog’? Well, guess what? You can! You don’t need a fancy stadium or expensive equipment to tap into your dog’s inner athlete. In fact, you can start building a foundation for incredible focus, communication, and fun right in your own backyard.
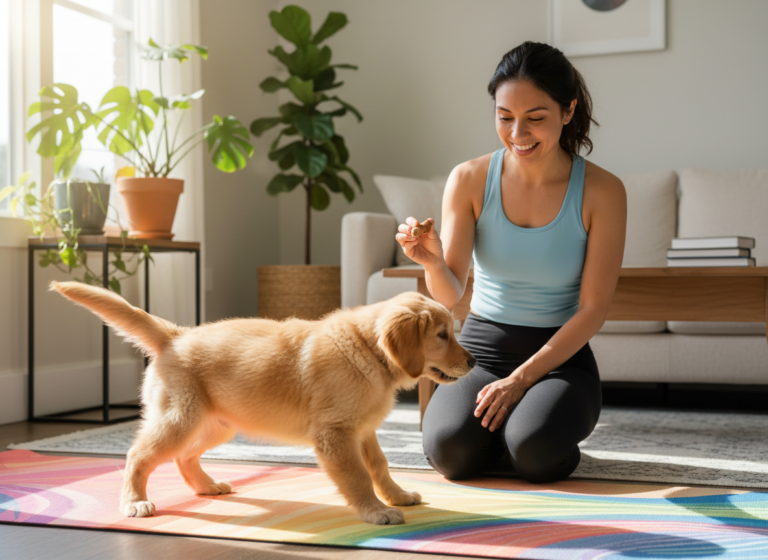
Welcome to the wonderful world of backyard agility! It’s a fantastic way to provide your dog with both physical exercise and much-needed mental stimulation. It channels their energy into a positive activity, helps prevent boredom-related behaviors, and, best of all, deepens the bond you share. And the perfect starting point for this adventure is one of the most iconic agility skills: the weave.
In this guide, we’re going to break down how to teach your dog to weave using something simple, affordable, and easy to find: traffic cones. We’ll walk you through everything from the gear you’ll need to the step-by-step training methods that will have your pup weaving like a pro in no time. So, grab some treats, get excited, and let’s turn your lawn into your dog’s favorite new classroom!
Gearing Up: Your Backyard Weaving Toolkit
Setting Yourself Up for Success
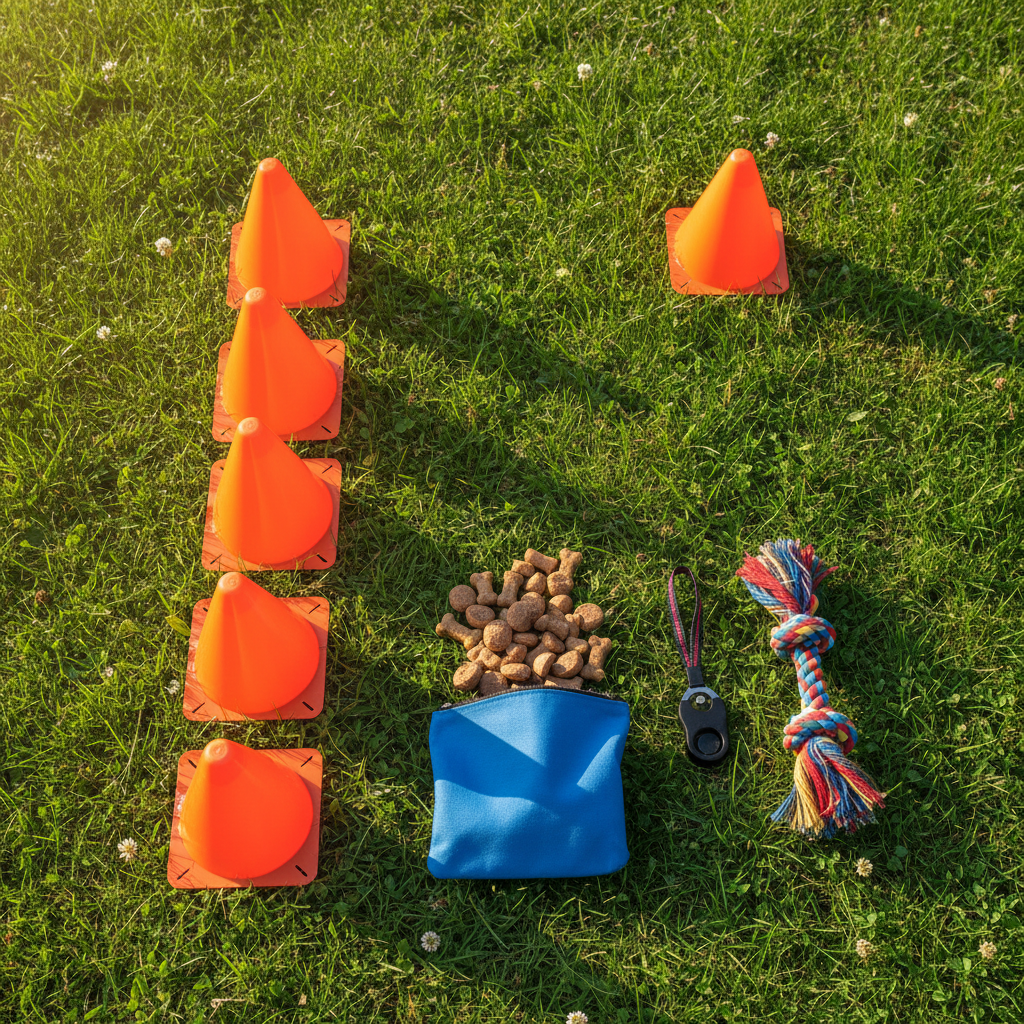
Before you and your furry friend dash out the door, let’s make sure you have everything you need. The beauty of this exercise is its simplicity. You don’t need a truckload of professional gear to get started. Here’s a quick checklist of the essentials:
- Traffic Cones or Similar Markers: The stars of the show! You’ll want about 6 to 12 cones. Standard 12-inch or 18-inch cones work perfectly. No cones? No problem! You can get creative with other safe objects like large, empty plastic soda bottles (weighed down with a little sand or water), buckets, or even tall shoes. The key is that they are visible and won’t hurt your dog if they get knocked over.
- High-Value Treats: This is crucial! We’re talking about the good stuff, not their everyday kibble. Think small, soft, smelly treats like tiny pieces of chicken, cheese, or commercial training treats. The goal is to make this the most rewarding game ever, and a high-value reward will keep your dog’s motivation sky-high.
- A Clicker (Optional but Recommended): A clicker is a fantastic tool for marking the exact moment your dog does something right. This precise communication can speed up the learning process significantly. If you’re not familiar with clicker training, don’t worry—the basic idea is to ‘charge’ the clicker by clicking and immediately giving a treat, repeating this until your dog associates the ‘click’ sound with a reward.
- A Favorite Toy: For some dogs, especially those who aren’t super food-motivated, a favorite tug toy or ball can be an even better reward than a treat. Having one on hand gives you another way to celebrate a job well done.
- A Safe, Distraction-Free Space: Your backyard is perfect, but make sure it’s a safe environment. Check for any hazards, and try to train in a relatively quiet area away from the distractions of passersby or other pets. A flat, non-slip surface like grass is ideal.
Expert Tip: Keep your training sessions short and sweet! For a beginner dog, sessions of just 5-10 minutes, once or twice a day, are far more effective than one long, grueling session. Always end on a positive note when your dog has successfully completed a task, leaving them eager for the next session.
Step 1: The Foundation – Making Cones Awesome
First Impressions Matter!
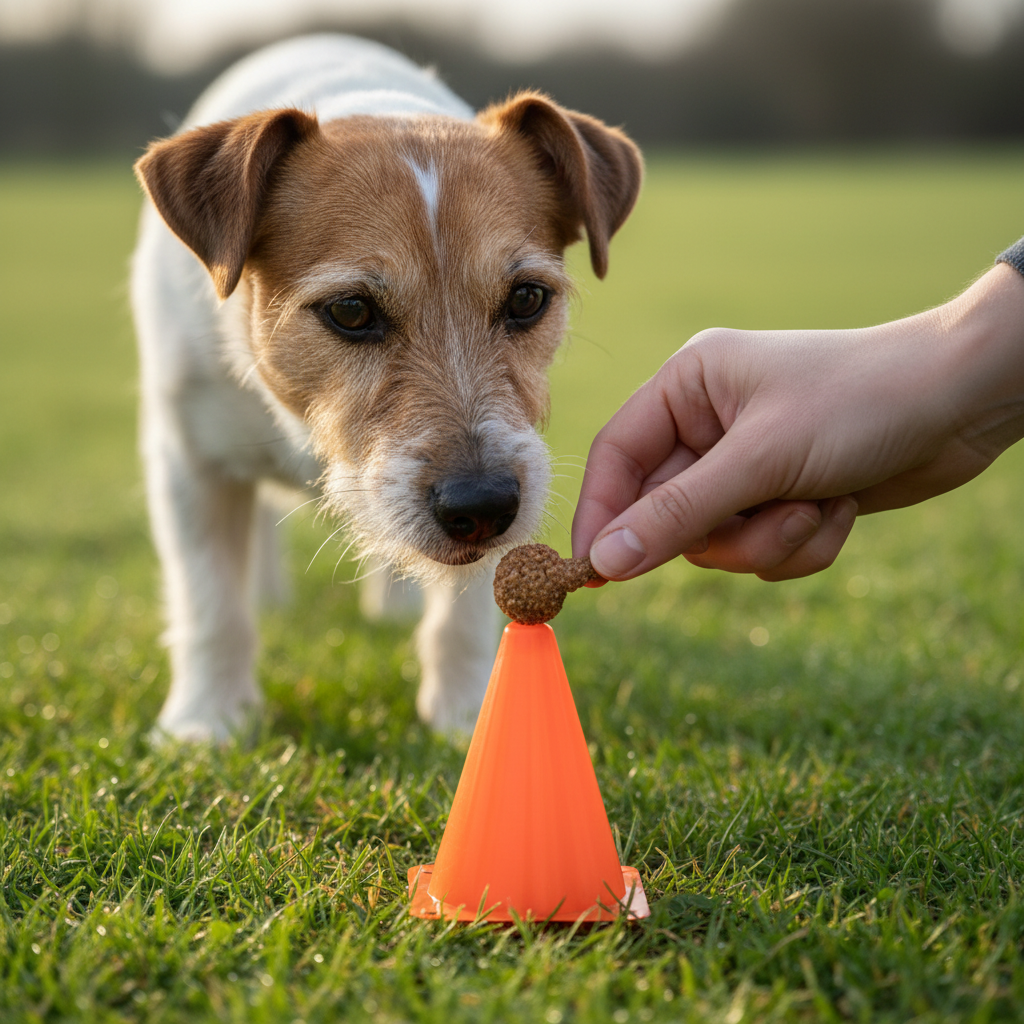
Before we can ask our dogs to weave through a line of cones, we need to make sure they think cones are the coolest things on the planet. The goal of this first step is all about building a super positive association. We want your dog to see a cone and think, “Oh boy, fun and treats are about to happen!”
Here’s how to introduce the cones in a way that’s all fun and no pressure:
- Set the Stage: Start with just one or two cones. Place them in your training area and simply let your dog’s natural curiosity take over. Don’t ask for any specific behavior yet.
- Reward Investigation: The moment your dog shows any interest in a cone—sniffing it, looking at it, walking near it—click your clicker (if you’re using one) and toss them a high-value treat near the cone. This teaches them that good things happen when they are near the cones.
- The Treat Magnet: After a few repetitions of rewarding their curiosity, start placing a few treats directly on the ground at the base of the cone. Let your dog find them. This further solidifies that cones = amazing snacks.
- Keep it Positive: Your energy is contagious! Be cheerful and encouraging. Use a happy tone of voice. If your dog is a bit hesitant, that’s okay. Don’t force them to approach. Just toss treats closer and closer to the cone until they feel comfortable.
Spend a few short sessions just on this step. You’ll know you’re ready to move on when your dog sees you bring out the cones and immediately gets excited and looks to you for the fun to begin. You’ve successfully made the cones a predictor of a great time!
Step 2: Creating the Path – The Channel Method
Building a Highway of Success
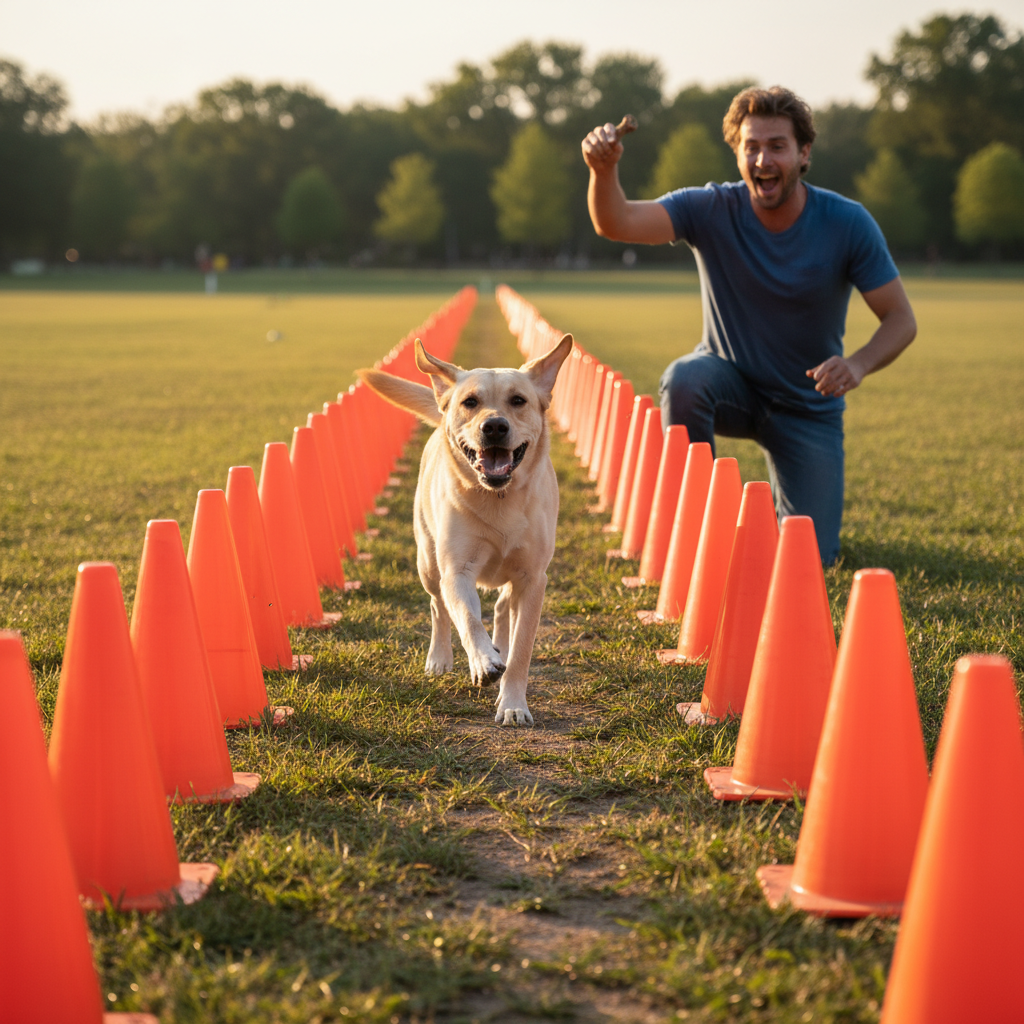
Okay, your dog loves cones. Now what? We need to teach them the basic motion of moving forward through a series of objects. The easiest and most effective way to do this is with the ‘Channel Method’. We’re essentially going to build a wide, inviting hallway with the cones that your dog can’t resist running through.
Setting up your Channel:
Start by setting up two parallel lines of cones. Use 3 or 4 cones on each side to begin. The key here is to make the channel very wide at first—at least 3-4 feet apart, wide enough for your dog to comfortably run through without feeling crowded.
Running the Channel:
- Get Your Lure Ready: Hold a high-value treat or your dog’s favorite toy in your hand to act as a lure.
- Encourage Them Through: Stand at one end of the channel and call your dog excitedly. As they start to move, use the lure to guide them down the center of the channel. Keep the lure right at their nose level initially.
- Click and Treat: The moment they successfully run all the way through the channel, click your clicker and give them the treat or reward them with a quick game of tug. Lots of praise! “Yes! Good dog!”
- Repeat, Repeat, Repeat: Do this several times in both directions. You want your dog to build up speed and confidence, happily rocketing through their cone hallway.
Gradually Narrowing the Path:
Once your dog is a channel-running superstar, you can slowly begin to make the task a little more challenging. Over several training sessions (not all in one day!), start moving the two lines of cones closer together, just a few inches at a time. The goal is to gradually narrow the channel until it’s just a bit wider than your dog. This prepares them for the side-to-side body motion they’ll need for actual weaving.
Important: If your dog starts to run around the outside of the channel instead of through it, you’ve narrowed it too quickly! Simply widen it back to a point where they were successful and work from there. Training is all about building on success, not creating frustration.
Step 3: Let’s Weave! Transitioning to a Single Line
From a Straight Path to a Wavy Line
This is the magic moment where the channel transforms into a true weave! The transition needs to be gradual to keep your dog confident. We’re going to achieve this by offsetting the cones.
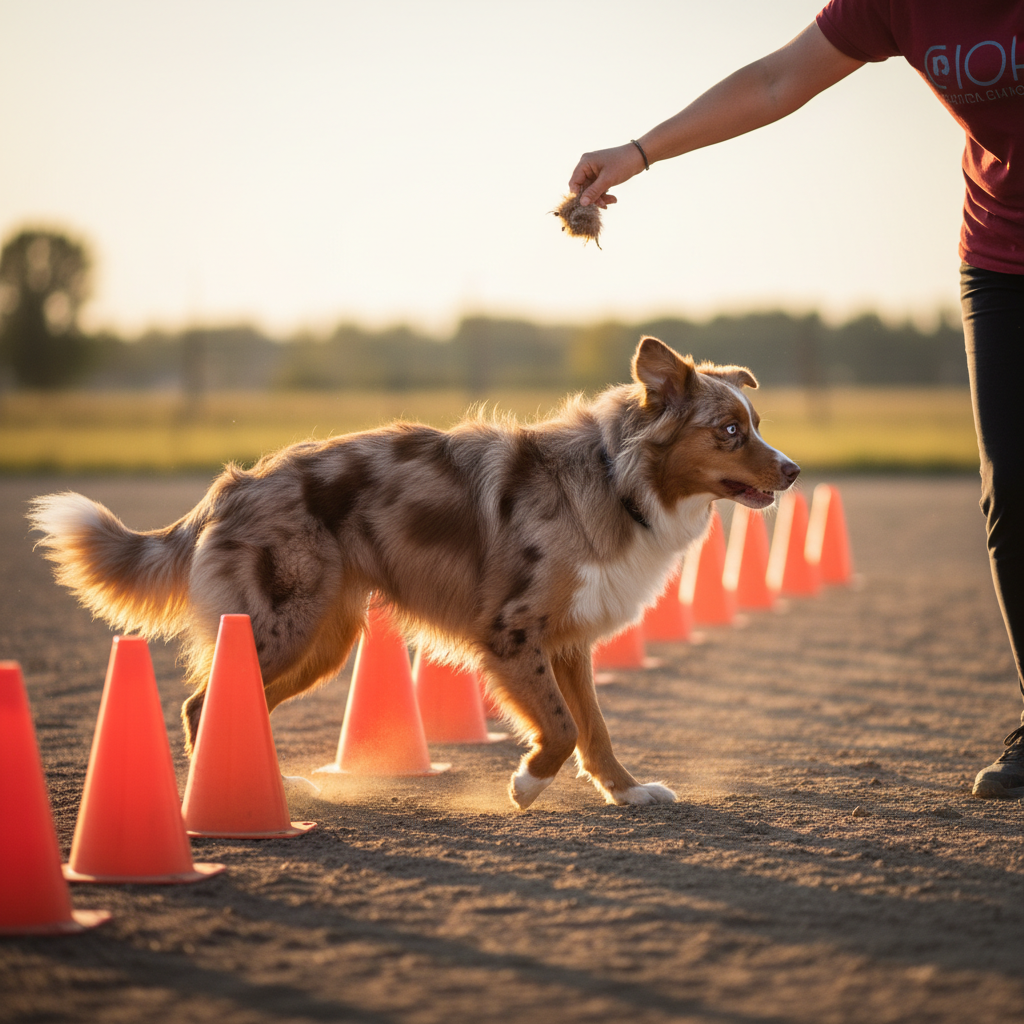
The Staggered Weave:
Take your narrowed channel of cones and simply shift one line of cones forward so that they are now in the gaps of the other line. It should look like a zig-zag or staggered pattern. This creates a gentle ‘S’ curve that will naturally encourage your dog to start the weaving motion.
| Configuration | Description | Goal |
|---|---|---|
| Channel | Two wide, parallel lines of cones. | Build forward drive and confidence. |
| Narrowed Channel | Two parallel lines, closer together. | Introduce the feeling of objects being close to the body. |
| Staggered Line | Cones are offset, creating a gentle ‘S’ curve. | Introduce the basic weaving motion. |
| Straight Line | A single, straight line of cones. | The final weave pole performance! |
Guiding the Weave:
- Lead with the Lure: Just like with the channel, use your treat or toy to guide your dog. This time, you’ll move your hand in an ‘S’ pattern through the staggered cones, keeping the lure right in front of your dog’s nose.
- Exaggerate Your Hand Motion: Make your hand movements clear and a little exaggerated at first. Your dog is learning to follow your hand through the pattern.
- Click and Treat at the End: When they successfully navigate the entire staggered line, have a party! Click, treat, and give lots of verbal praise.
- Practice Makes Perfect: Repeat this process. As your dog gets the hang of it, you can start to straighten the line of cones, moving them closer to a single file line over several sessions. The standard spacing for agility weave poles is about 24 inches, but for backyard fun, any spacing your dog is comfortable with is perfect.
Fading the Lure:
Once your dog is weaving confidently while following your hand, you can start to ‘fade the lure’. This means you’ll still use the same hand motion, but without a treat visible in your hand (keep it in your other hand or a pocket!). Eventually, your hand signal will become the cue, and you’ll only reward them at the very end.
Oops & Fixes: Troubleshooting Common Weaving Woes

Don’t Worry, Every Pro Was Once a Beginner!
Training is never a perfectly straight line. You and your dog are bound to hit a few little bumps in the road. That’s completely normal! The key is to know how to navigate them with patience and a positive attitude. Here are some of the most common challenges and how to fix them:
My dog keeps skipping a cone.
This is very common! It usually means you’ve progressed a bit too quickly. The fix is to take a step back. Widen the cones again or go back to a more staggered pattern where the path is more obvious. You can also try using your body to block the ‘exit’ where they usually skip a cone, making the correct path the easiest option. Slow down your luring to ensure they follow your hand precisely around each cone.
My dog seems bored or loses focus quickly.
This is a giant sign that your training sessions are too long! Remember, dogs, especially young ones, have short attention spans. Keep your sessions under 5 minutes. It’s better to have three separate 5-minute sessions throughout the day than one 15-minute session. Also, make sure your rewards are exciting enough. If they’re turning their nose up at the treats, you may need to up the value to something more irresistible. Always end the session on a high note after a successful repetition.
My dog is fast but keeps knocking the cones over.
A little clumsiness is okay, especially at first! If it happens consistently, it might mean the cones are spaced too closely for your dog’s current skill level or speed. Widen them up to give your dog more room to maneuver. Don’t scold them for knocking a cone over; just calmly reset it and try again, perhaps at a slightly slower pace to help them focus on their footwork.
My dog enters the weave from the wrong side.
Consistency is key here. In official agility, the dog must always enter the weaves with the first pole on their left shoulder. It’s a good habit to teach this from the start. Always set your dog up on the right side of the first cone and guide them in correctly. If you’re consistent with your entry setup, your dog will learn that the game always starts this way.
The Golden Rule of Troubleshooting: When in doubt, go back to the last step where your dog was successful and confident. Rebuild from there. It’s all about making your dog feel like a winner!
Conclusion
Congratulations! You and your dog are now well on your way to mastering the art of the backyard weave. You’ve learned how to turn simple traffic cones into a source of immense fun, focus, and physical activity. Remember, the ultimate goal here isn’t about achieving perfect, competition-level speed. It’s about the time you spend together, the communication you build, and the joy you see in your dog’s eyes as they learn something new.
Be patient with your pup and with yourself. Celebrate every small success, whether it’s their first run through the channel or their first perfect six-cone weave. Every step forward is a victory. So keep those sessions short, keep the treats tasty, and most importantly, keep it fun. Now get out there and enjoy your new favorite backyard game!