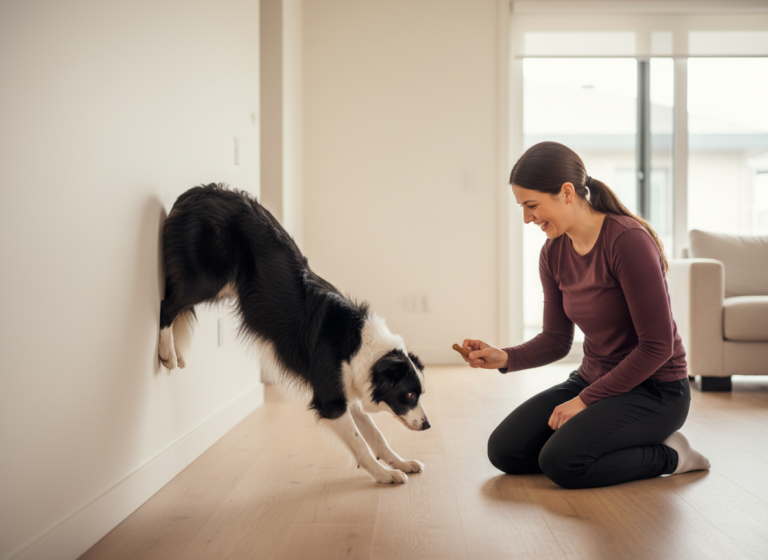
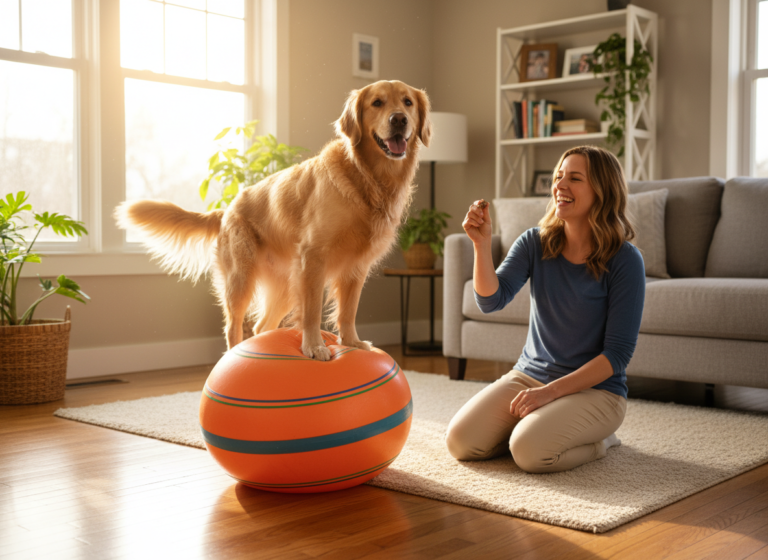
Have you ever watched your dog navigate a tricky hiking trail or a cluttered room with seemingly effortless grace? That incredible ability to know exactly where their body is and how to move it is called proprioception. Think of it as a sixth sense for movement—an internal GPS that coordinates every paw, joint, and muscle. While all dogs have it, we can significantly enhance this skill through targeted exercises, leading to better balance, increased confidence, and a reduced risk of injury.
If you and your furry friend have already mastered the basics of canine fitness and are looking for the next fun challenge, you’ve come to the right place. We’re diving deep into an advanced exercise: balancing on four individual pods. This is a powerhouse workout that engages your dog’s mind and body on a whole new level. It’s not just for canine athletes; it’s for any healthy dog ready to level up their body awareness. So, grab some treats, and let’s get ready to build a stronger, more confident canine companion, one wobbly pod at a time!
What You’ll Need: Gearing Up for Success
What You’ll Need: Gearing Up for Success
Before you and your pup embark on this balancing act, it’s essential to gather the right equipment. Setting up your environment for safety and success is the first and most crucial step. Rushing this part can lead to frustration for both of you, so let’s make sure you have everything you need on hand.
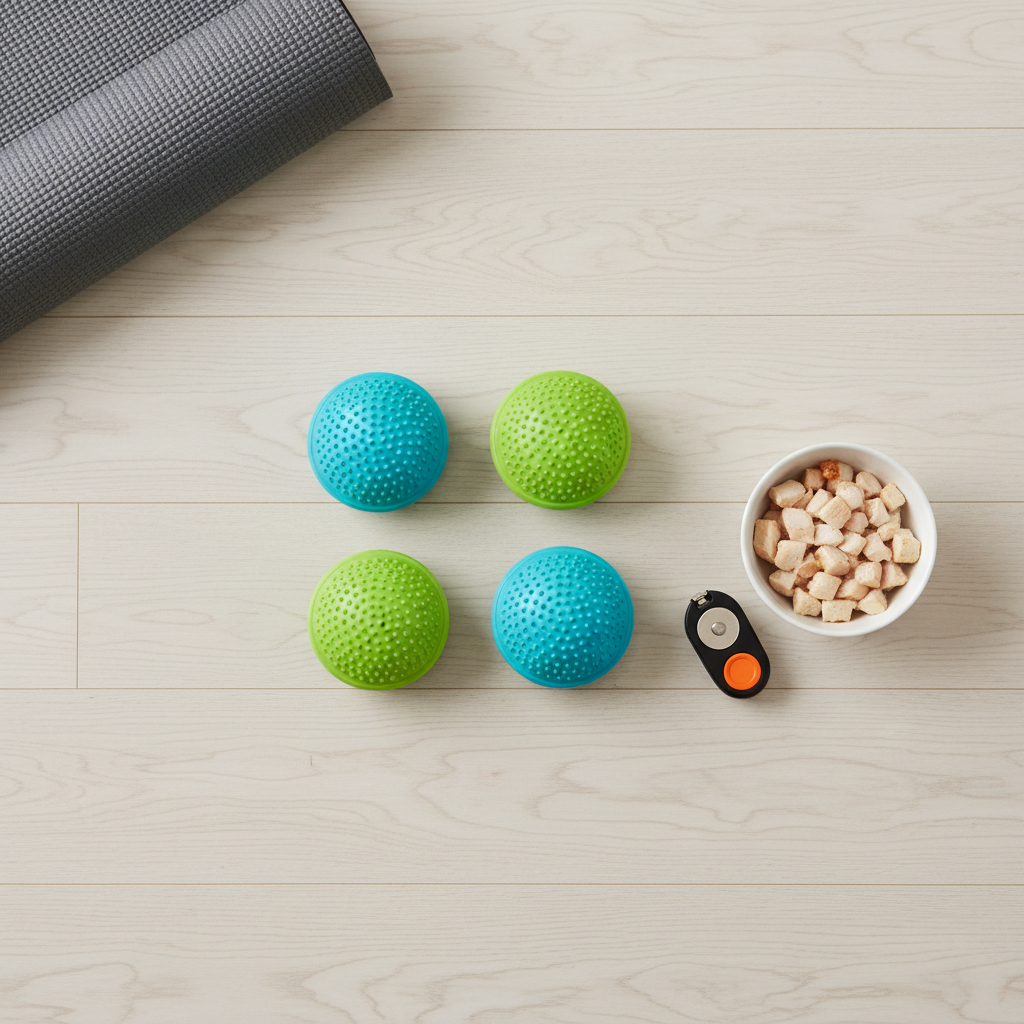
Essential Equipment
- Four Individual Balance Pods: These are the stars of the show. They come in various shapes and sizes. For smaller dogs, mini pods or discs work well. For larger breeds, you’ll need larger, more stable pods. Ensure they are specifically designed for canine use, as they are built to withstand claws and provide the right texture. You can often adjust the difficulty by inflating or deflating them slightly.
- A Non-Slip Surface: Safety first! Working on a slippery surface like hardwood or tile is a recipe for disaster. Use a yoga mat, interlocking rubber gym flooring, or a high-traction rug to ensure the pods (and your dog!) stay put.
- High-Value Treats: This is an advanced skill that requires a lot of mental and physical effort. Your dog’s regular kibble probably won’t cut it. Use extra-special, pea-sized treats that your dog absolutely loves—think small pieces of chicken, cheese, or their favorite soft training treat.
- A Clicker (Optional, but Recommended): If your dog is clicker-trained, a clicker is an invaluable tool for this exercise. It allows you to precisely mark the exact moment your dog performs the correct action, like shifting their weight or placing a paw on a pod.
Your Most Important Tool
Beyond the physical gear, the most important thing you bring to a training session is your attitude. This exercise requires immense patience and a positive mindset. Your dog will feed off your energy. Keep sessions short (just a few minutes at a time), celebrate the small victories, and always end on a positive note. If you feel yourself getting frustrated, it’s time to take a break and play a simple game your dog loves instead.
Expert Tip: When choosing pods, consider your dog’s paw size. Their entire paw pad should be able to fit comfortably on the surface of the pod without their toes hanging off the edge. This ensures proper foot posture and stability.
The Foundation: Is Your Dog Ready for This Challenge?
The Foundation: Is Your Dog Ready for This Challenge?
Jumping into a four-pod balance without the proper foundation is like trying to run a marathon without ever having jogged. It’s crucial to assess whether your dog has the prerequisite skills and physical conditioning to attempt this exercise safely and successfully. This isn’t about gatekeeping; it’s about setting your dog up for a win and preventing injury or loss of confidence.
Prerequisite Skills Checklist
Before you even place four pods on the floor, can your dog comfortably do the following?
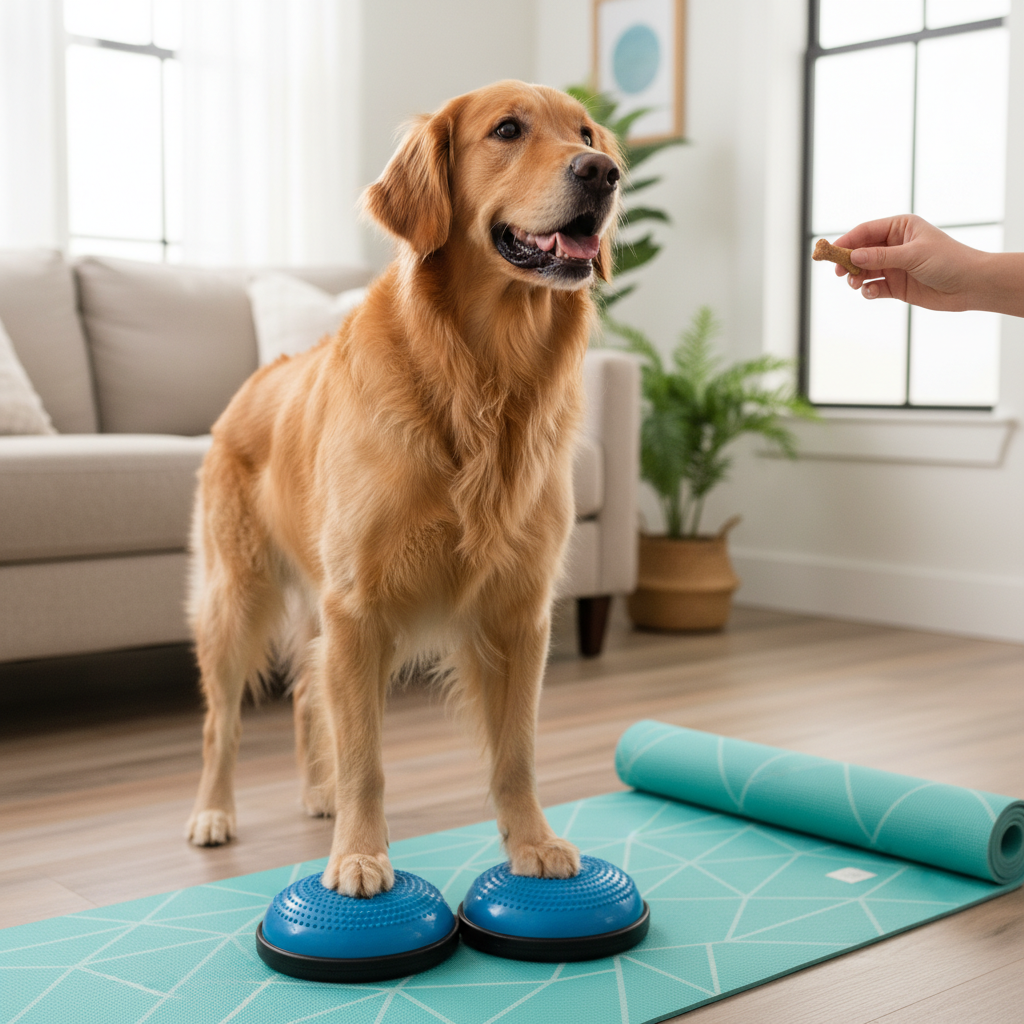
- Mastery of Two Pods: Your dog should be a rockstar at balancing on two pods. This includes:
- Front Paws Up: Confidently placing both front paws on two separate pods and holding the position for 10-15 seconds.
- Back Paws Up: Willingly targeting and placing both back paws on two pods. For many dogs, back-end awareness is a bigger challenge.
- Diagonal Paws Up: The next level of two-pod work, such as right-front and left-rear paws on pods. This really challenges their core and stability.
- A Solid ‘Stand-Stay’: Your dog needs to understand how to stand still on cue, both on flat ground and on slightly unstable surfaces. This impulse control is vital.
- Confidence on Unstable Surfaces: Your dog should be comfortable and show positive body language (soft eyes, relaxed tail, forward ears) when working on equipment like wobble boards or larger balance discs. If any unstable surface makes them nervous, you need to work on that foundational confidence first.
- Physical Health Clearance: This is a high-intensity exercise. It’s essential that your dog is free from any injuries, especially in their joints or spine. If your dog is a senior, has a pre-existing condition like arthritis, or you’re just unsure, please consult your veterinarian or a certified canine rehabilitation professional before attempting this exercise.
If you’ve ticked all these boxes, fantastic! You’re ready to move on. If not, don’t worry! Just take a step back and spend some more time strengthening these foundational skills. The four-pod balance will be waiting for you when you’re both truly ready.
Step-by-Step Guide: Mastering the Four-Pod Balance
Step-by-Step Guide: Mastering the Four-Pod Balance
Alright, the groundwork is laid, and your gear is ready. It’s time for the fun part! Remember, the key here is to break the final behavior into tiny, achievable pieces. We’re not asking for a perfect four-pod balance on day one. We’re building it, one paw at a time. Keep your clicker and treats handy!
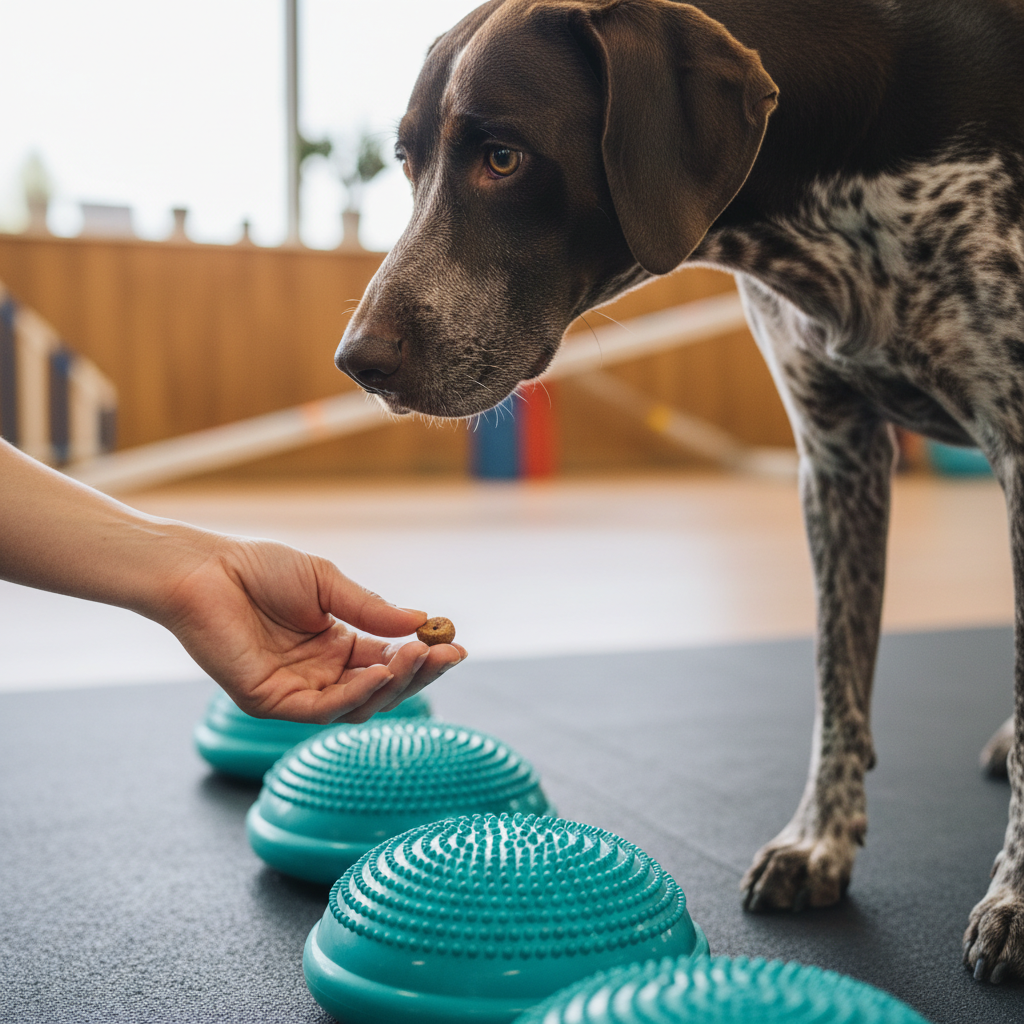
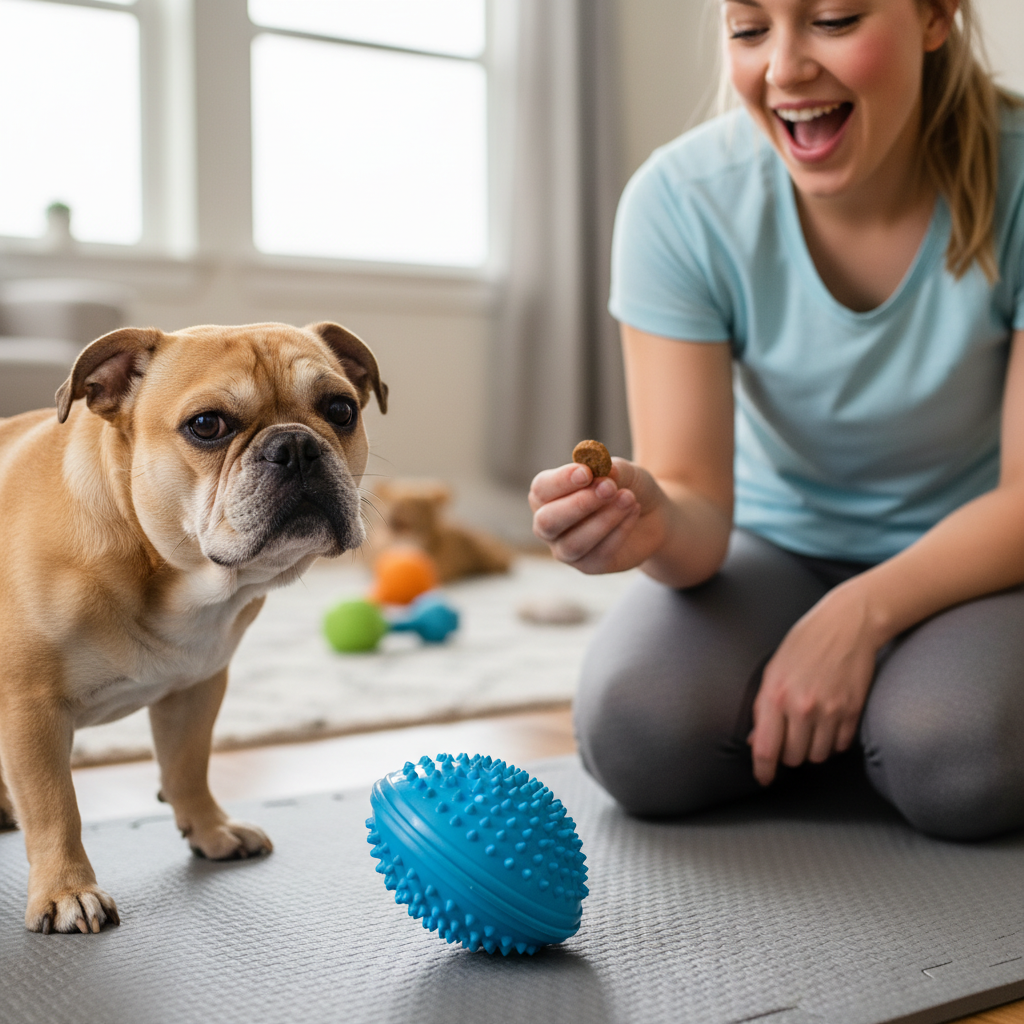
- Step 1: Get Acquainted. Place one pod on your non-slip mat. Let your dog sniff it and check it out. Click and treat for any interaction—a sniff, a nose touch, a paw touch. Make the pod the source of all good things.
- Step 2: First Paw Up. With that single pod, use a treat to lure your dog’s nose in a way that encourages them to shift their weight and place one front paw on the pod. The instant that paw touches the pod, click and treat! Repeat this several times until your dog is offering the behavior willingly.
- Step 3: Two Front Paws. Place two pods on the floor, spaced correctly for your dog’s natural stance (shoulder-width apart). Repeat the luring process to get one front paw on, then lure them slightly forward to get the second front paw on the other pod. Click and treat for two paws on! Don’t worry about duration yet; just reward the placement.
- Step 4: Introduce a Back Paw. This is where it gets tricky. With the front two paws on their pods, hold a treat near your dog’s hip to encourage them to shift their weight and lift a back leg. The goal is to lure that movement towards a third pod you’ve placed for a back foot. This takes coordination from both of you! Click and reward any weight shift or foot lift in the right direction at first. Be patient! This step can take several sessions.
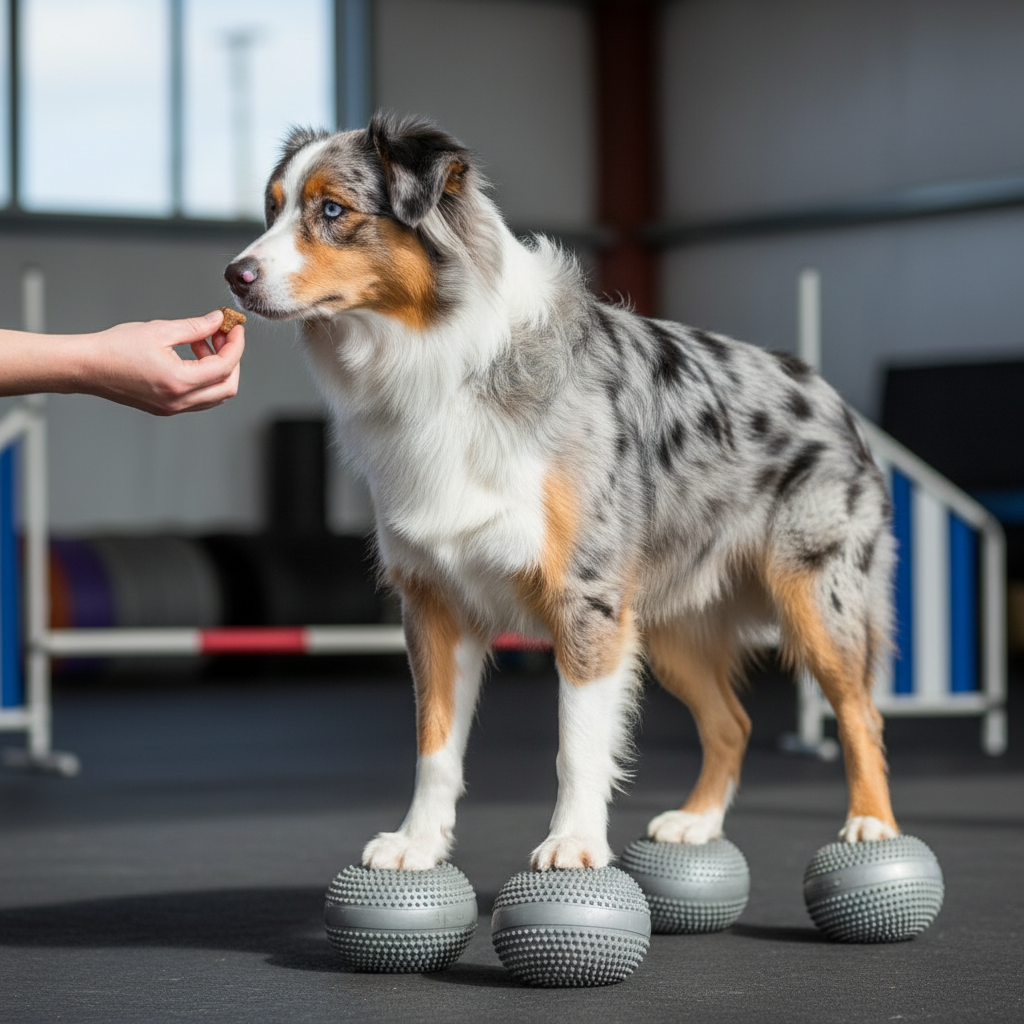
- Step 5: The Final Paw. Once you’ve successfully managed three paws on pods (a huge achievement!), the fourth paw is the final piece of the puzzle. Often, the dog will figure this out on their own as they try to find their balance. Use your lure to help guide them. The moment all four paws are on their own pods—even for a split second—click and give them a ‘jackpot’ reward (several treats in a row). This is a major breakthrough!
- Step 6: Build Duration. Now that your dog understands the goal, you can start building duration. Ask for the four-pod balance, and instead of clicking immediately, wait just one second, then click and treat. Gradually increase the time: 1 second, 2 seconds, 4 seconds. Keep it successful. If your dog steps off, you’ve asked for too much. Simply reset and ask for a shorter duration.
Pro Trainer Tip: Keep your training sessions short and sweet—no more than 3-5 minutes at a time. This is mentally and physically exhausting for your dog. It’s far better to have three separate 3-minute sessions throughout the day than one frustrating 10-minute session. Always end on a successful repetition!
Troubleshooting Common Stumbles
Troubleshooting Common Stumbles
Even with the best plan, you might hit a few snags. That’s completely normal in advanced training! The key is to identify the problem without getting frustrated and adjust your approach. Here are some common issues and how to work through them.
| The Problem | The Solution |
|---|---|
| My dog keeps knocking the pods over or slipping off. | This is often an equipment or setup issue. First, check your surface—is it truly non-slip? Second, check the pods. Are they the right size for your dog’s feet? Are they over-inflated? Letting a little air out can make them more stable and ‘grippier’. Finally, make sure the pods are spaced correctly for your dog’s natural stance, not too wide or too narrow. |
| My dog is scared of the pods and won’t go near them. | This is a confidence issue. Take a big step back. Put the fancy training plan away. For a few days, just have the pods sitting on the floor during meal times (this is called classical conditioning). Then, place treats on and around the pods for your dog to find without any pressure. We need to change their emotional response from ‘scary wobbly thing’ to ‘awesome treat dispenser’ before we can ask them to stand on it. |
| We’re totally stuck on getting the third (or fourth) paw on. | This is the most common sticking point! The solution is to break it down even more. Instead of asking for the full paw-on, click and reward just a tiny weight shift towards the empty pod. Click for a head turn. Click for a slight lean. You can also use a ‘target’—a small, flat object like a coaster—next to the pod. Teach your dog to target the coaster with their back foot first, then place the pod there. This helps them understand where you want them to put their foot. |
| My dog gets on all four pods but immediately jumps off. | This means you’re not rewarding fast enough, or you’re trying to build duration too quickly. Go back to rewarding the split-second they get all four paws on. Use your clicker for precision timing! Once that is solid, only increase your duration by half a second at a time. The goal is for your dog to choose to stay because they know a reward is coming. If they jump off, the ‘game’ ends, and they have to start over to get the reward. |
Remember, troubleshooting is just another word for problem-solving. Every dog learns differently, so don’t be afraid to get creative and find what works for your unique pup!
Beyond the Balance: Taking the Skill to the Next Level
Beyond the Balance: Taking the Skill to the Next Level
Congratulations! If your dog can confidently hold a four-pod balance for several seconds, you’ve both accomplished something amazing. This static hold is a fantastic workout in itself, but for the truly ambitious teams, there are ways to add dynamic challenges. These variations should only be introduced after your dog has completely mastered the basic four-pod stand and can hold it for at least 15-20 seconds with ease.
Introducing Dynamic Movement
The goal of these variations is to force your dog to make tiny, rapid adjustments to their posture and weight distribution, which supercharges their core workout and proprioceptive feedback.
- Head Turns: While your dog is balancing, hold a treat to the side of their head, just far enough that they have to turn their head (but not their body) to get it. Then do the same on the other side. This simple movement creates a significant balance challenge.
- Subtle Weight Shifts: Gently use your hand to apply very light pressure to your dog’s hips or shoulders, encouraging them to resist the pressure and engage their core to stay stable. This should be incredibly gentle—not a push!
- Paw Lifts: This is the ultimate challenge. Ask for a brief lift of one paw while they balance on the other three pods. Start by just rewarding a weight shift off of one paw, then build up to a tiny lift. This should only be attempted by extremely well-conditioned dogs.
Changing the Environment
You can also increase the difficulty by changing the equipment setup itself.
- Vary the Surfaces: Use pods with different textures or levels of inflation to challenge how their paws and brain react.
- Introduce Elevation: For dogs competing in sports, you can place two of the pods (e.g., the front two) on a slightly elevated, stable platform.
Safety Warning: These next-level exercises significantly increase the intensity and risk. Never force your dog into a position. Keep the movements small and controlled. If your dog steps off, it means the challenge was too great. Simply reset and try an easier version. Quality of movement is always more important than difficulty.
Mastering these advanced skills is a testament to your dog’s incredible physical abilities and the strong bond of trust and communication you’ve built together. It’s a journey of continuous improvement, celebrating every small step of progress along the way.
Conclusion
What a journey! From understanding the ‘sixth sense’ of proprioception to guiding your dog onto four wobbly pods, you’ve explored the peak of canine fitness training. This exercise is so much more than a cool party trick; it’s a powerful tool for building a resilient, confident, and physically aware dog. It strengthens the tiny stabilizing muscles that protect joints, enhances focus, and deepens the trust and communication between you and your best friend.
Remember that every dog is an individual. Whether your pup masters the four-pod balance in a week or you spend that time perfecting your two-pod stand, you are investing in their long-term health and happiness. Celebrate your progress, listen to your dog’s needs, and most importantly, have fun. The strongest bonds are built not in the final achievement, but in the patient, positive, and joyful steps taken together along the way.