Your wedding day is a celebration of love and family, and for many of us, our dogs are a huge part of that family. Picturing them trotting down the aisle or posing for photos in a handsome bow tie is enough to make any pet parent’s heart melt. But there’s a tiny hitch in this perfect plan: most dogs don’t come pre-programmed to love wearing accessories.
If the thought of wrestling a bow tie onto a fussy pup minutes before you say ‘I do’ fills you with dread, you’ve come to the right place. The key isn’t force or hope; it’s fun, positive training! This guide will walk you through a simple, stress-free process to turn your dog into a bow tie-wearing pro. We’ll use the power of positive reinforcement to build a happy association with their formal wear, ensuring they’re not just tolerating it, but are genuinely comfortable and confident. Let’s get your best boy or girl ready for their close-up!
Setting the Stage for Success: Your Bow Tie Training Toolkit

Before you even think about putting the bow tie on your dog, it’s crucial to gather a few key items. Proper preparation makes the training process smoother, more effective, and way more fun for both of you. Think of it as assembling your dapper dog’s success kit!
What You’ll Need:
- A Comfortable Bow Tie: This is non-negotiable. We’ll dive deeper into choosing the right one in the next section, but for now, make sure it’s soft, lightweight, and the right size for your dog’s neck or collar.
- High-Value Treats: Forget the dry biscuits for this job. You need the good stuff! Think tiny, pea-sized pieces of cooked chicken, cheese, hot dogs, or their absolute favorite store-bought soft treats. The goal is to make the reward so amazing that the bow tie becomes an afterthought.
- A Clicker (Optional but Recommended): A clicker is a fantastic tool for marking the exact moment your dog does something right. This precision helps your dog learn much faster. If you’re not using a clicker, a consistent verbal marker like a happy “Yes!” works too.
- A Calm, Quiet Environment: Start your training sessions in a familiar room with minimal distractions. You want your dog to be relaxed and focused on you, not on the squirrel outside the window or the kids playing in the next room.
- Patience and a Positive Vibe: This is the most important tool of all. Your dog can read your energy. If you’re stressed or impatient, they’ll become anxious. Keep sessions short (just 2-5 minutes at a time), stay upbeat, and always end on a positive note.
Expert Tip: The goal of these initial sessions is not to get the bow tie on. The goal is to make your dog love the sight, smell, and presence of the bow tie because it means amazing things (treats and praise!) are coming their way.
The Step-by-Step Guide to Bow Tie Bliss: From Introduction to Acceptance
This is where the magic happens! We’re going to break down the process into tiny, easy-to-win steps. Remember to go at your dog’s pace. If they seem stressed at any point, just go back to the previous step where they were successful and practice that a bit more before moving forward.
- Step 1: The Grand Introduction. Hold the bow tie in your hand. Let your dog approach and sniff it. The very instant their nose touches it, click (or say “Yes!”) and give them a high-value treat. Put the bow tie behind your back and repeat. Do this 5-10 times. You are teaching them: Bow Tie = Delicious Snack.
- Step 2: Touch and Treat. Now, hold the bow tie and gently touch it to the side of your dog’s neck for just a split second. Click/”Yes!” the moment it makes contact and reward them. The goal is to create a positive association with the object being near their collar area. Repeat this on different parts of their neck and upper back.
- Step 3: The Quick Clasp. This is a big step, so keep it fast! If the bow tie has a clasp, hold a treat in one hand to keep your dog’s attention while you use the other to quickly fasten and immediately unfasten the bow tie. Click/”Yes!” and treat the second it’s off. It should be on for less than a second. If it slides onto the collar, slide it on and immediately slide it off. The duration is key here—keep it almost unnoticeably short.
- Step 4: Building Duration. Once your dog is comfortable with the Quick Clasp, start building the time they wear it. Fasten it, click/”Yes!”, count to one, unfasten, and give a treat. In the next repetition, count to two. Then three. If your dog remains calm, you can give them a slow, steady stream of tiny treats while the bow tie is on. This technique, called a ‘treat magnet,’ keeps them happily occupied.
- Step 5: Adding Normalcy and Movement. When your dog can comfortably wear the bow tie for 30 seconds, it’s time to add some normal life into the mix. With the bow tie on, ask them to do a simple cue they know well, like ‘sit’ or ‘touch’. Praise and reward them. Toss a treat on the floor for them to find. The idea is to show them that they can still do all their normal, fun activities while wearing their fancy accessory.
- Step 6: Generalize the Experience. Your dog might be perfect in the quiet living room, but what about elsewhere? Start practicing in other rooms of the house. Then, move to the backyard. The next step could be a short walk down the street. By practicing in different environments, you help them understand that the bow tie is ‘no big deal’ anywhere, not just in one specific context.
Not All Bow Ties Are Created Equal: Choosing the Right One for Your Dog

The success of your training can be heavily influenced by the bow tie itself. An itchy, heavy, or poorly fitting accessory can make even the most well-trained dog fussy. Comfort and safety should be your top priorities when choosing your pup’s formal wear.
Key Factors to Consider:
- Material: Look for soft, breathable fabrics like cotton, linen, or a soft tweed. Avoid stiff, scratchy materials or anything with glitter that could flake off and irritate your dog’s skin or eyes.
- Weight: The bow tie should be incredibly lightweight. Your dog should barely notice it’s there. A heavy, bulky bow tie is more likely to be distracting and annoying.
- Attachment Style: There are generally two types of bow ties for dogs. Each has its pros and cons, which can depend on your dog’s collar and temperament.
| Attachment Style | Pros | Cons |
|---|---|---|
| Slide-On (with elastic loops) | Very secure as it attaches directly to the existing collar; Less likely to be lost. | Can be trickier to put on and take off quickly; Only works with standard-width collars. |
| Wrap-Around (with its own strap) | Easy and quick to put on/take off; Can be worn without a collar. | Must be sized perfectly to be safe (not too tight or loose); Higher chance of getting snagged or lost. |
Getting the Right Fit:
If you choose a wrap-around style, you must measure your dog’s neck correctly. Use a soft measuring tape and ensure you can comfortably fit two fingers between the tape and your dog’s neck. This ensures it’s not a choking hazard. For slide-on styles, ensure the bow tie is an appropriate size for your dog’s head and chest—a tiny bow tie on a Great Dane looks silly, while a giant one on a Chihuahua is a nuisance!
The Big Day Dress Rehearsal: Prepping for the Wedding Spotlight
Your dog can now comfortably wear the bow tie around the house. Fantastic! But a wedding is a whole different level of excitement and distraction. A dress rehearsal is essential to ensure your dog’s training holds up under a bit of pressure, so there are no surprises on the big day.
Simulate the Situation:
- Full Costume Run-Through: A few days before the wedding, do a full dress rehearsal. Put the bow tie on and practice the specific actions they’ll need to perform. Will they be walking down the aisle? Practice that. Will they need to ‘sit’ and ‘stay’ for photos? Practice that, too.
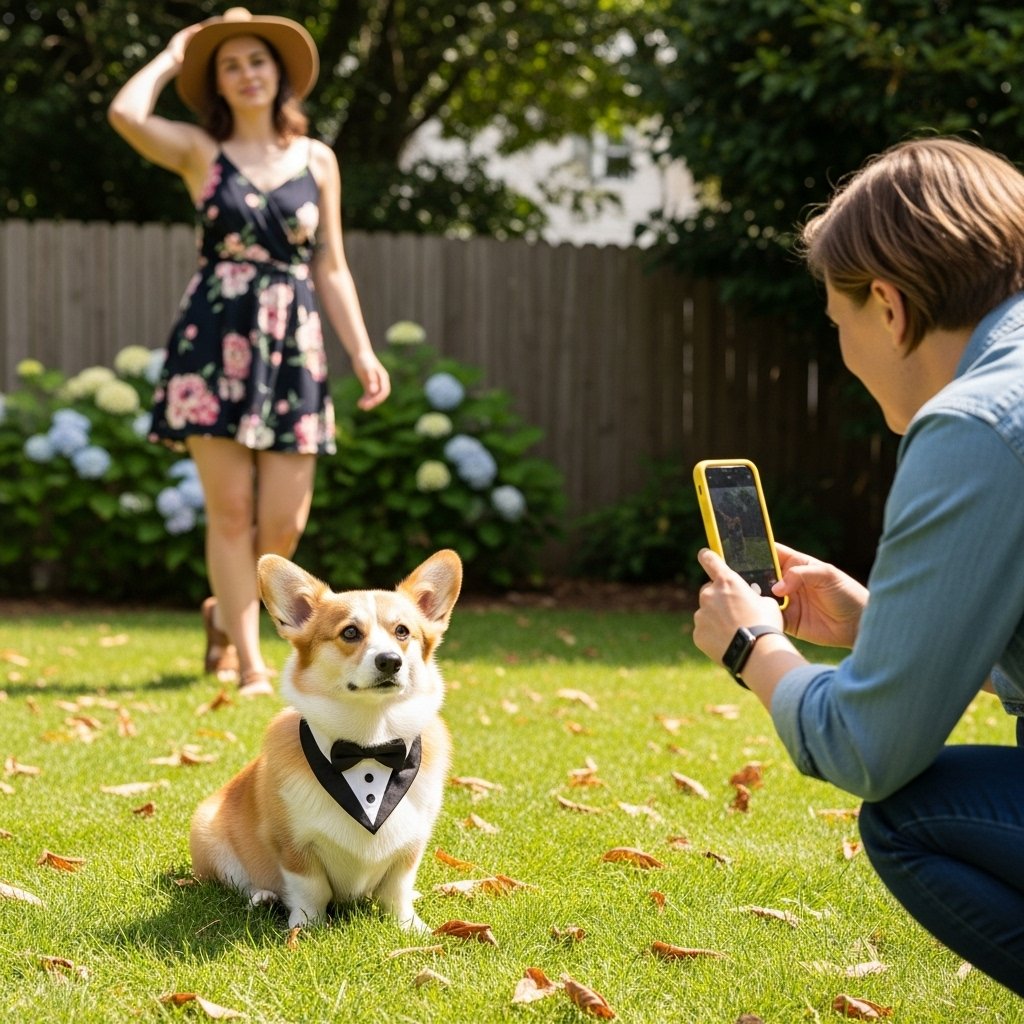
- Introduce the Camera: The sound and sight of a camera or phone can be distracting. During your rehearsal, have a friend or family member take photos. Use your phone to make the ‘click’ shutter sound. Reward your dog for ignoring the camera and holding their position.
- Gentle Distractions: Weddings are full of people, music, and new smells. Practice your bow tie ‘stay’ in your backyard while a family member walks by. Have some music playing in the background. Start with low-level distractions and slowly increase them, always rewarding your dog for staying calm and focused.
- Create a ‘Bow Tie is Fun’ Association: On the wedding day, don’t just put the bow tie on for photos and then take it off. Put it on a few minutes before you leave, give them a super special chew or play a quick game of tug. This reminds them that wearing the bow tie leads to wonderful things, not just boring stillness.
Wedding Day Pro Tip: Designate a ‘dog handler’ for the day. This could be a trusted friend or family member who isn’t in the main wedding party. Their job is to manage your dog, provide treats, give potty breaks, and decide if your pup is getting overwhelmed and needs a break from the celebration. This frees you up to enjoy your day, knowing your best friend is in good hands.
Help! My Dog Still Hates It! Troubleshooting Common Issues

Even with the best training plan, you might hit a snag. Don’t worry! It’s completely normal. The key is to recognize the issue and take a step back, rather than trying to push through the resistance. Here are some common problems and how to solve them.
Problem: My dog keeps pawing or scratching at the bow tie.
Solution: This is the most common sign of irritation. It usually means you’ve moved too fast. The bow tie is on for too long, and they’re trying to remove it. Go back to the ‘Quick Clasp’ and ‘Building Duration’ steps. Make the reward incredibly high-value. Also, double-check the bow tie itself—is there a tag or seam that could be scratching them? Is it too tight? Comfort is paramount.
Problem: My dog freezes and won’t move when it’s on.
Solution: Freezing is a stress response. The dog is unsure what to do and is hoping the ‘scary thing’ will go away if they stay still. Don’t force them to move. Instead, make the situation fun! Toss a super tasty treat a foot away from them. Their desire for the treat will often override their uncertainty. Once they move and get the treat, praise them lavishly. This teaches them they can move and good things happen when they do.
Problem: My dog tries to chew the bow tie.
Solution: This is a clear signal that the bow tie needs to be managed as a training tool, not a toy. It should only be on during supervised training sessions or for the event itself. If they try to chew it while it’s on their neck, redirect them with a toy or a ‘touch’ cue. If they try to grab it from your hand, work on a ‘leave it’ cue. Never let them use it as a chew toy.
The Golden Rule of Dog Training: Never, ever force it. Forcing your dog to wear an accessory will only create a negative association, making them fearful and resentful. If your dog is truly unhappy and stressed despite your best efforts, it’s okay to let go of the idea. A happy dog in a plain collar is infinitely better for your wedding photos than a miserable dog in a bow tie. Their comfort comes first, always.
Conclusion
Congratulations! You now have all the tools and techniques to help your best friend become the most dapper and confident dog at the wedding. By transforming the bow tie from a strange object into a predictor of amazing treats and fun, you’re not just training a behavior; you’re building trust and strengthening your bond.
Remember to be patient, keep it positive, and celebrate the small victories along the way. Your wedding is a day of joy, and ensuring your furry family member is happy and comfortable is the best gift you can give them. Here’s to a wonderful celebration and picture-perfect memories with your beautifully behaved, bow tie-wearing pup by your side!