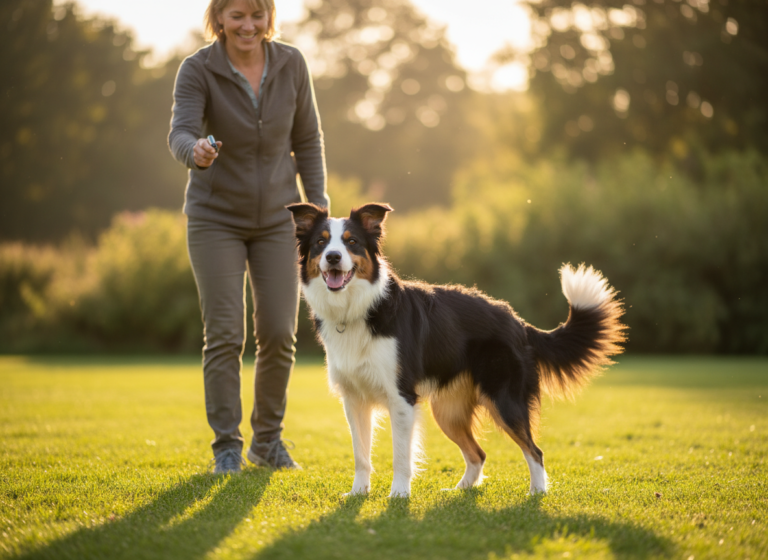
Have you ever scrolled through social media and seen those breathtaking photos of a dog posed perfectly on a rock overlooking a stunning vista? Ever wondered how they get their dog to stand so majestically on a log or stump? The secret, my friend, is often a simple but incredibly versatile command called ‘Perch’.
But teaching your dog to ‘perch’—which means placing their front two paws up onto an object—is about so much more than just getting the perfect shot for Instagram. It’s a powerhouse of a skill that builds confidence, improves body awareness, and strengthens the bond between you and your four-legged hiking partner. It’s a fantastic way to engage your dog’s mind and body on the trail, turning a simple walk into an enriching training adventure.
Whether you’re a seasoned hiker or just starting to explore local parks with your pup, teaching the perch command is a game-changer. In this guide, we’ll break down the entire process into easy, manageable steps. We’ll start in the comfort of your living room and gradually work our way up to conquering natural objects in the great outdoors. So grab your tastiest treats, and let’s get ready to elevate your dog’s skills!
The ‘Perch’ Command: More Than Just a Cute Trick
Before we dive into the ‘how-to,’ let’s talk about the ‘why.’ Why should you spend time teaching your dog to put their front feet on things? It might seem like a simple party trick, but the ‘perch’ is a foundational skill in the world of canine fitness and adventure training. It has a surprising number of benefits for your dog’s physical and mental well-being.
Building Unshakeable Confidence
For many dogs, interacting with new or unusual objects can be intimidating. By teaching ‘perch’ with positive reinforcement, you’re showing your dog that investigating and touching new things is fun and rewarding. As they successfully perch on different surfaces—from a book on the floor to a wobbly cushion and eventually a strange-looking rock on the trail—their confidence skyrockets. They learn to trust their own bodies and your guidance, making them more resilient and brave in new environments.
Enhancing Body Awareness (Proprioception)
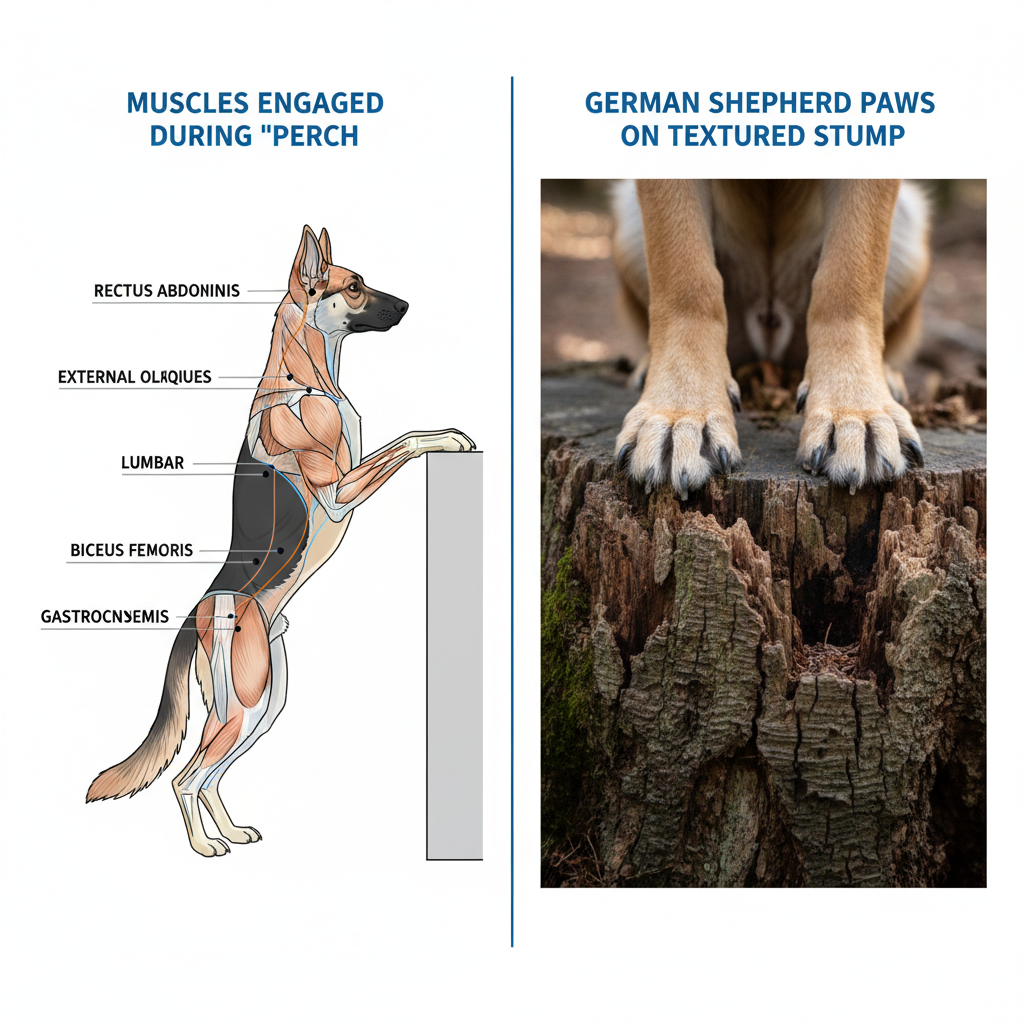
Proprioception is your dog’s sense of where their body parts are in space. It’s a crucial skill for any active dog, helping them navigate tricky terrain without stumbling or getting injured. The perch command specifically targets this skill. It forces your dog to consciously think about where to place their front feet and how to shift their weight to their rear legs to hold the position. This rear-end awareness is fantastic for building strength and stability, which is essential for hiking, running, and playing safely.
A Low-Impact Strength Workout
Holding a perch position is a great isometric exercise. It engages your dog’s core, shoulders, and rear leg muscles. It’s a safe, low-impact way to build functional strength that supports their joints and protects them from injury during more strenuous activities. Think of it as doggy yoga—a gentle way to build a strong, capable body.
Expert Tip: Unlike asking a dog to ‘jump up’ on a high object, which can be hard on their joints, the ‘perch’ is much safer, especially for young, growing dogs or seniors. It provides a great physical challenge without the high impact.
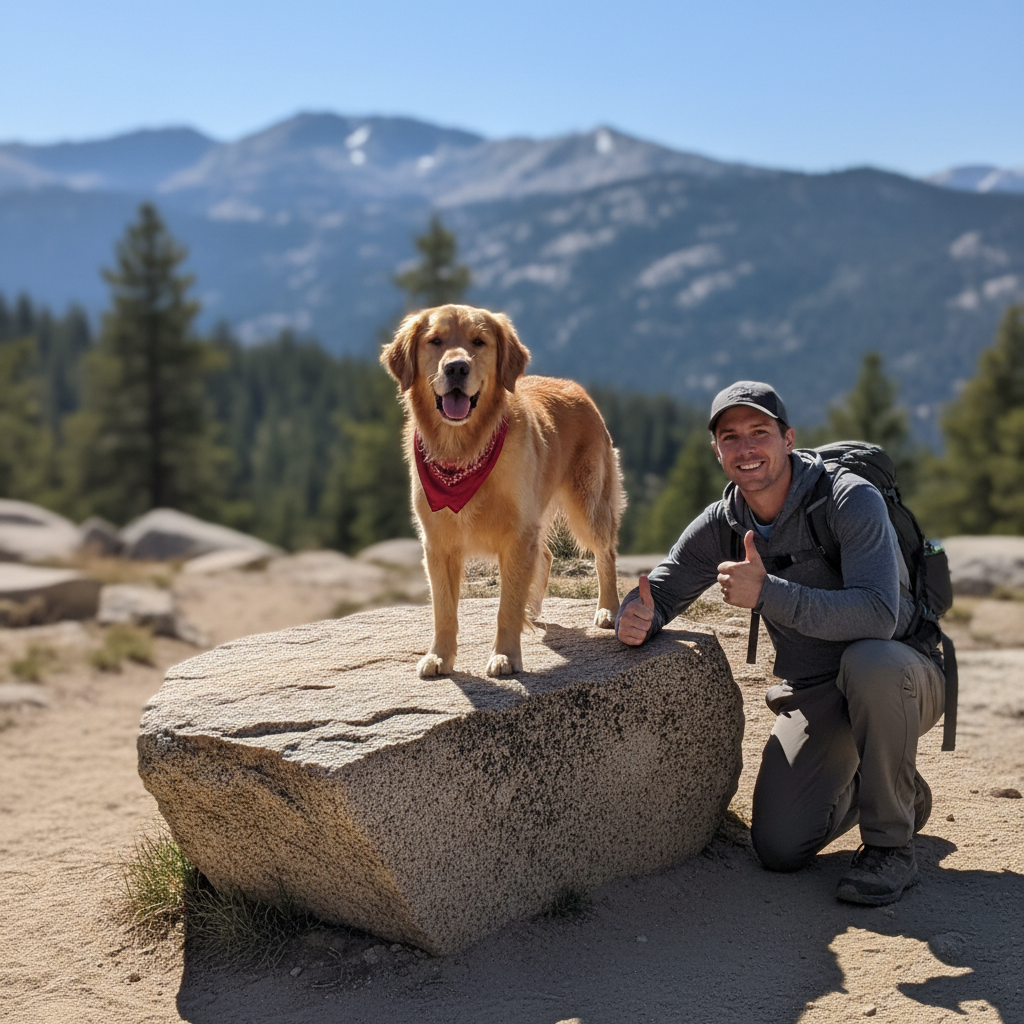
The Perfect Photo Opportunity
Okay, let’s be honest—this is a big one! The ‘perch’ is your ticket to stunning adventure photos. It provides a ‘stay’ with a specific purpose. Instead of a blurry action shot, you can ask your dog to perch on a scenic overlook, a cool-looking log, or a field of wildflowers. It gives them a designated spot to pause, allowing you to compose and capture that perfect memory of your adventures together.
Setting Up for Success: Your ‘Perch’ Training Toolkit

Great news! You don’t need a lot of fancy or expensive equipment to teach this skill. The best training sessions are built on positivity, patience, and a few simple tools. Before you start, gather these items to make the process smooth and enjoyable for both you and your pup.
Your Training Essentials:
- High-Value Treats: This is non-negotiable! We’re talking about the good stuff—tiny pieces of cheese, boiled chicken, hot dogs, or their absolute favorite store-bought training treats. The reward needs to be exciting enough to make your dog eager to learn. Keep them small so you can reward frequently without filling up their tummy too quickly.
- A Clicker (Optional but Recommended): A clicker is a fantastic tool for marking the exact moment your dog does the right thing. The ‘click’ acts as a precise signal that means, ‘Yes, that’s it! A treat is coming.’ If you’re not using a clicker, you can use a verbal marker word like ‘Yes!’ or ‘Good!’ said in a sharp, happy tone.
- A Leash: Even when training indoors, it’s a good idea to have your dog on a leash initially. It helps you keep them gently focused on the task and prevents them from wandering off if they get distracted.
- A Low, Stable Object: This is your starting ‘perch.’ The key here is low and stable. You want your dog to succeed easily and feel secure. Excellent starting options include:
- A thick, sturdy book (like a textbook or dictionary)
- A small, wide step stool or aerobic step
- A firm cushion or folded yoga mat
- A small, stable wooden box or crate turned upside down
Your training environment is just as important as your tools. Start in a quiet, low-distraction area of your home, like the living room or a hallway. By minimizing distractions, you set your dog up for success and allow them to focus completely on the new and exciting game you’re about to play.
Building the Foundation: Teaching ‘Perch’ Step-by-Step

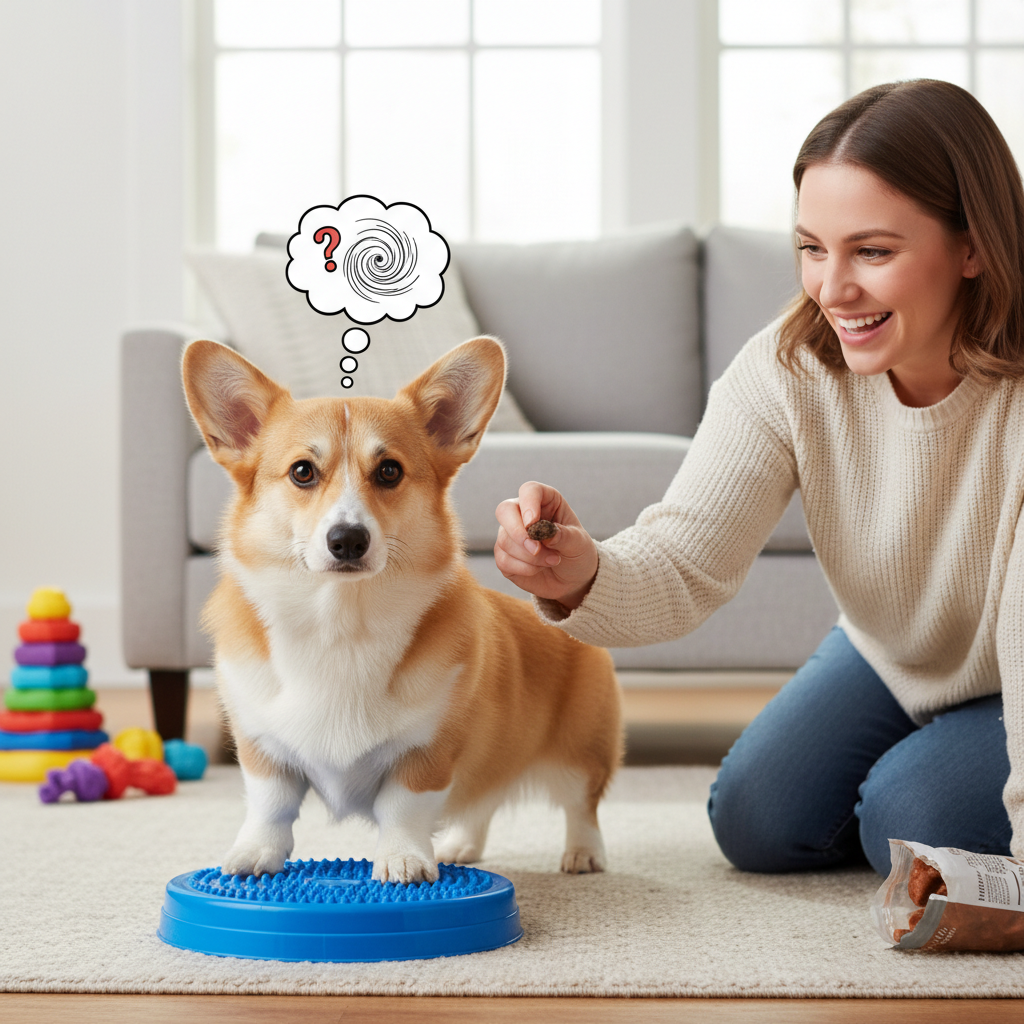
This is where the fun begins! Remember to keep your training sessions short and sweet—just 5-10 minutes at a time is perfect. We want to end each session on a high note, leaving your dog wanting more. Let’s break it down into simple steps.
- Step 1: Introduce the Object: Place your chosen starting object (like a thick book) on the floor. Let your dog investigate it freely. Don’t ask for anything yet. If they sniff it, look at it, or touch it with their nose, click (or say ‘Yes!’) and give them a treat. We’re building a positive association with this new thing.
- Step 2: Lure One Paw Up: Hold a tasty treat in your hand. With your dog in front of the object, slowly move the treat over the object, encouraging them to step towards it. The moment one of their front paws touches the object, click/mark and reward. It doesn’t matter if it’s just for a split second! Repeat this several times until they are confidently touching the object with one paw.
- Step 3: Lure Two Paws Up: Now, we raise the criteria. Wait to click/mark and reward until your dog places both front paws on the object. This might take a bit more luring. You can guide them with the treat, moving it slightly back over the object to encourage that second paw to come up. When it does, have a mini-party! Lots of praise and a couple of treats. This is the ‘aha!’ moment.
- Step 4: Add the Verbal Cue: Once your dog is reliably offering to put both paws on the object with your hand lure, it’s time to name the behavior. Right as you see them begin the motion to put their paws up, say your chosen cue word—’Perch!’—in a clear, happy voice. Then, click/mark and reward when their paws land. After a few repetitions, they will start to connect the word with the action.
- Step 5: Build Duration: Now that they know what ‘Perch’ means, we can ask them to hold the position. After they place their paws up, pause for just one second before you click/mark and reward. Gradually increase this time—two seconds, then three, and so on. If they step off too early, that’s okay! Just ask again and reward them for a shorter duration next time. The goal is a calm, stable hold.
- Step 6: Fade the Lure: Our final goal is for the dog to respond to just the verbal cue. Start by making your hand lure smaller and smaller. Instead of a treat in your hand, just point to the object. Eventually, you can stand up straight and simply say ‘Perch!’ while gesturing towards the object. With practice, the verbal cue alone will be enough.
Practice these steps with a few different objects inside your home to begin the process of ‘generalization’ before you even step outside. This will make the transition to the great outdoors much smoother!
From the Living Room to the Trail: Mastering ‘Perch’ in the Wild
You and your pup have mastered the perch on every cushion and book in the house. Congratulations! Now it’s time to take your show on the road. Moving a known skill to a new, more distracting environment is a process called ‘generalization.’ Dogs don’t automatically understand that ‘Perch’ on a book inside means the same thing as ‘Perch’ on a rock outside. We have to teach them.
Step 1: Start with ‘Easy Mode’ Outdoors
Don’t go straight from your living room to a challenging mountain trail. Start in your backyard or a quiet park. Find objects that are similar to what your dog is used to—stable, low, and not too weird-looking. Good examples include:
- A low curb
- The base of a park bench
- A decorative landscaping boulder
- A large, flat piece of concrete
Go back a few steps in your training. You may need to re-lure the behavior at first to help your dog understand. Be patient and keep it fun!
Step 2: Introduce Natural Objects
Once your dog is confidently perching on man-made objects outside, it’s time for the main event: natural objects! Look for things that are safe and appropriate for your dog’s size and ability. Start with large, wide, and very stable options.
- Wide, fallen logs: A log that’s low to the ground is a perfect starting point.
- Large, flat-topped rocks: Find boulders that have a wide, non-slip surface.
- Exposed tree roots: Large, smooth roots can make a fun and interesting perch.
Safety First: Your Trail Perch Checklist
Your dog’s safety is always the number one priority. Before you ask your dog to perch on anything in the wild, run through this quick mental checklist:
- Is it stable? Push on the rock or log with your own foot and body weight. If it wobbles or shifts, it’s not safe.
- Is the surface safe? Check for sharp edges, broken glass, slick moss, or ice. The surface should be something your dog can comfortably and securely place their paws on.
- Is the height appropriate? Never ask your dog to jump up onto a perch. They should be able to easily step up with their front paws. Keep it low and safe.
- Is the area clear? Make sure there are no hidden holes, thorny bushes, or other hazards around the object that your dog could step into when getting on or off.
Remember: We are the advocates for our dogs’ safety. It’s our job to assess the situation and make smart choices. If you have any doubt about an object, skip it and find a better one. The world is full of perfect perches!
Hitting a Snag? Troubleshooting Common ‘Perch’ Challenges
Even with the best plan, you might run into a few little bumps in the road. That’s completely normal! Dog training is rarely a straight line. Here are some of the most common challenges you might face when teaching the perch and how to work through them.
Challenge: ‘My dog just sniffs the object and won’t put their paws on it.’
Solution: This usually means the reward isn’t high-value enough or the dog is a bit hesitant about the object. First, up the ante on your treats! Switch to something extra delicious. Second, go back to rewarding any interaction. Click/mark and treat for just a nose touch, then for a single paw tap. We need to build their confidence and show them that touching the object is the best game ever. Make sure the object isn’t too high or wobbly.
Challenge: ‘My dog tries to jump all the way on top of the object.’
Solution: This is a classic! It shows your dog is enthusiastic, which is great. To fix this, choose a smaller object where all four paws simply won’t fit. You can also deliver the treat very quickly—the instant their front two paws hit the surface—and then toss another treat on the ground away from the object to ‘reset’ them. This teaches them that the reward happens for ‘two paws on,’ not ‘four paws on.’
Challenge: ‘My dog seems scared or nervous about the objects.’
Solution: Never force your dog. Fear will shut down their ability to learn. If your dog is nervous, the object is likely too high, too wobbly, or just too ‘weird’ for them right now. Go back to a much simpler, more stable object (like the book on the floor). You can also just place treats on and around the object without asking for a perch, letting them approach and eat the treats at their own pace. This is called counter-conditioning and helps change their emotional response from ‘scary’ to ‘awesome!’
Challenge: ‘My dog does it perfectly at home but ignores me on the trail.’
Solution: This is all about distractions! The outside world is incredibly exciting. You’re competing with amazing smells, sounds, and sights. First, make sure you’re using your highest-value treats for outdoor training. Second, find a quieter spot on the trail to practice. Third, go back a few steps and use a hand lure to help them remember the game. Keep it short, fun, and super rewarding, and they’ll quickly learn that listening to you is more fun than sniffing that really interesting bush.
Conclusion
Congratulations, you are now fully equipped to teach your dog one of the most fun and functional skills for any adventure! The ‘perch’ is so much more than a trick; it’s a tool for building a stronger, more confident, and more connected canine companion. By following these steps, you’ve learned how to build the behavior from the ground up, starting in your home and successfully taking it to the great outdoors.
Remember to always be patient, keep it positive, and prioritize your dog’s safety above all else. Every training session is an investment in your relationship. You’re not just teaching a command; you’re learning how to communicate more clearly and building a foundation of trust that will carry you through all of your future adventures.
So, the next time you’re on a hike, look at the world a little differently. See that flat rock? That’s a perch. That fallen log? That’s a perch. Every object is an opportunity for a fun, two-minute training game. Now get out there, start practicing, and don’t forget to capture those incredible, confident, perching moments!