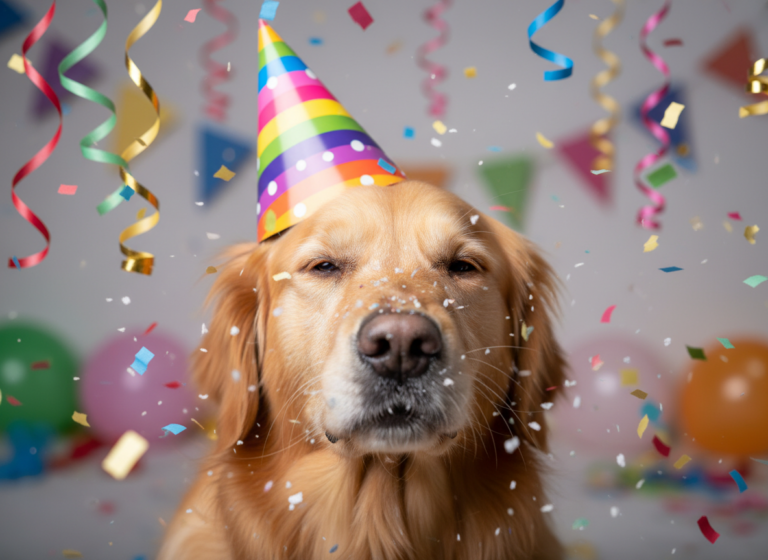
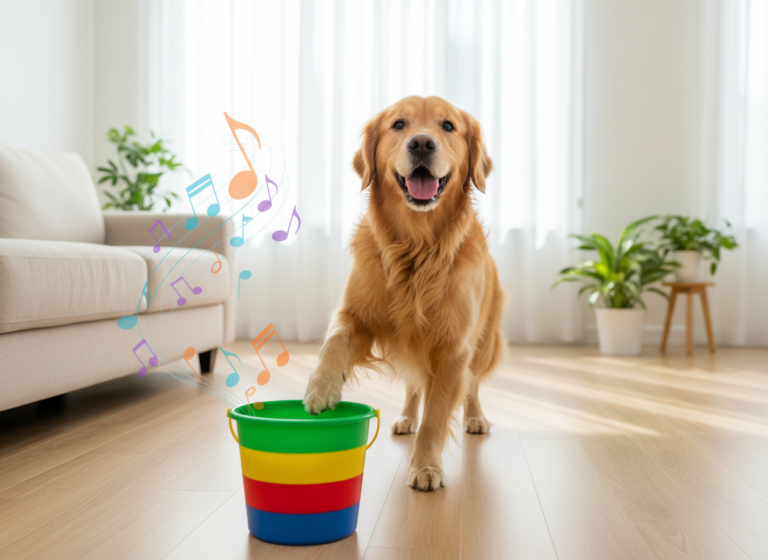
Have you ever seen a dog perform a trick that just made your jaw drop? We’re not talking about a simple ‘sit’ or ‘stay.’ We’re talking about those next-level, ‘how did you do that?!’ moments. Well, get ready to be that pet parent. Teaching your dog to put their paws on your shoulders and take a few steps with you is the ultimate showstopper—a mix of a hug, a dance, and pure canine cleverness.
But this trick is more than just a crowd-pleaser. It’s an incredible exercise in trust, communication, and connection between you and your furry best friend. It requires patience, positive reinforcement, and a deep understanding of your dog’s comfort levels. In this guide, we’re going to break down this amazing trick into simple, manageable steps. We’ll cover everything from the essential safety checks to the foundational cues and the final, triumphant walk. So, grab your tastiest treats, find a comfy spot, and let’s turn your talented pup into the star of the show!
Before You Begin: Safety, Supplies, and Setting the Stage
Is This Trick Right for Your Dog?
Before we even think about treats and training, let’s talk safety. This trick involves your dog balancing on their hind legs, which puts pressure on their back and hips. Because of this, it’s not suitable for all dogs.
- Health Check: This is a must. If your dog has any history of back problems, hip dysplasia, arthritis, or joint issues, please sit this one out. When in doubt, a quick chat with your veterinarian is the best course of action. They can give you the green light based on your dog’s specific health profile.
- Size and Build: While dogs of many sizes can learn a version of this, it’s often easier and safer for medium to large breeds with a healthy build. Very small dogs may struggle to reach your shoulders, and giant breeds might inadvertently knock you over with their enthusiasm and weight. Brachycephalic (flat-faced) breeds might also have breathing difficulties with this kind of exertion.
- Age Matters: This trick is best for adult dogs whose growth plates have closed. Avoid teaching this to young puppies, as their joints and bones are still developing. Senior dogs might find it too strenuous unless they are already in excellent physical condition.
Gathering Your Training Toolkit
Once you’ve cleared the safety check, it’s time to gather your supplies. Having everything ready makes the training process smooth and fun for both of you.
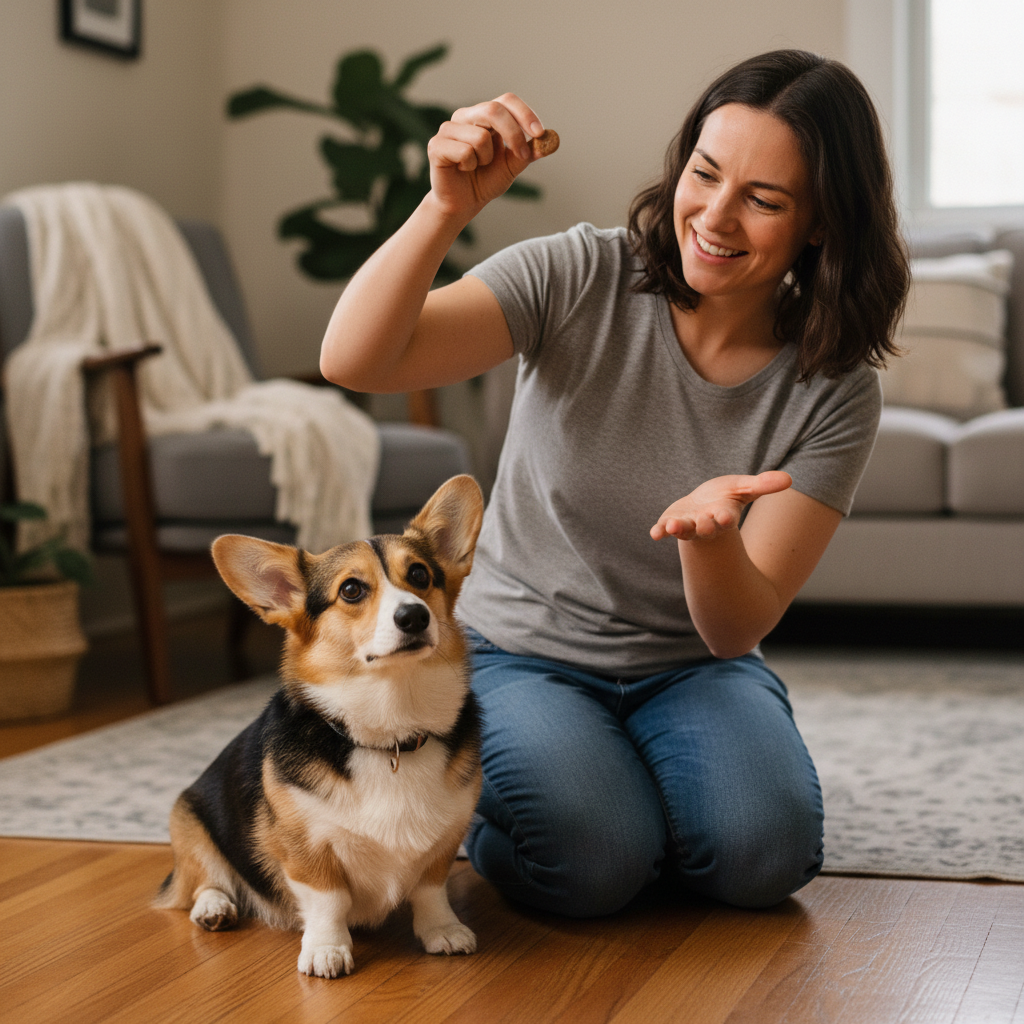
- High-Value Treats: We’re not talking about their everyday kibble. You need the good stuff! Think tiny pieces of cooked chicken, cheese, hot dogs, or super tasty commercial training treats. The goal is to make the reward so irresistible that your dog is highly motivated to work for it.
- A Clicker (Optional but Recommended): A clicker is a fantastic tool for marking the exact moment your dog does the right thing. This precision communication can speed up the learning process significantly. If you’re not using a clicker, choose a consistent verbal marker, like a sharp “Yes!”.
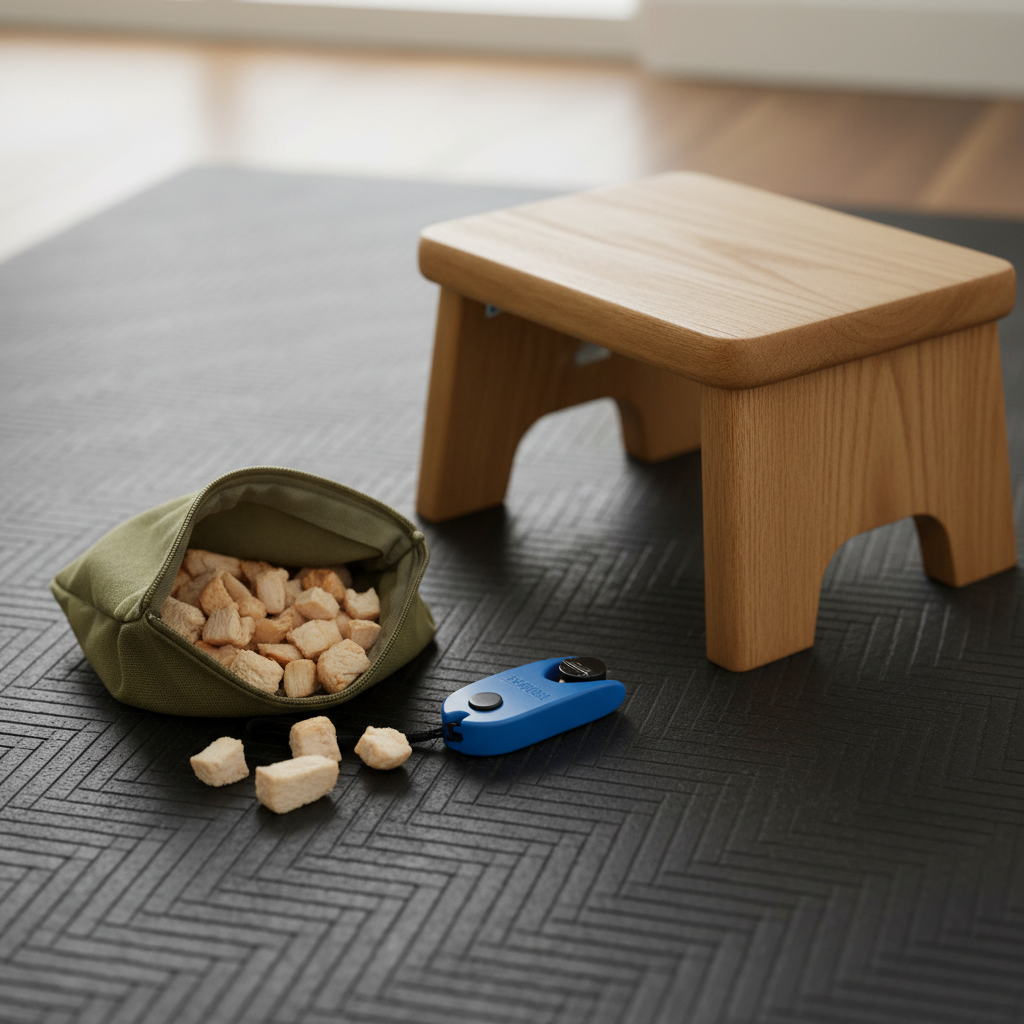
- A Non-Slip Surface: Safety first! You’ll be asking your dog to balance, so training on a slippery hardwood or tile floor is a recipe for disaster. Work on a rug, a carpet, or even a yoga mat to provide your dog with secure footing.
- A Sturdy, Low Object: For the first steps, you’ll need a prop. A low, stable footstool, a sturdy ottoman, or even a solid cushion will work perfectly. Make sure it won’t tip over when your dog puts their weight on it.
Expert Tip: Keep your training sessions short and sweet! Aim for 5-10 minute sessions, a couple of times a day. Ending on a positive note, even if you only made tiny progress, keeps your dog excited and eager for the next session.
Step 1: Mastering the Foundational ‘Paws Up’

Every great trick is built on a solid foundation. For this one, our foundation is the ‘Paws Up’ command. We need to teach the dog to confidently place their front paws onto an object on cue. This is where your low, sturdy object comes into play.
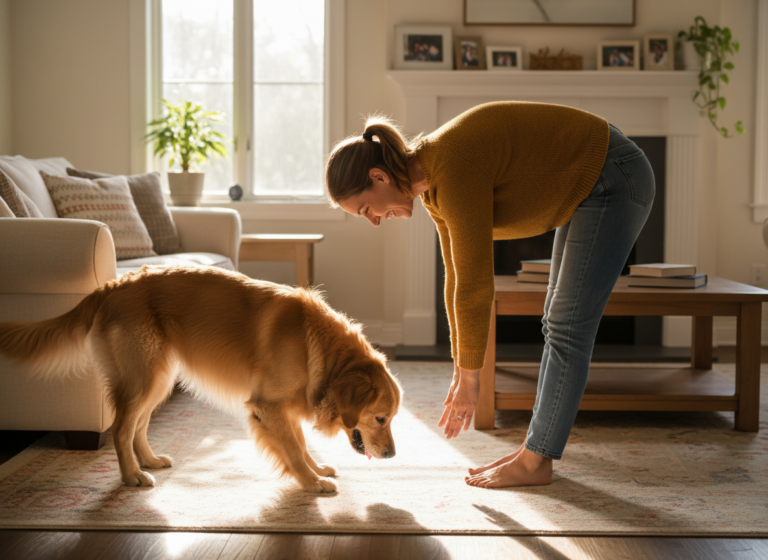
- Introduce the Object: Place the footstool or ottoman on your non-slip surface. Let your dog sniff it and get comfortable with it. Reward any interaction, even just a glance or a sniff, to build a positive association.
- Lure the Paws: Hold a high-value treat in your hand. Let your dog sniff it, then slowly move your hand over the top of the stool. Your dog’s natural curiosity should lead them to place a paw (or both!) on the stool to get closer to the treat.
- Mark and Reward: The instant your dog’s paw touches the stool, click your clicker (or say “Yes!”) and immediately give them the treat. Timing is everything here. You are marking the exact action of the paw touching the surface.
- Repeat, Repeat, Repeat: Do this several times. Lure them, wait for the paw touch, mark, and reward. If they put both paws up, that’s a jackpot! Give them extra treats and praise.
- Add the Verbal Cue: Once your dog is consistently offering to put their paws on the stool, you can add a verbal cue. As you lure them, say your chosen cue, such as “Paws Up” or simply “Up.” After a few repetitions, they’ll start to associate the words with the action.
- Fade the Lure: The next step is to get them to do it without the treat guiding their every move. Start by using an empty hand to gesture, then give the treat from your other hand after they complete the action. Eventually, you should be able to just give the verbal cue “Paws Up,” and your dog will happily place their paws on the stool.
Practice this until your dog is rock-solid. They should be able to perform ‘Paws Up’ on the stool with just the verbal cue, looking confident and happy while doing it. This is the bedrock of the entire trick, so don’t rush it!
Step 2: Transitioning from Object to Person
Okay, your dog is a ‘Paws Up’ champion on the footstool. Now, it’s time to make you the target! This transition requires patience because it changes the dynamic for your dog. A person is less stable than an ottoman, so we need to build their confidence slowly.
Phase 1: Start on the Floor
We’re going to make it as easy as possible for your dog. Start by sitting on the floor with your legs crossed or out in front of you.
- Lure to Your Lap: Just like with the stool, use a tasty treat to lure your dog to place their paws on your lap or your bent knees.
- Mark and Reward Enthusiasm: The moment their paws make contact, mark the behavior with your clicker or “Yes!” and reward them enthusiastically. We want them to think this is the best game ever.
- Use Your Cue: As they get the hang of it, start using your “Paws Up” cue right before you lure them.
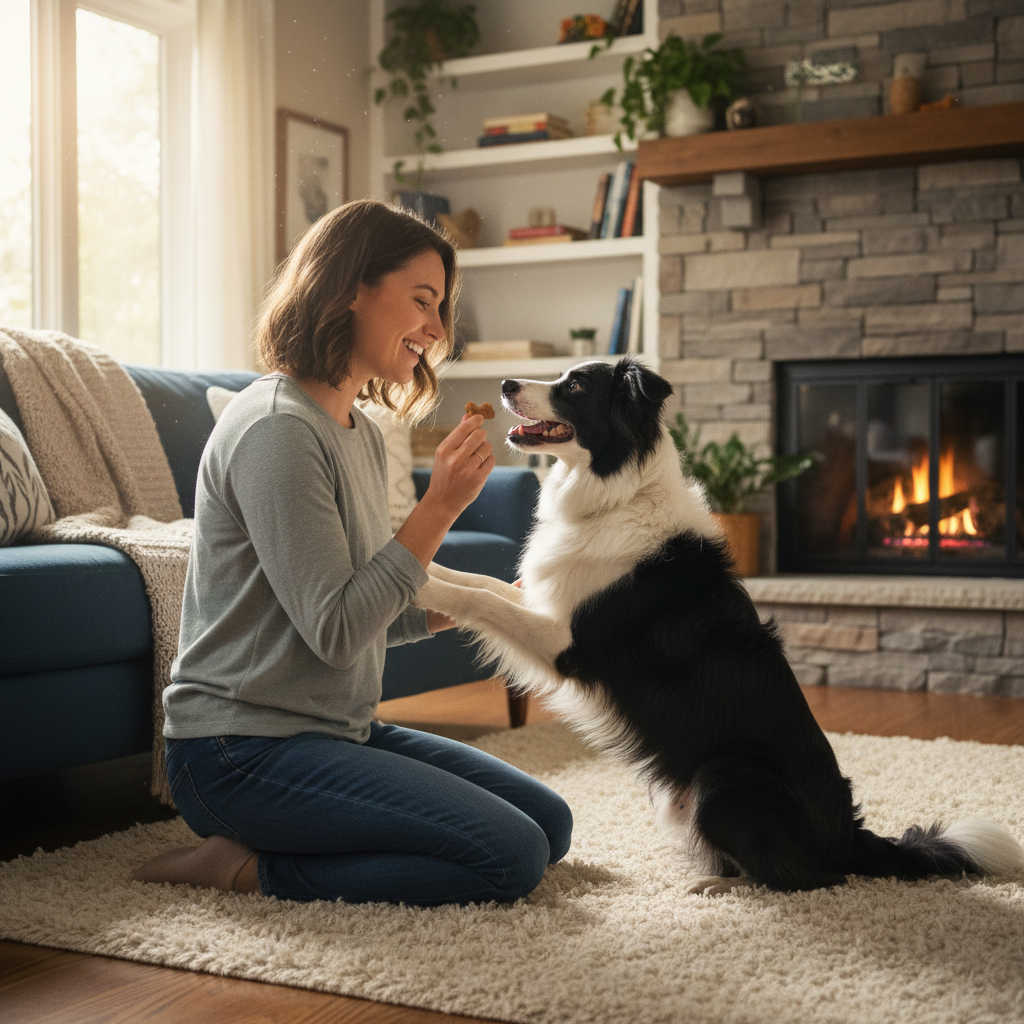
Phase 2: Move to a Kneeling Position
Once your dog is confidently putting their paws on you while you’re sitting, it’s time to increase the height. Move to a kneeling position. This presents a slightly higher and different target.
- Pat Your Chest or Shoulders: This time, instead of just luring with a treat, add a physical cue. Pat your chest or upper thighs to show your dog where you want them to aim.
- Lure Upwards: Use your treat to guide their nose (and therefore their paws) up to your chest area. Mark and reward any contact. At this stage, we’re not aiming for the shoulders yet, just getting them comfortable with placing their paws higher up on your body.
- Keep it Stable: Stay as still as you can to provide a stable base for your dog. Any wobbling on your part can make them nervous.
A Note on Pressure: Pay close attention to how your dog is placing their paws. We want to encourage a gentle placement, not a forceful jump or a scratchy pounce. If your dog is jumping on you too hard, go back a step and reward only the gentlest of paw touches. You can even work on a separate ‘Gentle’ cue if needed.
Spend plenty of time in this phase. Your dog is learning to trust you as a stable platform. Every positive, successful repetition builds the confidence needed for the final step.
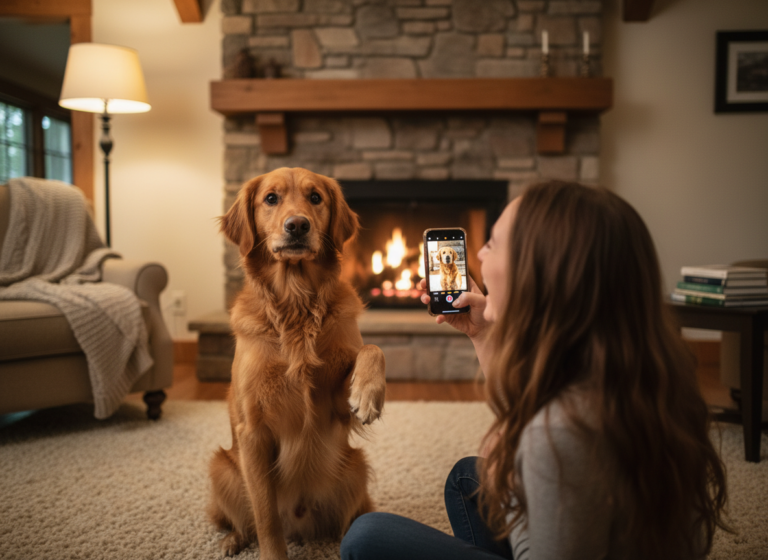
Step 3: Reaching the Goal – Paws on Shoulders
This is the moment we’ve been working towards! Your dog is comfortable putting their paws on your chest while you kneel. Now we’ll transition from kneeling to standing and get those paws right up onto your shoulders. Remember, slow and steady wins the race.
From Kneeling to a Low Crouch
Don’t go straight from kneeling to standing tall. Start by moving into a low crouch or squat. This raises the target slightly without being too intimidating.
- Ask for ‘Paws Up’: In your low crouch, give your “Paws Up” cue and pat your shoulders.
- Lure to the Shoulders: Use your high-value treat to lure your dog’s paws up onto your shoulders. They will likely need to stand on their hind legs to do this.
- Mark and Reward the INSTANT they succeed. The second their paws make contact with your shoulders, mark it and give them a treat and lots of praise. Keep the duration extremely short at first—just a touch is enough to earn a reward.
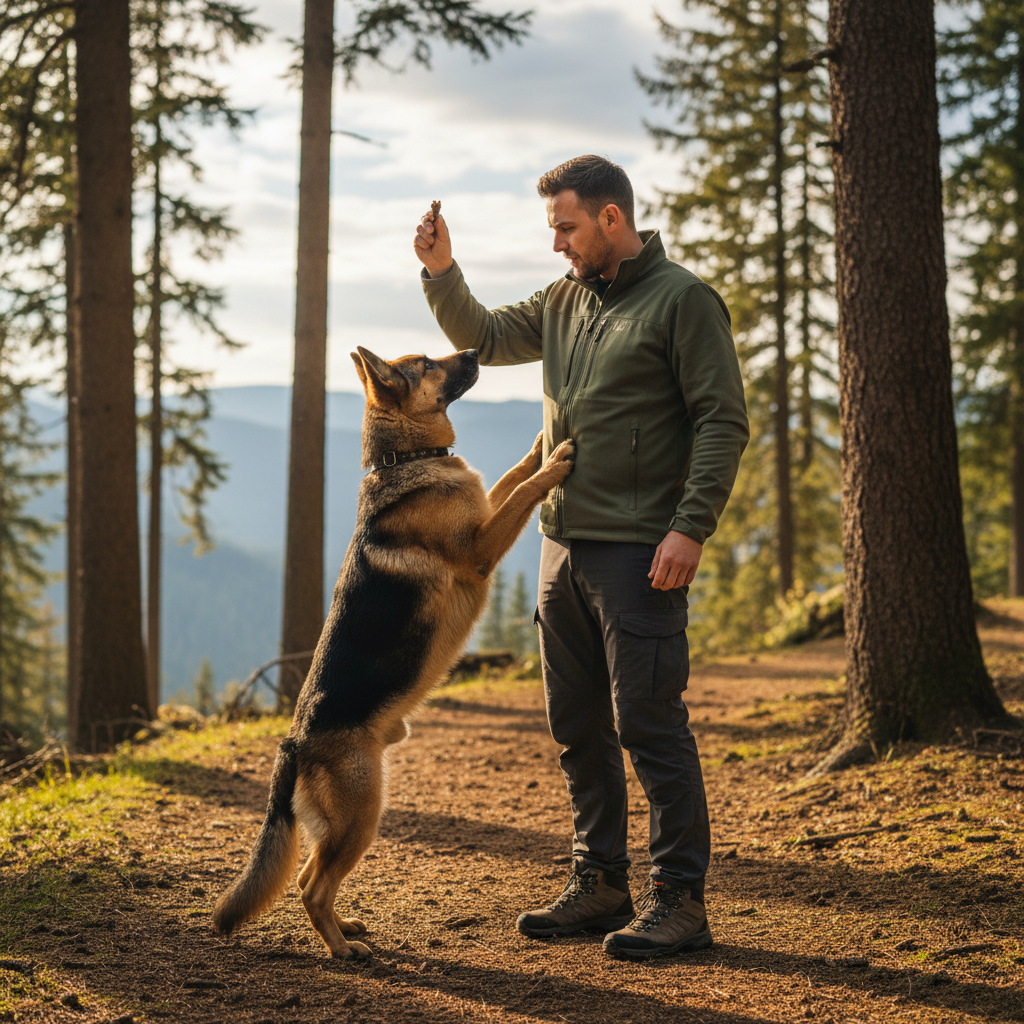
Moving to a Standing Position
Once your dog is confidently placing their paws on your shoulders while you’re in a crouch, you can finally move to a full standing position. Brace yourself with your core muscles, especially if you have a larger dog!
- Stand and Invite: Stand up straight, get your balance, and then give your cue. Pat your shoulders invitingly.
- Lure High: Hold the treat right above your shoulder to guide them up.
- Support if Needed: Be ready to gently support your dog’s chest with your free hand if they seem wobbly. Your goal is to ensure they feel safe and secure.
- Build Duration: When they can confidently place their paws on your shoulders, start building duration. Mark and reward them for holding the position for one second, then two, then three. Release them with a cue like “Okay!” or “Off.”
Introducing a New Cue (Optional)
At this stage, you might want to give the final action its own special name to distinguish it from the general ‘Paws Up’ on a stool or your lap. You could call it “Hug,” “Shoulders,” or “Dance.” Start saying the new cue just as your dog is performing the action of putting their paws on your shoulders. Soon, they will associate the new word with this specific, impressive trick!
Step 4: The Walking Finale – Adding Movement
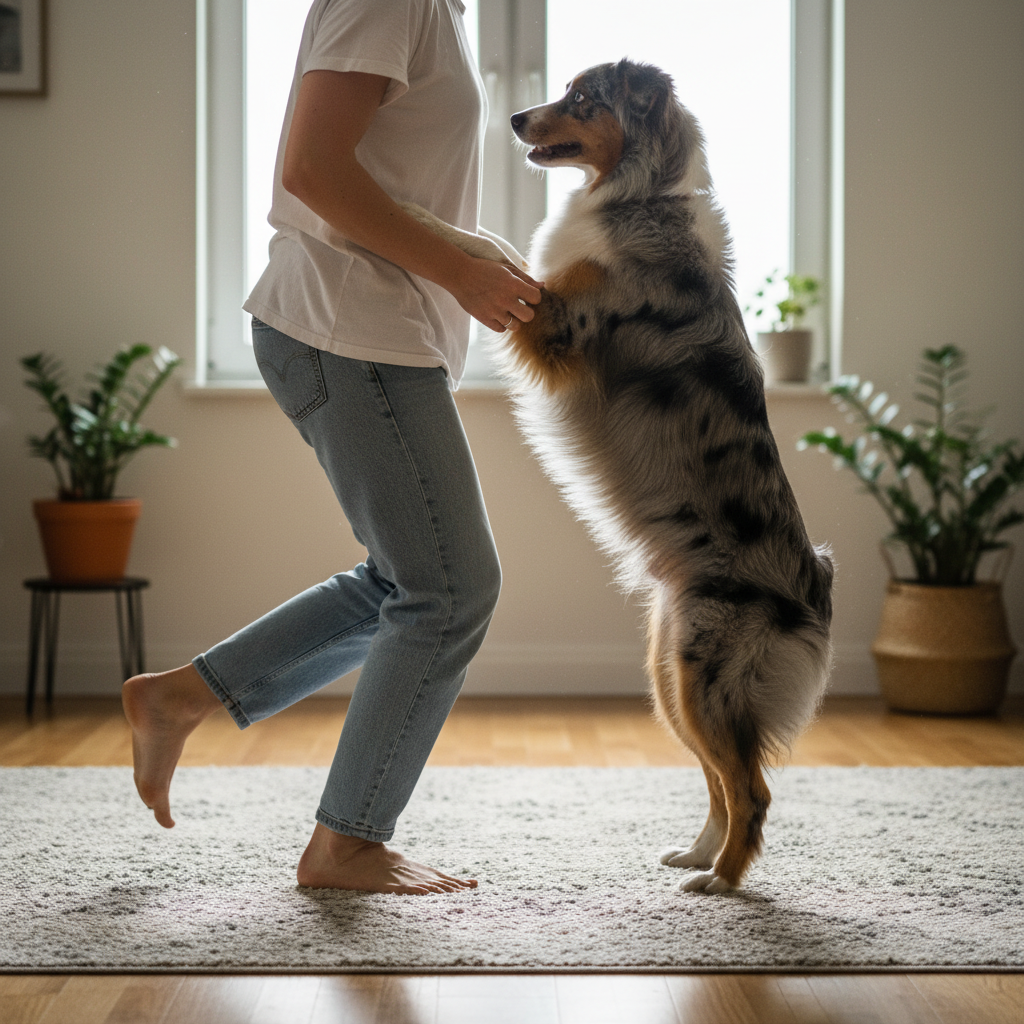
Your dog is now a pro at giving you a ‘hug’ with their paws on your shoulders. This is already a fantastic trick! But if you want to add that extra layer of ‘wow,’ you can teach them to walk with you. This is the most advanced part of the trick and requires a great sense of balance from your dog.
CRITICAL: This step should only be attempted once your dog is extremely comfortable and stable holding the paws-on-shoulders position for at least 5-10 seconds. Do not rush into this.
Teaching the First Step
- Get into Position: Have your dog put their paws on your shoulders. Give them a moment to find their balance.
- Take One Tiny Step Back: With your dog in position, take one very small, slow step backward. This will create a tiny gap between you and your dog.
- Encourage the Follow: Your dog’s natural inclination will be to step forward with their back paws to close the gap and maintain their balance.
- MASSIVE Reward: The instant your dog moves a back paw forward, mark it and throw a party! Give them multiple treats, tons of praise, and release them from the position. This is a huge breakthrough.
Stringing Steps Together
Once your dog understands the concept of taking one step to follow you, you can slowly start to string more steps together.
- Ask for Two Steps: Get them into position. Take one small step back, and as they follow, immediately take a second small step back.
- Mark and Reward for Two: After they successfully take two steps, mark it and have another treat party.
- Gradually Increase: Slowly build up the number of steps you take together. Go from one, to two, to three. Your goal isn’t to walk across the room, but to have a few controlled, confident steps together.
Expert Tip: Keep your movements slow and smooth. Any jerky motions from you can throw your dog off balance. Think of it as a slow dance—you are leading, but you must be mindful of your partner’s balance and confidence at all times. Always be prepared to release your dog quickly if they seem unstable.
This final flourish takes time and a strong core for both of you! Celebrate every small success and know that even achieving a single coordinated step is a testament to the incredible training and trust you’ve built together.
Troubleshooting Common Stumbling Blocks
Even with the best plan, you might run into a few hiccups. That’s totally normal in dog training! Here are some common issues and how to solve them.
Problem: My dog is hesitant to put their paws up on me.
Solution: This is usually a confidence issue. Go back a step! If they’re hesitant to put paws on your chest, go back to your lap. If they’re hesitant with your lap, go back to the super-stable footstool. Rebuild their confidence where they are successful, using lots of high-value treats and praise. Make it a no-pressure, fun game.
Problem: My dog is too excited and jumps or scratches me!
Solution: This is a problem of over-arousal. You need to teach them that calmness gets the reward. If they jump, turn away and ignore them for a few seconds. When they are calm, try again. Only reward gentle paw placements. You can also file their nails before training sessions to minimize accidental scratches. If they are food-frenzied, try using a slightly lower-value (but still good!) treat to bring the excitement down a notch.
Problem: My dog keeps losing their balance.
Solution: First, double-check your training surface. Is it truly non-slip? Second, slow down. You may be asking for too much duration too soon. Keep the holds to just a split second before rewarding and releasing. As they build core strength and learn how to balance, you can gradually increase the time. Also, be mindful of your own stability. Brace your core and stand like a statue to give them a solid platform to work with.
Common Mistakes to Avoid
- Training for Too Long: This trick is physically and mentally tiring. Keep sessions under 10 minutes to prevent frustration and fatigue.
- Forcing or Pushing: Never physically place your dog’s paws or pull them towards you. This can scare them and ruin their trust. The entire trick must be their choice, guided by your positive reinforcement.
- Using a Slippery Floor: This is a major safety risk. A slip and fall can injure your dog and make them fearful of trying again. Always use a rug, carpet, or mat.
- Getting Frustrated: Your dog can sense your frustration. If you feel yourself getting impatient, just end the session on a positive note with an easy command they know, like ‘sit,’ and try again later. Training should always be fun!
Conclusion
And there you have it! From a simple ‘Paws Up’ on a stool to an impressive walking ‘hug,’ you now have all the steps to teach one of the most heartwarming tricks around. Remember, the journey of teaching this trick is just as important as the final performance. Every click, every treat, and every moment of praise strengthens the incredible bond you share with your dog.
Be patient with your pup and with yourself. Celebrate the small victories, laugh at the goofy attempts, and always, always prioritize your dog’s safety and comfort. Whether you master the full walk or just perfect the paws-on-shoulders pose, you’ve engaged in a wonderful activity that builds trust, confidence, and communication. Now go have some fun and get ready to be the talk of your next get-together!