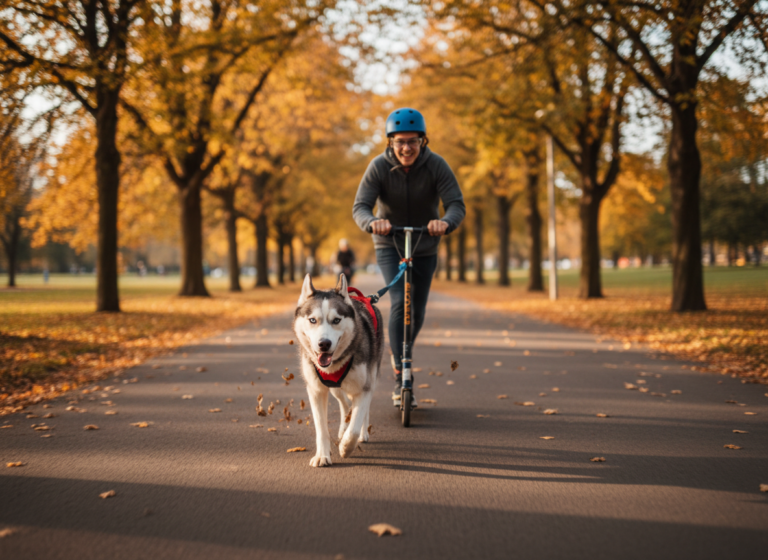
There’s nothing quite like the feeling of freedom you get from a bike ride. The wind in your hair, the scenery flying by… what could make it better? For many of us, the answer is simple: having our four-legged best friend along for the adventure! Cycling with your dog can be an incredible bonding experience and a fantastic way for an energetic pup to burn off steam.
But before you grab the leash and start pedaling, it’s crucial to understand that this is an advanced activity that requires proper training, the right equipment, and a serious commitment to safety. Simply clipping a leash to your dog’s collar and holding it while you ride is a recipe for disaster. Don’t worry, though! We’re here to guide you through the entire process, from the initial vet check-up to your first triumphant ride together. Let’s get you and your pup ready to roll safely!
The Pre-Ride Check: Is Your Dog a Good Candidate?

Before you even think about buying gear, the first and most important step is to assess if this activity is right for your specific dog. Not all dogs are built for running alongside a bike, and pushing a dog that isn’t suited for it can lead to serious health problems.
Veterinarian Green Light
Your very first stop should be your veterinarian’s office. Get a full check-up for your dog, and specifically mention your plan to start cycling with them. Your vet will check their heart, lungs, and joints to ensure they are physically sound for this type of high-impact exercise. This is non-negotiable!
Age and Growth Plates
Patience is key, especially with younger dogs. It’s critical that your dog’s growth plates are fully closed before they engage in this kind of sustained, strenuous activity. For most medium to large breeds, this happens between 18 and 24 months. Starting too early can cause permanent damage to their joints. Senior dogs might also have limitations, so discuss this with your vet.
Breed Considerations
Some breeds are natural-born runners who will thrive with this activity. Think breeds like Border Collies, Vizslas, Weimaraners, and Huskies. However, some breeds should never be asked to run alongside a bike. Brachycephalic (flat-faced) breeds like Pugs, Bulldogs, and French Bulldogs can’t breathe efficiently enough for this kind of exertion and are at extreme risk of overheating. Similarly, very large or giant breeds may be prone to joint issues, and tiny dogs just can’t keep up. Be realistic about your dog’s physical capabilities.
Gearing Up: The Non-Negotiable Equipment for Safe Cycling
Once your vet gives you the thumbs-up, it’s time to get the right gear. Using the wrong equipment is one of the biggest safety risks. This is an area where you don’t want to cut corners.
Harness vs. Collar
Never, ever attach the leash to your dog’s collar. A sudden stop or pull can cause serious injury to their neck or trachea. A well-fitting Y-shaped harness is the only safe option. It distributes pressure across their chest and shoulders, allowing for comfortable movement and safe control.
The Bike Attachment: Your Most Important Tool
Holding a leash in your hand while riding is unstable and dangerous. A single strong pull from your dog could send you tumbling. A proper bike attachment is essential. These devices connect to your bike frame and use a rigid bar or a spring system to keep the leash away from your wheels and absorb shock from sudden movements. Here’s a quick comparison:
| Attachment Type | Best For | Key Feature |
|---|---|---|
| Springer-Style Attachments | Dogs that might pull or get distracted | A heavy-duty spring absorbs shock and helps keep the dog in position. |
| Fixed Bar Attachments (e.g., WalkyDog) | Well-trained dogs that run consistently | A rigid bar with internal springs offers firm, predictable distance from the bike. |
| Overhead Bar Attachments | Urban environments or tighter trails | An arm extends over the rear wheel, offering a different position for the dog. |
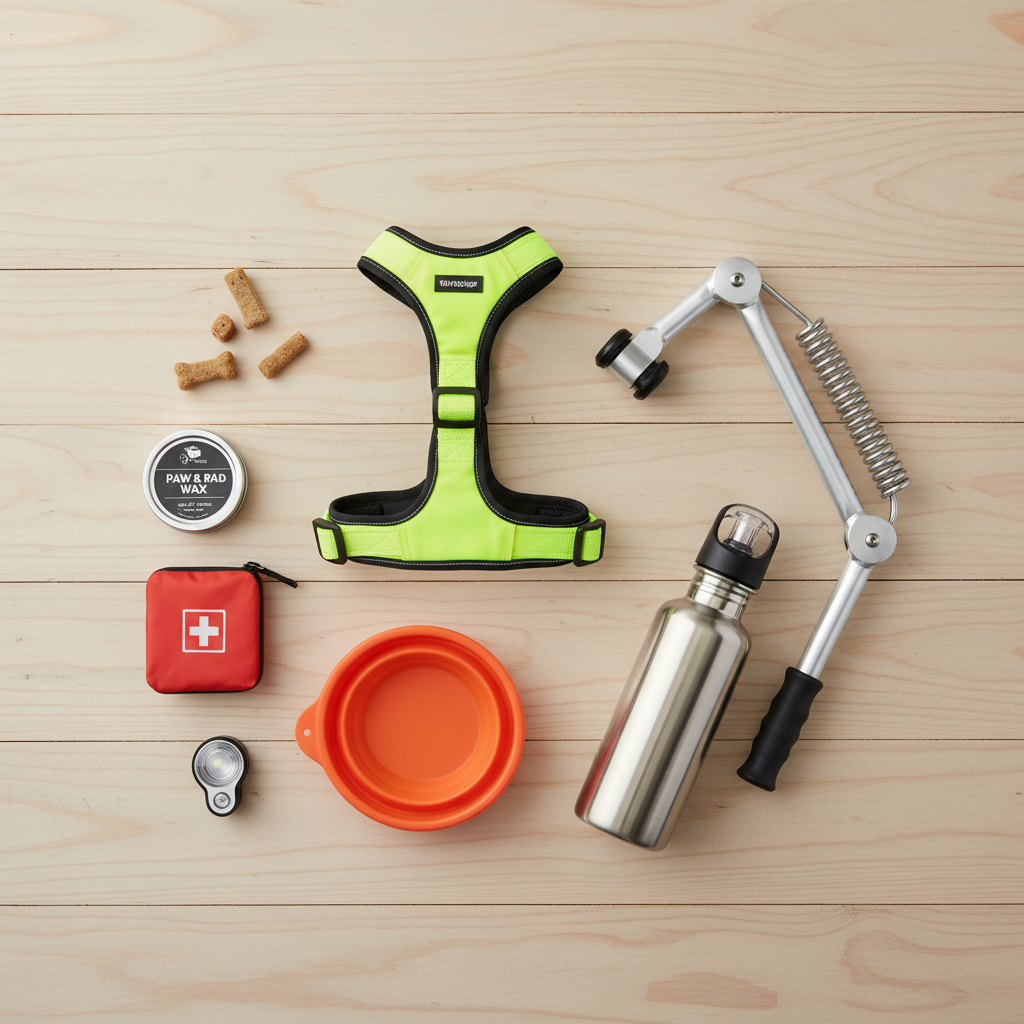
Other Essential Gear
- Water Bottle & Collapsible Bowl: Your dog will get thirsty. Plan for frequent water breaks, especially in warm weather.
- Paw Protection: Pavement can get scorching hot and is abrasive on paw pads. Consider using a paw wax or dog booties, especially for long distances or on hot days. Check paws for cuts or blisters after every ride.
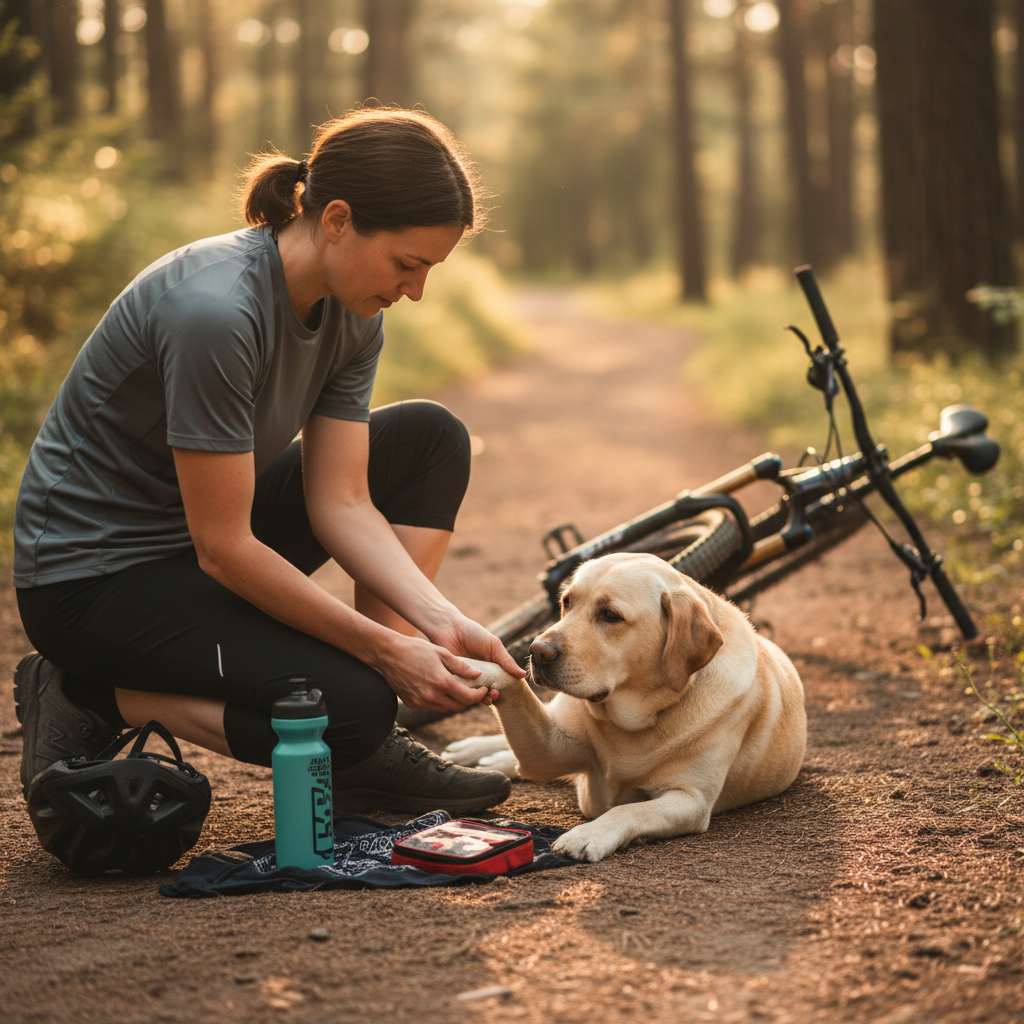
- First-Aid Kit: A small pet first-aid kit is always a good idea to have on hand for any outdoor adventure.
Your Step-by-Step Training Plan: From Standstill to Sprint
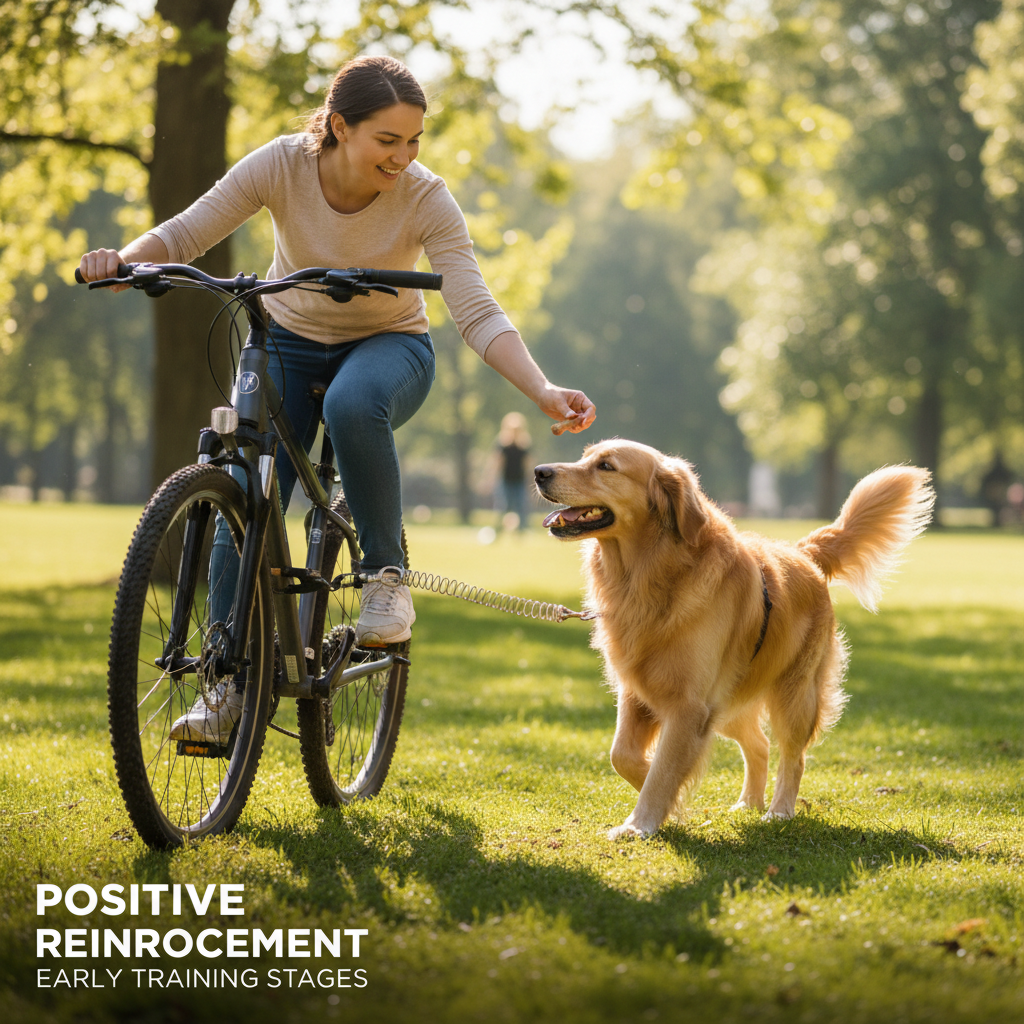
This is where the real work begins! The goal is to create a positive association with the bike and build up skills gradually. Keep training sessions short, fun, and full of positive reinforcement like treats and praise.
Step 1: Bike as Furniture
Before you even think about moving, your dog needs to be completely comfortable with the bicycle as a stationary object. Bring your bike into your living room or backyard. Let your dog sniff it, walk around it, and just get used to its presence. Reward them with treats for calm, neutral behavior around the bike. Do this for a few days until the bike is no more interesting than a chair.
Step 2: Mastering the Heel on Foot
Your dog needs to have a rock-solid ‘heel’ or ‘with me’ command on a regular walk before you introduce the bike’s movement. They should be able to walk calmly by your side without pulling, lunging, or getting distracted. This foundational skill is crucial for safety.
Step 3: Walking the Bike Together
Now, combine the first two steps. Attach your dog to their harness and leash (don’t use the bike attachment yet, just hold the leash). With your dog on one side, you’ll walk your bike on the other. They should be walking in the position they will eventually run in. Practice walking, stopping, and turning. Reward them heavily for staying in position and remaining calm.
Step 4: The First Slow Ride
Once your dog is a pro at walking alongside the bike, it’s time to clip them into the bike attachment. In a safe, quiet area like an empty parking lot or a wide, deserted path, get on your bike. Start by pedaling very slowly for just a few feet, using a happy, encouraging tone. Stop, praise them, and give them a treat. Keep these first sessions incredibly short—just a minute or two—to build confidence. The goal is for them to learn to move with the bike, not to get a workout.
Step 5: Building Duration and Speed
As your dog gets more comfortable, you can gradually start to increase the duration and speed of your rides. Start with 5-minute rides and slowly add a few minutes each week. Always watch your dog for signs of fatigue, such as excessive panting, lagging behind, or flattened ears. Let your dog set the pace. This is a marathon, not a sprint!
Talk the Talk: Essential Verbal Commands for the Road
Clear communication is key to navigating the world together on wheels. Your dog needs to understand specific cues that tell them what’s about to happen. Practice these commands on foot first before using them on a ride.
- “Let’s Go” / “Hike”: A command to start moving forward. Use an upbeat, exciting tone.
- “Easy” / “Slow”: Your command to slow the pace down. This is useful when approaching intersections, hills, or other potential hazards.
- “Whoa” / “Stop”: A firm command for a complete stop. This is arguably the most important safety command you have.
- “Turn” / “Gee” & “Haw”: A cue to indicate you’re about to turn. You can use a simple “Turn,” or if you want to get fancy, traditional mushing commands are “Gee” (right) and “Haw” (left). Start by pointing in the direction you’re going as you say the cue.
- “Leave It”: This is a critical command for ignoring distractions like squirrels, other dogs, or tempting trash on the side of the path. Your dog’s ability to obey “Leave It” instantly can prevent a serious accident.
Expert Tip: Keep your commands consistent and simple. Everyone in the family who might ride with the dog should use the exact same words to avoid confusion.
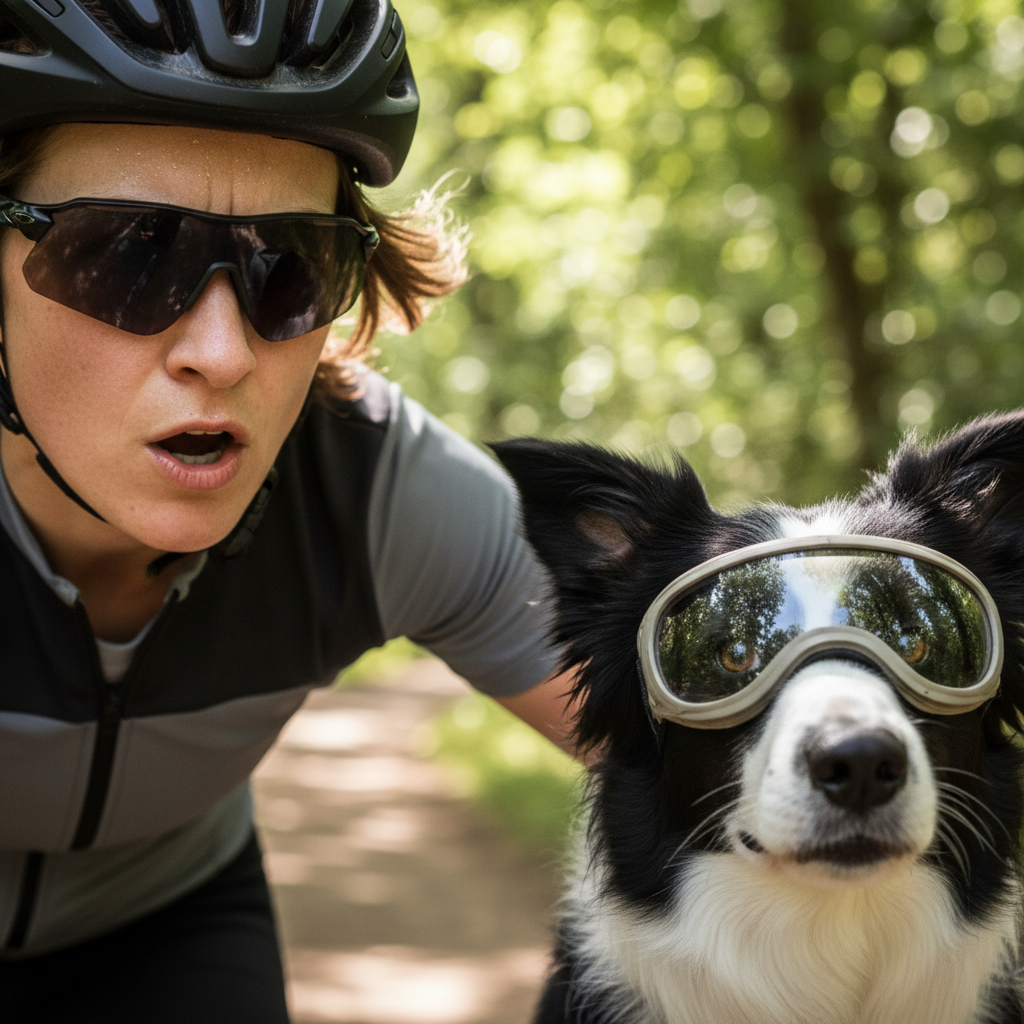
Staying Safe: Rules of the Road and Avoiding Hazards
You’ve done the training, and you’re ready for adventure. But being a responsible team means always prioritizing safety. Keep these rules in mind on every single ride.
Always Let the Dog Set the Pace
This isn’t a race. You are going at your dog’s pace, not the other way around. Watch their body language. Are they running with a happy, easy gait, or are they struggling and lagging behind? If they’re lagging, slow down or stop for a break. Forcing them to keep up can lead to injury and exhaustion.
The 5-Second Rule for Pavement
Before you head out, place the back of your hand on the pavement for five seconds. If it’s too hot for your hand, it’s definitely too hot for your dog’s paws. Stick to early morning or late evening rides in the summer, or find routes with grass or dirt paths.
Hydration is Everything
Plan your route to include water breaks every 15-20 minutes, more often in warm weather. Even if your dog doesn’t seem thirsty, offer water. Dogs can’t sweat like we do, and they can overheat much more quickly, which can be life-threatening.
Post-Ride Check-Up
After every ride, do a quick once-over. Check their paw pads for any cuts, scrapes, or blisters. Check their legs and body for any signs of soreness. And, of course, give them a big hug and tell them what a good job they did!
Troubleshooting Common Issues
- Distractions: If your dog is constantly distracted, go back to basics. Work on the “Leave It” command in a less stimulating environment and gradually work your way up.
- Crossing in Front: If your dog tries to cross in front of the bike, it usually means the bike attachment is not working correctly or they need more practice just walking with the bike. Slow down and go back a step in your training.
Conclusion
Training your dog to run alongside your bike is a journey, not a destination. It takes time, immense patience, and a commitment to putting your dog’s safety and well-being above all else. But the reward is absolutely worth it. The shared joy of exploring trails, the strengthened bond, and the sight of your dog in their element, running happily by your side, is an experience like no other.
So, take it slow, celebrate the small victories, and listen to your dog. Before you know it, you’ll have a confident, happy, and safe cycling partner for years of adventures to come. Happy trails!