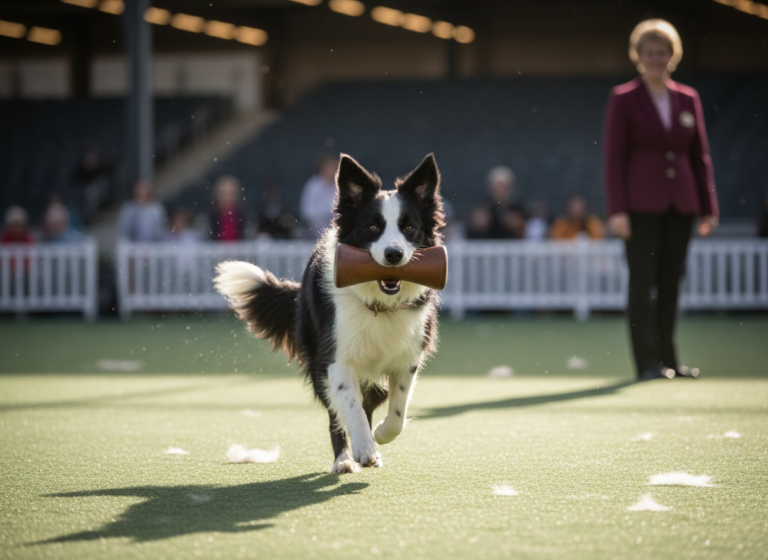
Picture this: You’re nestled in your tent after a perfect day of hiking. It’s pitch black outside, and you suddenly realize you can’t find your headlamp. You fumble around, patting the sleeping bag and rustling through your pack. If only you had an extra set of paws… and a light! What if your four-legged best friend could be that helper? It might sound like a trick from a movie, but teaching your dog to hold a flashlight is not only possible, it’s a fantastic bonding activity that can be genuinely useful.
This isn’t just about showing off a cool party trick (though it’s great for that, too!). It’s about engagement, building communication, and giving your clever pup a fun ‘job’ to do. Using positive reinforcement, we can teach our dogs amazing things. So, grab some tasty treats and get ready to transform your canine pal into the most adorable, tail-wagging flashlight holder on the trail. Let’s dive into how you can make your next camping trip a whole lot brighter!
Gearing Up for Success: What You’ll Need
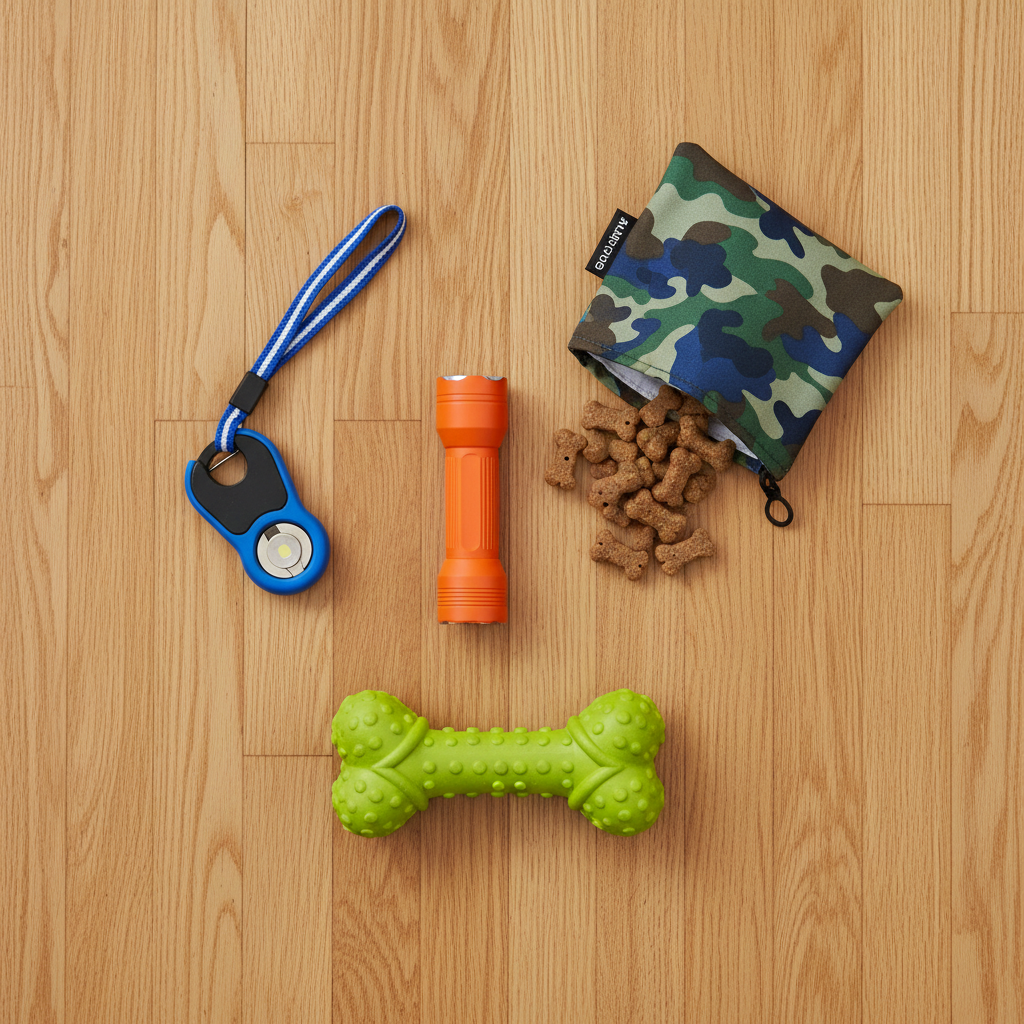
Before you start dreaming of your dog lighting up the night, it’s essential to gather the right tools. Setting yourselves up for success begins with safety and the right motivation. Think of this as your training toolkit!
The Essentials for ‘Flashlight Holder’ Training:
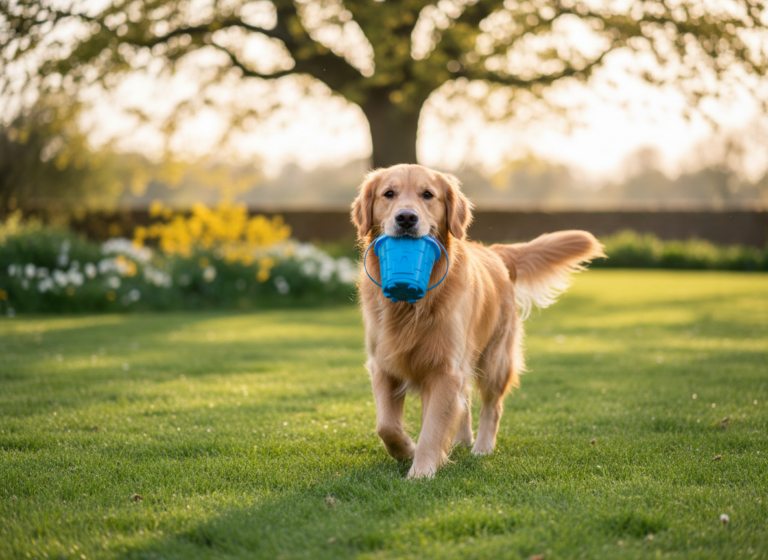
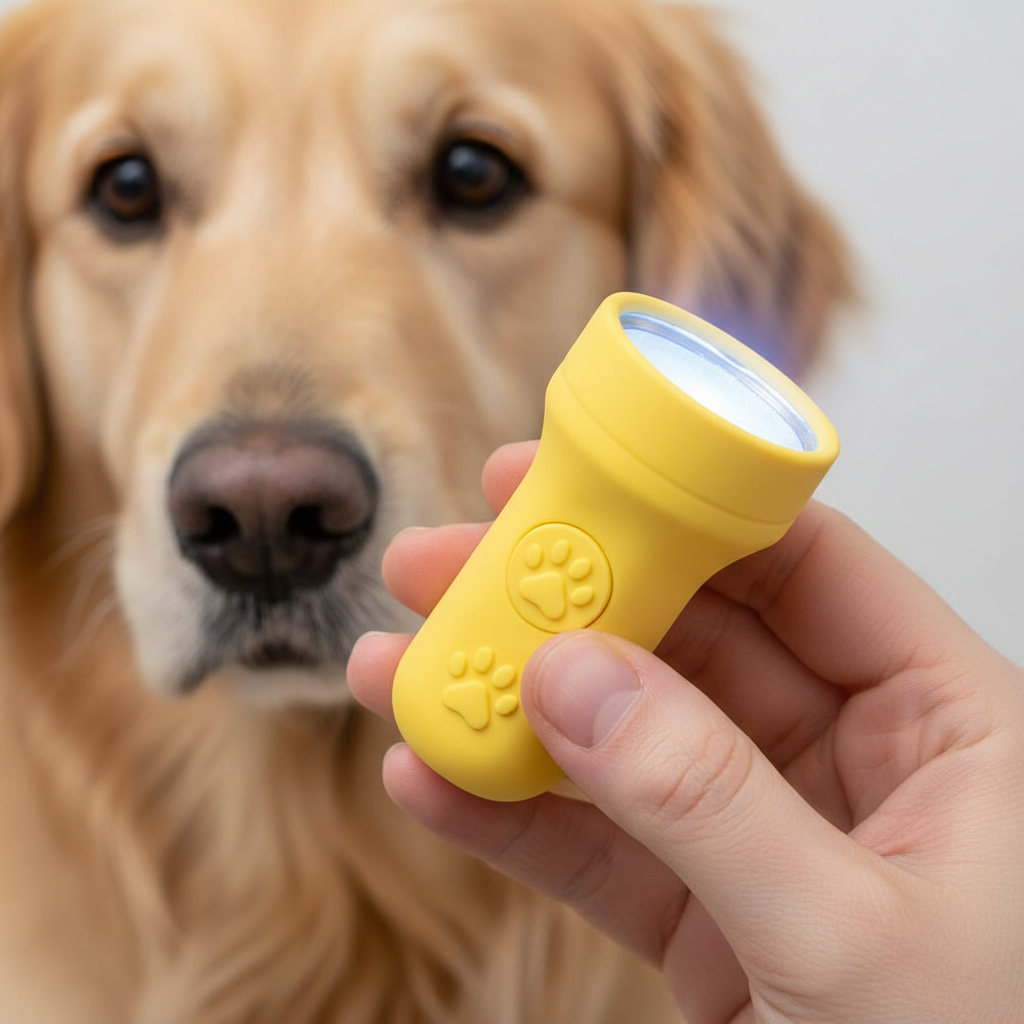
- A Dog-Safe ‘Flashlight’: This is the most critical piece of equipment. Do not use a standard heavy, metal Maglite. It’s too heavy, hard on their teeth, and can be dangerous. Instead, look for:
- A very lightweight, small plastic or rubber-coated LED flashlight.
- A purpose-made soft fetch toy or a hard rubber dummy that you can attach a small keychain light to.
- A wooden dowel wrapped in vet wrap can also be a great starting object to teach the ‘hold’ behavior before introducing the actual light.
- High-Value Treats: We’re talking top-tier goodies here! Standard kibble might not cut it. Think small, pea-sized pieces of boiled chicken, cheese, hot dogs, or your dog’s absolute favorite commercial training treats. The yummier the reward, the more motivated your dog will be to work.
- A Clicker (Optional but Recommended): A clicker is a fantastic tool for marking the exact moment your dog does the right thing. This precision communication can speed up the training process significantly. If you’re not using a clicker, you can use a consistent, short verbal marker like “Yes!”.
- A Comfortable Training Space: Start in a quiet, distraction-free area of your home, like your living room. A calm environment helps your dog focus on the new task without getting overwhelmed by squirrels, mail carriers, or other household excitement.
Expert Tip: The key to choosing the right object is thinking about your dog’s comfort. It should be light enough and shaped in a way that’s easy for them to hold without straining their jaw. Safety first, always!
Let’s Get Training! The Step-by-Step Guide to ‘Flashlight Holder’
Alright, with your gear ready, it’s time for the fun part! Remember, patience is your best friend. Keep sessions short (5-10 minutes max) and always end on a positive note. We’ll use a training method called ‘shaping,’ which involves rewarding small approximations of the final behavior.
-
Step 1: Introduce the Object
Place the flashlight (or your chosen training object) on the floor. The moment your dog shows any interest in it—sniffing it, looking at it, nudging it with their nose—click (or say “Yes!”) and give them a treat. The goal here is to build a positive association: Flashlight = Awesome Treats!
-
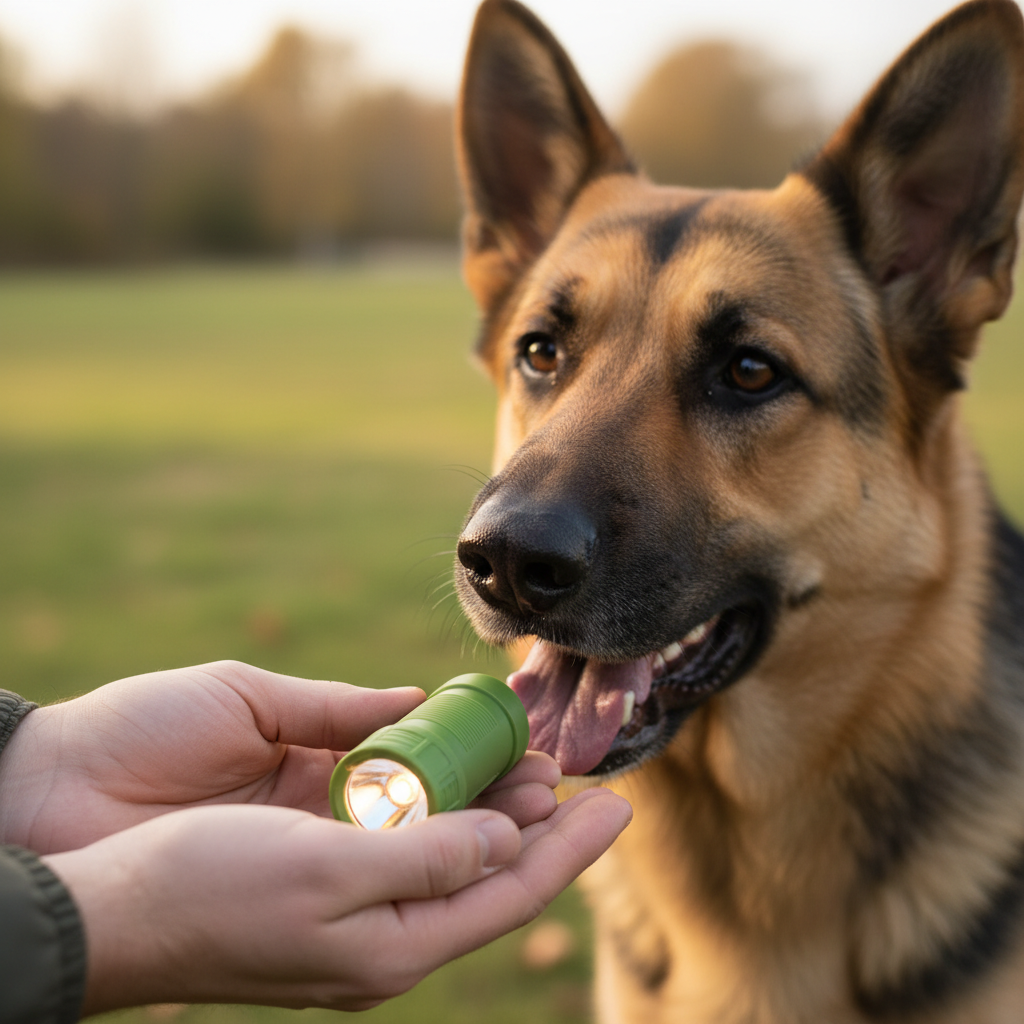
Step 2: Encourage a Mouth Touch
Now, hold the flashlight in your hand. Your dog will likely investigate. The instant their nose or mouth makes contact with the object, click and treat. We’re specifically looking for mouth contact. Ignore other interactions like pawing. Repeat this until your dog is confidently booping the flashlight with their mouth to get a reward.
-
Step 3: Shape an Open Mouth
This is where it gets a little trickier. Start rewarding only for ‘bigger’ mouth touches. At first, your dog might just bump it, but eventually, they might open their mouth slightly. Click and treat for that tiny mouth-open motion. Gradually, you’ll hold out for them to put their mouth around the object, even for a split second. This requires patience!
-
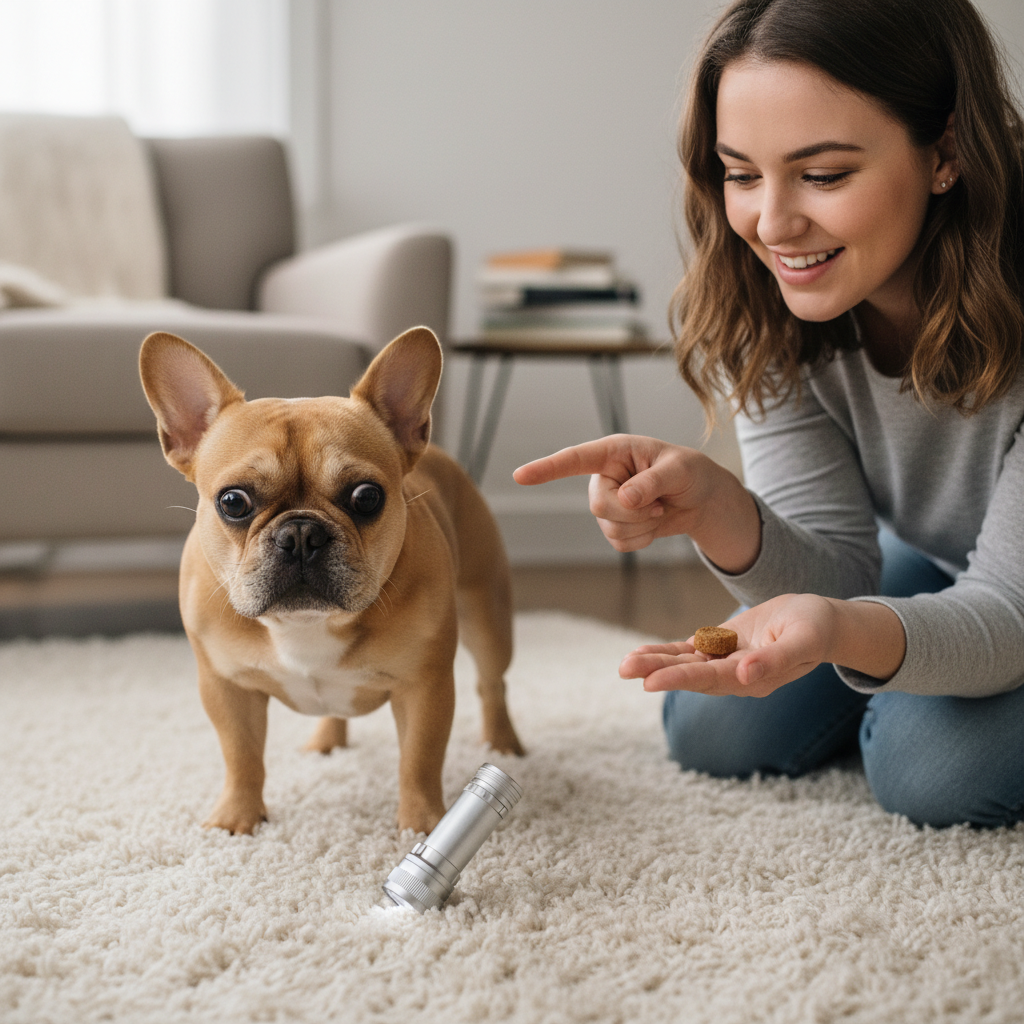
Step 4: Take the Object
Once your dog is reliably putting their mouth around the flashlight, present it to them and wait. The moment they take it into their mouth, even if they drop it immediately, click and give them a jackpot of treats (several in a row). This is a huge step! Practice this until they are willingly taking the object from your hand.
-
Step 5: Build Duration (The ‘Hold’)
This is all about impulse control. Ask your dog to take the object. The first time, click and treat the instant they have it. Next time, wait just one second before you click and treat. Then two seconds. Slowly, and I mean slowly, increase the duration they are holding it. If they drop it before you click, that’s okay! Just go back to a shorter duration they can be successful at. This is the most important step for creating a reliable ‘hold’.
-
Step 6: Add the Verbal Cue
Once your dog is consistently holding the flashlight for at least 5-10 seconds, you can add your cue. Just before you present the flashlight, say your chosen cue clearly, like “Hold light!” or “Flashlight!” Then, proceed as usual. With repetition, your dog will associate the words with the action of taking and holding the object.
Proofing the Command: Making it Campsite-Ready
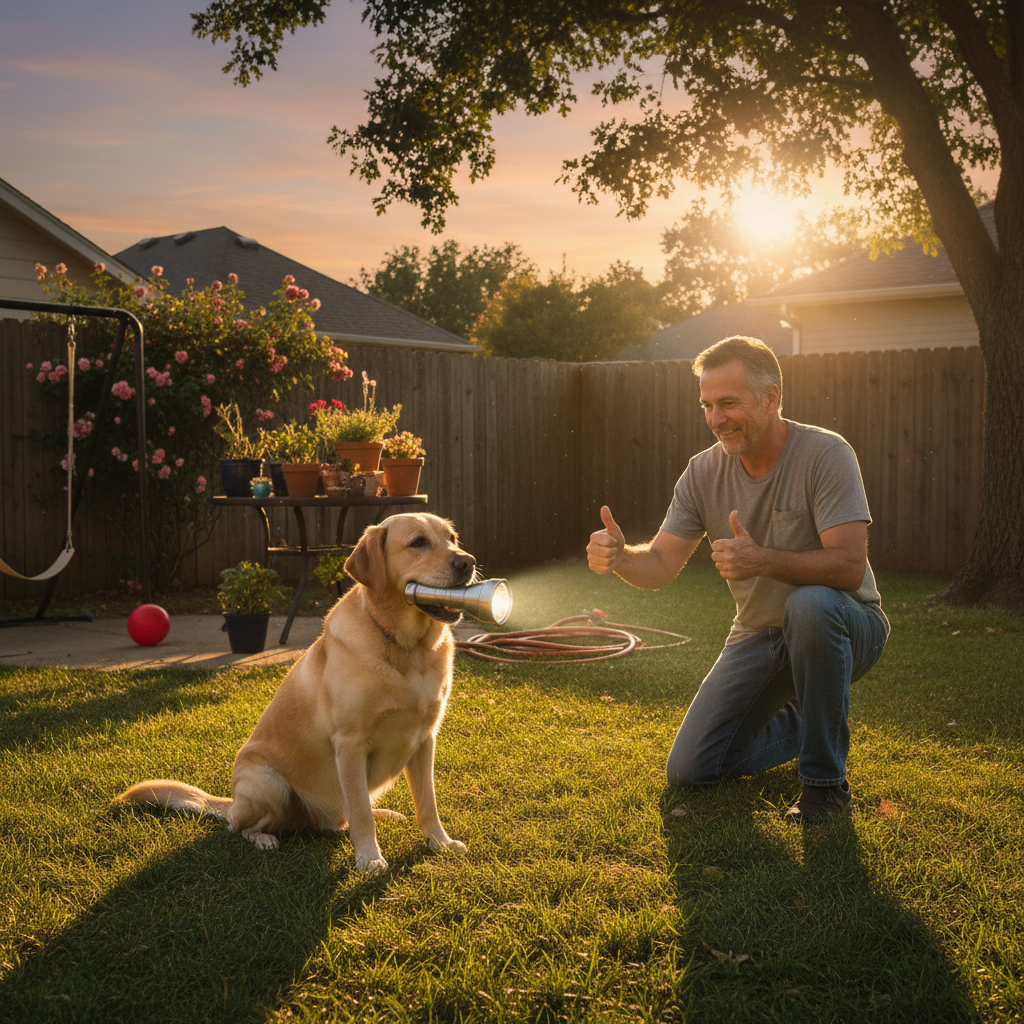
Your dog might be a flashlight-holding champion in the living room, but the great outdoors is a whole different ball game! ‘Proofing’ is the process of teaching your dog to perform a command reliably in various environments and with different distractions. This is how we make the skill truly useful for your camping adventures.
Generalizing the Behavior
Start by changing one variable at a time. Don’t go from your quiet living room straight to a busy park.
- New Locations: First, practice in your backyard. Then, try it on your quiet front porch. Move to a calm corner of a park during a non-busy time. The goal is to gradually introduce more environmental distractions while keeping the success rate high.
- Adding Distractions: Once your dog is good in a new location, add a small distraction. Have another family member walk through the room. Practice while the TV is on at a low volume. Drop a toy on the floor. Reward your dog heavily for staying focused on the ‘hold’ command despite the distraction.
- Varying Your Position: So far, you’ve likely been sitting or kneeling in front of your dog. Now, practice asking for the ‘hold’ while you are standing up, sitting in a different chair, or even lying down. This teaches your dog that the command is the same regardless of your body posture.
- Practice in Low Light: Since this command is for a flashlight, it’s crucial to practice in the dark! Start in a dimly lit room in your house, and then move to your backyard at dusk. This helps your dog get comfortable performing the task when it’s actually needed.
Remember: If your dog fails, it’s not their fault! It just means you’ve increased the difficulty too quickly. Simply take a step back to a point where they were successful and build up more slowly. Every training session is a conversation, not a test.
Oops! Troubleshooting Common Training Hiccups
Training is never a straight line; there will be bumps, wiggles, and maybe even some enthusiastic chewing along the way. Don’t get discouraged! Here are some common challenges and how to navigate them like a pro.
My dog keeps chewing the flashlight!
This is super common, especially with mouthy breeds or young dogs. It’s usually a sign that they are excited or think it’s a chew toy. To fix this, go back to rewarding only very gentle, still holds. Use a jackpot of treats for moments of stillness. You can also practice with a less ‘chewable’ object, like a smooth wooden dowel, to teach the concept of a gentle hold before reintroducing the flashlight. Keep sessions extra short to prevent frustration or over-arousal.
My dog drops it immediately!
If your pup is playing a game of hot potato, you’ve likely tried to build duration too quickly. It’s an easy mistake to make! Go back to Step 5. For several repetitions, click and treat the very instant their mouth closes on the object. Then, try for just a half-second hold. Then a full second. The key is to reward them before they decide to drop it, building their confidence that holding on is what earns the reward.
My dog won’t even touch the object!
A lack of interest could mean a few things. The object might have a weird smell or texture they don’t like. Or, they might just not understand the game yet. Try making the object more enticing. You can smear a tiny bit of dog-safe peanut butter or cream cheese on it to encourage that initial mouth contact. You can also try a different object entirely, like one of their favorite (non-squeaky) toys, to build the initial behavior before transferring it to the flashlight.
Safety First: The Dos and Don’ts of Flashlight Holding
Teaching this fun and useful command comes with a responsibility to keep our dogs safe and comfortable. Their well-being is always the top priority. Here’s a clear guide on how to ensure this trick remains a safe and positive experience for everyone.
| The DOs (What You Should Do) | The DON’Ts (What to Avoid) |
|---|---|
| DO use a flashlight that is extremely lightweight and coated in a soft, non-toxic material like rubber or silicone. | DON’T ever use a heavy, metal flashlight. These can chip teeth, strain jaw muscles, and be dangerous if dropped. |
| DO supervise your dog 100% of the time they are interacting with the flashlight. It is a tool, not a toy. | DON’T leave your dog unattended with the flashlight, as they could chew it and swallow pieces or batteries. |
| DO keep training sessions short and positive to prevent frustration and physical strain on their jaw. | DON’T force the object into your dog’s mouth or hold their muzzle shut. This should be a voluntary, positive behavior. |
| DO regularly check your dog’s teeth and gums to ensure there is no irritation or signs of wear from holding the object. | DON’T use a light that gets hot, such as an older incandescent bulb model. Stick to cool-running LEDs. |
| DO teach a solid ‘Drop It’ command alongside the ‘Hold’ command so you can easily ask your dog to release the object. | DON’T punish your dog for dropping it or chewing it. Simply redirect and manage the training to set them up for success. |
Conclusion
You did it! You now have all the steps to teach your dog one of the coolest and most helpful tricks around. Transforming your dog into a camping companion who can lend a literal light in the dark is a rewarding journey that does more than just teach a command—it strengthens your bond, builds your dog’s confidence, and makes your adventures together even more special. Remember that the pillars of this training are patience, positivity, and a whole lot of tasty treats. Every dog learns at their own pace, so celebrate the small victories and enjoy the process. Happy training, and may all your future campsites be wonderfully well-lit by your furry best friend!