Hey there, fellow dog lovers! Have you ever watched your pup cleverly sneak under the dining table to snatch a fallen crumb and thought, ‘Hey, we could turn that into something amazing’? If you’re looking for a new challenge that goes beyond ‘sit’ and ‘stay,’ you’ve come to the right place. Welcome to the exciting world of advanced crawling!
Teaching your dog to crawl on command, especially under objects like chairs and coffee tables, isn’t just a cool party trick. It’s a fantastic brain game that boosts your dog’s confidence, improves their body awareness, and deepens the incredible bond you share. It transforms everyday furniture into a fun and rewarding agility course!
In this guide, we’ll break down this impressive trick into simple, easy-to-follow steps. We’ll cover everything from the foundational skills you need to start, to troubleshooting common hiccups along the way. So grab your tastiest treats, find a comfy spot on the floor, and let’s get ready to turn your clever canine into a master of stealthy navigation!
Why Teach the Advanced Crawl? More Than Just a Party Trick
Before we dive into the ‘how-to,’ let’s talk about the ‘why.’ You might be surprised by how beneficial this one trick can be for your dog’s overall well-being. It’s a powerhouse of canine enrichment packed into a single, fun activity.
Boosting Brain Power
Dogs, especially intelligent breeds, need mental stimulation just as much as they need physical exercise. Learning a multi-step trick like crawling under an object requires focus, problem-solving, and concentration. It’s like a crossword puzzle for your pup, helping to keep their mind sharp and prevent boredom-related behaviors like chewing or excessive barking.
Building Unshakeable Confidence
For some dogs, especially those who are a bit timid or cautious, the world can seem like a big, scary place. Navigating obstacles in a controlled, positive environment is a huge confidence booster. When your dog successfully crawls under a chair for the first time, they’re not just earning a treat; they’re learning that they can overcome challenges. This newfound courage can translate to other areas of their life, making them more resilient and self-assured.
Enhancing Body Awareness
This skill is a masterclass in proprioception—your dog’s ability to know where their body is in space. To successfully crawl under a low table, your dog has to think about the height and width of the space and adjust their body accordingly. This enhanced body awareness is incredibly valuable, reducing clumsiness and helping to prevent injuries during play or other activities. It’s foundational for dogs who participate in canine sports like agility.
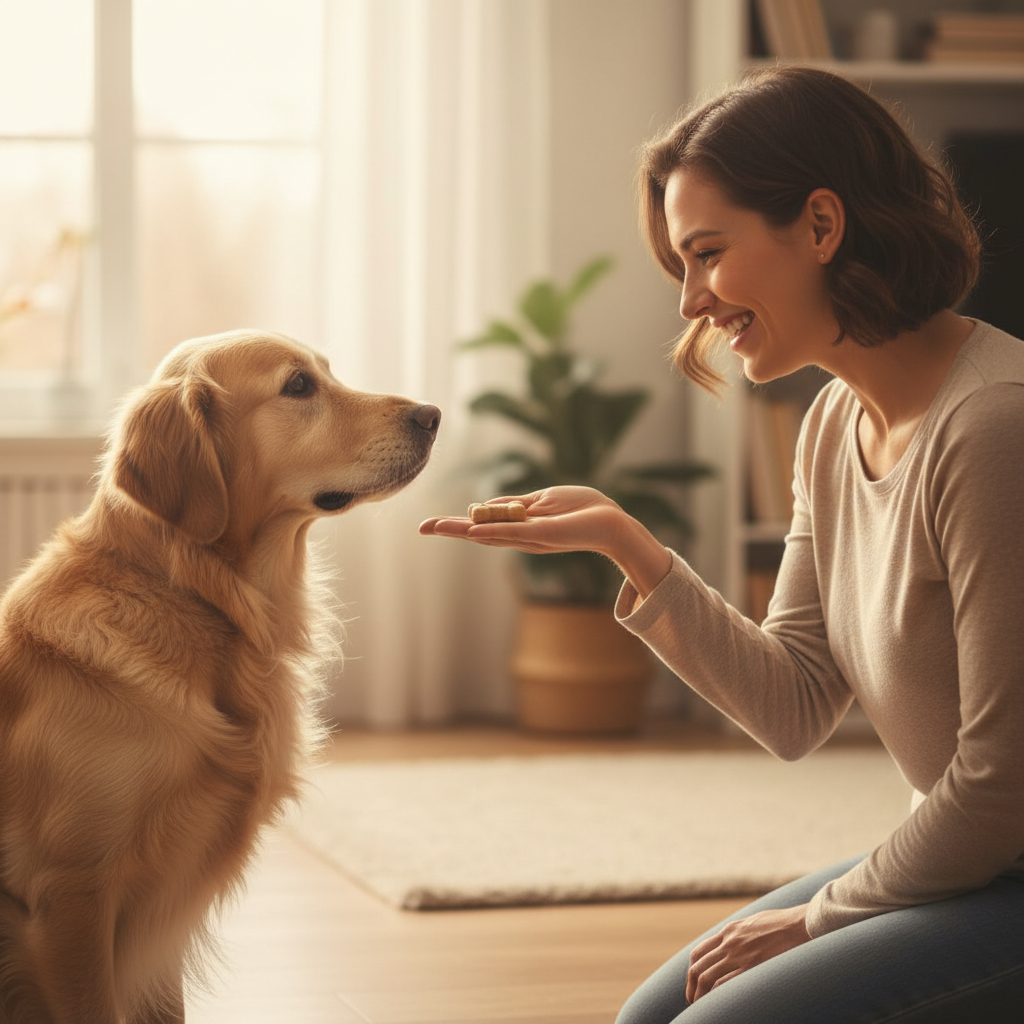
Expert Tip: Training sessions are powerful bonding opportunities. Every moment you spend working together, communicating, and celebrating small wins strengthens your relationship and builds a foundation of trust and mutual understanding.
Getting Started: Your Pre-Flight Checklist
Alright, are you and your pup ready to get low? Great! A little preparation goes a long way in setting you both up for success. Before you start your first session, let’s run through a quick checklist to make sure you have everything you need.
Essential Prerequisites
The advanced crawl builds on a simpler, yet crucial command: a solid ‘down’ or ‘lie down.’ Your dog should be able to lie down on cue and stay there calmly for at least a few seconds. If this command is still a bit wobbly, spend some time reinforcing it before you add the complexity of forward movement. A rock-solid ‘down’ is your launching pad!
Gathering Your Training Toolkit
You don’t need a lot of fancy equipment, but having the right tools makes all the difference:
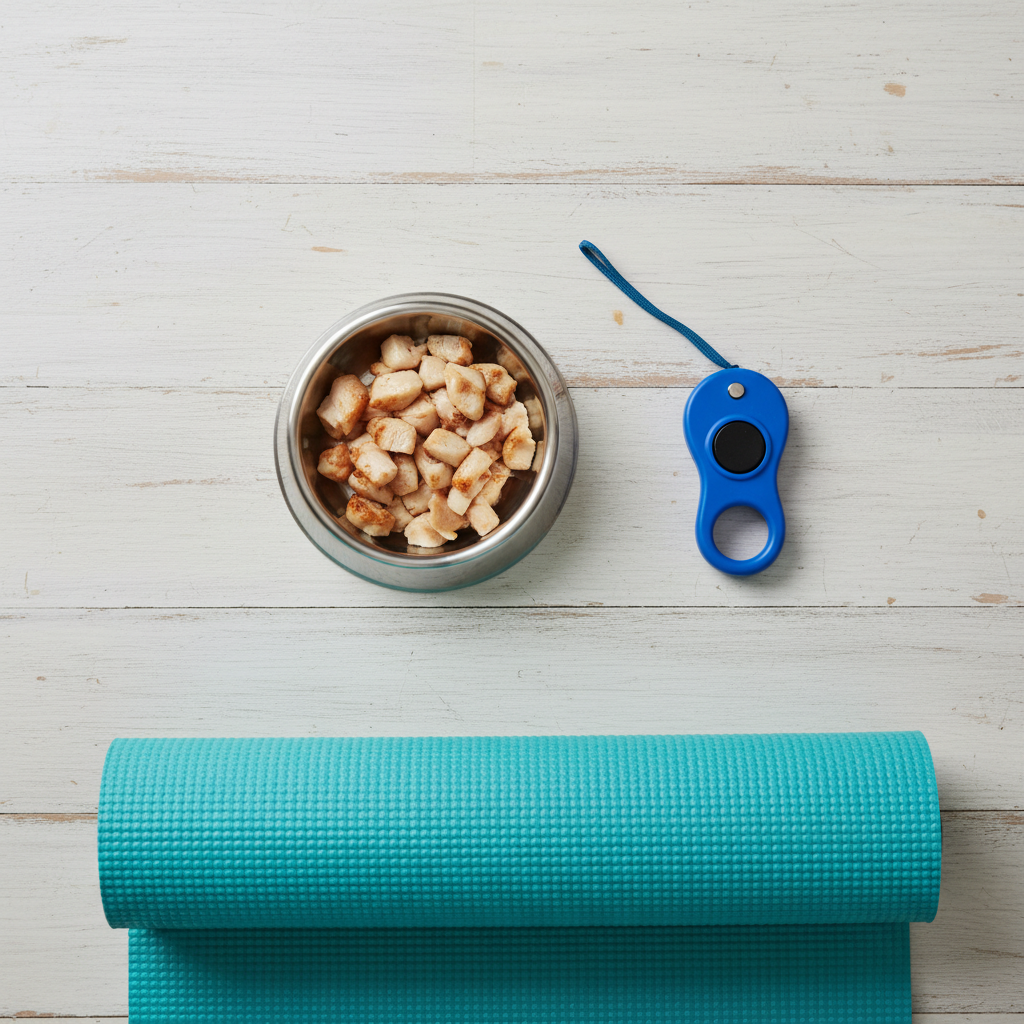
- High-Value Treats: We’re talking top-tier goodies here! Think tiny pieces of cheese, boiled chicken, or freeze-dried liver. They should be small enough to be eaten quickly and smelly enough to be utterly irresistible. This is what will motivate your dog to figure out the puzzle.
- A Clicker (Optional but Recommended): A clicker is a fantastic tool for marking the exact moment your dog does something right. The ‘click’ provides instant, clear feedback, which can speed up the learning process significantly. If you’re not using a clicker, a consistent marker word like ‘Yes!’ works just as well.
- A Comfortable, Non-Slip Surface: Training on a slippery hardwood or tile floor can be difficult and frustrating for your dog. Choose a carpeted area or lay down a yoga mat or rug to give your pup the traction they need to crawl forward.
Choosing Your First ‘Tunnel’
Don’t start with the coffee table just yet! We want to build confidence with an easy win. The best first ‘tunnel’ is you! Sit on the floor and bend one knee up, creating a small, non-threatening tunnel with your leg. This allows you to be close to your dog, easily deliver treats, and make the experience feel like a fun game from the very beginning.
The Step-by-Step Guide to the Perfect Army Crawl
This is where the magic happens! Remember, patience is your best friend. Every dog learns at a different pace, so celebrate the small victories and keep it fun. We’ll break this down into five manageable steps.
-
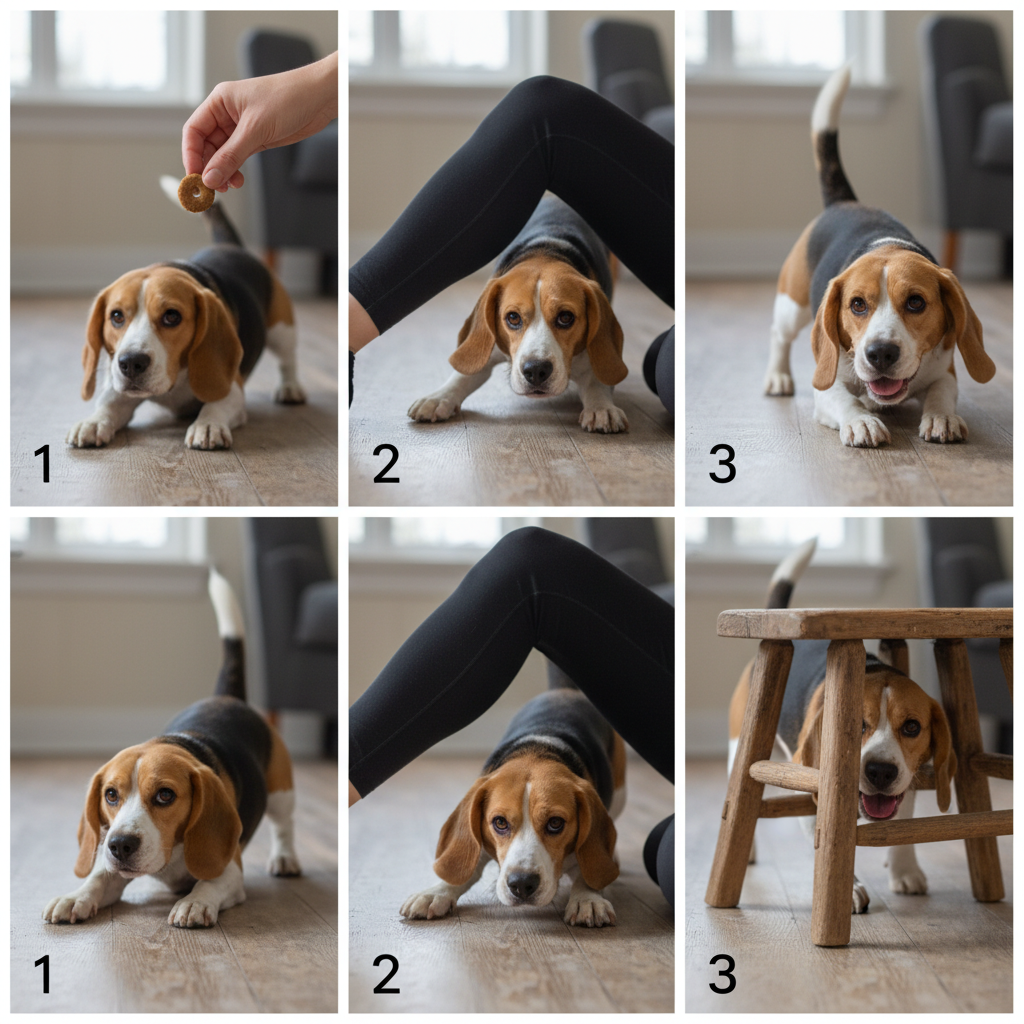
Step 1: Lure the Forward Stretch
Start with your dog in a solid ‘down’ position in front of you. Take a high-value treat, hold it right at their nose, and then slowly pull it straight forward, just an inch or two away from them. The goal is to get them to stretch their neck forward to get it. The moment they stretch, click (or say ‘Yes!’) and give them the treat. Don’t worry about body movement yet; we’re just rewarding the initial forward reach. Repeat this 5-6 times.
-
Step 2: From Stretch to Scoot
Now, hold the treat a little further away. This time, your dog will likely have to shift their weight or even move a paw forward to reach it. The instant you see any forward shuffle, scoot, or paw movement—no matter how small—click and reward! You are now shaping the beginning of the crawl. Keep sessions short, just a few minutes at a time.
-
Step 3: Introduce the ‘Tunnel’ (Your Leg)
Once your dog is reliably scooting forward an inch or two, it’s time to introduce your first obstacle. Sit on the floor with one knee bent, creating that tunnel. Ask your dog for a ‘down’ on one side. Use the treat to lure them through the opening under your leg. They only need to move their head and shoulders through at first. Lavish them with praise and treats when they do! Gradually lure them further until they are comfortable going all the way through.
-
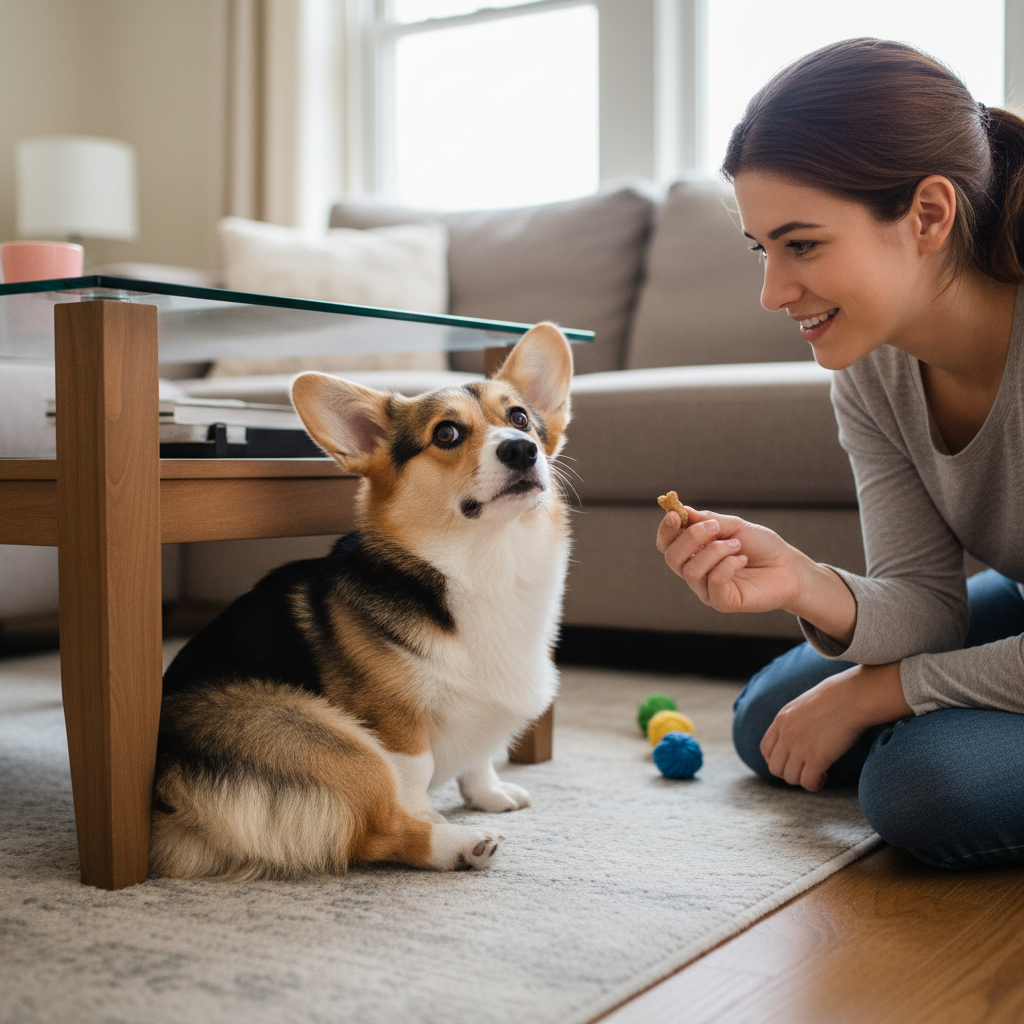
Step 4: Add the Verbal Cue and Transition to Furniture
When your dog is confidently crawling under your leg, it’s time to name the behavior. Just as they are about to start moving, say your chosen cue clearly—like ‘Crawl,’ ‘Under,’ or ‘Tunnel.’ Once they have the verbal cue down, you can transition to a stable piece of furniture. Start with something relatively high, like a sturdy dining chair, to make it easy. Use the same luring technique to guide them under. Once they master the chair, you can try a lower object like a side table or, eventually, the coffee table.
-
Step 5: Fading the Lure
The final step is to transition from a food lure to a hand signal. Go through the motions of luring them with your empty hand, and then reward them with a treat from your other hand after they crawl. Over time, you can make the hand signal smaller (like a simple point) until your dog responds to just the verbal cue alone. Congratulations, you’ve taught an advanced trick!
Troubleshooting: When Your Pup Hits a Roadblock
Even with the best plan, you might run into a few snags. Don’t worry, it’s completely normal! Here are solutions to the most common crawling challenges.
The Problem: My dog keeps standing or sitting up.
This is easily the most frequent issue. It usually means one of two things: the lure is too high, or the ‘tunnel’ is too low and intimidating.
The Fix: First, ensure your lure hand is staying very low to the ground. If you lift it even a little, you’re signaling your dog to get up. If that doesn’t work, make the task easier. Go back to using your leg as a tunnel or hold a cookie sheet over their back as you lure them forward. The slight pressure can help them understand the concept of staying low. Then, move to a higher piece of furniture before attempting the low coffee table again.
The Problem: My dog is scared of the chair or table.
Never, ever force a fearful dog. Pushing them will only create a negative association with both the object and your training sessions.
The Fix: We need to change their emotional response to the object. This is all about positive association. Start by just rewarding your dog for looking at the chair. Then for sniffing it. Then place treats near the legs of the chair. Then just under the edge. Let your dog set the pace. This process, called counter-conditioning, can take time, but it builds lasting confidence.
The Problem: They just won’t move forward. They just stare at the treat.
This inertia usually stems from a lack of motivation or a bit of confusion.
The Fix: First, up your treat game! If you’re using kibble, try hot dogs. If you’re using hot dogs, try steak. Find what truly motivates your pup. Second, go back a step and make it incredibly easy. Reward the tiniest forward head-bob or weight shift. Sometimes dogs get ‘stuck’ because they think they have to do the whole behavior at once. Remind them that even a tiny effort earns a big reward.
Safety First: Keeping Your Crawling Star Safe and Sound
As you and your dog become more adventurous, it’s vital to keep safety as your top priority. A scary experience can undo a lot of your hard work. Here’s how to ensure every training session is safe and positive.
Check for Stability
Before you ask your dog to crawl under anything, give it a good shake. Is the coffee table wobbly? Could the chair tip over if your dog bumps it? Only use furniture that is heavy, stable, and secure. A tipped-over piece of furniture can be terrifying and even cause injury.
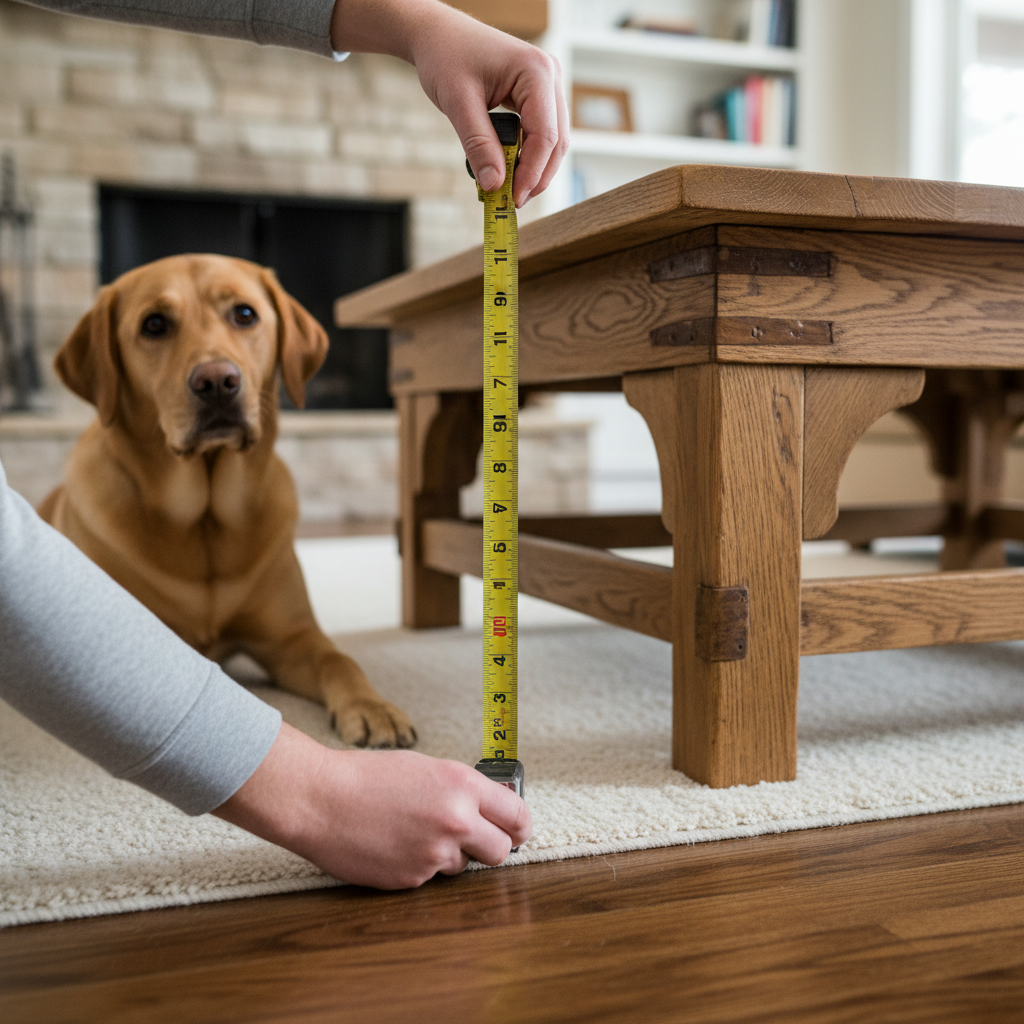
Measure the Space
This might sound obvious, but always ensure your dog can fit comfortably. There should be enough clearance not just for their back, but also for their head and hips. They shouldn’t have to scrape through. A good rule of thumb is to have at least a couple of inches of extra space above their back when they are in a low crawl. If in doubt, find a bigger object.
Important Note: This trick may not be suitable for all dogs, especially brachycephalic (flat-faced) breeds who can have breathing difficulties, or dogs with back, neck, or joint problems. Always consult your vet if you have any concerns about your dog’s physical ability to perform a new exercise.
Mind the Surface
As mentioned earlier, traction is key. Crawling requires your dog to push with their back legs. On a slippery floor, they can struggle, strain a muscle, or simply become frustrated. Always train on a surface with a good grip, like a carpet or a large mat.
Listen to Your Dog
Your dog is always communicating with you through their body language. Pay close attention to signs of stress, such as lip licking, excessive yawning, showing the whites of their eyes (‘whale eye’), or a tucked tail. If you see these signals, your dog is telling you they’re uncomfortable. It’s not a sign of failure! It’s a sign to stop, take a break, and probably end the session with an easy win, like a simple ‘sit.’ Always end on a positive note.
Conclusion
And there you have it! You are now fully equipped to teach your dog one of the coolest and most beneficial tricks around. By breaking it down into small, achievable steps, you can guide your dog to becoming a confident, crawling champion. Remember that the journey is just as important as the destination. Every training session, every small success, and even every little challenge is a chance to connect with your amazing canine companion.
Be patient, stay positive, and most importantly, have fun! Your dog will feed off your enthusiastic energy. Before you know it, you’ll be showing off your pup’s incredible skills to all your friends and family. Happy training!