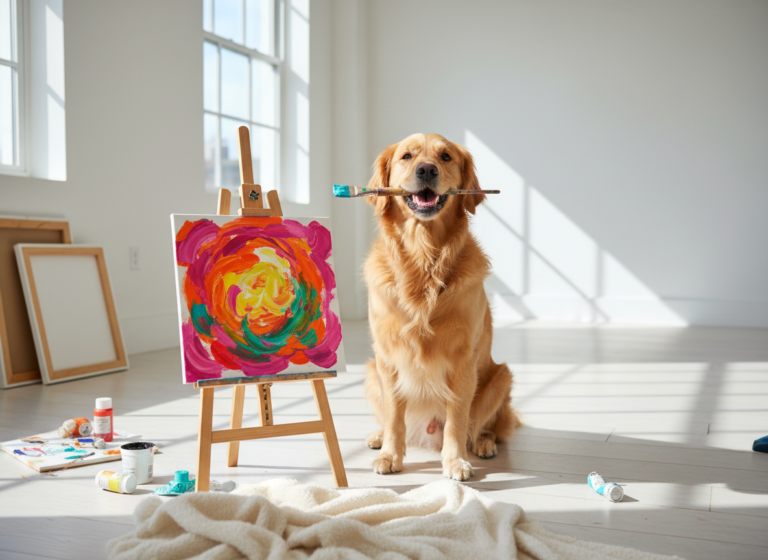
Have you ever looked at your dog and thought, ‘You’re a work of art’? Well, now you can take that thought literally! Welcome to the wonderful, whimsical world of dog painting. If you’re searching for a new way to bond with your four-legged friend, stimulate their senses, and create a truly unique keepsake, you’ve come to the right place. This isn’t just about making a pretty picture; it’s about creating a fun, enriching experience for your pup and a cherished memory for you.
Many pet parents worry about safety and mess, and rightfully so! That’s why this tutorial focuses on 100% pet-safe materials and methods, including a brilliant mess-free technique that will keep your floors (and your sanity) intact. We’ll walk you through everything you need to know, from gathering the right supplies to prepping your canine artist and cleaning up afterward. So, roll up your sleeves, grab some treats, and get ready to unleash your dog’s inner ‘Paw-casso’!
Step 1: Gathering Your Pet-Safe Art Supplies
Before you and your pup can create your magnum opus, you need to assemble the right tools. Safety is the number one priority here. A dog’s instinct is to lick, so everything that comes near them must be completely non-toxic and safe for ingestion in small amounts. Here’s your complete checklist:
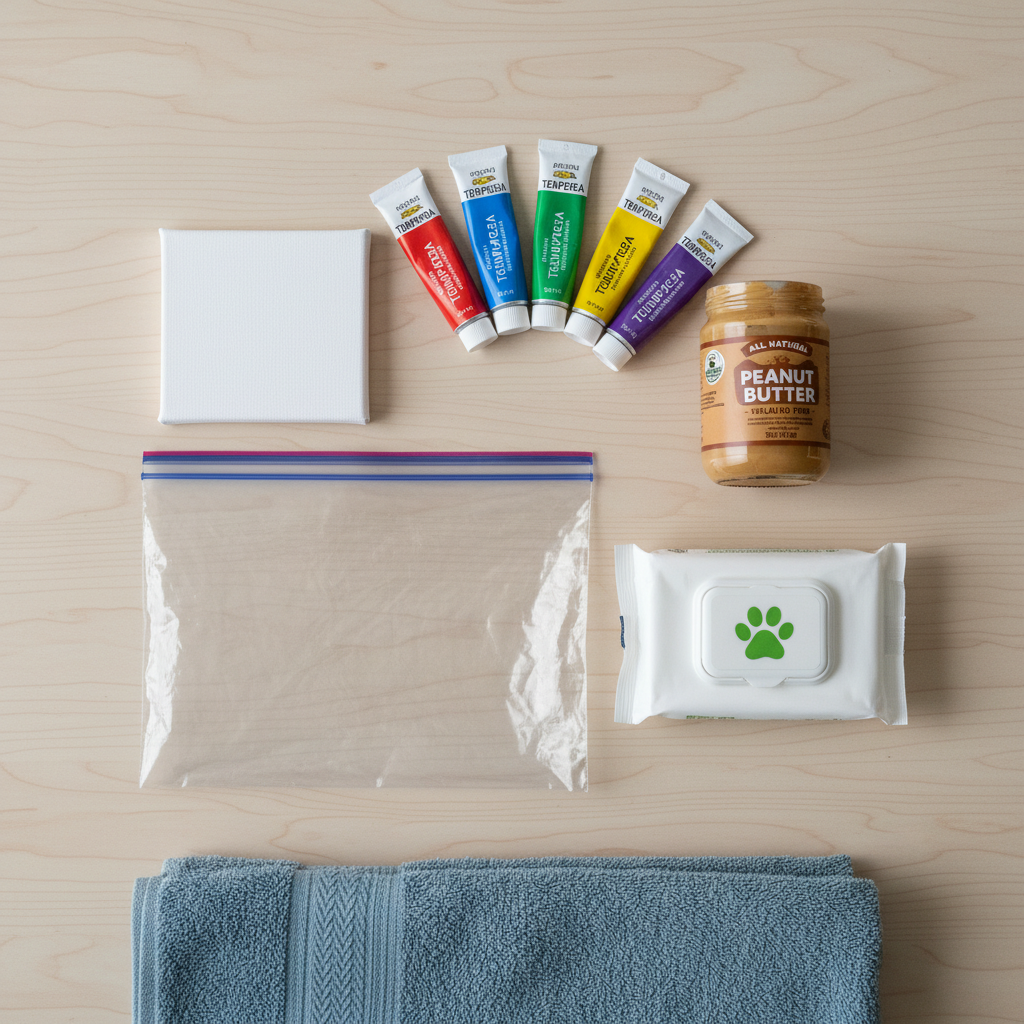
Essential Supplies
- Pet-Safe, Non-Toxic Paint: This is the most critical item. Look for paints explicitly labeled as ‘non-toxic’ and ‘washable.’ Water-based tempera or finger paints for children are often a good choice. There are also paints made specifically for pets. Never use acrylic, oil, or any other type of craft paint, as they can be toxic if ingested and can irritate your dog’s skin.
- DIY Paint Option: For a super-safe and edible option, you can make your own! Simply mix cornstarch with water to create a paste, then add a few drops of pet-safe food coloring. It’s a fantastic alternative for pups who are extra curious tasters.
- Canvas or Heavy-Duty Paper: A small stretched canvas works wonderfully and gives the final product a professional feel. Thick watercolor paper or cardstock are also great options.
- Large Ziploc or Freezer Bag: This is the secret to our favorite mess-free method! Make sure it’s large enough to fit your canvas inside.
- A High-Value Lickable Treat: Natural peanut butter (ensure it’s xylitol-free), plain yogurt, or meat-flavored baby food works perfectly. This will be your dog’s ‘paintbrush.’
- A Plate or Tray: You’ll need something to put the paint on for the more traditional paw-print method. A disposable paper plate is ideal.
- Clean-Up Crew: Have plenty of old towels, pet-safe grooming wipes, and a shallow basin of warm, soapy water ready to go before you even start.
Expert Tip: Read the labels on everything! When in doubt, opt for the DIY cornstarch paint. It gives you complete peace of mind, allowing you to focus on the fun rather than worrying about what your dog is licking.
Step 2: Prepping Your Pup & Your Painting Space
Just like any great artist, your dog needs their studio prepped and their mindset right before they can begin. A little preparation goes a long way in ensuring the experience is positive, fun, and stress-free for everyone involved.
Setting the Scene for Success
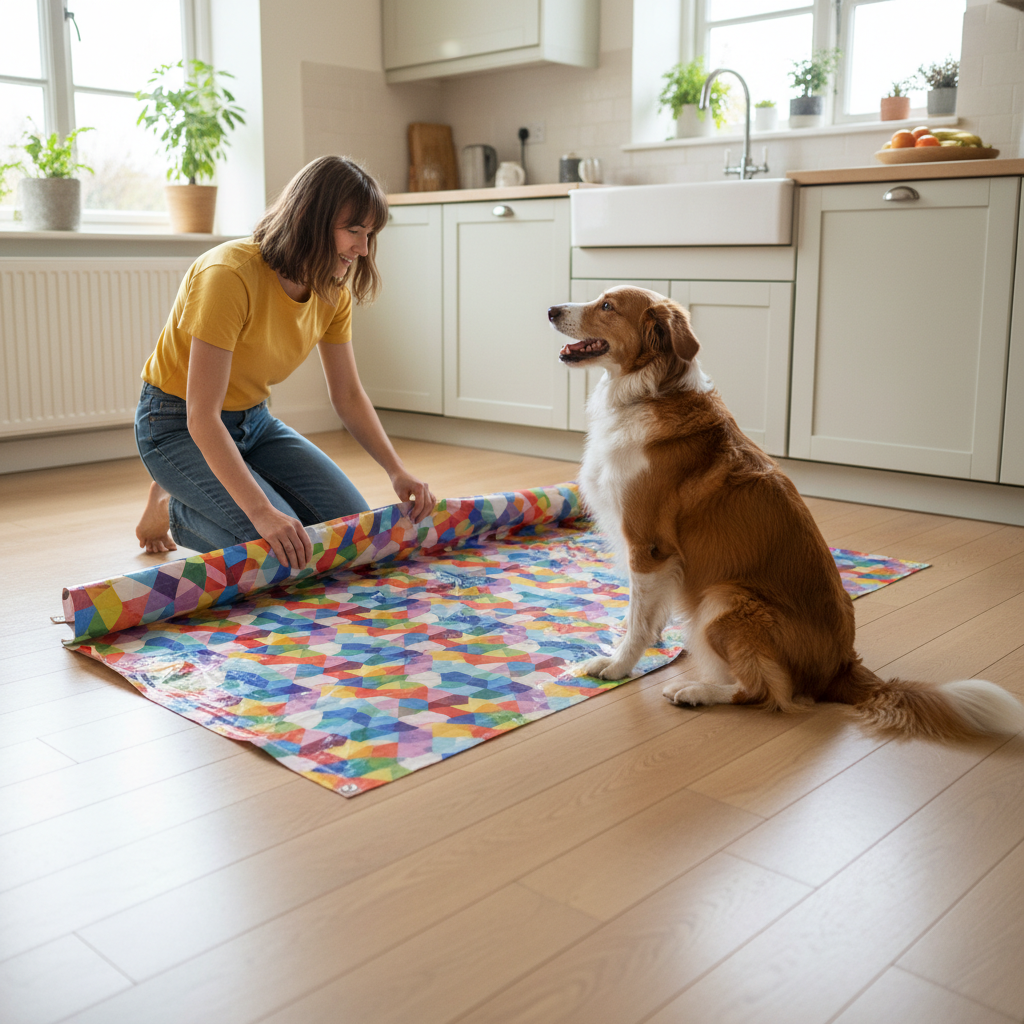
First, choose your location wisely. A room with an easily washable floor, like a kitchen, bathroom, or even an outdoor patio on a nice day, is perfect. Lay down newspaper, an old sheet, or a plastic tarp to protect your surfaces. This creates a designated ‘art zone’ and makes cleanup a breeze.
Getting Your Canine Artist Ready
The goal is a calm, happy, and engaged dog. Here’s how to set the mood:
- Burn Off Excess Energy: Take your dog for a brisk walk or have a quick game of fetch before you begin. A dog with pent-up energy will have a harder time focusing on the calm activity of painting.
- Grooming Prep: If your dog has long hair around their paw pads, consider giving it a little trim. This will help create a clearer, more defined paw print and make cleanup much easier.
- Positive Paw Association: Get your pup comfortable with you handling their paws. Gently touch and hold each paw for a few seconds, followed by a treat and praise. Make it a positive, rewarding experience. This is crucial for the paw-print method but good practice for any dog!
Remember, this should feel like a game, not a task. Keep the atmosphere light and fun, with plenty of verbal praise and encouragement. If your dog seems stressed or uninterested, it’s okay to pack it up and try another day.
Step 3: The Mess-Free Masterpiece Method (Step-by-Step)

This is our favorite technique, especially for first-timers! It contains all the mess, minimizes stress, and lets your dog engage in a natural behavior—licking! The result is a beautiful, abstract piece of art that’s entirely unique to your pup. It’s pure genius.
Here’s how to do it:
- Place Your Canvas: Start by carefully sliding your canvas or heavy-duty paper into the large Ziploc bag.
- Add the Paint: Squeeze several small dollops of different colored, non-toxic paints directly onto the surface of the canvas *inside* the bag. Don’t be afraid to experiment with color combinations! A random pattern often produces the most interesting results.
- Seal the Bag: Press as much air out of the bag as you can and seal it securely. Double-check that it’s fully closed to prevent any accidental paint leakage.
- Apply the Bait: Take your xylitol-free peanut butter or other lickable treat and smear a thin layer across the *outside* of the Ziploc bag, directly over the area where you placed the paint.
- Let the Artist Work: Place the bag on the floor and invite your dog to come and lick off the treat. As they lick and paw at the bag, their movements will push the paint around on the canvas underneath, blending the colors and creating a beautiful, abstract design.
- The Big Reveal: Once your pup has licked the bag clean, the painting part is done! Carefully open the bag and gently slide the canvas out. Be mindful not to smudge the wet paint.
Important Takeaway: This method is fantastic for sensory enrichment. The licking is a calming behavior for dogs, and the creative process provides mental stimulation, making it a double win!
Alternative Technique: The Classic Paw-Print Method
If you have your heart set on those adorable, classic paw prints, this method is for you. It’s a bit more hands-on and can be messier, so it’s best suited for calm dogs who are comfortable with having their paws handled. Having a second person to help is a fantastic idea—one to manage the dog, one to manage the art!
A Step-by-Step Guide to Perfect Paw Prints
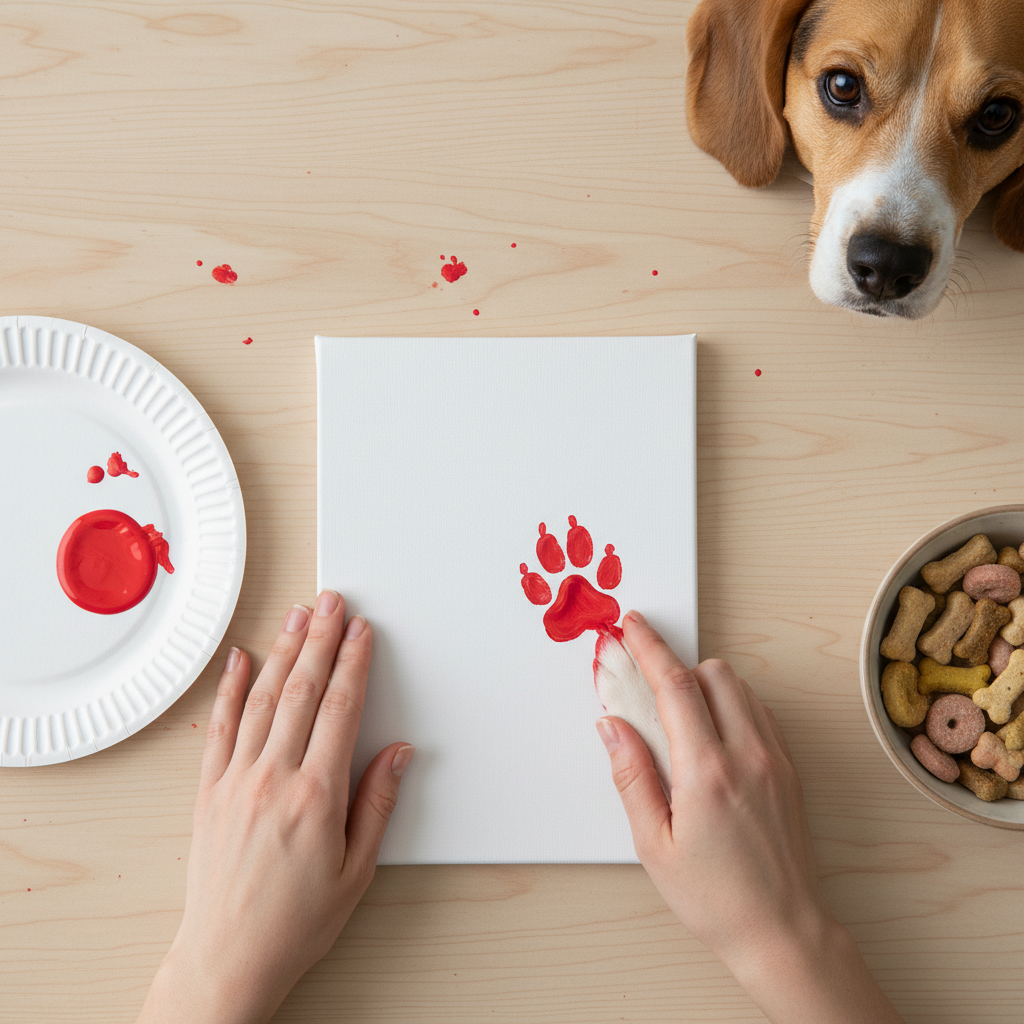
- Prepare Your Palette: Pour a small amount of a single color of paint onto a paper plate. You only need a very thin layer—just enough to coat the paw pads.
- The Gentle Dip: With your dog in a comfortable sit or stand, gently take one of their paws. Carefully press it into the thin layer of paint on the plate. Check to make sure the pads are lightly and evenly coated.
- Make Your Mark: Immediately and carefully guide their paw to the canvas and press down firmly but gently for a second or two. Lift the paw straight up to avoid smudging. Voila! You have your first print.
- WIPE IMMEDIATELY: This is a crucial step. Before doing anything else, use a pet-safe wipe or a damp cloth to thoroughly clean all the paint off your dog’s paw. Then, give them a treat and lots of praise.
- Rinse and Repeat: You can now repeat the process with a different paw or a different color. Always clean the paw immediately after each print. This prevents paint from getting on your floor and, more importantly, stops your dog from licking it off.
This method allows for more control over the final design. You can create a flower with paw prints as petals, a random pattern, or even sign your dog’s ‘name’ with a single print. Just remember to prioritize your dog’s comfort and safety throughout the process.
Step 4: The Grand Finale – Drying, Sealing, and Cleaning Up
You’ve done it! You and your furry artist have created a masterpiece. But the job isn’t quite finished yet. Proper drying and cleanup are essential to preserving your art and keeping your pup safe.
Drying and Preserving Your Artwork
Place the wet canvas in a safe, well-ventilated location where it won’t be disturbed by curious noses or wagging tails. Depending on the thickness of the paint, it may take anywhere from a few hours to a full day to dry completely. Once it’s bone dry, you can take a marker and write your dog’s name and the date on the back to commemorate the occasion. For long-term preservation, you can apply a coat of clear, non-toxic, pet-safe sealant spray (do this in a well-ventilated area away from your pets).
Pawsitively Spotless Cleanup
This is the most important part for your dog’s well-being. Even if you used the mess-free method, it’s a good idea to give their paws a quick wipe-down. If you used the direct paw-print method, a thorough cleaning is non-negotiable.
- Use pet-safe grooming wipes to get the bulk of the paint off.
- Follow up with a wash in a shallow basin of warm water with a bit of their regular dog shampoo.
- Gently scrub between the paw pads and around the nails to ensure every last speck of paint is gone.
- Dry their paws thoroughly with a clean towel.
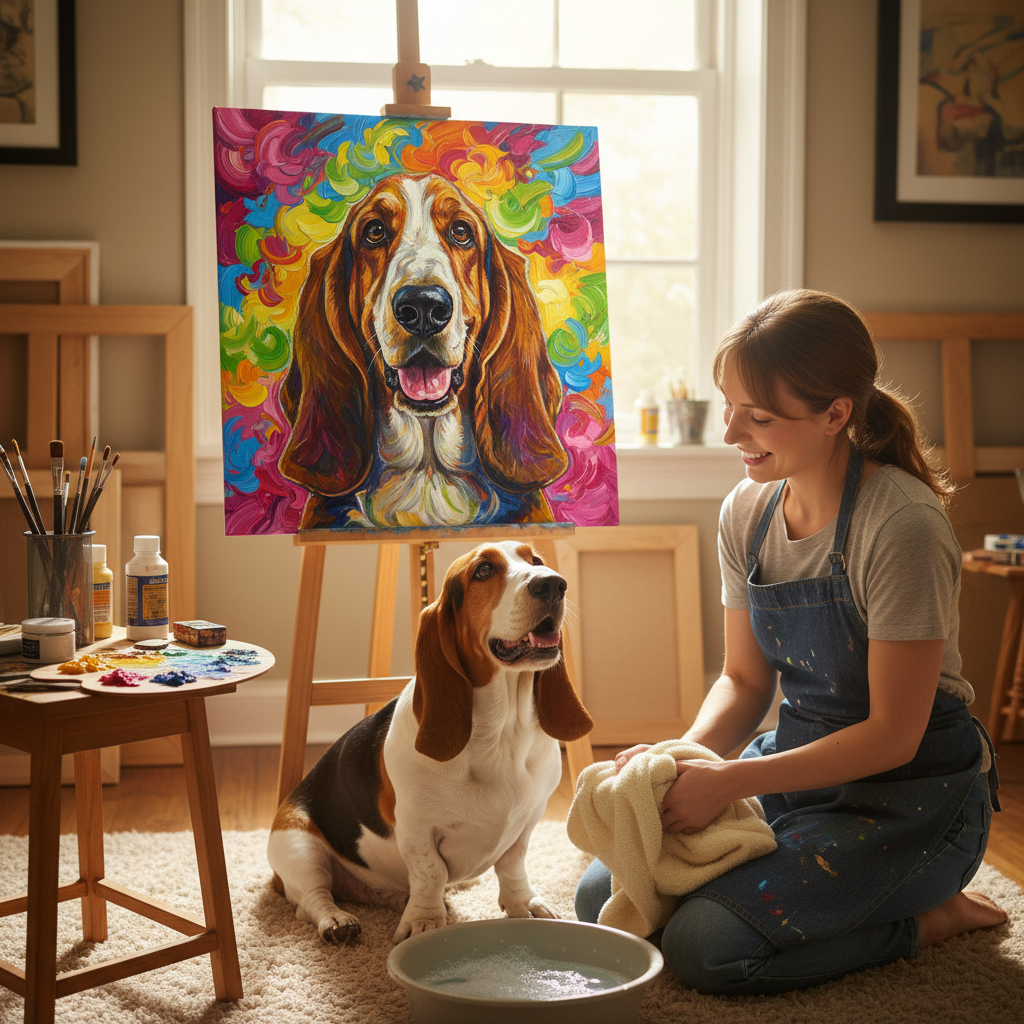
Once your pup is clean and your art is drying, stand back and admire your work. You’ve not only created a piece of art but also a wonderful memory.
Conclusion
There you have it—a fun, safe, and surprisingly easy way to spend a creative afternoon with your best friend. The beautiful piece of art you’re left with is more than just paint on a canvas; it’s a tangible reminder of the joy, laughter, and unique bond you share with your dog. It’s a snapshot of a happy moment in time, captured forever in swirls of color and perfect little paw prints.
Whether you hang it on the wall, give it as a gift, or simply prop it on a shelf, your collaborative masterpiece is sure to be a conversation starter. We’d absolutely love to see what you and your pup created! Share a photo of your artwork on social media and tag us. Happy painting!