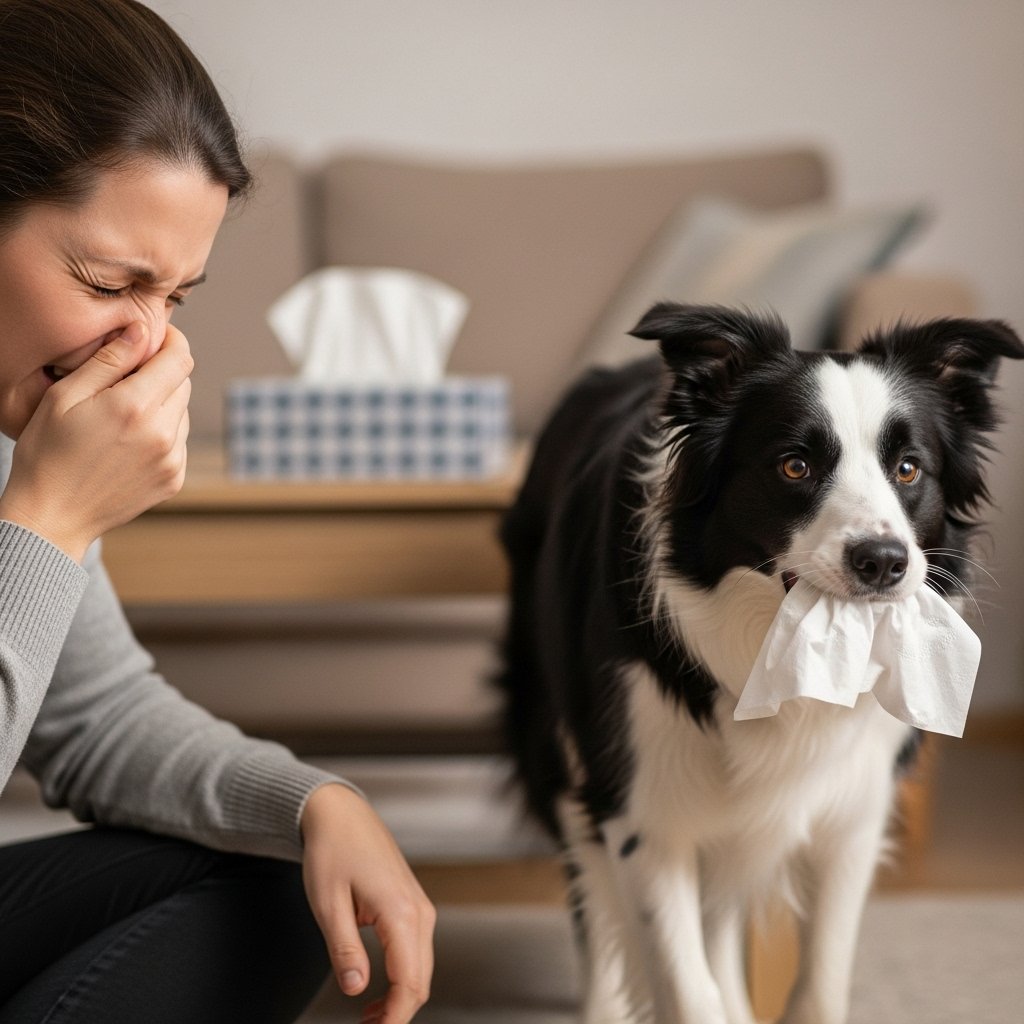
Bless you! We’ve all been there—settled cozily on the couch, wrapped in a blanket, when a sudden sneeze strikes. The tissue box is just out of reach, and getting up feels like a monumental task. Now, imagine your four-legged best friend trotting over, tissue in mouth, to save the day. Sound like a dream? It’s not! Teaching your dog to fetch a tissue (and even throw it away afterward) is an incredibly fun and rewarding trick that strengthens your bond and provides fantastic mental stimulation for your pup.
This isn’t just a cute party trick; it’s a complex behavior chain that showcases your dog’s intelligence and your training partnership. It combines targeting, retrieving, holding, dropping, and sequencing skills. But don’t be intimidated! With patience, positivity, and a handful of tasty treats, you can turn your dog into the ultimate ‘Sneeze Helper.’ In this guide, we’ll break down the entire process into small, manageable steps, ensuring you and your dog have a blast along the way. Ready to get started? Let’s train!
Gearing Up for Success: What You’ll Need
Before you dive into training, gathering the right tools and setting the stage will make the process much smoother and more enjoyable for both of you. Think of it as your training toolkit! A little preparation goes a long way in keeping your sessions short, fun, and effective.
The Essentials Checklist:
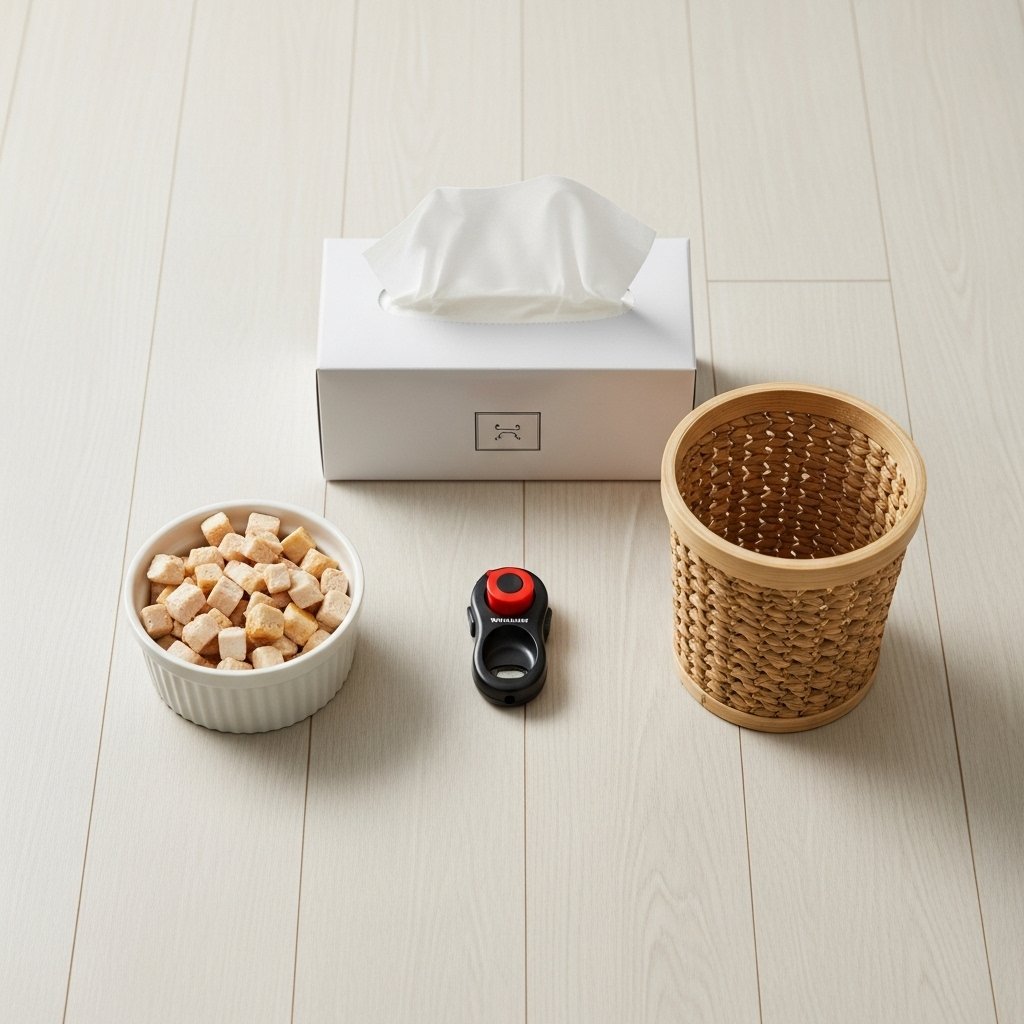
- High-Value Treats: This is a ‘wow’ trick, so you’ll need ‘wow’ treats! Use small, soft, and extra-tasty morsels that your dog absolutely loves and doesn’t get all the time. Think tiny pieces of chicken, cheese, or special training treats.
- A Clicker (Optional but Recommended): A clicker is a fantastic tool for marking the exact moment your dog does something right. This precise communication speeds up learning significantly. If you’re not using a clicker, choose a consistent verbal marker, like a sharp “Yes!”.
- A Box of Tissues: Start with a full, sturdy box that won’t tip over easily. You might want to tape it to the floor or place it in a heavier container initially so your dog doesn’t just knock it over in their excitement.
- A Small, Open Trash Can: Choose a bin that’s easy for your dog to drop things into. A small, open-top wastebasket is perfect. At first, you might even use a larger, lower-sided bowl or box to make the target easier.
- A Quiet Training Space: Find a comfortable, distraction-free area in your home. A living room or hallway where you won’t be interrupted is ideal.
- Patience and a Positive Attitude: This is the most crucial tool of all! This trick has many moving parts. There will be moments of confusion, dropped tissues, and maybe even a shredded one or two. Stay positive, celebrate the small wins, and remember that the goal is to have fun with your dog. Keep sessions short (5-10 minutes) to keep your dog engaged and eager to learn.
Expert Tip: ‘Charge’ your clicker before you begin. This simply means clicking and immediately giving your dog a treat, repeating about 10-15 times. Your dog will quickly learn that the ‘click’ sound means a reward is coming, making it a powerful training tool.
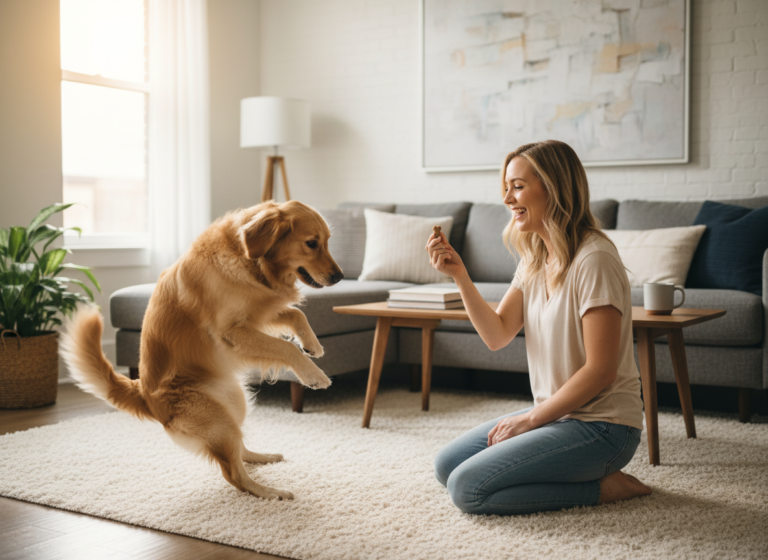
Phase One: The Great Tissue Fetch
This first phase is all about teaching your dog to interact with the tissue box and bring you a fresh tissue. We’ll break this down into tiny, achievable steps using a training method called ‘shaping,’ where we reward small approximations of the final behavior. Remember to click (or say “Yes!”) for success and treat generously!
Step 1: Get Friendly with the Box
The goal here is just to make the tissue box the most exciting object in the room. Place it on the floor. The moment your dog looks at it, sniffs it, or touches it with their nose or paw, click and treat. Repeat this until your dog is eagerly booping the box with their nose, expecting a reward. Don’t ask for anything else yet; just reward any interaction.
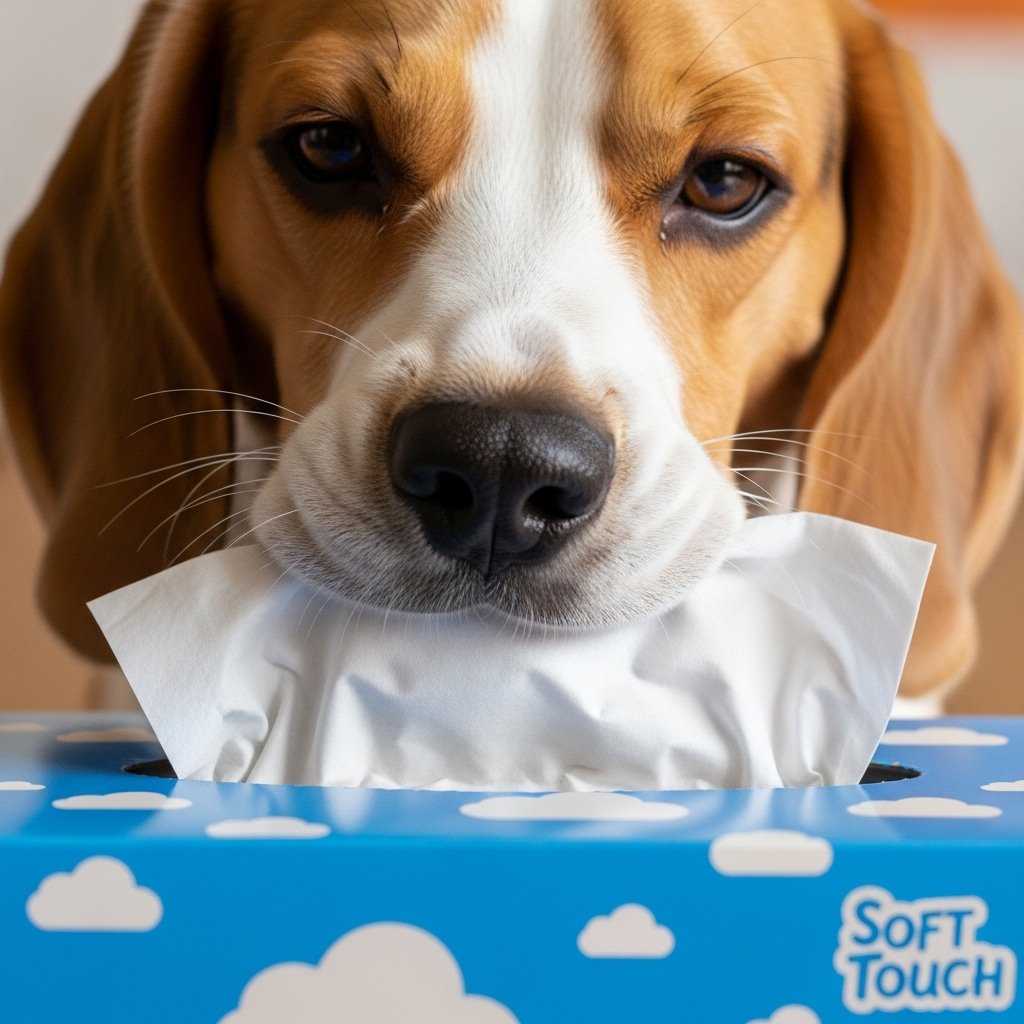
Step 2: Introduce the Tissue
Pull one tissue out slightly, so it’s sticking up and easy to grab. Now, reward your dog for any interaction with the tissue itself. At first, they might just sniff it. Click and treat! Then, they might nudge it with their nose. Click and treat! Eventually, they will open their mouth and gently bite or ‘mouth’ the tissue. This is the jackpot moment! Reward this with extra enthusiasm and a bunch of treats.
Step 3: Taking and Holding
Once your dog is reliably mouthing the tissue, we want to encourage them to actually pull it out of the box and hold it. Delay your click for a split second. Wait for them to tug slightly. Click and treat. Gradually build on this. Wait for them to pull it completely free. Click and treat. Then, work on a short ‘hold.’ Ask them to hold it for just one second before you click and treat. Slowly increase the duration. If they drop it, that’s okay! Just go back a step to where they were successful.
Step 4: The Delivery Service
With your dog holding the tissue, take a small step back and encourage them to come to you. Use an excited, happy tone. The moment they step toward you with the tissue still in their mouth, click and treat. Practice this, gradually increasing the distance between you and the tissue box until your dog will confidently retrieve a tissue and bring it directly to you. When they arrive, you can use a cue like “Give” or “Drop it” to have them release the tissue into your hand, followed by a big reward.
Common Mistake Alert: Don’t try to rush! If your dog gets frustrated or confused, you’ve likely moved on too quickly. Go back to the previous successful step and practice a few more times before moving forward again. It’s a marathon, not a sprint!
Phase Two: The Tidy-Up – Taking it to the Trash
Your dog is now a pro at fetching a fresh tissue! Awesome work! Now it’s time to teach the second half of this amazing trick: taking the used tissue and dropping it in the trash. We’ll use the same principles of shaping and positive reinforcement.
Step 1: Meet the Trash Can
Just like with the tissue box, we need to make the trash can a fun and rewarding object. Place the trash can on the floor between you and your dog. Hold a used tissue (or a clean one for training purposes) in your hand. When your dog sniffs the tissue, great! But now, hold it over the trash can. The second your dog’s nose goes over the rim of the can to sniff the tissue, click and treat. Repeat this until your dog is confidently putting their head over the can.
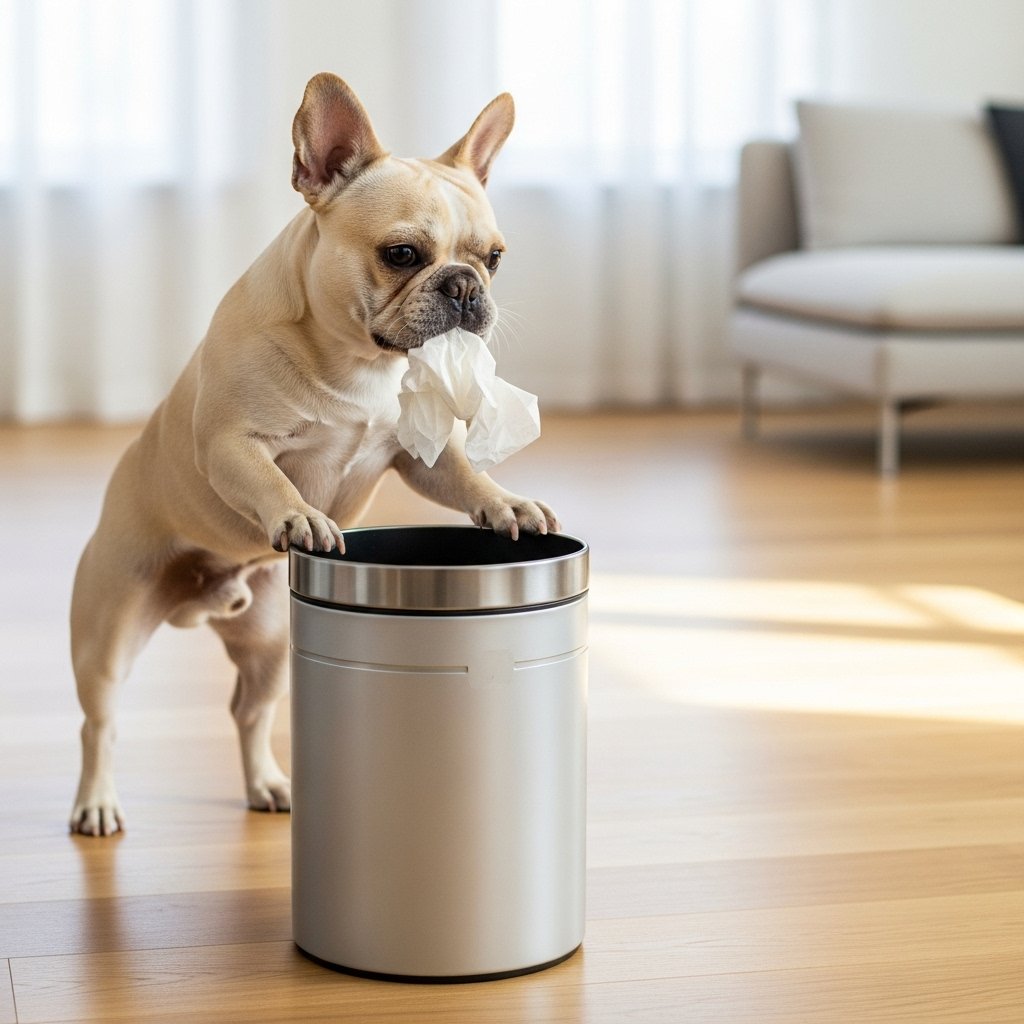
Step 2: The Drop-Off
Now, give the tissue to your dog to hold. Hold your hand over the trash can and use your ‘Drop it’ cue. When they drop the tissue and it lands in the can, have a party! Lots of praise, lots of treats. This is a huge step! If they drop it outside the can, no big deal. Don’t reward it, just pick it up and try again. To make it easier at first, use a wider, shorter container like a laundry basket so they’re more likely to be successful.
Step 3: Increasing the Distance
Once your dog is reliably dropping the tissue in the can when you’re right next to it, start adding some distance. Place the can a foot away. Hand your dog the tissue and point to the can, using a new cue like “Trash it” or “Clean up.” Use your body language to guide them. Any step towards the can should be encouraged. When they get there and drop it in, celebrate! Slowly, over many sessions, increase the distance until your dog can take the tissue from you and carry it to the can from across the room.
Putting It All Together & Adding the Final Cue
You’ve taught the two core components of the trick. Now it’s time to link them together into one seamless performance and add the verbal cue that will trigger the entire sequence. This process is called ‘back-chaining,’ and it’s often the most effective way to combine multi-step behaviors.
Back-Chaining for the Win!
In back-chaining, you teach the last behavior first and then work your way backward. You’ve already done this by teaching the ‘trash it’ part separately! Here’s how to link them:
- Step 1: Start at the end. Hand your dog the tissue and say “Trash it.” When they do, reward them.
- Step 2: Now, add the step before it. Have them fetch the tissue from you from a foot away, then immediately cue “Trash it.”
- Step 3: Gradually move further back. Have them fetch the tissue from the box, bring it to you, and then immediately give them the cue to take it to the trash. This step might require some practice, as you’re now asking them to perform the full sequence.
Adding the ‘Sneeze’ Cue
Once your dog can reliably perform the entire chain (fetch tissue, bring to you, take to trash), you can add the final, fun cue. It could be a fake sneeze, or a verbal cue like “Gesundheit!” or “Tissue, please!”.
Start by making your new cue sound (the sneeze!), then immediately give your old cue for fetching the tissue. Repeat this several times. Your dog will quickly associate the sneeze with the start of the tissue-fetching game. Soon, you’ll be able to drop the old cue entirely, and your sneeze alone will launch your helpful pup into action!
Remember: At this stage, you only reward the dog after the entire sequence is complete. The reward comes after the tissue lands in the trash can. This teaches them that the whole chain of events is what earns the prize.
Troubleshooting Common Snags
Even with the best training plan, you might hit a few bumps in the road. That’s completely normal! Here are some common challenges and how to work through them with a positive attitude.
My Dog Shreds or Eats the Tissues!
This is a very common issue, especially with puppies or dogs who love to shred toys. The solution is to teach a ‘soft mouth’ and a reliable ‘Drop it’ cue. Go back to the ‘Holding’ step in Phase One. Reward your dog for holding the tissue very gently, even for a second. If they start to chew, say “Uh-oh” and briefly take the tissue away. Present it again. They will learn that only a gentle hold gets a reward. Make sure the ‘Drop it’ cue is also heavily rewarded, so they learn that giving up the tissue is even better than chewing it.
My Dog Won’t Let Go of the Tissue.
If your dog is playing keep-away, it means holding the tissue has become more rewarding than giving it to you. You need to tip the scales! Never chase your dog. Instead, stand still and offer a super high-value trade. Show them the piece of chicken or cheese and use your ‘Drop it’ cue. The moment they drop the tissue, give them the amazing treat. They need to learn that letting go leads to something wonderful.
My Dog Is Scared of the Trash Can.
Some dogs can be wary of new objects, especially if the can has made a loud noise in the past. Go back to basics. Put the can on the floor and just sprinkle treats all around it. Let your dog investigate it on their own terms. Then, place treats on the rim. Finally, toss a treat inside so they have to stick their head in to get it. Make the trash can a magical treat dispenser, and their fear will quickly fade.
My Dog Loses Interest Quickly.
This is a clear sign your training sessions are too long or the rewards aren’t valuable enough. Cut your session time in half—even 2-3 minutes is productive! And up the value of your treats. End every session on a high note, with a successful repetition, so your dog is excited to play again next time.
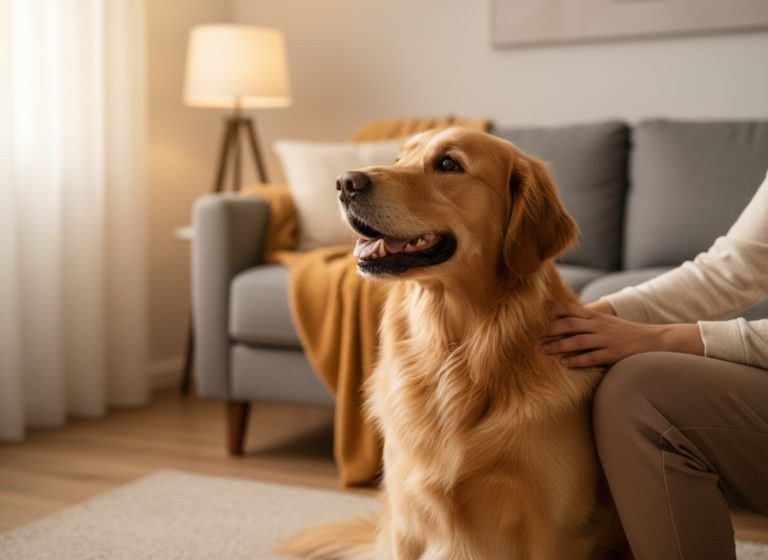
Conclusion
Congratulations, you did it! You’ve guided your brilliant dog through a complex and impressive new skill. Teaching the ‘Sneeze Helper’ trick is so much more than just a novelty; it’s a testament to your communication, patience, and the incredible bond you share with your pet. You’ve provided your dog with challenging mental enrichment, built their confidence, and now you have a helper for those sniffly days!
Remember to practice the skill every now and then to keep it sharp, and always keep it fun. Every training session is an opportunity to connect with your dog. Now, go ahead and fake a sneeze—you’ve earned the right to have a tissue personally delivered by your very own, very clever canine companion. Happy training!