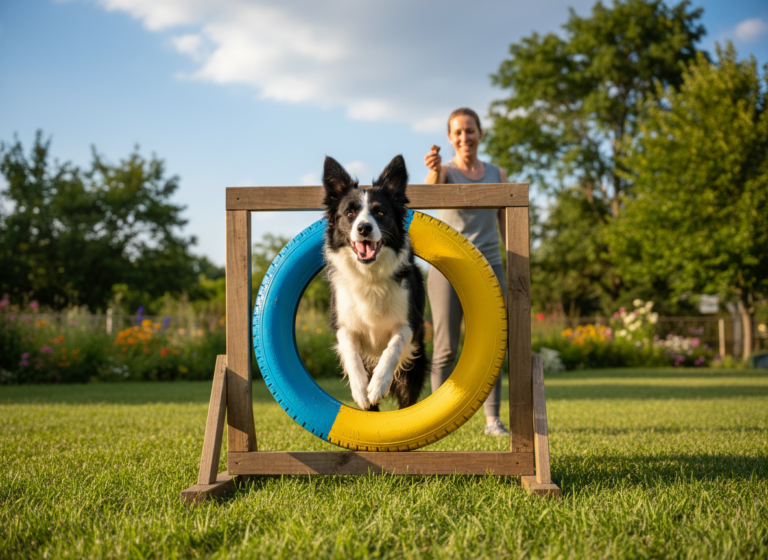
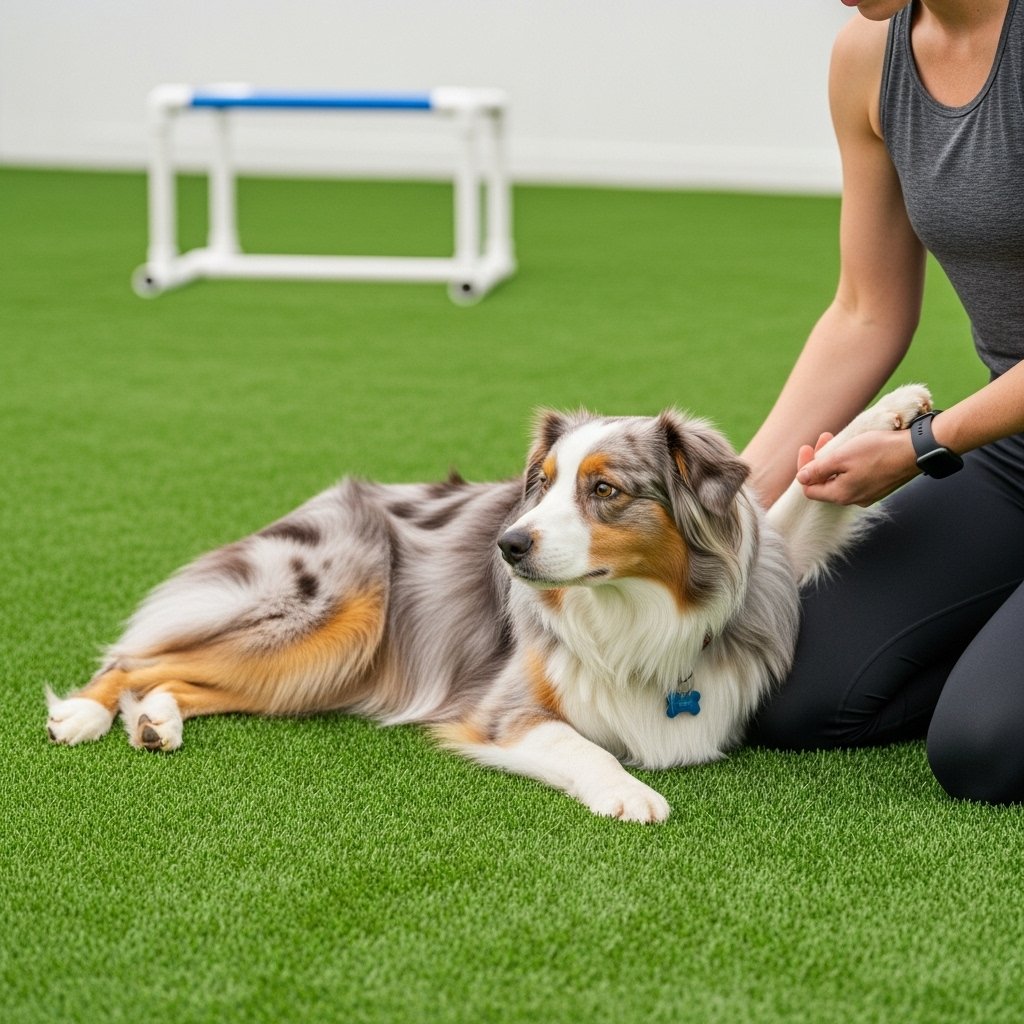
Hey there, fellow dog lovers! We all enjoy teaching our furry friends new tricks. It’s a fantastic way to bond, provide mental stimulation, and let’s be honest, show off their smarts a little! While jumping through a classic round hoop is a crowd-pleaser, have you ever considered leveling up the challenge? Welcome to the world of the square frame jump!
This trick might look like it belongs in a professional dog show, but it’s surprisingly achievable for dogs of many shapes and sizes. It’s more than just a cool party trick; it’s a brilliant exercise in focus, body awareness, and trust between you and your canine companion. Unlike a hoop, a square frame has corners, which requires a bit more precision from your pup. This guide will walk you through every step, from building your own simple frame to celebrating that first perfect leap. So, grab your tastiest treats, and let’s get ready to think outside the circle!
Gearing Up for Success: What You’ll Need

Before you and your pup can leap into action, you’ll need to gather a few simple supplies. The great news is that you don’t need expensive, professional-grade equipment. A little DIY spirit is all it takes! Having everything ready before you start a training session ensures that you can keep the momentum going and hold your dog’s attention.
Essential Equipment & Tools
- A Square Frame: This is your star piece of equipment! You can easily make one from PVC pipes and corner connectors from a hardware store—a 24×24 inch square is a great starting size for a medium dog. You could also use an old, large picture frame (with all glass and backing removed, of course!) or even four pool noodles connected at the corners. The key is that it’s lightweight and won’t hurt your dog if they bump into it.
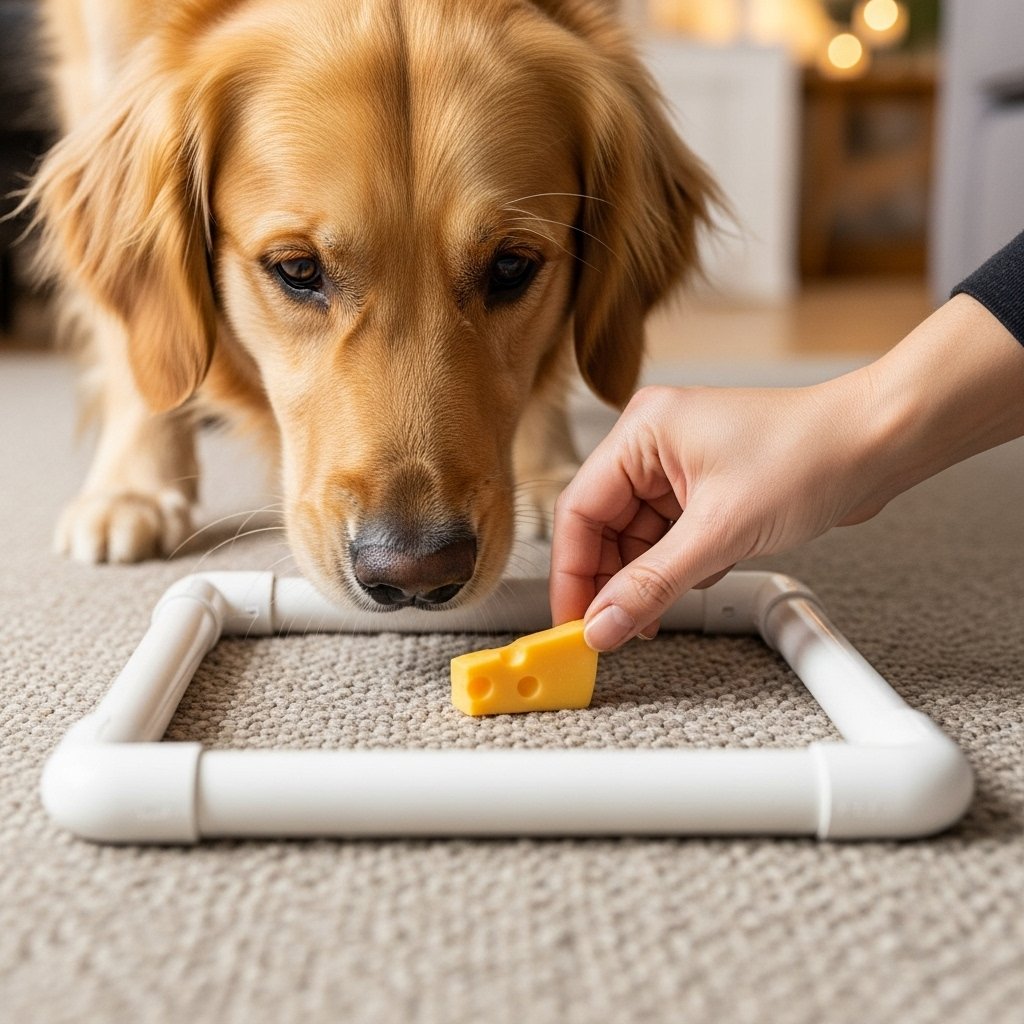
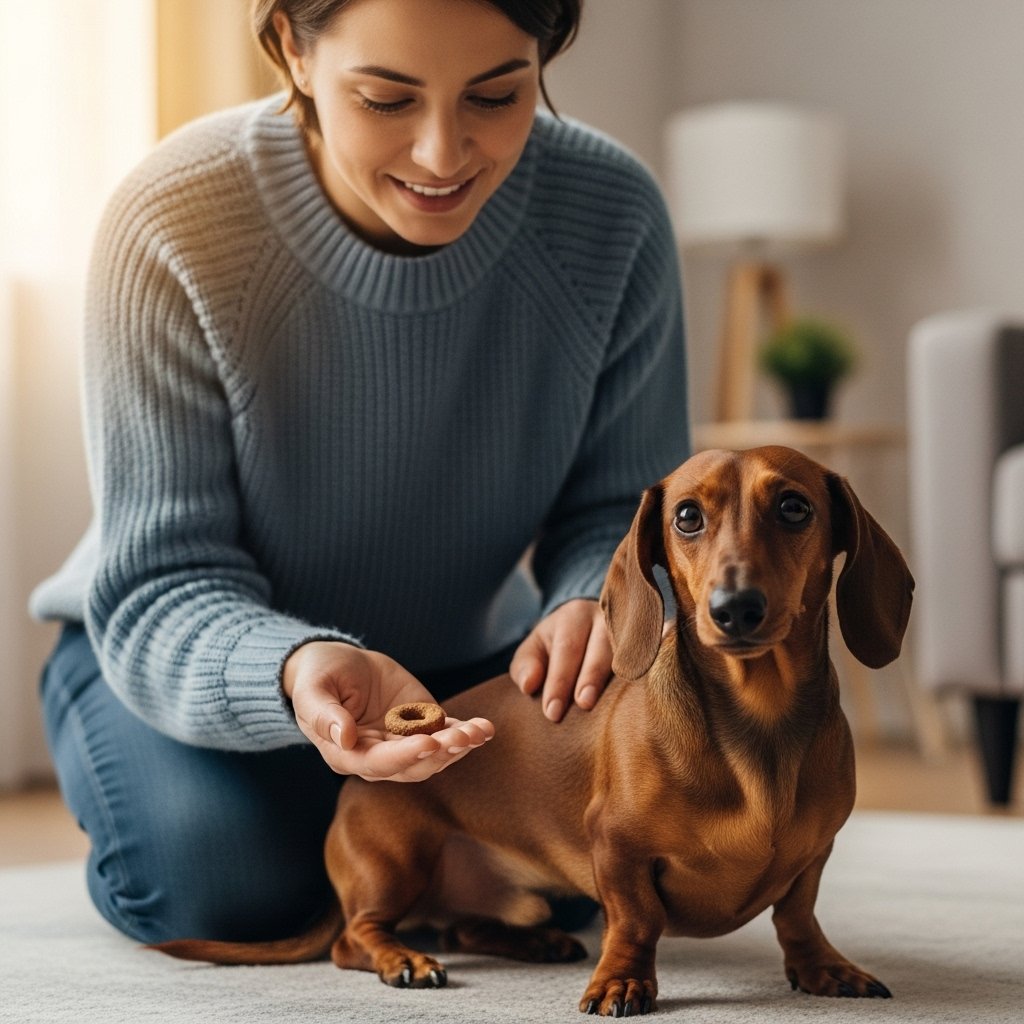
- High-Value Treats: We’re talking top-tier goodies here! Think small pieces of chicken, cheese, hot dogs, or their absolute favorite store-bought training treats. The reward needs to be exciting enough to make learning this new, slightly weird behavior totally worth their while.
- A Clicker (Optional, but Recommended): If you’re a fan of clicker training, this is a perfect time to use it. A clicker helps you mark the exact moment your dog does the right thing, making your communication crystal clear. If you don’t use a clicker, a consistent verbal marker like a sharp “Yes!” works just as well.
- A Positive Attitude: This is the most important tool in your kit! Training should be fun for both of you. Bring patience, enthusiasm, and a sense of humor. Your dog will feed off your positive energy.
Expert Tip: When building your PVC frame, don’t glue the pieces together initially. This allows you to easily break it down for storage and adjust the size if needed in the future.
The Foundation: Getting Comfortable with the Frame
You wouldn’t ask someone to swim before they’re comfortable in the water, right? The same principle applies here. The first and most crucial phase is simply getting your dog to see the square frame as a fun, non-threatening object. Rushing this part is the quickest way to create fear or avoidance, so take your time and make it a positive experience.
Step 1: Frame Familiarization
Place the frame flat on the floor in the middle of a room. Don’t ask your dog to do anything with it yet. Just let it be there. Act completely normal. Walk around it, step over it, and let your dog investigate it at their own pace. If they sniff it, click (or say “Yes!”) and toss a treat near the frame. If they ignore it, that’s fine too. We’re just normalizing its existence.
Step 2: Building Positive Associations
Once your dog is relaxed with the frame on the floor, start creating a direct positive association. Drop a few high-value treats on and around the frame. Let your dog find them. You can turn this into a fun “find it” game. The goal is simple: Frame = Awesome Things Happen Here. Do this for a few short sessions over a day or two until your dog happily approaches the frame when you bring it out.
Step 3: Luring Through (On the Ground)
Now, let’s introduce the concept of moving through the opening. With the frame still flat on the floor, take a tasty treat in your hand. Show it to your dog, then slowly lure them to walk across the middle of the frame to get the treat from your other hand. As they step through, use a simple verbal cue like “Through!” or “Frame!” in an upbeat tone. Click/praise the second they are through the opening and give them the treat. Repeat this from both directions until they are walking through confidently.
Step-by-Step: From Walking to Leaping
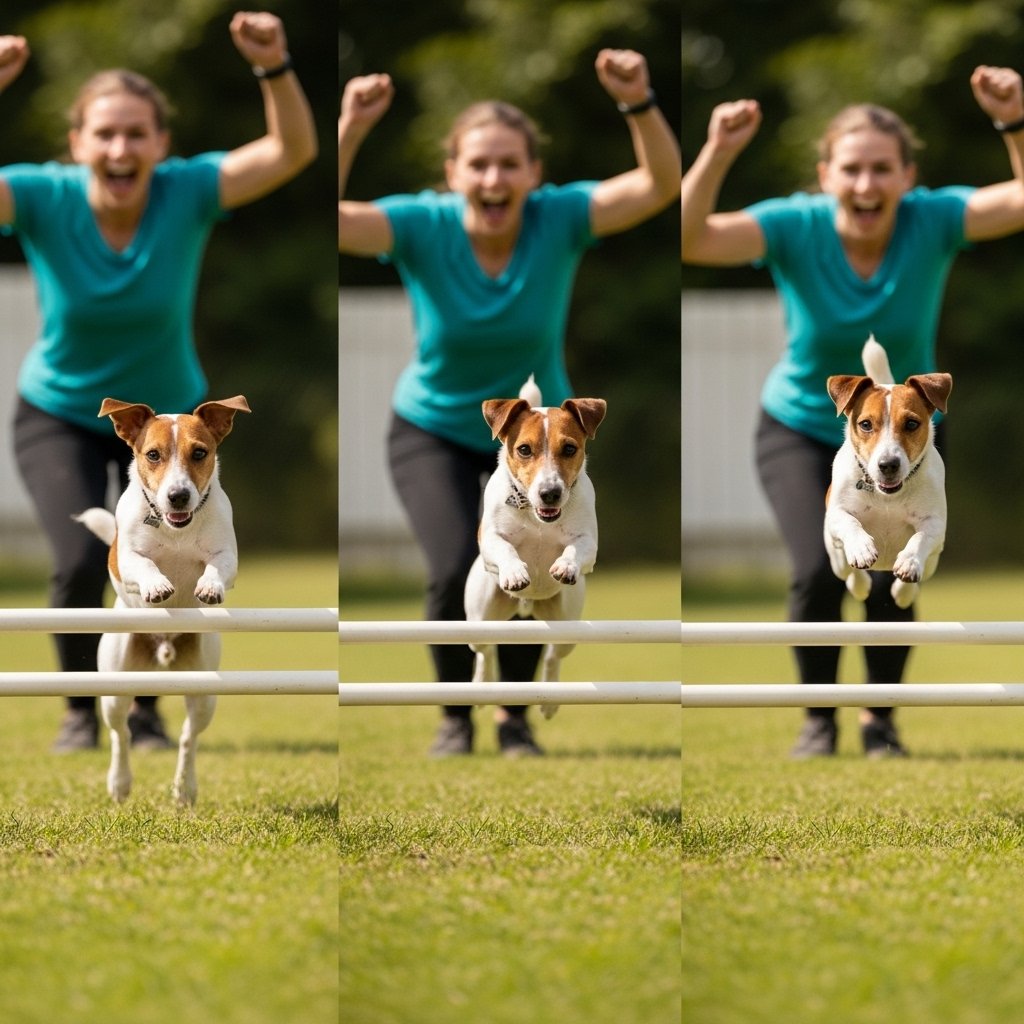
With the foundation firmly in place, it’s time for the main event! The secret here is gradual progression. We will slowly raise the frame, turning a simple step-over into a small hop, and eventually, a confident jump. Remember to keep sessions short (5-10 minutes max) to prevent your dog from getting tired or frustrated.
- The First Lift: Hold the frame so the bottom edge is just one or two inches off the ground. It should be low enough that your dog can simply step over it without any real effort. Use your lure and your “Through!” cue to guide them. When they step through, throw a party! Lots of praise and treats. They need to know they did something amazing.
- Gradual Elevation: This is where patience is key. Over several training sessions, slowly increase the height of the frame. We’re talking an inch at a time. The goal is to raise it so gradually that your dog barely notices the change. As it gets higher, their simple step-over will naturally turn into a small hop or leap. This is the behavior we want to capture!
- Introducing the ‘Jump’ Cue: Once your dog is consistently hopping through the frame (maybe at ankle or shin height, depending on your dog’s size), you can start adding a new cue. Right as they are about to take off, say your chosen jump cue, like “Jump!” or “Hup!”. Immediately after, use your “Through!” cue to guide them. Eventually, the “Jump!” cue will be all you need.
- Fading the Lure: Your dog is now jumping through a raised frame with a treat lure. The next step is to remove the lure. Start by using an empty hand to guide them, but still reward them with a treat from your other hand after they jump. Then, transition to just a point or an open-hand gesture towards the frame. The frame itself and your verbal cue become the signal to jump.
- Building Distance and Independence: Once your dog can jump on cue without a food lure, you can start adding a little distance. Place the frame (or have a helper hold it) and take a step or two back before giving the cue. This teaches them to perform the behavior independently of you being right next to the frame.
Remember: If your dog hesitates or tries to go around the frame at any stage, you’ve likely raised the height too quickly. It’s not a failure! Just lower the frame back to the last height where they were 100% confident and spend more time practicing there before trying to raise it again.
Troubleshooting Common Hurdles
Even with the best plan, you might run into a few snags. Don’t worry, it’s a normal part of the training process! Most issues are easily solved by taking a step back and rethinking your approach. Here are some common challenges and how to navigate them.
| The Problem | The Solution |
|---|---|
| My dog keeps going around the frame, not through it. | This usually means the reward for going through isn’t high enough, or the path of least resistance (going around) is too easy. Try practicing in a narrower space, like a hallway, where going around isn’t an option. You can also use your body or some pillows to create a ‘funnel’ that guides them through the middle. |
| My dog is scared of the frame when I lift it. | This is a sign of moving too fast. Put the frame back on the ground immediately and spend more time on the foundation steps. Rebuild that positive association. When you do lift it again, only lift it a tiny fraction of an inch. Let your dog’s confidence be your guide. |
| My dog hits the frame when they jump. | Bumping the frame can be startling and may deter your dog from trying again. It’s almost always because the height was increased too quickly or the frame is too small for them. Lower the height significantly and ensure the frame is large enough for them to clear easily. A lightweight frame is key here so a bump isn’t painful or scary. |
| My dog used to do it, but now they are refusing. | This is often called ‘training regression.’ It could be that they’re tired, bored, or something spooked them in a previous session. Never force it. End the session with an easy trick they know and love (like ‘sit’ or ‘shake’) to finish on a positive note. Try again another day, starting with an easier step. |
Safety First & Keeping the Fun Alive
As you and your dog become pros, it’s important to keep two things at the forefront: safety and fun. This trick is a physical activity, so we need to treat it with the same care as any other canine sport.
Jump Safety 101
- Surface Matters: Always practice on a non-slip surface. A rug, carpet, or grass is ideal. Avoid slippery hardwood, tile, or concrete floors, which can lead to injury.
- Know Your Dog’s Limits: This trick is not suitable for very young puppies (under a year old) whose growth plates haven’t closed, or for senior dogs or dogs with known joint issues like arthritis or hip dysplasia. When in doubt, always consult your veterinarian.
- Warm-Up and Cool-Down: Just like human athletes, dogs benefit from a quick warm-up. A few minutes of brisk walking or fetching can prepare their muscles. Afterwards, a calm walk can help them cool down.
- Appropriate Height: Never raise the frame higher than your dog’s elbow height for regular practice. While some agility dogs jump much higher, our goal is a fun, safe trick, not a high-jump competition.
Maintaining the Fun Factor
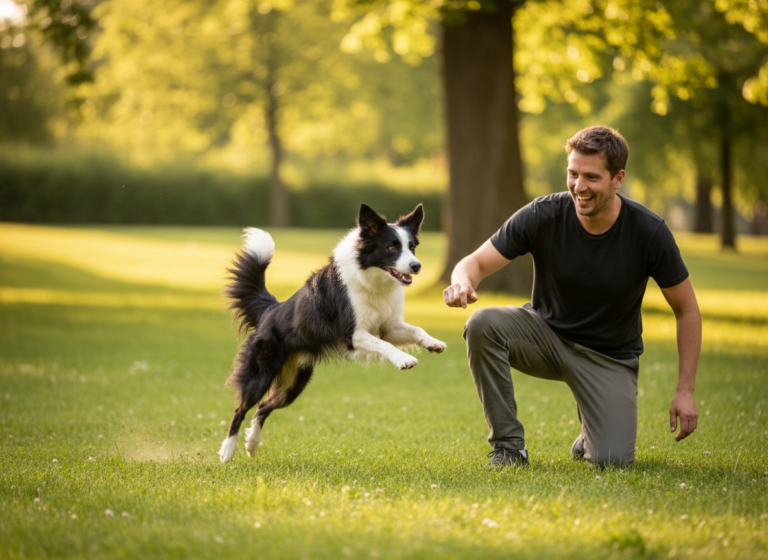
The whole point of trick training is to enrich your dog’s life and strengthen your bond. If it starts to feel like a chore, you’re missing the point. Keep your sessions short and sweet—end before your dog gets bored. Mix in other fun tricks and games. Use an excited, happy tone of voice. If you’re having fun, your dog will have fun, and that’s the greatest reward of all.
Conclusion
Congratulations! You now have all the tools and knowledge to teach your dog one of the coolest tricks on the block. By following these steps, focusing on positive reinforcement, and prioritizing your dog’s comfort and safety, you’re not just teaching a trick; you’re building communication, trust, and a library of happy memories. Remember to celebrate the small victories along the way—every sniff, every step-through, and every tiny hop is a success. So go ahead, build that frame, grab those treats, and discover just how brilliant your four-legged friend is. Happy training!