Hey there, fellow dog lover! Have you ever had that heart-stopping moment when your dog snatches something off the ground before you can even react? A dropped pill, a piece of chocolate, or that mysterious, questionable item on your daily walk. It’s a panic-inducing experience we’ve all faced. While we try our best to keep our homes and walking routes safe, accidents happen. That’s where a rock-solid, emergency ‘stop eating’ command comes in. It’s not just a neat trick; it’s a potential lifesaver.
Think of it as a verbal safety net for your furry best friend. This command, which is really a combination of powerful cues like ‘Leave It’ and ‘Drop It,’ gives you the ability to intervene from a distance, preventing a potential trip to the emergency vet. In this guide, we’re going to break down exactly how to build this crucial skill from the ground up, using positive, fun, and effective methods. Get ready to empower yourself and protect your pup!
Why an Emergency ‘Stop’ Command is a Non-Negotiable Skill
The Everyday Dangers Lurking Around Us
It’s easy to underestimate just how many potential hazards our dogs encounter daily. Their incredible sense of smell and natural curiosity often lead them to investigate things with their mouths. This is completely normal dog behavior, but it can be incredibly dangerous.
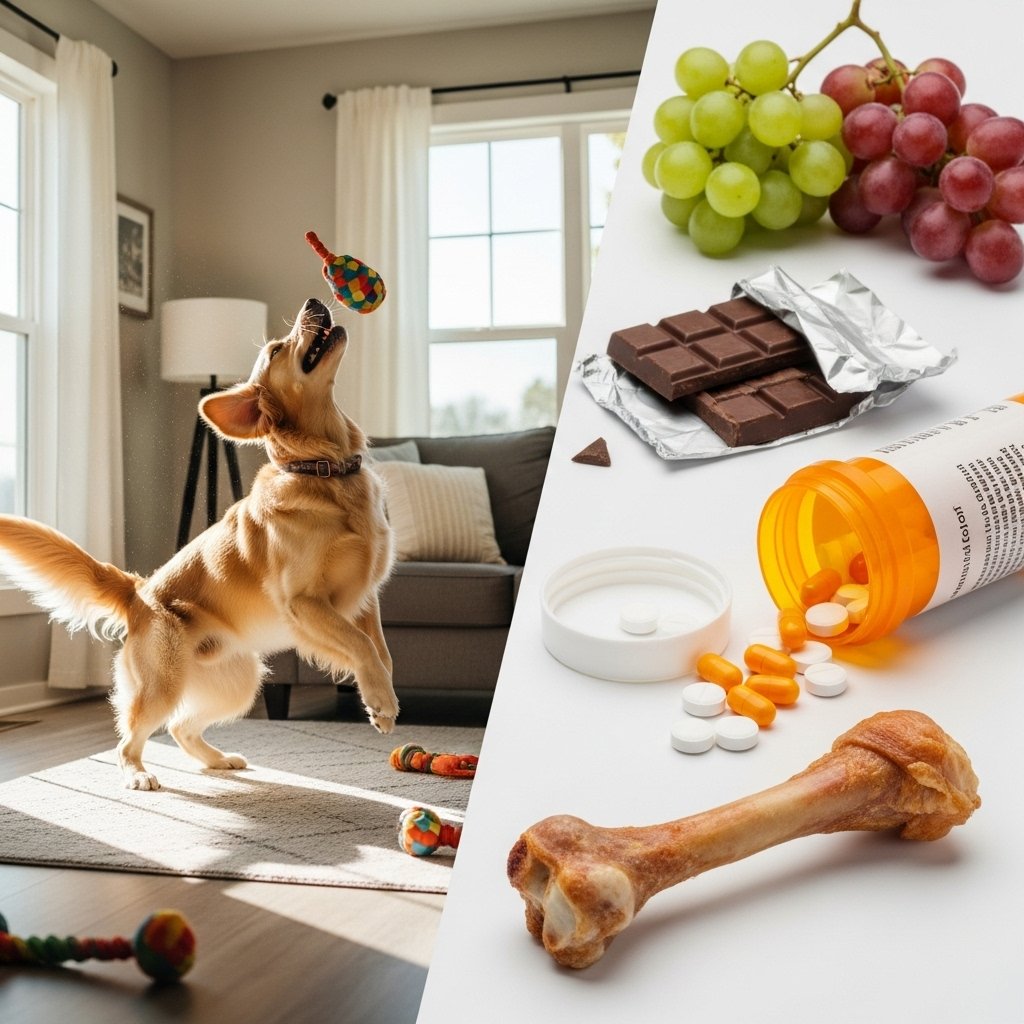
Common Household & Outdoor Hazards:
- Dropped Medications: A single dropped pill, like an ibuprofen or antidepressant, can be highly toxic to a dog.
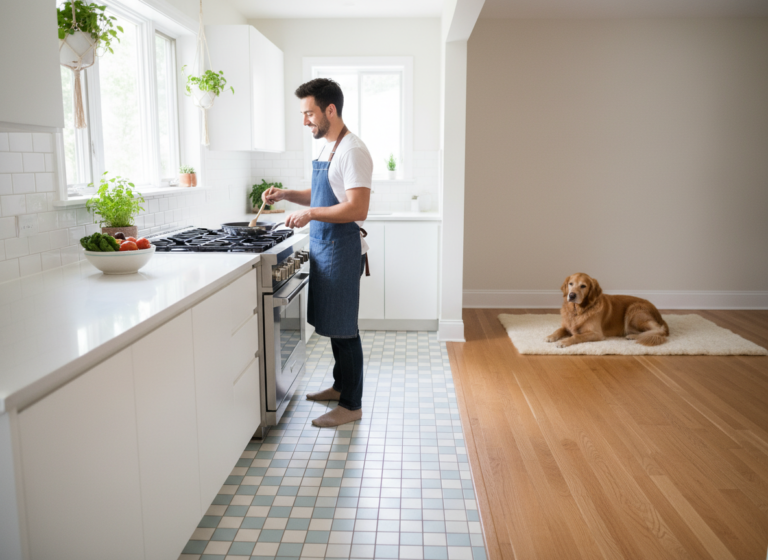
- Toxic Foods: Grapes, raisins, onions, garlic, chocolate, and anything containing the sweetener xylitol are common kitchen items that pose a serious threat.
- Choking Hazards: Cooked bones (especially chicken bones), small toys, rocks, and bottle caps can cause choking or internal blockages requiring surgery.
- Outdoor Dangers: Antifreeze puddles, discarded food on the street, toxic mushrooms, and pesticides on lawns are just a few of the risks your dog might face on a simple walk.
Having a reliable emergency cue means you can prevent an accident before it happens. It’s the difference between a close call and a costly, heartbreaking visit to the vet.
This command does more than just keep your dog safe; it builds a deeper level of communication and trust between you. When your dog learns to listen to you even when their instincts are screaming to gobble up something delicious, it reinforces your role as their trusted leader and protector. It’s an investment in their long-term health and your peace of mind.
Gathering Your Training Toolkit
Setting Yourself Up for Success
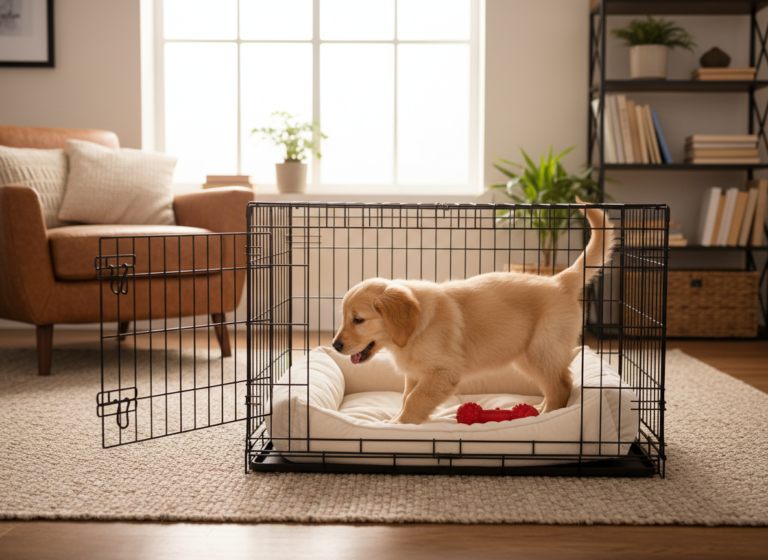
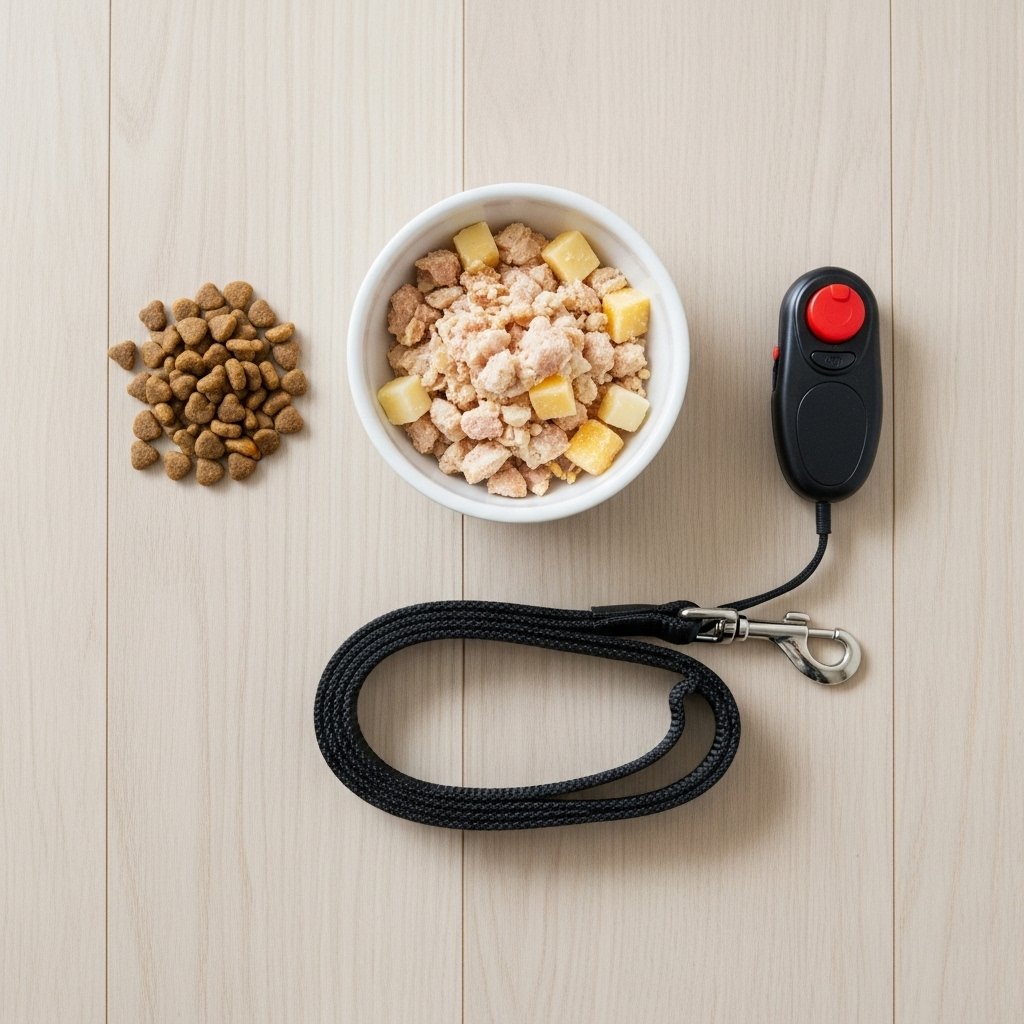
Before we jump into the fun part, let’s get our gear in order. Having the right tools on hand makes the training process smoother, more effective, and more enjoyable for both you and your dog. You don’t need a lot of fancy equipment, just a few key items.
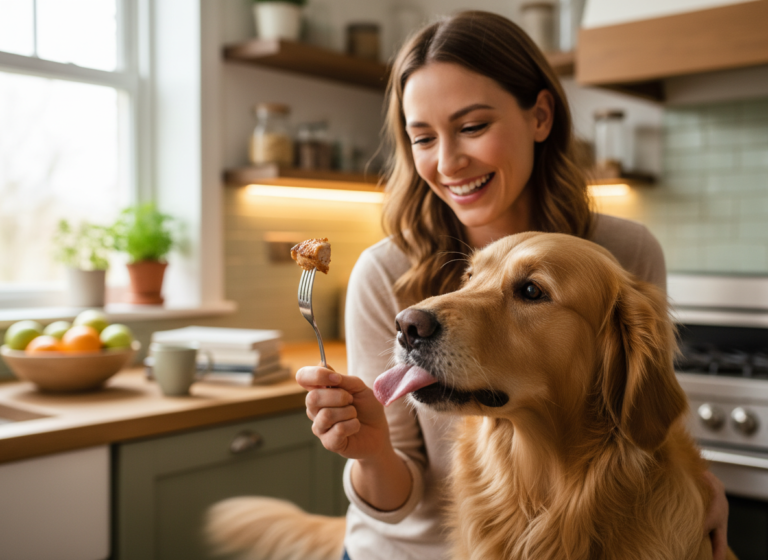
- High-Value Treats: This is the most important tool! We’re talking top-tier, irresistible goodies. Standard kibble won’t cut it here. You need something your dog will go bonkers for. Think small, soft pieces of boiled chicken, cheese, hot dogs, or special training treats that are extra smelly and delicious. We’ll also need some lower-value treats (like their regular kibble) to act as the ‘bait.’
- A Clicker (Optional but Recommended): A clicker is a fantastic tool for marking the exact moment your dog does the right thing. This precise communication speeds up learning significantly. If you’ve never used one, don’t worry! The concept is simple: click for the correct behavior, then give a treat. The click becomes a powerful signal that means, ‘Yes, that’s what I want! A reward is coming!’
- A Leash: Even when training indoors, a standard 6-foot leash can be helpful for managing your dog and preventing them from running off with the ‘bait’ if a training session goes sideways.
- A Positive Attitude and Patience: This isn’t a physical tool, but it’s absolutely essential. Training takes time, consistency, and a lot of patience. There will be good days and not-so-good days. Stay positive, keep sessions short and fun, and celebrate the small victories!
Remember, the goal is to make this a fun game. If you’re relaxed and happy, your dog will be too. Keep your training sessions short—just 5 to 10 minutes at a time, a few times a day, is far more effective than one long, frustrating session.
Step 1: The Foundation – Teaching a Rock-Solid ‘Leave It’

Building the ‘Don’t Touch’ Rule
‘Leave It’ is the preventative command. It teaches your dog to ignore a tempting item and turn their attention back to you instead. We’ll build this skill in stages, starting super easy and gradually increasing the difficulty.
Phase 1: The Closed Hand Game
- Place a low-value treat (kibble) in your hand and close your fist.
- Let your dog sniff and investigate your hand. They will likely lick, paw, and nudge at it. Ignore this behavior completely.
- The very second your dog pulls their head away, even for a split second, say ‘Yes!’ (or click your clicker) and reward them with a high-value treat from your other hand.
- Repeat this process until your dog is no longer trying to get the treat and is instead looking at you, waiting for the reward.
Phase 2: The Open Hand Game
- Now, place the low-value treat in your open palm.
- As your dog goes to snatch it, quickly close your fist to cover it.
- Wait for them to back off. Once they do, say ‘Yes!’/click and reward from your other hand.
- Practice until you can keep your hand open and your dog makes no move to take the treat. This is where you can add the verbal cue. As they hesitate, say ‘Leave it’ in a calm, upbeat tone. Then ‘Yes!’/click and reward.
Phase 3: The Floor Game
- Place the low-value treat on the floor, but keep your hand ready to cover it.
- Say ‘Leave it.’ If your dog moves towards it, cover it with your hand.
- When they back away or look at you, ‘Yes!’/click and reward them with a high-value treat.
- Gradually increase the time they have to leave the item before you reward them. The goal is for them to see the item on the floor and immediately look to you for their reward.
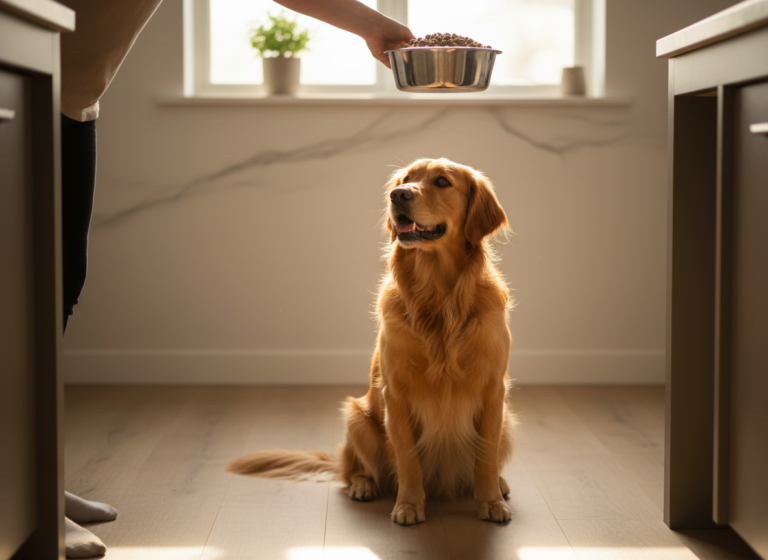
Pro Tip: Always reward your dog for a successful ‘Leave It’ with something better than what they left behind. This teaches them that ignoring the forbidden item is always the more rewarding choice!
Step 2: The Next Level – Teaching a Reliable ‘Drop It’
What to Do When They Already Have It
‘Leave It’ is for prevention, but ‘Drop It’ is for when your dog has already picked something up. The key to a good ‘Drop It’ is making your dog want to give you the item. We never want to create a conflict or encourage resource guarding by prying things from their mouth.
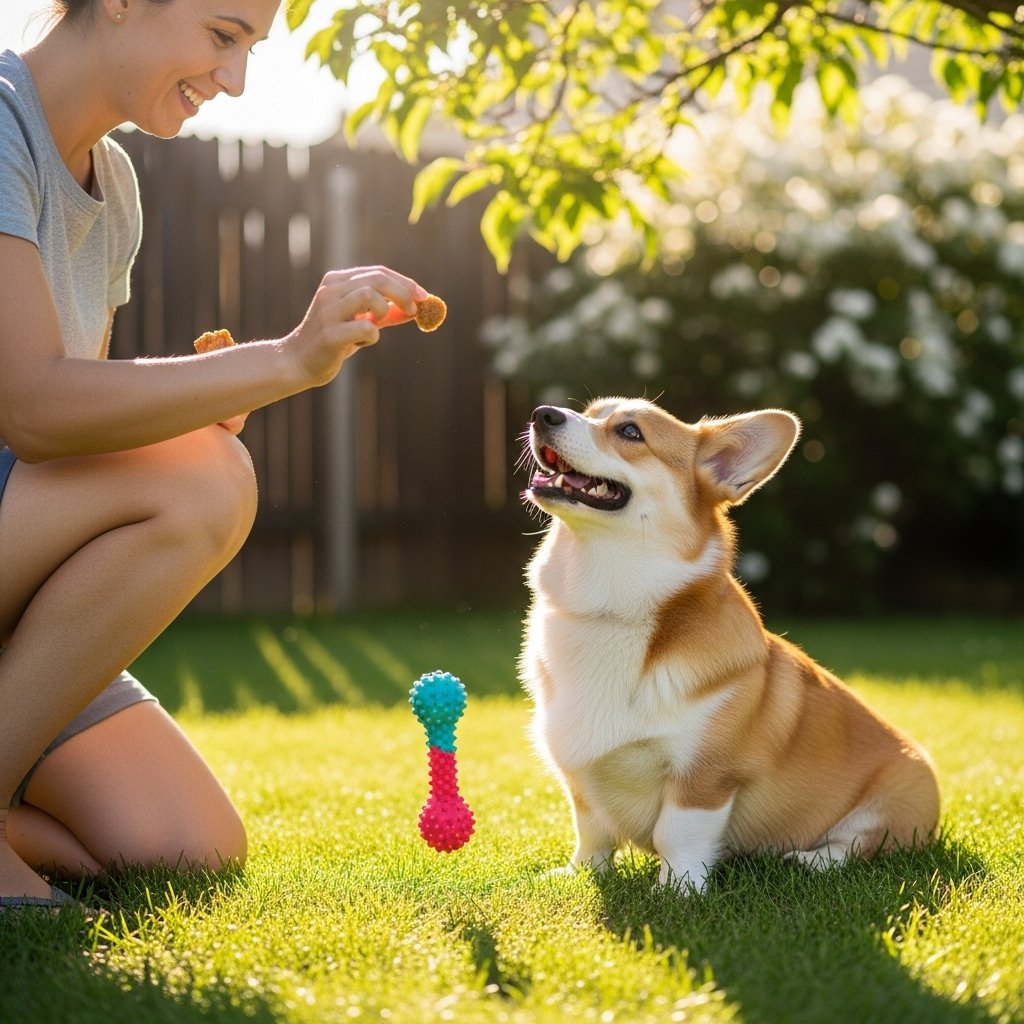
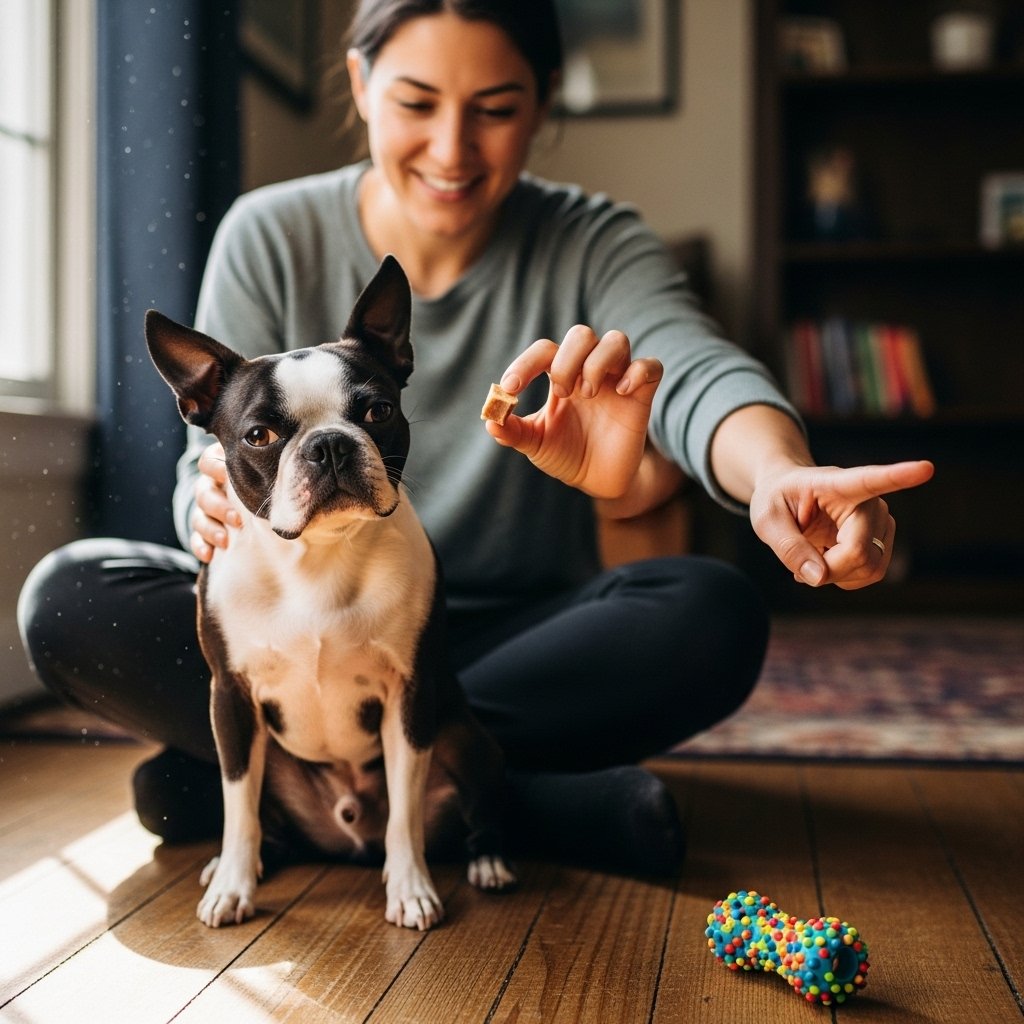
Phase 1: The Trade-Up Game
- Start with a low-value toy. Engage your dog in a gentle game of tug or let them hold the toy.
- Hold a super high-value treat near their nose. As they smell it, their natural instinct will be to open their mouth to take the treat, causing them to drop the toy.
- The moment they drop the toy, say ‘Yes!’ and give them the treat. Immediately give the toy back to them. This is crucial—it teaches them that ‘Drop It’ doesn’t mean they lose their prize forever.
- Once they are reliably dropping the toy for the treat, start adding the verbal cue. Say ‘Drop It’ right as you present the treat.
Phase 2: Fading the Lure
- Now, say ‘Drop It’ before you show them the treat. At first, they might be confused. Wait a second or two.
- If they drop it, shower them with praise (‘Yes!’) and give them the treat.
- If they don’t, show them the treat to remind them, but try to use the verbal cue first in the next repetition.
- Practice with different toys of varying value to generalize the command.
Never play a game of ‘keep away.’ If you chase your dog when they have something, you turn it into a fun game for them, which reinforces the behavior. Instead, stay calm and rely on your training to encourage them to trade with you.
A reliable ‘Drop It’ is built on trust. Your dog needs to believe that giving you an item is a good thing that results in praise and rewards, not conflict. By practicing this trade-up game, you’re building a positive association with the command that will be invaluable in a real emergency.
Putting It All Together: Proofing Your Emergency Command
Making it Work in the Real World
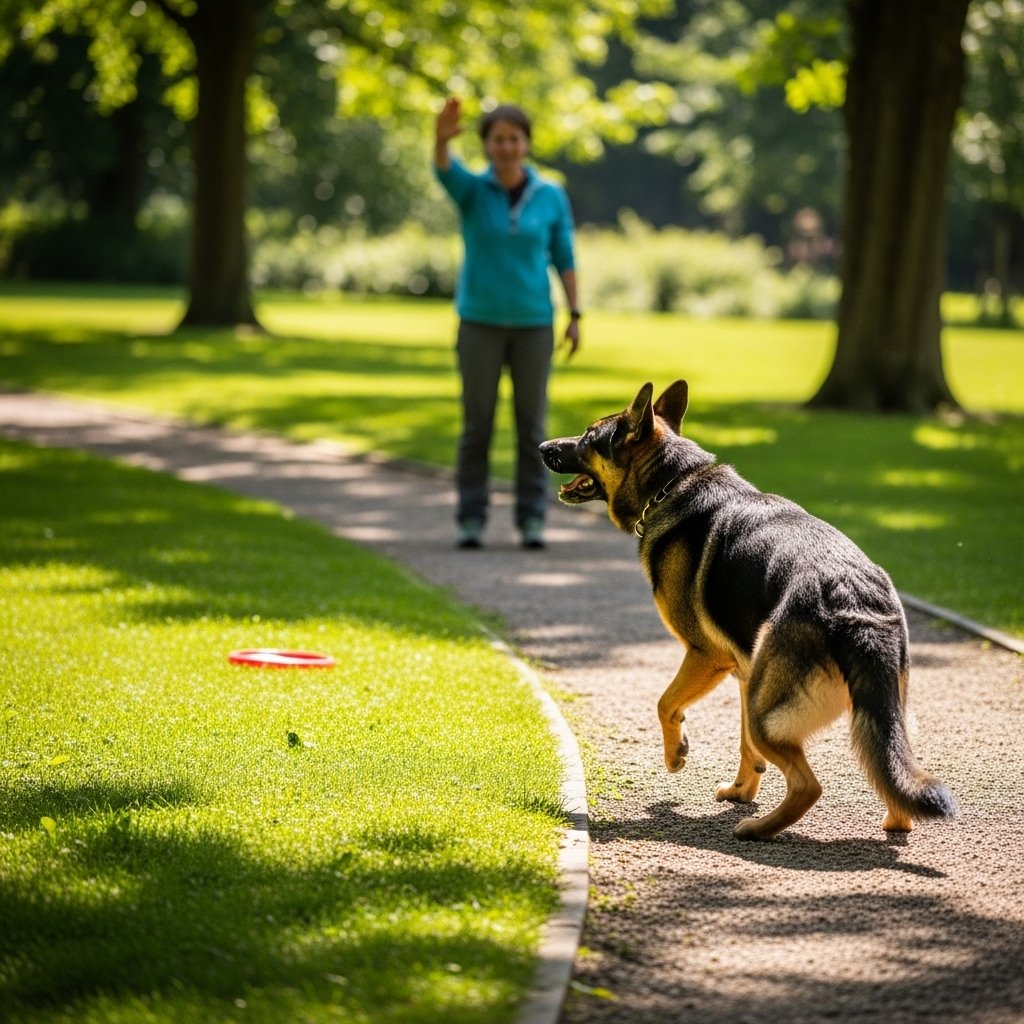
Having a great ‘Leave It’ and ‘Drop It’ in your quiet living room is fantastic, but the real test is out in the unpredictable world. ‘Proofing’ is the process of training your dog to respond to your cues in different environments and with various distractions. This is how we build that truly reliable, life-saving emergency stop.
Adding the 3 D’s: Distance, Duration, and Distractions
- Distance: Start practicing your ‘Leave It’ and ‘Drop It’ cues from a few feet away. Gradually increase the distance until you can give the command from across the room. Use a leash initially to prevent your dog from ‘self-rewarding’ by grabbing the item if they make a mistake.
- Duration: For ‘Leave It,’ ask your dog to ignore the item for longer periods before you release them or give the reward. Start with a second or two and slowly build up to 15-30 seconds. This builds immense impulse control.
- Distractions: This is the ultimate test. Start small. Practice in your backyard. Then, try a quiet street. Eventually, work your way up to busier environments like a park (on leash, of course). You can also simulate distractions at home by having another person walk through the room or rolling a ball nearby while you practice.
Creating the Final ‘Emergency’ Cue
While ‘Leave It’ and ‘Drop It’ are your building blocks, in a true emergency, you might not have time to think. Many trainers recommend pairing these with a sharp, unique sound that means ‘STOP EVERYTHING NOW!’ This could be a word you don’t use often, like ‘HEY!’ or ‘AHT-AHT!’ shouted in a sharp, urgent (but not scary) tone. Practice this cue by tossing a low-value treat and using your emergency sound just as your dog is about to get it. When they startle and pause, reward them heavily with a jackpot of high-value treats. This conditions an immediate, reflexive stop, giving you a precious second to follow up with ‘Leave It’ or ‘Come’.
Troubleshooting: When Things Don’t Go as Planned
Common Hurdles and How to Clear Them
Training is never a straight line to perfection. It’s totally normal to hit a few bumps in the road. The key is to recognize the problem and adjust your approach without getting frustrated. Here are some common issues and how to solve them.
Problem: ‘My dog is faster than me and grabs the item anyway!’
Solution: You’re likely increasing the difficulty too quickly. Go back a step! Use a leash to manage your dog’s access to the item. If you’re practicing ‘Leave It’ with an item on the floor, don’t drop it and step away. Instead, place it on the floor but keep your foot right next to it so you can easily cover it if your dog lunges. Make it easier for your dog to succeed, and then slowly make it harder again.
Problem: ‘My dog just ignores the cue, especially outside.’
Solution: This usually means the distraction is more rewarding than the treat you’re offering. It’s time to up your game! Are you using boring kibble when there’s half a pizza on the sidewalk? That’s a losing battle. Save your absolute highest-value, most irresistible treats (what we call ‘jackpot’ treats) specifically for real-world training. Also, practice in less distracting environments first to build a strong history of reinforcement before tackling the park or busy streets.
Problem: ‘My dog growls or runs away when I try to teach ‘Drop It’.’
Solution: Stop immediately. This is a sign of resource guarding, which can be a serious behavioral issue. You are accidentally creating conflict over the item. The ‘Drop It’ command MUST be taught as a positive trade. Never forcibly take an item from your dog’s mouth. If you see signs of guarding (stiffening, growling, whale eye), it’s best to consult with a certified professional dog trainer or behaviorist. They can help you address the root cause of the behavior safely and effectively.
Remember, every mistake is a learning opportunity. If your dog fails, don’t get discouraged. Ask yourself: ‘How can I make this easier for them to understand?’ Then, take a step back, reset, and try again with a plan for success.
Conclusion
Whew, we’ve covered a lot of ground! From understanding the critical need for an emergency command to breaking down the steps for ‘Leave It’ and ‘Drop It,’ you now have a complete roadmap to teaching your dog one of the most important safety skills they can learn. Remember that the pillars of this training are patience, consistency, and positivity. Every short, successful training session is a deposit in your bank of trust and communication with your dog.
Don’t expect perfection overnight. Celebrate the small wins, like when your pup hesitates for just a second before lunging, or when they willingly trade a boring toy for a tasty treat. These are the moments that build towards a rock-solid, reliable command that you can count on when it matters most. By investing this time now, you’re not just training a cool trick—you’re giving yourself the incredible gift of peace of mind and your dog the ultimate gift of safety. Now go grab those treats and have some fun with your best friend!