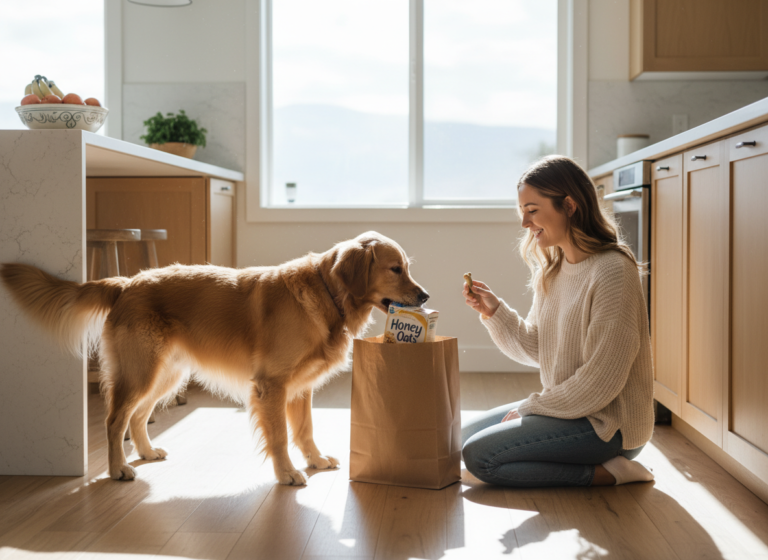
Spring is in the air! For many of us, that means opening the windows, letting in the fresh breeze, and tackling that annual ritual: spring cleaning. But what if you could add a dash of adorable, four-legged fun to the mix? While your furry friend might not be great at scrubbing floors, they can certainly become the star of your spring cleaning adventures. Welcome to the ultimate hack for pet owners: teaching your dog to ‘dust’!
Now, let’s be clear, your pup won’t be replacing your Swiffer anytime soon. This trick is all about fun, enrichment, and capturing some truly unforgettable photos. Teaching your dog a new skill is a fantastic way to strengthen your bond, provide mental stimulation, and burn off some of that canine energy. Using positive reinforcement, you can teach your dog to hold a duster and gently swipe it across a surface, creating the illusion of a helpful cleaning companion. In this guide, we’ll walk you through everything you need, from the basic setup to the step-by-step training process, and even how to stage the perfect photoshoot. So, grab your treats and your camera, and let’s turn spring cleaning into the cutest new activity for you and your best friend!
Getting Started: What You’ll Need for ‘Dusting’ Duty
Before you and your furry trainee can get to work, you’ll need to gather a few supplies. The key to successful dog training is preparation and positivity! Having everything ready means you can focus all your attention on your pup and keep the session fun and flowing. Don’t worry, the list is short and simple.
Your ‘Dusting’ Toolkit:
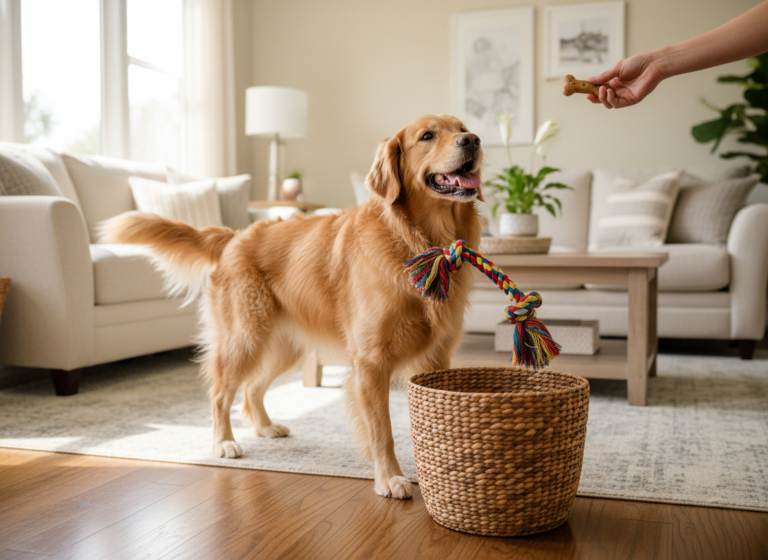
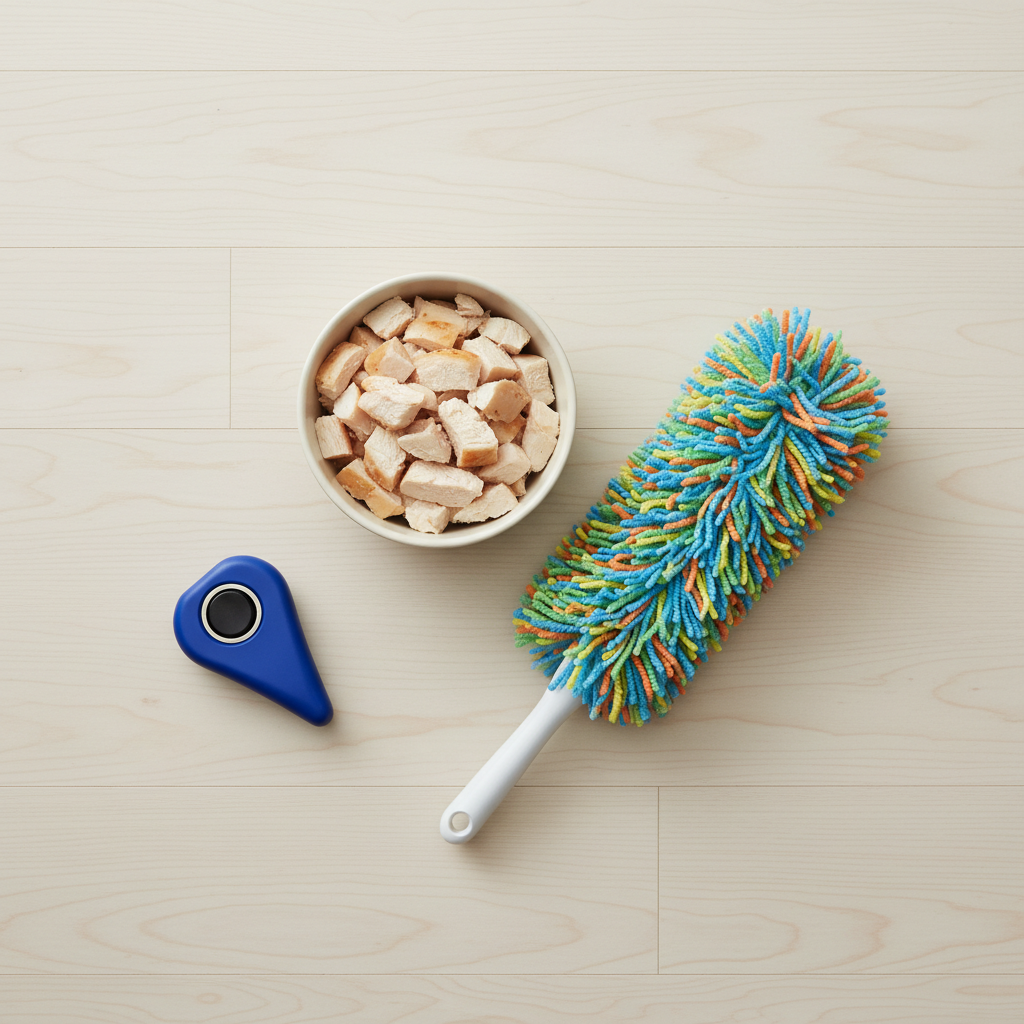
- High-Value Treats: We’re not talking about their everyday kibble here. You want something extra special that will really motivate your dog. Think small, soft, smelly treats like tiny pieces of chicken, cheese, or commercial training treats they absolutely love. The goal is to make them think, ‘Wow, I’ll do anything for that!’
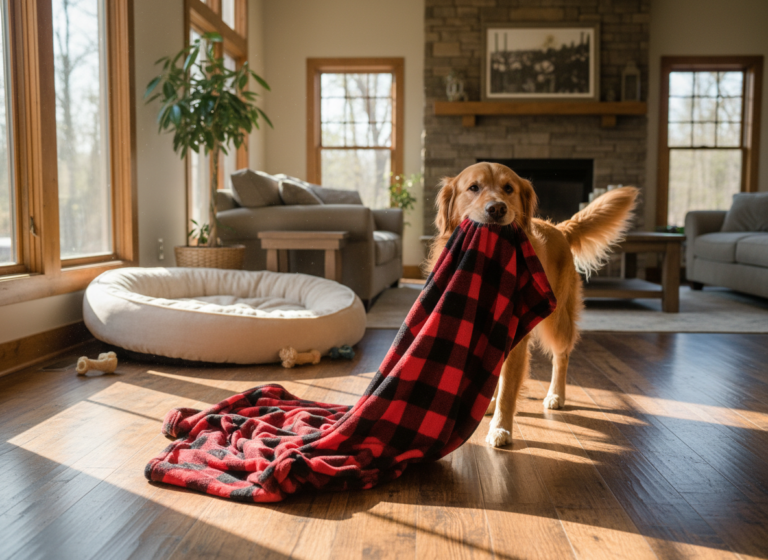
- A Dog-Safe ‘Duster’: This is the most important prop! Safety is paramount. Do not use an actual cleaning duster that has been treated with chemicals. Instead, choose something light, soft, and free of small parts that could be chewed off and swallowed. A new, clean microfiber cloth, a fluffy feather duster (ensure the feathers are securely attached), or even a designated soft sock can work perfectly. The item should be easy for your dog to hold in their mouth without much effort.
- A Clicker (Optional, but Recommended): A clicker is a fantastic tool for marking the exact moment your dog does something right. This ‘click’ is a clear signal that a reward is coming, which can speed up the learning process significantly. If you’re not using a clicker, you can use a consistent marker word like “Yes!” said in an upbeat tone.
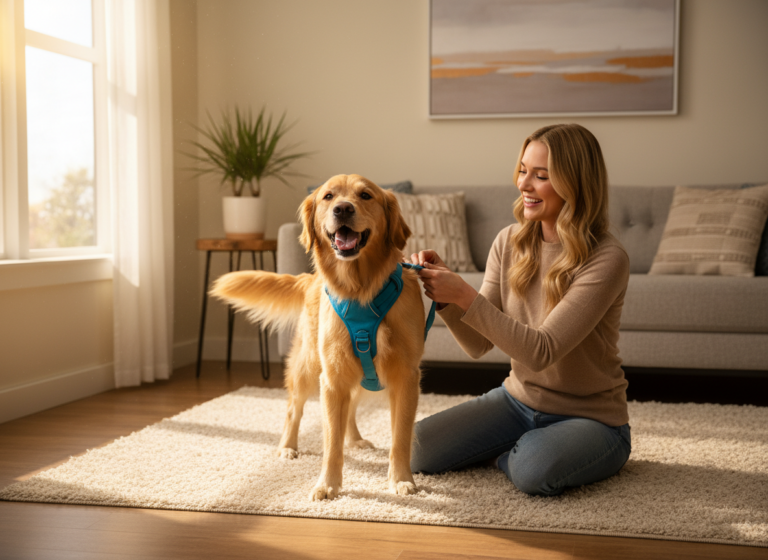
- A Distraction-Free Space: Choose a quiet room in your house where you won’t be interrupted. Turn off the TV, put your phone on silent, and make sure other pets or family members won’t be walking through. A calm environment helps your dog focus on you and the task at hand.
- Patience and a Positive Attitude: This is the most crucial ingredient! Remember, this is a game. Keep your energy light, happy, and encouraging. Every dog learns at a different pace, so celebrate the small wins and never get frustrated. Your positive vibe will make your dog excited to train with you.
Expert Tip: When choosing your ‘duster,’ let your dog sniff and investigate it first without any pressure to interact. You can even leave it on the floor with some treats around it to build a positive association before you even start training.
The Step-by-Step Guide to Teaching ‘Dust’
Alright, you’ve got your tools, your treats, and your enthusiastic pup. It’s time to begin! We’re going to use a training technique called ‘shaping,’ which involves breaking down the final trick into tiny, manageable steps and rewarding your dog for each successful attempt. Let’s get dusting!
-
Step 1: Introduce the ‘Duster’
The first step is simply getting your dog comfortable with the prop. Place the duster on the floor in front of you. The moment your dog shows any interest in it—sniffing it, nudging it with their nose, or even just looking at it—click (or say ‘Yes!’) and give them a treat. The goal here is to teach them that interacting with this new object is a very good thing. Repeat this 5-10 times until your dog is eagerly engaging with the duster.
-
Step 2: Shape the ‘Hold’
This is often the trickiest part, so take your time. Hold the duster in your hand. Reward your dog for touching it with their nose. Then, wait for them to open their mouth slightly towards it. Click and treat. Gradually, you’ll only reward them for making contact with their mouth. The next step is to reward them for holding it, even for a split second. Build up the duration of the ‘hold’ slowly. Keep sessions short and end on a positive note. Once they can hold it for a few seconds, add a release cue like ‘Drop it’ and reward them for that, too.
Pro-Tip: If your dog is hesitant to put the duster in their mouth, you can smear a tiny bit of peanut butter (xylitol-free!) or cream cheese on the part you want them to hold. This can encourage them to mouth the object.
-
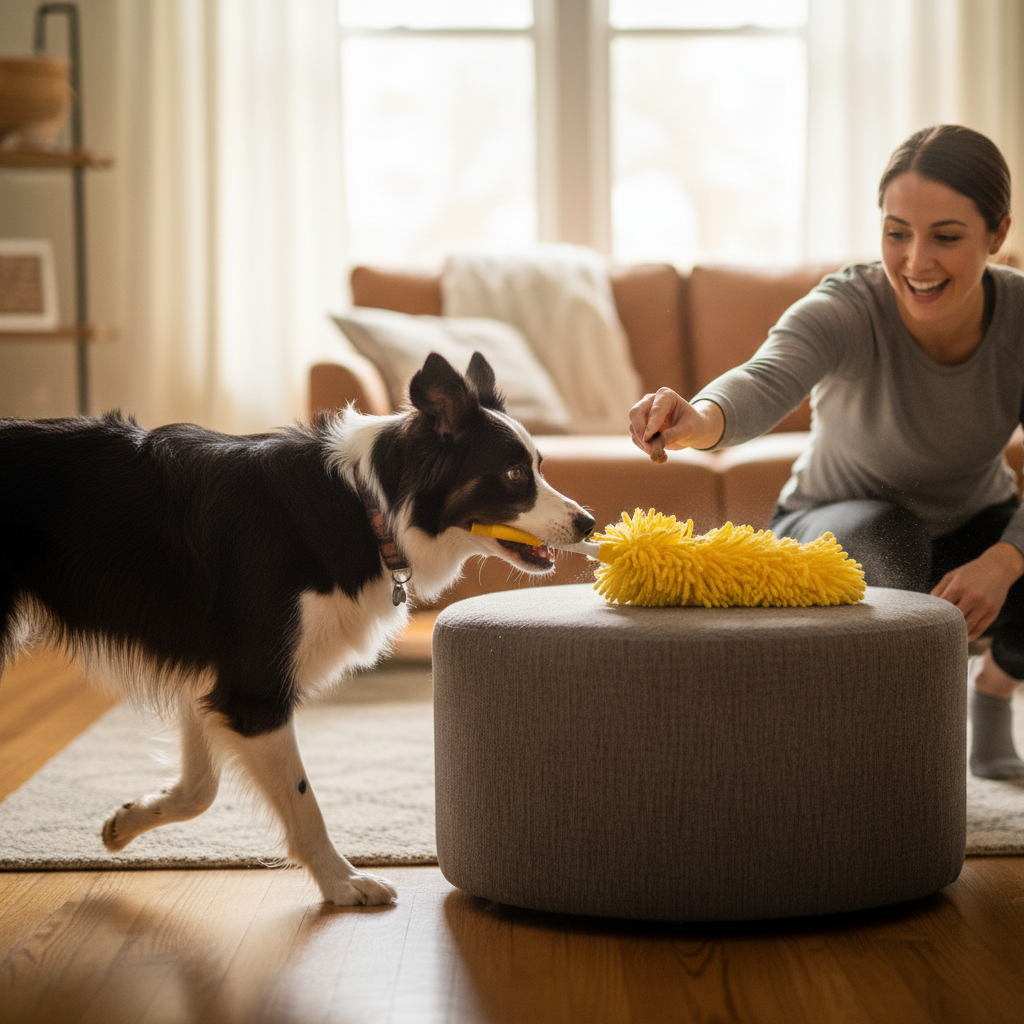
Step 3: Add the ‘Dusting’ Motion
Once your dog has a reliable ‘hold,’ it’s time to add movement. With your dog holding the duster, take a treat and use it as a lure. Hold the treat near their nose and slowly move it from side to side. As their head follows the treat, they will naturally create a ‘dusting’ or ‘wiping’ motion with the duster. Click and treat for any head movement, no matter how small at first. Gradually, you can encourage bigger swipes on a low, sturdy surface like a step stool or a low coffee table.
-
Step 4: Introduce the Verbal Cue ‘Dust’
Your dog is now holding the duster and swiping it on a surface! The behavior is taking shape. Now, you can add the verbal cue. Just as your dog is about to perform the dusting motion, say your cue word, ‘Dust!’ in a clear, happy voice. After a few repetitions, they will start to associate the word with the action. Start practicing by saying ‘Dust!’ and waiting for them to perform the motion before you use the treat lure.
-
Step 5: Generalize the Behavior
To make the trick really solid, you need to practice in different contexts. Ask your dog to ‘dust’ different objects around the house—a chair leg, a bookshelf (the lower shelf, of course!), or a cabinet door. This process, called generalization, helps your dog understand that the ‘Dust’ command applies to various surfaces, not just the one spot where you trained. Keep it fun and always reward them for their brilliant work!
Troubleshooting Common Dusting Dilemmas
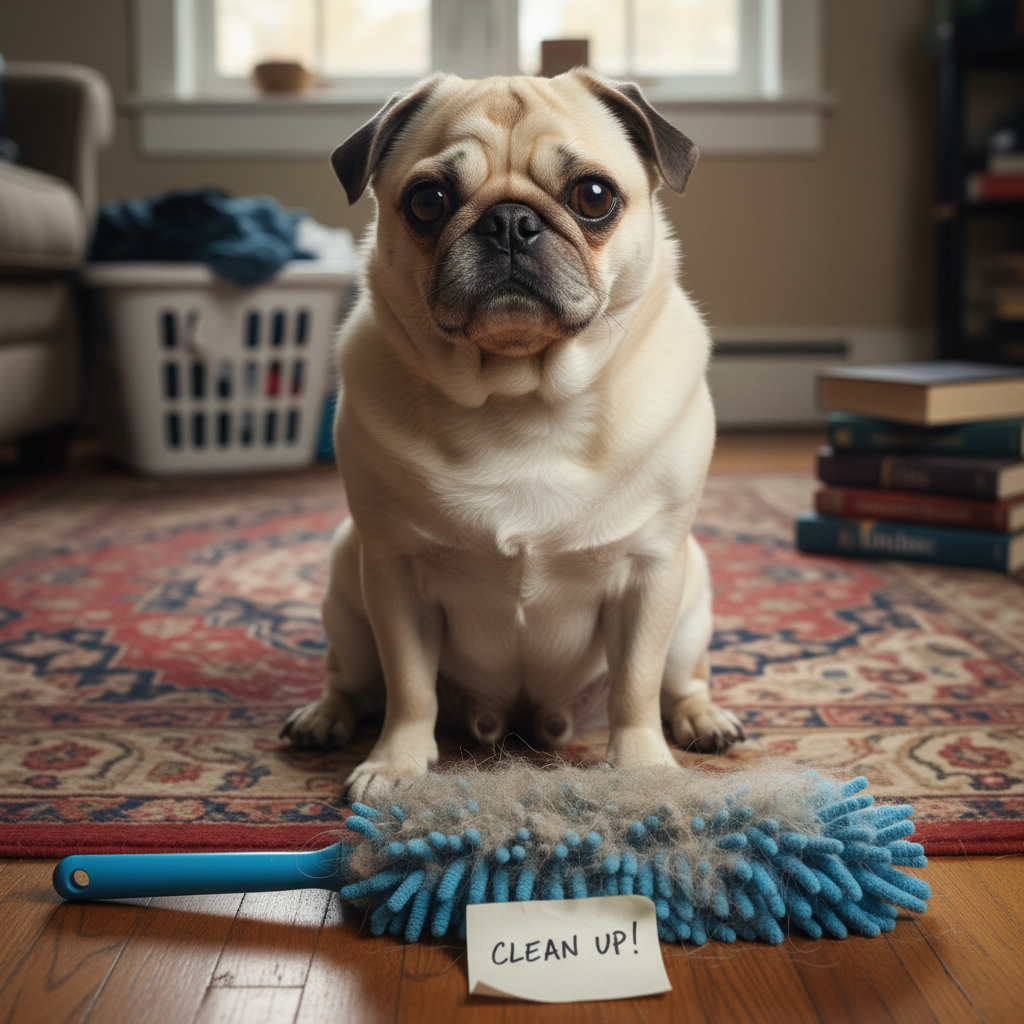
Even with the best treats and the happiest attitude, you might run into a few little hiccups along the way. That’s completely normal in dog training! The key is to stay patient and figure out a creative solution. Here are some common challenges you might face and how to work through them.
- Problem: My dog keeps dropping the duster!
This is very common, especially at the beginning. It could mean a few things. The duster might be too heavy or awkward for them. Try a lighter object, like a simple microfiber cloth. It could also mean the training sessions are too long. Keep them short—just 3-5 minutes at a time. Finally, make the reward for holding it even better! You want to build value for keeping the object in their mouth. Go back to Step 2 and reward them for even a half-second hold, gradually increasing the time. - Problem: My dog wants to chew the duster, not just hold it.
Pups explore the world with their mouths, so chewing is a natural instinct. If your dog starts gnawing on the prop, immediately trade them for a high-value treat by saying ‘Drop it.’ This teaches them that releasing the object to you is very rewarding. Avoid games of tug-of-war with the duster, as this encourages the wrong behavior. If chewing is a persistent issue, the training sessions might be a bit too exciting or long. End the session with a successful ‘drop it’ and try again later when they are calmer. - Problem: My dog just isn’t interested in the duster.
A lack of interest usually comes down to motivation. First, check your treats. Are they exciting enough? Some dogs will work for kibble, but most need something more enticing for a complex new skill. Second, make sure your training environment is truly free of distractions. A squirrel outside the window is far more interesting than a duster on the floor! Finally, turn it into a game. Toss the duster a short distance and reward your dog for going to it. Your own excitement is contagious! - Problem: My dog is grabbing the duster too hard.
Some dogs, especially retrievers, can have a very hard mouth at first. The goal is a gentle, soft hold. You can teach this by rewarding only the gentlest of grips. If they bite down hard, don’t reward them. You can say ‘Gentle’ as a cue. You can also hold the duster with a treat pinched between your fingers, so they have to be gentle to get the treat without nipping you. This takes patience but is a great skill for them to learn.
The Photoshoot: Capturing the Perfect ‘Spring Cleaning’ Shot
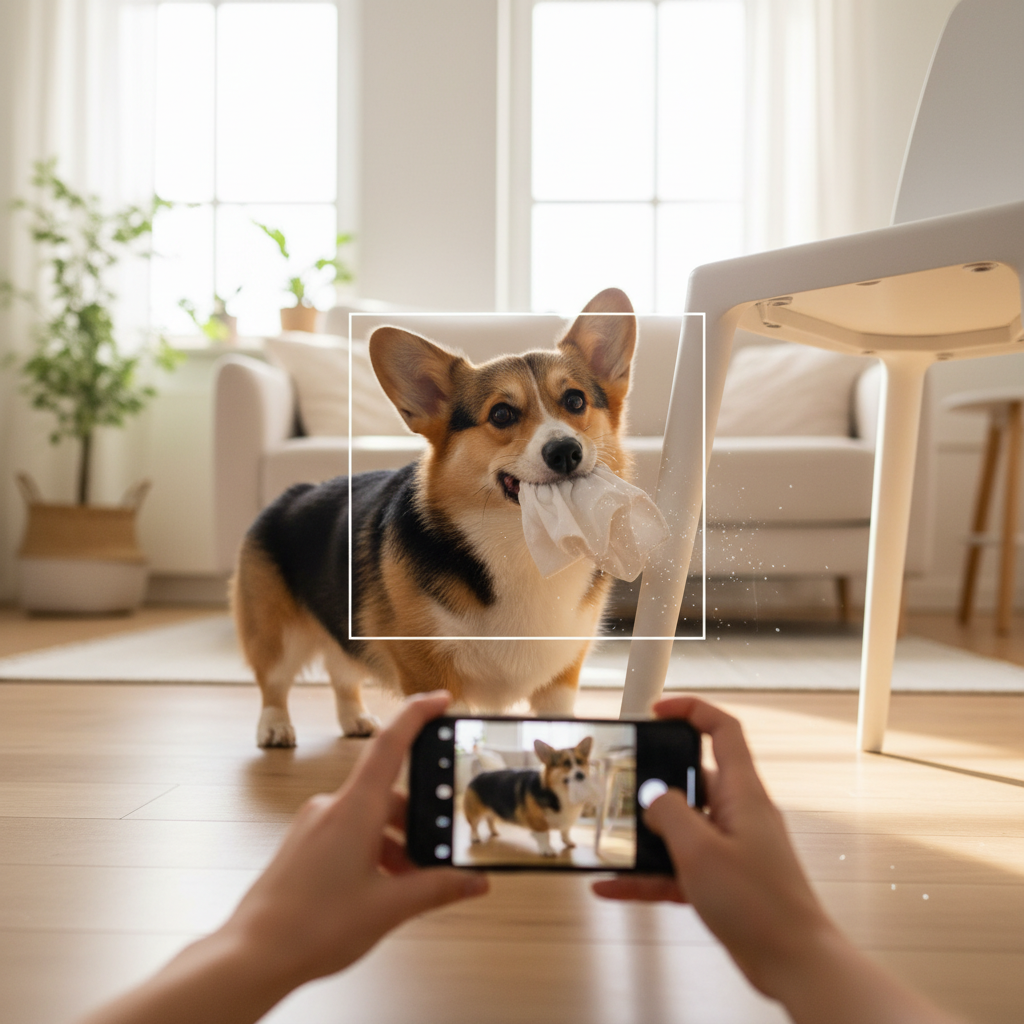
You’ve done the hard work, your dog is a dusting pro, and now it’s time for the grand finale: the photoshoot! This is your chance to capture all that cuteness and share it with the world. A little bit of preparation can turn a good photo into a great one.
Tips for a Picture-Perfect Session:
- Set the Scene: Find a spot with great natural light, like near a large window. A bright, airy space will make your photos look fresh and professional. Tidy up the background so the focus is entirely on your star performer. You can even add some spring-themed props, like a vase of tulips or a brightly colored pillow, to enhance the ‘spring cleaning’ vibe.
- Get Your Camera Ready: You don’t need a fancy camera; a modern smartphone will do the trick! Before you bring your dog in, make sure your settings are ready. Use ‘Portrait Mode’ if you have it to create a lovely blurred background. Consider using ‘Burst Mode’ (holding down the shutter button) to capture a rapid series of photos. This increases your chances of catching that one perfect, non-blurry shot of the action.
- Work as a Team: It’s incredibly helpful to have a second person assist you. One person can be the photographer, and the other can be the ‘dog wrangler.’ The wrangler’s job is to get the dog into position, give the ‘Dust!’ cue, and be ready with treats to reward them. This allows the photographer to focus solely on framing the shot and capturing the moment.
- Keep it Short and Sweet: Your dog has been working hard, and a photoshoot can be tiring. Don’t expect them to perform the trick over and over for half an hour. Aim for a quick 5-minute session. Get a few great shots and then end the session with lots of praise, treats, and a fun game of fetch or tug. The goal is for your dog to associate the camera with fun, not work.
- Capture Their Personality: Don’t just aim for the ‘perfect’ pose. Some of the best photos are the candid ones—the silly face they make right after dropping the duster, the happy trot as they bring it to you, or the proud look in their eyes when they get it right. These are the pictures that truly capture your dog’s unique personality and your special bond.
Conclusion
And there you have it! You’ve successfully transformed a household chore into an engaging, enriching, and downright adorable activity for you and your dog. By teaching the ‘dust’ trick, you haven’t just created a hilarious photo opportunity; you’ve invested quality time in your relationship with your pet, challenged their mind, and built their confidence. Remember, the best part of any training isn’t the final result, but the joyful process of learning and growing together.
So as you tackle your spring cleaning this year, take a moment to appreciate your little ‘helper.’ Whether they’re a master duster or still figuring out which end of the cloth to hold, they’ve brought smiles and laughter to the task. Now, go share those fantastic photos—your friends and family are sure to love seeing your clever canine in action. Happy training, and even happier spring cleaning!